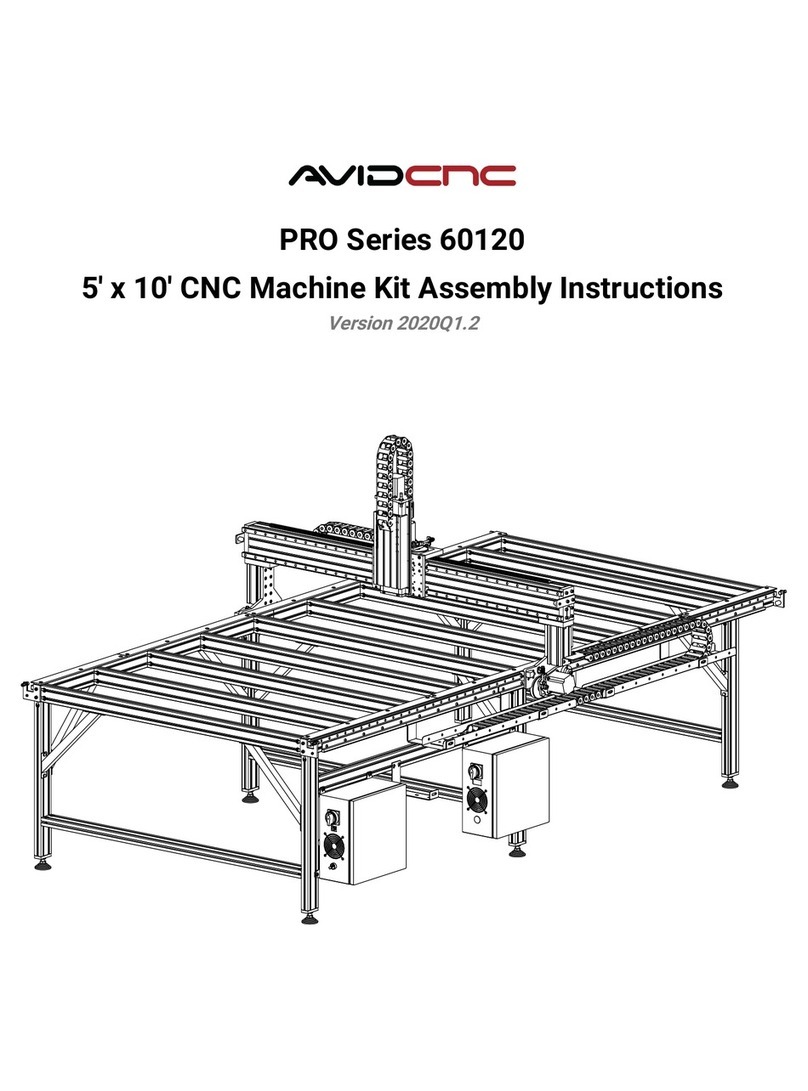
Avid CNC Benchtop PRO User manual

Benchtop PRO
Machine Kit Assembly Instructions
Version 2020Q2.1

Instructions
READ THE FOLLOWING BEFORE ASSEMBLING YOUR
BENCHTOP PRO CNC MACHINE KIT
1. The machine assembly is broken down into 8 main sections, visible in the PDF bookmarks tab.
2. Section 8 includes links for install & setup of spindles, software, VFDs, and other accessories.
3. It is helpful to look through each section prior to beginning its assembly.
4. Each section begins with an image of the fully assembled component. If needed, refer to this as a reference while
completing individual assembly steps.
5. Each section will identify the parts and tools needed for those assembly steps, as well as which box contains those parts.
Identification of fasteners is easier if they are kept in their respective fastener bags.
6. Assembling the larger components, such as the base and optional leg kit, is made easier with two people. Though not
required, this can make the process more efficient.
7. Listed below are three types of notes you will see throughout the assembly instructions:
8. Throughout the assembly of your machine, you will use Roll-in T-Nuts. Review the instructions on the following pages for
proper use of this component.
Section Note
Section Notes can be used to denote when the section is configuration specific.
(ex: NEMA 23 vs NEMA 34 electronics)
Assembly Note
Assembly Notes are used to call attention to certain parts of the assembly step. Pay attention to these as they provide
important information for a successful machine build.
Machine Configuration Options
These will denote specific steps to follow if you purchased the different optional sizes of the machine.
Benchtop PRO
Assembly Instructions
Version 2020Q2.1
© 2020 Avid CNC
All Rights Reserved

When properly installed, the indicated face of the T-Nut will be parallel with the face of the extrusion.
Assembly Note
A small allen wrench can be inserted into the hole of the T-Nut and subsequently used to rotate it the full 90°.
Benchtop PRO
Assembly Instructions
Version 2020Q2.1
© 2020 Avid CNC
All Rights Reserved

Tools List
Required tools for assembly of your machine:
Metric Ball-End Allen Wrenches:
- 3mm, 4mm, 5mm, 6mm
Adjustable Wrench
Standard (Flat Tip) Screwdriver
Tape Measure
Additional recommended tools and supplies:
6mm Hex Ball-end Power Bit and Drill/Impact Driver
Metric Combination Wrenches:
17mm
Metric Tape Measure
Benchtop PRO
Assembly Instructions
Version 2020Q2.1
© 2020 Avid CNC
All Rights Reserved

Parts and Tools Required
The following parts and tools will be used in Section 1
2' x 2' Parts List
QTY Part/Description Packaged In
3 8080 Crossmember Extrusion, 641mm (25-1/4") Linear Extrusion Bundle
1 CRP840-00-650 - PRO Linear Ballscrew Axis, Left Table Axis Left
1 CRP840-00-650 - PRO Linear Ballscrew Axis, Right Table Axis Right
1 CRP910-00-24-FAST: CRP900-00-2424-HW
- (24) 40 Series Anchor Fastener
- (24) M8 x 30mm Socket Head Cap Screw
- (12) M8 Slide-in T-Nut
4 CRP913-00: CRP900-00-2424-HW
- (1) M12 Leveling Foot 50mm (Total QTY: 4)
- (1) M12 BTP Leveling Foot End Plate (Total QTY: 4)
- (2) M8 x 30mm Socket Head Cap Screw (Total QTY: 8)
- (2) M8 Roll In T-Nut (Total QTY: 8)
2' x 3' Parts List
QTY Part/Description Packaged In
4 8080 Crossmember Extrusion, 641mm (25-1/4") Linear Extrusion Bundle
1 CRP840-00-950 - PRO Linear Ballscrew Axis, Left Table Axis Left
1 CRP840-00-950 - PRO Linear Ballscrew Axis, Right Table Axis Right
1 CRP910-00-36-FAST: CRP900-00-2436-HW
- (32) 40 Series Anchor Fastener
- (32) M8 x 30mm Socket Head Cap Screw
- (16) M8 Slide-in T-Nut
4 CRP913-00: CRP900-00-2436-HW
- (1) M12 Leveling Foot 50mm (Total QTY: 4)
- (1) M12 BTP Leveling Foot End Plate (Total QTY: 4)
- (2) M8 x 30mm Socket Head Cap Screw (Total QTY: 8)
- (2) M8 Roll In T-Nut (Total QTY: 8)
Benchtop PRO
Assembly Instructions
Version 2020Q2.1
© 2020 Avid CNC
All Rights Reserved

3' x 3' Parts List
QTY Part/Description Packaged In
4 8080 Crossmember Extrusion, 961mm (37-7/8") Linear Extrusion Bundle
1 CRP840-00-950 - PRO Linear Ballscrew Axis, Left Table Axis Left
1 CRP840-00-950 - PRO Linear Ballscrew Axis, Right Table Axis Right
1 CRP910-00-36-FAST: CRP900-00-3636-HW
- (32) 40 Series Anchor Fastener
- (32) M8 x 30mm Socket Head Cap Screw
- (16) M8 Slide-in T-Nut
4 CRP913-00: CRP900-00-3636-HW
- (1) M12 Leveling Foot 50mm (Total QTY: 4)
- (1) M12 BTP Leveling Foot End Plate (Total QTY: 4)
- (2) M8 x 30mm Socket Head Cap Screw (Total QTY: 8)
- (2) M8 Roll In T-Nut (Total QTY: 8)
Required Tools
6mm Ball-End Allen Wrench
Adjustable Wrench
Benchtop PRO
Assembly Instructions
Version 2020Q2.1
© 2020 Avid CNC
All Rights Reserved

1.2 Leveling Feet Assembly
1.2.1
Attach a foot plate to a ballscrew axis as indicated.
M8 Roll-in T-Nut
CRP913-01 Foot Plate
M8 x 20mm Socket Head Cap Screw
Assembly Note
If you assembled the crossmembers in the lowered configuration, locate the block to the side of the crossmember rather
than under it.
Benchtop PRO
Assembly Instructions
Version 2020Q2.1
© 2020 Avid CNC
All Rights Reserved

1.2.2
Bias the foot plate twoards the crossmember, ensuring it is flush with the bottom of the extrusion.
Tighten the indicated fasteners.
Assembly Note
If your crossmembers are not in the default configuration, do not attempt to bring the foot plate flush with the extrusion.
Benchtop PRO
Assembly Instructions
Version 2020Q2.1
© 2020 Avid CNC
All Rights Reserved
Table of contents
Other Avid CNC Control System manuals
Popular Control System manuals by other brands

BriskHeat
BriskHeat ACR Series instruction manual

Briggs & Stratton
Briggs & Stratton 71013 Installation and operator's manual

Woodward
Woodward 1907 Installation and operation manual
TECSYSTEM
TECSYSTEM T119 Setup and Programming
hoxter
hoxter ABRA 6.1 Installation and operating instruction
Inovance
Inovance Monarch MCTC-PEC-E1 user guide
TouchTronics
TouchTronics PowerTouch 1000 owner's manual
Force America
Force America SSC6100 CAN ULTRA Operation manual
Extron electronics
Extron electronics TLP 1000MV user guide
White Rodgers
White Rodgers 50E47-843 installation instructions
FAAC
FAAC J275 HA 2K20 Translation of the original instructions
OSCOR
OSCOR OSC 5000 owner's guide


