12
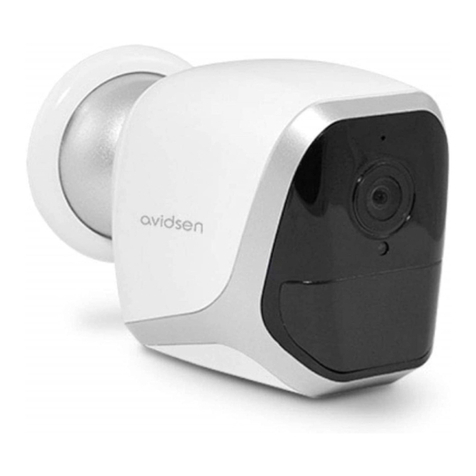
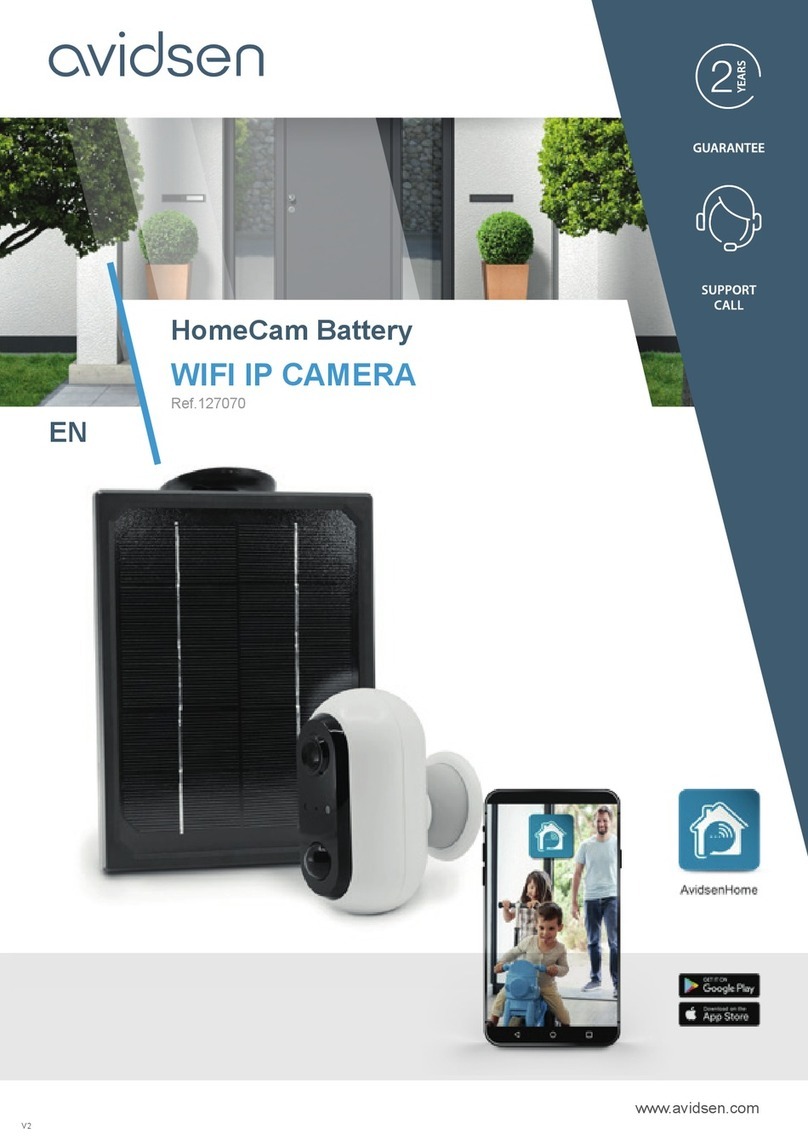
BATTERY-POWERED 720P IP WIFI CAMERA
EN
D - CONFIGURATION
1Add another camera to the smartphone
2Preview of the video (refreshes automatically)
3
Connection status of the camera on the network
4Deleting the camera from the list of the app’s
known cameras (the camera will remain connected
to internet).
5Access to the full con guration of the camera
6Access to the videos saved on the micro SD card
inserted in the camera in calendar format (optional,
not supplied)
7
Movement detection management: starting/stopping
recording on the micro SD card when a movement is
detected in the camera eld
The speci c hours at which the movement detector
should be stopped/restarted can also be speci ed,
as can the angle of detection.
8Enabling/disabling of “Do not disturb” mode:
suppresses noti cations in the event of movement
detection (but keeps the movement detection
active)
2.1 - CONFIGURATION
After clicking on the image of your camera from the
list of cameras, click on the icon
After clicking on the image of your camera from the
to access the
full con guration of your camera:
9
8
7
6
5
4
3
2
1
1Access to the personalised name of the
camera and the version of the internal
rmware. The presence of a red dot indicates
the existence of an available update for your
camera.
2Selection of the type of batteries used to
power the camera (rechargeable, or not)
to consequently adjust calculation of the
battery life displayed.
3
Setting of the time, time zone, enabling/
disabling of daylight saving time. The time
is used to programme movement detection
slots, which are also embedded in the videos
recorded.
4Change of password required on login (the
password created at the time of camera set-
up)
5Enabling/disabling of the camera’s movement
detection. Automatic enabling/disabling
of time slots can also be speci ed here for
each day of the week, while the angle and
sensitivity of the movement detection can
also be adjusted.
6Flip (mirror) and/or reverse the image if the
camera is installed upside down.
7Setting of the incoming (camera loudspeaker)
and outgoing (camera microphone) volume
This is also where you can switch o the light
indicators at the front of the camera for more
privacy.
8Full camera reset
9Camera sharing: here you can display and
send the ID (UID) of your camera or an image
of its QR Code.
Note: the password that you created during
set-up will also be required to enable the
recipient to add and use the camera.