manuals.online logo
Brands
  1. Home
  2. •
  3. Brands
  4. •
  5. Avtech
  6. •
  7. Accessories
  8. •
  9. Avtech RMA-MOT2-SEN Installation and operation manual

Avtech RMA-MOT2-SEN Installation and operation manual

Installation Note
Temperature & Environment Monitoring... Made Easy!
Motion Sensor
AVTECH
AVTECH’s Motion Sensor monitors computer rooms, telecom closets and
other indoor locations for human movement; this passive infrared sensor
covers an 84º angle (approximately 48' at its widest point) and detects
motion up to 36' away.
Motion Sensor Package Contents
• One (1) Motion Sensor
• One (1) 25' speaker cable
• One (1) 12V power adapter
Motion Sensor
Alarm
LED
Cover
Lens
Cover
Lock
Screw
Alarm LED
The red alarm LED blinks for approximately a minute after it is rst plugged in to power
while the unit is warming up.
It illuminates for approximately 2 seconds when the sensor detects motion.
Install Your Motion Sensor
Do not use this sensor in hazardous (classied) locations or life safety applications.
Step 1: Mount your Motion Sensor.
Mount your Motion Sensor so that people cross the protection zone rather than approach
the sensor head-on.
Page 2
Motion Sensor (RMA-MOT2-SEN)
Don’t mount your Motion Sensor in the following locations:
• A location subject to electrical noise.
• A location subject to intense vibration.
• A location where the sensor or protection zone is subject to direct sunlight, spot light
or intense reections.
• Outdoors.
You may mount your Motion Sensor on a wall with an adhesive or using the recessed
knockout holes on the base of the unit.
If you wish to use the knockout holes:
1. Loosen the cover lock screw on the bottom of the unit and remove the cover.
2. Open any of the recessed knockout holes in the base that you wish to use. Note that
there are knockout holes near the corners of the base to use if you are mounting the
unit in a corner.
3. Install the base on the wall.
4. Re-attach the cover and screw the cover lock screw back in.
Step 2: Connect your Motion Sensor to Room Alert.
Do not connect the switch sensor inputs (dry contacts) on AVTECH products to any live
circuit.
Use only low-voltage 2-wire cable to connect switch sensor inputs.
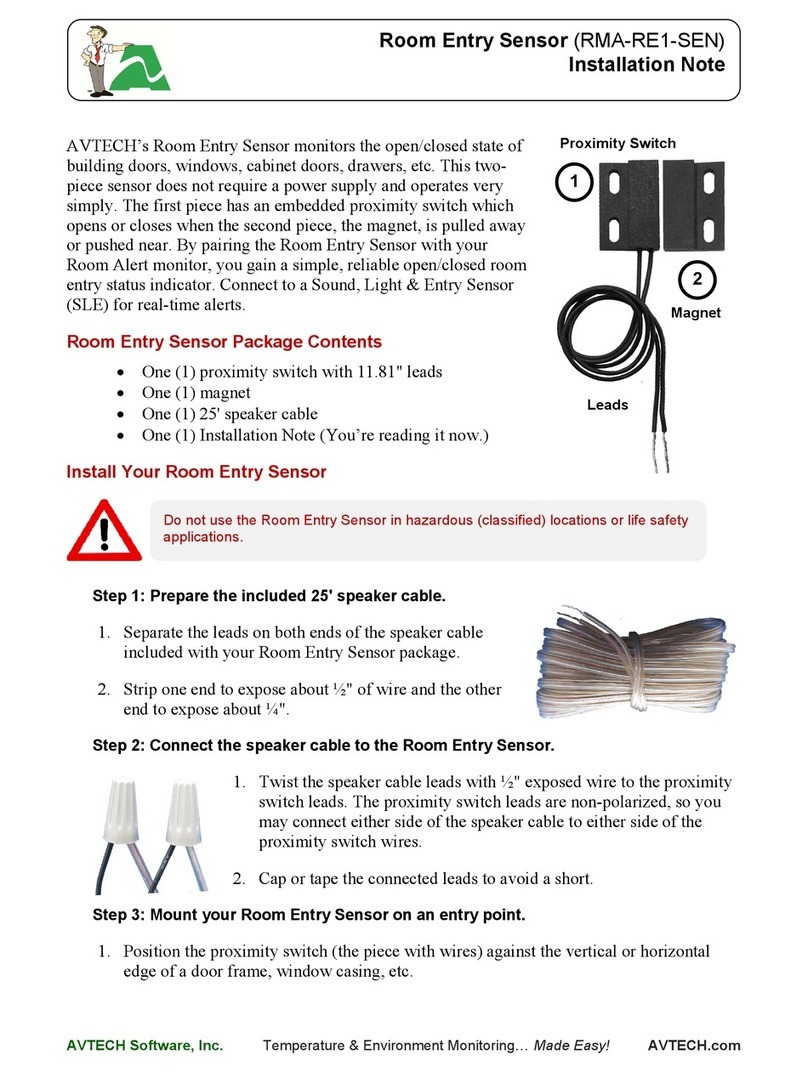
Your Motion Sensor comes with one end of the 25' speaker cable
already attached. Follow these steps to attach the other end to a
switch port on your Room Alert:
1. Separate and strip the leads on the free end of the speaker
cable, exposing about ¼" of wire.
2. Run the speaker cable back to your Room Alert. Try to avoid running it near large
electromagnetic devices or uorescent lights, which produce EMI and can interfere with
sensor readings.
3. Connect the free ends (the 1/4" leads) of the speaker cable to an
open switch port on your Room Alert. Be sure the bare wire, not the
insulation, connects to the port. The leads are non-polarized, so you
may connect either lead to either side of the open port.
Page 3
Motion Sensor (RMA-MOT2-SEN)
Step 3: Connect your Motion Sensor to a power source.
Your Motion Sensor comes with an 12V power adapter already attached. Plug the adapter
into a power source.
Notice that the alarm LED blinks for approximately one minute while the Motion Sensor
warms up.
Sensor Features & Specications
Environment Condition Monitored Motion
Type Of Sensor Switch
Normal State Closed (Motion not detected)
Alarm State Open (Motion detected)
Power Supply 12V power adapter
Included Yes
Sensor Cable Type Low-voltage two-wire speaker cable
Included Yes
Length 25'
Maximum Extendible Length 900'
Operating Temperature Range 5° F to 131° F (-15° C to 55° C) without condensation
Compatible Products Any Room Alert model or Wireless Sensor Hub
AVT-171211-1.1.0
Page 4
Congure Your Switch Sensor
Use Room Alert’s Built-In Web Interface
Navigate to Settings Sensors in your Room Alert web interface. The options you see
below will vary depending on your Room Alert model.
1. Scroll down to Switch Sensor Settings.
2. Find the switch sensor label that matches the port you connected your switch sensor
to. For example, if you used the rst switch sensor port on your Room Alert, look for
Sensor 1 Label; if you used the second, look for Sensor 2 Label, and so on.
3. In Sensor X Label, you may leave the default, “Switch Sen X,” or enter something more
descriptive of up to 15 characters. You may use the following characters in sensor
labels: letters, numbers, spaces, hyphens (-), underscores (_) and periods (.).
4. In Alarm On, select the alarm state (Open or Closed) for your switch sensor. You
may nd the alarm state of your switch sensor under the Features & Specications
section of this Installation Note.
5. In Alarm Prole, which controls light towers and relays on your Room Alert, you may
leave the default, Prole 1, or choose another prole from the drop-down menu.
6. Select Save Settings at the top or bottom of the page. Your Room Alert will
automatically reboot and commit your changes.
AVT-171211-1.1.0
www.serverroomenvironments.co.uk

Other Avtech Accessories manuals

Avtech RMA-RE1-SEN Quick start guide

Avtech

Avtech RMA-RE1-SEN Quick start guide

Avtech RMA-SS1-SEN Installation and operation manual

Avtech

Avtech RMA-SS1-SEN Installation and operation manual

Avtech RMA-AF1-SEN Installation and operation manual

Avtech

Avtech RMA-AF1-SEN Installation and operation manual

Avtech TMP-SDT-SEN Installation and operation manual

Avtech

Avtech TMP-SDT-SEN Installation and operation manual

Avtech RMA-DAP-SEN Installation and operation manual

Avtech

Avtech RMA-DAP-SEN Installation and operation manual

Avtech RMA-FTL1-SEN Installation and operation manual

Avtech

Avtech RMA-FTL1-SEN Installation and operation manual

Avtech RMA-F008-SEN Installation and operation manual

Avtech

Avtech RMA-F008-SEN Installation and operation manual

Avtech RMA-FS2-SEN User manual

Avtech

Avtech RMA-FS2-SEN User manual

Avtech RMA-SS1-SEN Installation and operation manual

Avtech

Avtech RMA-SS1-SEN Installation and operation manual

Avtech RMA-RE1-SEN Installation and operation manual

Avtech

Avtech RMA-RE1-SEN Installation and operation manual

Avtech RMA-PS1-SEN User manual

Avtech

Avtech RMA-PS1-SEN User manual

Avtech RMA-DTH-SEN Installation and operation manual

Avtech

Avtech RMA-DTH-SEN Installation and operation manual

Popular Accessories manuals by other brands

PAC uPAC-HY2 instructions

PAC

PAC uPAC-HY2 instructions

Micsig DP10013 user manual

Micsig

Micsig DP10013 user manual

Austro Engine E4 Series installation manual

Austro Engine

Austro Engine E4 Series installation manual

Konifera BW13000 user manual

Konifera

Konifera BW13000 user manual

Leuze KRT18BW manual

Leuze

Leuze KRT18BW manual

Panasonic VF Series instruction manual

Panasonic

Panasonic VF Series instruction manual

Monoprice 7928 instruction manual

Monoprice

Monoprice 7928 instruction manual

Serene House Scent Flute 2-Notes Instruction manual & warranty

Serene House

Serene House Scent Flute 2-Notes Instruction manual & warranty

wtw visoturb 700 iq operating manual

wtw

wtw visoturb 700 iq operating manual

Eaton xComfort CSEZ-01/14 Aassembly Instructions

Eaton

Eaton xComfort CSEZ-01/14 Aassembly Instructions

Veris Industries AG01E installation guide

Veris Industries

Veris Industries AG01E installation guide

Baumer SmartReflect FNDK 14G6902/S14/IO quick start guide

Baumer

Baumer SmartReflect FNDK 14G6902/S14/IO quick start guide

Chauvet COLORstrip Footswitch user manual

Chauvet

Chauvet COLORstrip Footswitch user manual

iXBlue Octans Configuration user guide

iXBlue

iXBlue Octans Configuration user guide

Ankom Daisy II D200 Service Procedure

Ankom

Ankom Daisy II D200 Service Procedure

Razor Ripstick Electric Guide

Razor

Razor Ripstick Electric Guide

MOBILE-ALERTS MA10101 quick reference

MOBILE-ALERTS

MOBILE-ALERTS MA10101 quick reference

Siemens RUGGEDCOM WIN7225 installation guide

Siemens

Siemens RUGGEDCOM WIN7225 installation guide

manuals.online logo
manuals.online logoBrands
  • About & Mission
  • Contact us
  • Privacy Policy
  • Terms and Conditions

Copyright 2025 Manuals.Online. All Rights Reserved.