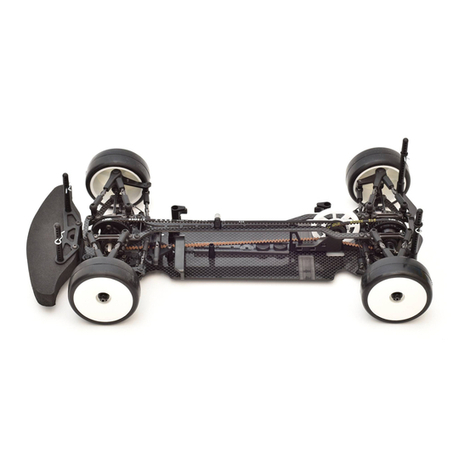
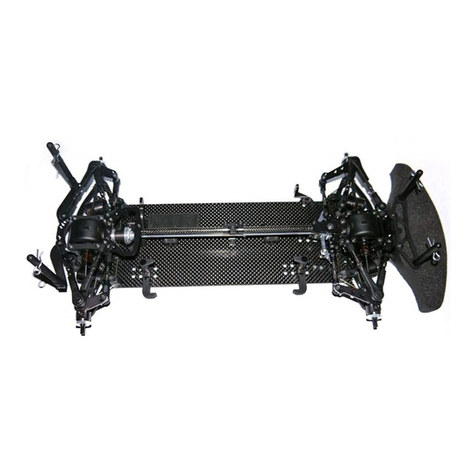
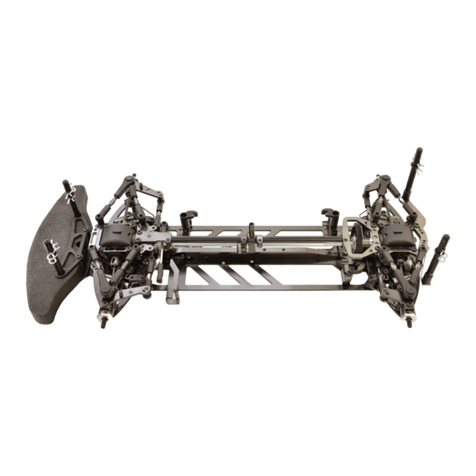
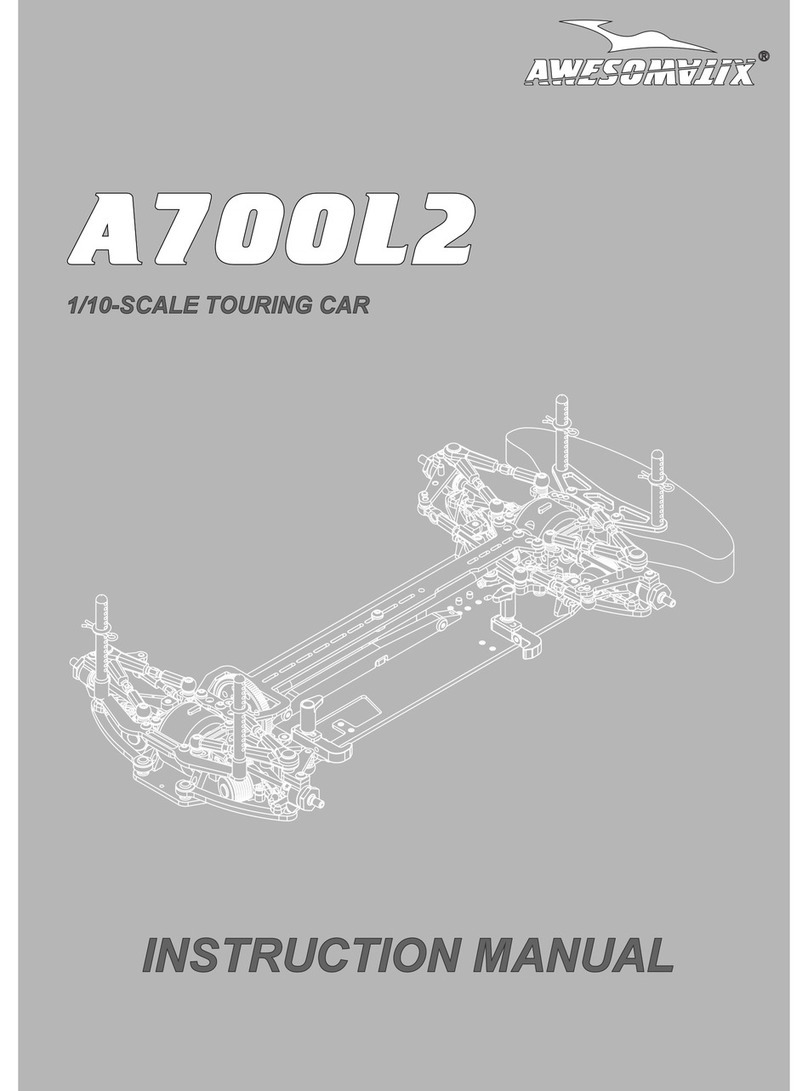
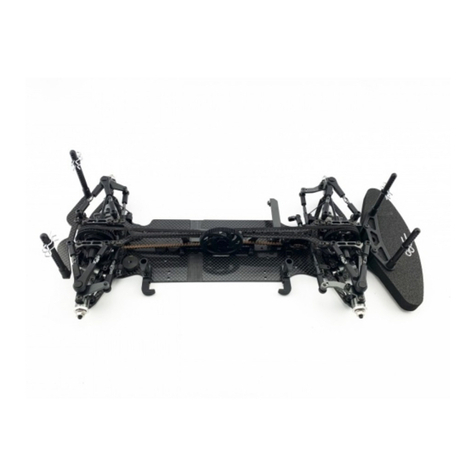
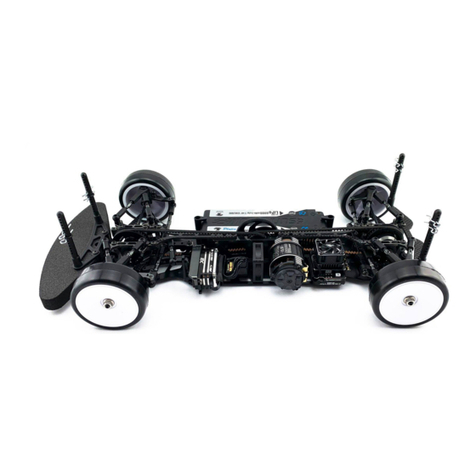
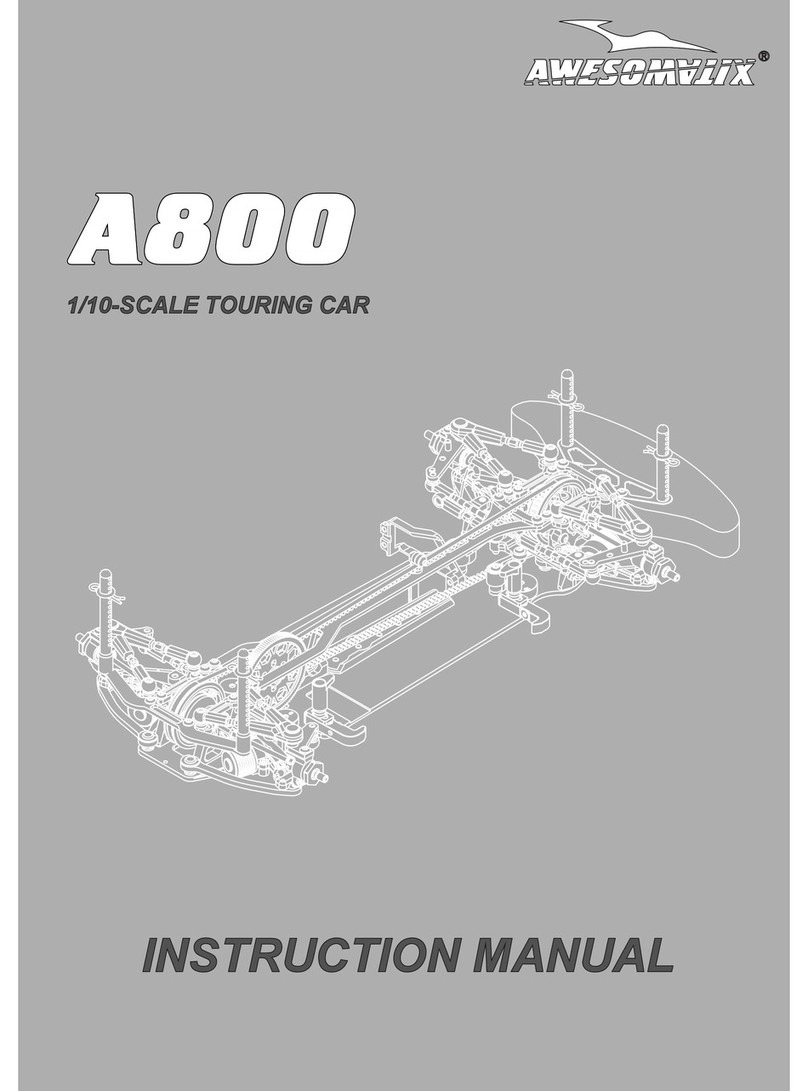
Awesomatix A800FX Evo User manual

A800FXEvo
1/10-SCALE FRONT-WHEEL DRIVETOURING CAR
INSTRUCTION MANUAL

2
BEFOREYOUSTART
The
A800FXEvo car is
the high-quality,innovative1/10-scale front-wheel drive touring car and should bebuilt only bypersons
with previous experience building R/C model racing cars.
This is not atoy and is not intended for use bychildren without direct supervision of a responsible, knowledgeable adult.
Read the instruction manual carefully and fully understand it before beginning assembly. If you have any problems or
questions please do not hesitate to contact the Awesomatixteam at support@awesomatix.com. If,for any reason,you
decide that you do not want your
A800FXEvo car
you must not begin assembly.
Your
A800FXEvo car
cannot be returned to UAB Awesomatix for a refund or exchange if it has been fully or partially
assembled.
This kit is a radio controlled model racing product and could cause harm and personal injury.
The
A800FXEvo car
isdesigned for use on r/c car race tracks. It should not be used in general public areas.
Awesomatix Innovations accept no responsibility for any injuries caused by making or using this kit.
Due to policy of continuous product development the exact specifications of the kit may vary.
Awesomatix Innovations do reserve all rights to change any specifications without prior notice. All rights reserved.
INTRODUCTION
Congratulations on purchasing your Awesomatix car!
The A800FXEvo car was produced by UAB Awesomatix company.
The A800FXEvo car utilises many unique features, including some patented innovations.
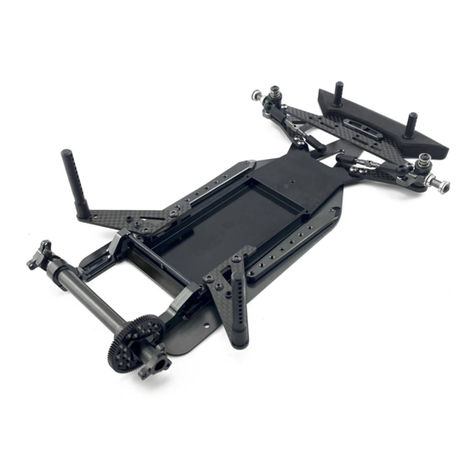
The car is released in two versions: A800FXAEvo with an aluminium alloy lower deck and
A800FXCEvo with the carbon fiber lower deck.
GENERALPRECAUTIONS
•Many of the items in this kit are small enough to be accidentally swallowed and are therefore potential choking hazards, making them potentially fatal.
Please ensure that when assembling the kit you do so out of the reach of small/young children.
•Take care when building, as some parts may have sharp edges.
•Please read this manual carefully to understand which ancillary items (tools, electrics, electronics etc) are used with this kit.
Awesomatix Innovations accept no responsibility for the operation of any such ancillary items.
Exercise care when using tools and sharp instruments.
• Follow the operating instructions for the radio equipment at all times.
•
• Never touch rotating parts of the car as this may cause injury.
Keepthewheelsofthemodeloffthegroundwhencheckingtheoperation of the radio equipment.
• To prevent any serious personal injury and/or damage to property, be responsible when operating all remote controlled models.
• The model car is not intended for use on roads or areas where its operation can conflict with or disrupt pedestrian or vehicular traffic.
•
• Do not run your car in poor light or if it goes out of sight. Any impairment to your vision may result in damage to your car or, worse, injury to others
or their property.
• As a radio controlled device, your car is subject to radio interference from things beyond your control. Any such interference may cause a loss of
control of your car so please consider this possibility at all times.
When not using RC model, always disconnect and remove battery.
• Insulate any exposed electrical wiring to prevent dangerous short circuits.
•
Take maximum care in wiring, connecting and insulating cables. Make sure cables are always connected securely.
Check connectors for if they become loose and if so reconnect them securely. Never use R/C models with damaged wires.
A damaged wire is extremely dangerous and can cause short-circuits resulting in fire.
ASSEMBLYNOTES
Before starting each build-stage check that you have the right quantity and size of items for the build-stage. To assist you with the
assembly of your
A800FXEvo car
we have included full-size images of all the small hardware parts laid out so that you can
place items on top of the images to check are they correct size/length. You can find the useful tips and pictures of A800FXEvo
assembling on the Internet site: https://site.petitrc.com/reglages/awesomatix/setupa800fx/
EQUIPMENT RECOMMENDED(NOT INCLUDED)
Radio Transmitter
• Radio Receiver
• Electronic Speed Control
• Steering Servo
•
Electric Motor
• Pinion Gear (64 or 48 Pitch)
•
Spur Gear (64 or 48 Pitch)
• 7.4 VLi-Po Shorty Battery
•
• 190mm Body Shell
Touring Car Wheels, Tires,Inserts
•
TOOLS RECOMMENDED(NOT INCLUDED)
1.5mm, 2.0mm Hex Driver
•
• 5.5mm, 9mm, 3/8”, 10mm Wrenches
• Callipers
Hobby Knife
• Camber Gauge
•Ride Height Gauge
•
• ThinCA Glue
Thread Lock
• Diff Silicone Oil
• Joint Grease
•
STEP1
FINISHED
Make Front Right
and Front Left.
Make Rear Right
and Rear Left.
3
SB3X5
SH1.75
ST24
AM06WL
AM14FX
ST03
SH1.75
ST03
STEP1
AM06WL
SB3X5
ST03
SH1.0
ST24
AM23-1
ST03
Note:The last turnsofthe lowerST03Ball Studs and
SB3X5 screws can be tight.Screwthemwithforce.
Note:Use other combinations of SH0.5,SH1.0and SH1.75 Spacers under appropriate
Pivot Balls and Ball Studs to adjust your car set-up to better suit different track conditions.
SH1.75
SH1.0
SH1.75
SH1.75
SB3X6
Note the difference between
ST03and ST24Ball Studs!
ST03
ST24
SH1.0
AT21ST-A
SB3X5M3x5 Button Head Screw x4
SB3X6M3x6 Button Head Screw x2
SH1.06x3x1mm Spacer (Gray)x6
SH1.756x3x1.75mm Spacer (Black)x10
AT21ST-APivot Ballx2
ST03 Ball Stud x8
AM06WLSteeringBlock x4
AM14FXSteering Arm x2
AM23-1Rear SteeringArmx2
ST24 4,8x6mm Ball Stud x4

4
ST01Front Axle x2
ST16U-Joint Cross x4
ST17-1Universal Ringx2
ST113 Front Universal Bone x2
ST38Universals Nutx2
PIN01 1.5x7.8 Pin x6
SPR07 E-Ringx4
B415Bearing x4
Make 2 Front Universals.
STEP2
FINISHED
PIN01
PIN01
PIN01
SPR07
ST01
ST16
ST16
ST17-1
ST113
STEP2
Apply Joint Grease to
the rubbing surfaces.
B415
B415ST38
ST38
Attention!
Note the mutualorientation of ST16at screwing of ST38.
The pins of bothST16should be parallelto each other.
The recommended wrench for screwing of ST38is
3/8USstandardwrench ( ~ 9,53 mm).
ST116IFJ/IRJCross x2
SPR07
Thread Lock
ST116

5
STEP3
B106RS
B106RS
B106RS
B106RS
P16
AT13
STEP3
FINISHED
SC2X6
SC2X6
AT13FX
B106RS MR106RSBearingx8
P16Lock Ring x2
AT13 Wheel Hexx2
AT13FX Wheel Hex x2
SB3X4FFlanged Screw x2
SC2X6 M2x6CapHead Screwx4
Note:Snap P16LockRingonto the groove of
the front axle.For disassembly hit to the end
face of the axle or press down on it.
STEP4
Make Front Right
and Front Left.
Make Rear
Right and Rear Left.
P04
C04M1+9.0forfront
C04M1+8.0forrear
P16
Note:
P04have the tight fit in theC04M1+8.0/+9.0arm.
Don’t overtighten SB25X8 screws to avoid ST03 binding.
Achieve a free action of the ball joint with a minimal backlash.
STEP4FINISHED
SB25X8x2
SB25X8M2.5x8Button HeadScrewx8
C04M1+8.0Suspension Arm x2
C04M1+9.0Suspension Arm x2
P04Arm Haspx4
Make 2 Front.
Make 2 Rear.
SB3X4F

6
STEP5
Assembling of the Dampers
AT40-1
Note: We recommend to use 500 cst pure silicone oil for D2.2-S-P dampers of this kit.
1)Stretch and place OR18V o-ring in the groove of the AT40-1 cup.
2) Insert P63 piston into AT41-2 vane cavity. Align the outer face of P63 piston with the outer edge of AT41-2 vane cavity. KeepATTT444111---222
in vertical position and add a drop of oil into the outer conical hollow of P63 piston to fill this hollow fully.
3)Stand AT42-1 case up and fill ~1/2 of volume with the desirable silicone oil. Insert AT41-2 vane into AT42-1 case slowly full way down.
4)Add more silicone oil. The oil should cover the AT41-2 vane completely. It is highly recommended the damper should be placed into a
shock air remover. Otherwise let the damper sit for ~30min to allow air bubbles to escape.
5)With the damper still exactly vertical (important !), screw AT40-1 cup into the AT42-1 case with a 9mm socket wrench until full
threaded. Do not force the AT40-1 cup - once aligned, it will screw on easily. The excessive oil should go out through the gap
between AT40-1 and AT41-2. Please don’t remove this oil from the bearing’s cavity of AT40-1 on this stage!
6)Place OR155V o-ring into AT40-1 cup. You can use a piece of an appropriate tube to press o-ring slowly and fully into cavity.
7)Place B85 bearing and one SH5X7X0.1shim onto AT41-2 vane output shaft.
8)Clean up oil off the outer surface of the damper.
For disassembling please do all steps in the reverse order.
OR18V
1)
6)CUTAWAY VIEW
This cavit be
filled b before
o-ring installation.
AT42-1
5)
OR155VB85
SH5X7X0.1
AT40-1
AT41-2
OILOIL
P45
P45R
3)4)
7)
P63
AT41-2
2)
Put a drop of the silicone oil into
conical hollow of P63 piston.

7
STEPS 6
FINISHED
SPR01
STEP 6
contd
Assemble 2 Right hocks
and 2 Le f t hocks.
SPR02X
Attention! fter installation of SPR02X rotate the complete D2.2-S-P da mpe r within AM1 7 XR/L
un til the m axim um up travel is reached ec ure SC2X6 screw in the AM17X/RL a fte r t hat .
SPR02XAM1 7 X/RL !!!
Note:
Initial position of ST 69-0 crew is ~0,6mm.
SS3X3
Up travel position of SPR02X.
D2.2- S-P
SC2X6SRS
ST69 -00
SPR03
AT 119
P46 R
AM17XL/R
No te : P46R ball should be placed
betwe en SRS screw and ST69-00 screw.
STEP 6
SC2X 6 M2x6 Ca Head Screwx4
SRS Spring Rating Screw x4
SS3X 3 Set Screw x4
SPR03 Shock Pointerx4
AM17XR Damper Holder Right x2
AM17XL Damper Holder L e f t x2
D2.2-S- P Damper x4
SPR01 STD Shock pring x4
SPR02X Shock Rod Gu ide x4
ST69-00 R ide ght crew x4
AT119 Spring crew older x4
P46R Ball Piston x4
OST69- 15 and ST 69-25 screw
are .

8
AT21ST-Ax4
SF3X6x4
STEP7
STEP7FINISHED
Snap P03Ball Cups gently
on AT21ST-A Balls.
REAR
SF3X6x4
FRONT
SH1.0x4
P03x4
P03x4
STEP8
AM78FXx2
AM77FX
AT157x4
SF3X6x4
SF3X6x4
SF3X6x4
Note:Use other combinations of SH0.5,SH1.0and SH1.75
spacers under appropriate AT21ST-A balls to adjust your car set-up.
Crimp P03if it
will be tight at
swinging.
Don’t tighten SF3X6 screws
under AT21ST-A balls at this stage.
Note:C01FXCLCarbon Lower Deck is used in the A800FXCEvokit
C01FXALAlloy Lower Deck is used in the A800FXAEvokit
P03ArmBall Capx8
AT21ST-APivotBall x8
SF3X6M3x6Flat Head Screw x8
SH1.06x3x1mm Spacer (Gray)x8
AT21ST-Ax4
SH1.0x4
SF3X6
P56
ST24M x2
C34
C105A
SB3X8 x2
Attention!
Tighten SB3X8 screws and ST24Mball
studs first and tighten SF3X6 screws
under AT157 after.
Note:An amount and arrangement of the screws
under motor mount is using for the flex adjustment.
SF3X6M3x6Flat Head Screw x12C105A Rear Body Holder x1
SB3X8M3x8Button Head Screw x2AM77FXMotor Mount x1
ST24M4,8mm Ball Stud x2 AM78FXBulkhead x2
C34 RearStrutx1 AT157 Rear Upright x4

9
STEP9STEP9
(cont’d)
AT123BGD2BCase1 x1
AT124B GD2BCase2 x1
P13838T Pulley x1
ST23XIRJOutdrive x2
ST31-1GD2 Output Axle x2
P39GD2 Cross Pin x1
OR13V13mm O-Ringx1
G07GD2 Satellite Gear x4
G08GD2 Bevel Gear x1
WA02 3.5x9.5x0.2Washerx4
WA03 5x15.5x0.3 Washerx2
B106RSMR106RS Bearing x2
B85MR85 Bearing x2
OR05VO-Ring x2
OR06O-Ring x2
P46RPiston x2
PIN021,5x5,8Pin
SC2X4M2x4 Cap Head screw x3
x2
STEP10
STEP11
AT124B
OR13V
B106RS
G07
P39
AT123B
G08
G07
G07
G07
ST31-1
B85
OR05V
P46R
ST23X
B106RS
PIN02
oil level
OR06
PIN02
WA03
G08
WA02
WA02
WA02
WA02
P46R
ST23X
OR06
B85
OR05V
P138
SC2X4x3
OR13V
OR05V
Thread Lock
Attention!
Don’t overtighten
SC2X4 screws.
Such overtigh
t
ening
deforms P138 Pulley.
Use the Thread Lock
for these screws.
D
iff Oil
WA03
ST31-1
Note the initial position
of P46Rpiston in this
ST31-1axle.
B106RS
P46R
Fill with desirable silicone oil (not included).
Screw
AT123BCase with 10mm wrench slowly.
The excessive oil will go out through the ST31-1axial hole.
We recommend 200-300k oil for
low/med grip and 500k-1000k oil
for med/high grip conditions.

10
STEP12
STEP13
REARFRONT
STEP14
SB3X6x4
AT120-FX
SB25X8
AM88R
AM88L
AM08FX
SF3X10
SB3X8
SB3X8
Initialposition of P110
AM19-FX x2
Attention!Don’ttighten SB3X8
screws on this stage.
SB3X8M3x8Button Head Screw x2
SF3X10M3x10Flat Head Screw x1
SH1.756x3x1.75mm Spacer (black) x2
SH0.56x3x0.5mm Spacer (silver) x1
SB25x8M2.5Button Heas Screw x1
AM88RShock Holder Rx1
AM88LShock Holder Lx1
AM08FX Shock Holerx1
AT120-FX20T Alloy Pulley x1
BEL225BBelt 225mm x1
P110
P110
SH0.5
SH1.75
SH1.75
SB3X6M3x6Button Head Screw x4
AM19-FXUpper Arm Holder x2
P110 Bearing Housing x2
BEL225B
Attention!Don’ttighten SF3X10 screw on this stage.

11
STEP16
STEP 16FINISHED
REAR
FRONT
The pins ofAM17should be covered
byAM88R/LShockHolders.
Attention!Tighten SB3X8 screws of AM88L/Rwith
2mm ball hex driver aftertightening of SF3X10screws.
SF3X10x2SF3X10x2
Tighten all three rear SF3X10screws now.
Note orientation of
recess on C107S.
ST019
C107S
C27FX-2TopDeckx1
C107SFront Top Deck x1
ST24M4,8x8mm Ball Stud x4
STEP15
SH1.0 x4
SH1.75x4
ST24Mx4
C27FX-2
ST019 x2
SB3X5x4
ST019
C107S
SB3X5M3x5Button Head Screw x4
SH1.06x3x1mm Spacer (gray)x4
SH1.756x3x1.75mm Spacer (black)x4
ST019Top Deck Screw x3
Note:Onlyone oftwoST019screws onC27FX-2
top deck can beinstalledforincreasing oftheflex.

12
STEP 17
STEP19
STEP18FINISHED
ST24x4
SH1.75 x8
Tighten all SF3X6 screws under
AT21ST-A pivot balls at this stage.
ST05L
STEP19FINISHED
snap
ST05LShock Rod x4
Install all four ST05L
STEP18
P07Arm Clip x8
P07x2
SH1.756x3x1.75mm Spacer (black)x8
ST24 4,8x6mm Ball Stud x4
snap
snap

13
STEP20
SF3X8
SS3X4
P12X
SF3X8M3x8Flathead Screwx4
SS3X4M3x4Set Screw x4
P12XSway Bar Holder x4
SF3X8SS3X4
P12X
Install four P12XSway Bar Holders.
STEP22
P05
Use bigger hole for
SB12SwayBars.
Use smaller hole for
SB10andSB11
SwayBars.
snap
STEP21
SWB10...SWB12
Attention!
Thedeflected tips of Sway Bar
should bedirected downwards.
AT142
SWB10...SWB12
Note:
SWB12 - two strips
SWB11 - one strip
SWB10- nostrip
AT142
SS3X3
SS3X3
B63SS
B63SS
Note:
Don’t tighten SS3X3Set Screws at this stage.
SS3X3M3x3Set Screwx4
B63SS MR63ZZ Bearing x4
SWB10....SWB12Sway Bar x2
P05Sway Bar Joint x4
AT142 Sway Bar Stopper x4
snap
Install the front Sway Bar
and the rear Sway Bar.
This part of P12X
canbe cuttedif
higher roll centers
will beused.

14
STEP23
Front right
upper arm
Front left
upper arm
Notes:The given rods and arms sizes are approximately for 4° front caster and 0° rear caster, 2° both front and rear
cambers,1,0° rear toe-in and 1° front toe out angles. Use a setup station or angles gauge for further precise suspension
geometry setting. See our recommendations on page #18for quick and easy suspension geometry change.
Make 2 rear rods
P13-4
P13-4
AT14
Right steering rod
AT25-44
Left steering rod P13-4
P13-4
P13-4
P13-4
P13-4
AT14
P13-4
AT14
AT14
AT14
P13-4P13-4
AT25
AT25
Rear right
upper arm
Rear left
upper arm
P13-4
P13-4
Make 4
P01
P02
AT25-44
P13-4
P13-4
P13-4P13-4
AT14
Servorod
snap
AT14AT14
Snap all upper arms and rear rods.
27,6 mm 27,6 mm
15,5 mm
13,9mm
13,9mm
mm
12,5
12,5mm
AT14 Turnbuckle x9
AT25 Turnbuckle x2
AT25-44 Turnbuckle x2
P01Ball Joint 1 x4
P02Ball Joint 2 x4
P13-4Ball End x18
9,7mm

15
AT12
AM15-3
P25
SB3X10
P25
STEP24
AM15-3
SF3X6
SF3X10 x2
P23
SH1.75x3
BatteryHolders adjustment:
Choose the desirable battery position.
Tighten up SF3X10 screws to fix
P23Battery Holders.
Adjust SF3X6screws to achieve ~0.5mm
clearance between them and the battery.
ST11010g
RoundWeight
ST1055g
RoundWeight
ST110
ST110and ST105RoundWeightscan beusedfor adjusting
of the proper total weight and for the desirable F/R and R/L weight distribution.
Theengraved sidesofST110and ST105are flat.
The opposite sides are chamfered.
ST110or ST105
Thescrewing ofST110and ST105
by chamfered side down almost
removes an influence of
the round weights on
the lower deck flex.
SB3X10
ST105
SF3X10M3x10FlatHead Screwx4
SF3X6M3x6FlatHead Screw x2
SB3X10M3x10Button Head Screw x4
P23 Outer BatteryHolder x2
P25 BatteryClampx2
AM15-3Battery Nut x2
SH0.5SH1.0SH1.75Spacers
AM15-1
Note:Use the appropriate combination of
SHspacers for sufficient gap between
battery and P25Clamps.
SH0.5...SH1.75
P23
BATTERY
P25
SH0.5...SH1.75
SH1.0
SB3X10
SH1.75x3
SH1.0
SB3X10
Install the front and the rear battery holders and the inner battery stoppers.

16
SF3X5x3
STEP25
The recommended length of
servo horn is 17,0-17,5mm.
Snap steering rods.
Attention!Neutral servo arm position.
Adjust position of servo on AM24FXto provide ~0,5mm crearance between servo andlowerdeck.
17,0-17,5 mm
AT21ST-A Pivot Ball x3
AM24FXServo Holderx1
AM180FXBellcrankx1
ST24 4,8x6mm Ball Stud x1
SB3X6M3x6Button Head Screw x5
SF3X5M3x5FlatHead Screwx5
SH0.56x3x0,5mm Spacer (Silver)x4
SH3X5X0.13x5x0,1mm Shimx1
Cut the top of cup on this
P13-4to prevent interference
with the top deck.
New SBFX (Single Bellcrank) steering system
is used for A800FX Evo car.
Servohorn(not included).
SB3X10
AM24FX
SB3X6
SH0.5
SB3X6x2
SH0.5x2
Servo(not included)
SB3X6
AT21ST-A
SB3X6
AM180FX
SH3X5X0.1
AT21ST-A x2
SF3X5x2
ST24
SH0.5
Servorod

17
STEP27
AM05-2
OR06
P14-2
SPR05
SB3X12
OR06
SPR05
P14-5
SPR05
SB3X8
P14-1X
P14-2
P15FX
SF3X10x3
P14-2
SPR05
OR06
OR06
STEP26
SB3X12
SB3X8x2
SB3X12M3x12Button Head Screwx2
SF3X10M3x10FlatHead Screwx3
SB3X8M3x8Button Head Screw x4
OR065mm O-Ring x4
SH1.75 6x3x1.75mm Spacer (black)x2
P14-1XLower Bumper x1
P14-2BodyPostx4
P14-5UpperBumperx1
P15FXFoam Bumper x1
SPR05 Body Clip x4
ST230Bumper Weightx1
P14-2
STEP28
FINALASSEMBLY
AT55M
OR06
or
OR18Vdependingof the spur
gearthickness SB3X8x2
AT55M+
OR06/OR18V
snap
AT55M
PinionGear
(not included)
SpurGear
(not included)
Install:
Speed controller(not included)
Receiver(not included)
Battery (not included)
Motor Fan (not included)
Transponder (not included)
Wheels (not included)
Attention!Please use 4,5mm thick spurgears
with2-2,6mm thickness of the centerarea.
SH0.5 x2
OR06
or
OR18Vdependingof the spur
gear thickness
SH1.75
SH1.75
ST230
SB3X8
Motor
(not included)

18
SF3X6 x2...6
AM30FX
SH0.5x2...6
REARSTIFFENERAND ADDITIONAL FRONT FLEX OPTION
AM30FX stiffener can be installed via
SH0.5 spacers and SF3X6 screws
for reducing and adjustment of the
car’s rear end flex.
Start fromtwo the most front holes ofAM30FX
Up to 6 pcs of SF3X6/SH0.5can be usedfor maximal stiffness.
For even less rear flex AT158strut can be installed
via SF3X12 and SB3X5screws. Use SF3X12 screw
instead of the appropriate SF3X6 screw.
SB3X5
SF3X12
AT158
Up to two AT158strutscan be installed
for maximall possible stiffness.
AT158
AT158
ST09
ST09
ST019
SB3X5
SB3X5
C107S
For increasingofthe front flexthe front top deckC107S
canbe installedviaonly two SB3X5screws instead of four.
Use two ST09 collars at thus.

19
SUSPENSIONSETTINGTECHNIQUE
Camber adjustmentrule:Simultaneous both upper rods
0.5mm shortening (1/2 turn of both turnbuckles)adds 1.0°
ofcamber angle at constant caster.
Caster adjustment rule: Simultaneous front upper rod
0.5mm elongation andrear upper rod0.5mm shortening
adds 2.5° of caster at constant camber.
Wheelbaseadjustment:
Use rear suspension caster change for this adjustment.
Adding 4°caster shortens wheelbase by 1mm.
Use Ride Height Gauge for Upstop
&Downstop measuring.
Reactive Caster settingispossible.
Use SS3X4screws
for Upstop and
Downstop setting.
Roll Center adjustment:
Use combinations of SH0.5,SH1.0and SH1.75 Spacers
under appropriate Pivot Balls and Ball Studs for
this adjustment.
Adjust these spacers for
Bump Steer control.
Caster measuring:
Caster angle°=
(H1-H2)*1.5for front
(H1-H2)*2.2for rear
H1H2
Attention!Install SH12X1.5 Spacers on the rear
AT13FX Wheel Hexes at using of the set-up stations.

20
SHOCKSETTINGTECHNIQUE
2. Suspension spring preloadsetting
Turn IN (CW) ST69-00 screw to increase thespringpreload.
Turn OUT (CCW) ST69-00 screw to decrease thespringpreload.
Usespringpreloadsettingto adjust the ride height value.
1. Damping andsuspension spring ratesetting
Increase A-distance(slide the damper outward)to increase
the dampingand springratessimultaneouslyand concordantly
to eachother.
Use outer SF3X10 Flat Head Screw to unlock damper and
to lock it at desirable position.
Decrease Bdistance (slide AT119Spring ScrewHolder outward)
to increase the spring rate only at the fixed damping rate value.
Use SRSSpring Rating Screw to unlock AT119and to lock it at
desirable position.
Attention!Awesomatix shocks allow to
adjust the damping and spring rates without
replacement of the shock’s fluid and spring.
SRS
ST69
SRS
ST69
3. SRS/ST69screwsarrangementschange
The reverse arrangement of these screws is possible for extension of the suspension spring rate range.
SF3X10
4. Using ofDG1XDamper Gauge
1.0mm
probes (4pcs)
0.2mm
probes (5pcs)
Sampleof3.4mm
sizeAsetting
SRS/ST69screws arrangement ISRS/ST69screws arrangement II
Sampleof1.4mm
sizeBsetting
DG1X
DG1X
Table of contents
Other Awesomatix Motorized Toy Car manuals

Awesomatix
Awesomatix A800X EVO User manual

Awesomatix
Awesomatix A12 User manual

Awesomatix
Awesomatix A12 User manual

Awesomatix
Awesomatix A800FX User manual

Awesomatix
Awesomatix A700 Evo II User manual

Awesomatix
Awesomatix A800R User manual

Awesomatix
Awesomatix A700 Evo II User manual

Awesomatix
Awesomatix A800 User manual

Awesomatix
Awesomatix A800MMX User manual

Awesomatix
Awesomatix A800 User manual