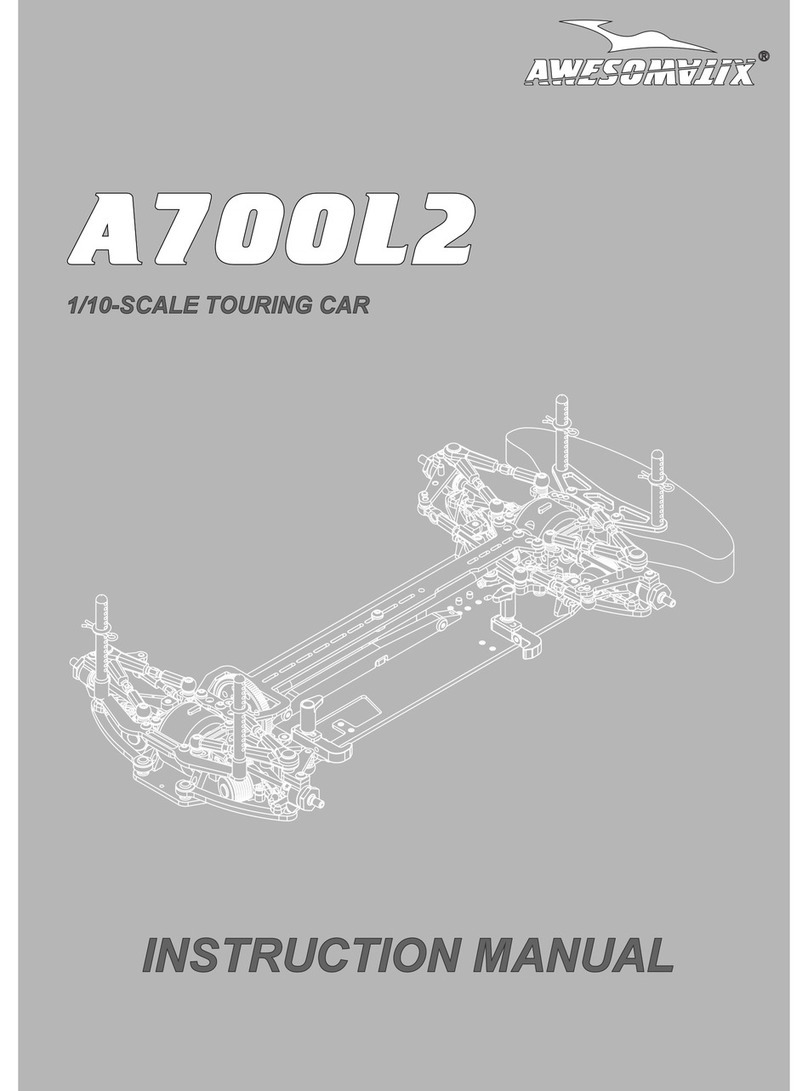
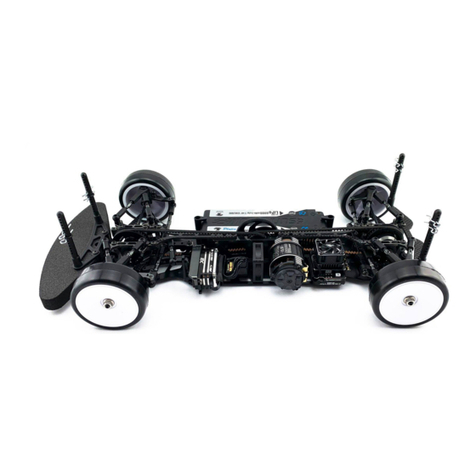
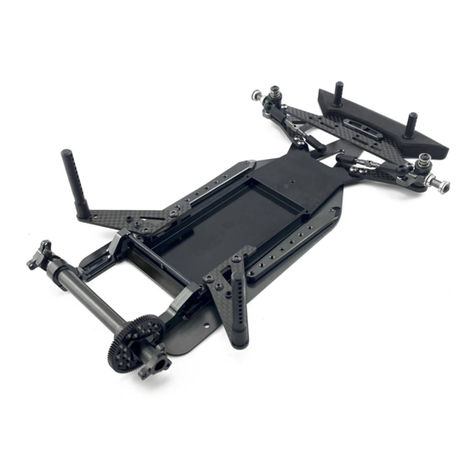
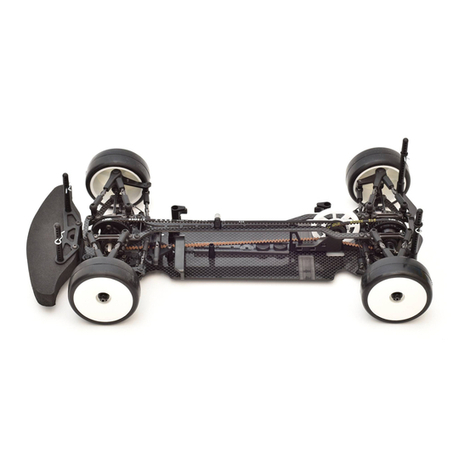
Awesomatix A700 Evo II User manual

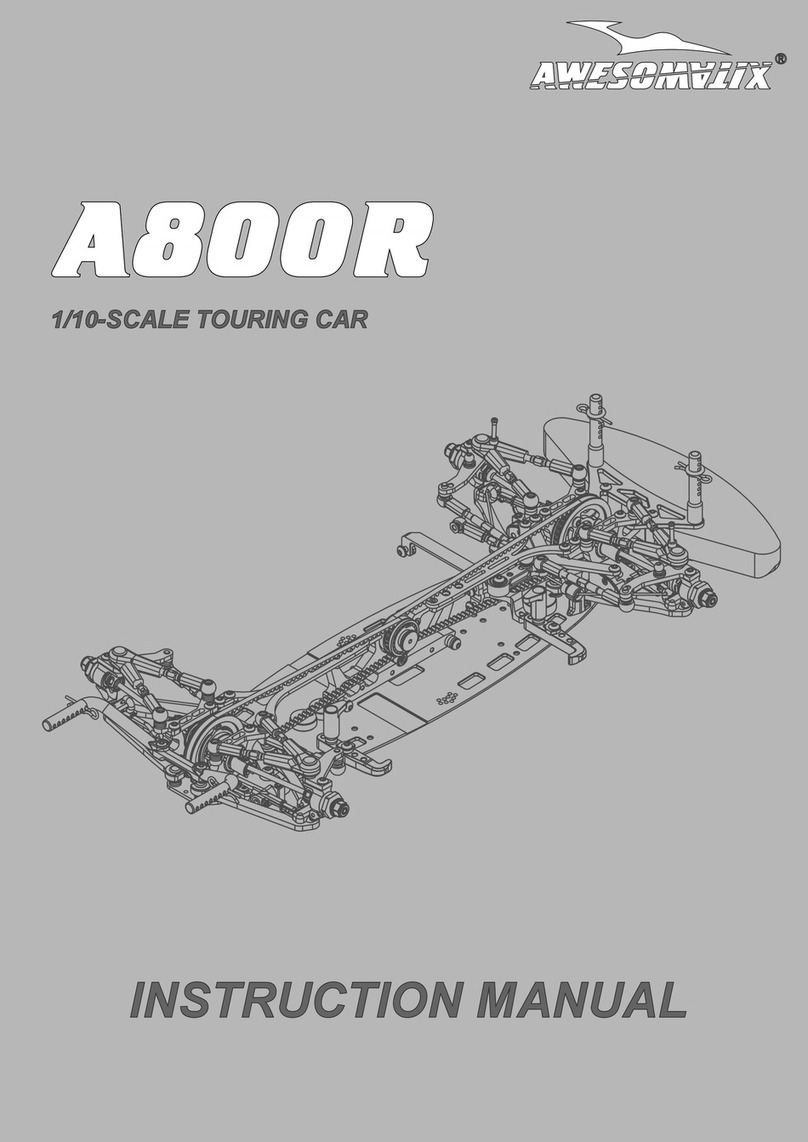
A700 Evo II
1/10-SCALE TOURING CAR
INSTRUCTION MANUAL

2
BEFOREYOUSTART
The
A700 Evo II car is
the high-quality, innovative 1/10-scale touring car and should be built only by persons with
previous experience building R/C model racing cars. This is not a toy and is not intended for use by children without
direct supervision of a responsible, knowledgeable adult. Read the instruction manual carefully and fully understand it before
beginning assembly. If you have any problems or questions please do not hesitate to contact the Awesomatix team at
support@awesomatix.com. If, for any reason , you decide that you do not want your
A700 Evo II car
you must
not begin assembly. Your
A700 Evo II car
cannot be returned to Awesomatix Innovations LLP for a refund or exchange
if it has been fully or partially assembled.
This kit is a radio controlled model racing product and could cause harm and personal injury.
The
A700 Evo II car
isdesigned for use on r/c car race tracks. It should not be used in general public areas.
Awesomatix Innovations LLP accept no responsibility for any injuries caused by making or using this kit.
Due to policy of continuous product development the exact specifications of the kit may vary.
Awesomatix Innovations LLP do reserve all rights to change any specifications without prior notice. All rights reserved.
INTRODUCTION
Congratulations on purchasing your Awesomatix car!
The A700 Evo II car was designed in Russia and produced by Awesomatix Innovations LLP registered in UK.
The A700 Evo II car utilises many unique features, including some patented innovations.
The version of A700 Evo II car with carbon chassis is called A700 Evo IIC.
Some steps ofA700 Evo IICversion assembling are different and these steps are marked by the symbol
GENERALPRECAUTIONS
•Many of the items in this kit are small enough to be accidentally swallowed and are therefore potential choking hazards, making them potentially fatal.
Please ensure that when assembling the kit you do so out of the reach of small/young children.
•Take care when building, as some parts may have sharp edges.
•Please read this manual carefully to understand which ancillary items (tools, electrics, electronics etc) are used with this kit.
Awesomatix Innovations LLP accept no responsibility for the operation of any such ancillary items.
Exercise care when using tools and sharp instruments.
• Follow the operating instructions for the radio equipment at all times.
•
• Never touch rotating parts of the car as this may cause injury.
Keepthe wheels of themodelofftheground when checking the operation of the radio equipment.
• To prevent any serious personal injury and/or damage to property, be responsible when operating all remote controlled models.
• The model car is not intended for use on roads or areas where its operation can conflict with or disrupt pedestrian or vehicular traffic.
•
• Do not run your car in poor light or if it goes out of sight. Any impairment to your vision may result in damage to your car or, worse, injury to others
or their property.
• As a radio controlled device, your car is subject to radio interference from things beyond your control. Any such interference may cause a loss of
control of your car so please consider this possibility at all times.
When not using RC model, always disconnect and remove battery.
• Insulate any exposed electrical wiring to prevent dangerous short circuits.
•
Take maximum care in wiring, connecting and insulating cables. Make sure cables are always connected securely.
Check connectors for if they become loose and if so reconnect them securely. Never use R/C models with damaged wires.
A damaged wire is extremely dangerous and can cause short-circuits resulting in fire.
ASSEMBLYNOTES
Before starting each build-stage check that you have the right quantity and size of items for the build-stage. To assist you with
the assembly of your
A700 Evo II car
we have included full-size images of all the small hardware parts laid out so that you can
place items on top of the images to check they are the correct size/length. You can find the useful tips and pictures of A700 Evo II
assembling on the Internet sites: www.awesomatix.info/en/tipps-tricks/aufbau/, www.awesomatixusa.com/p/tips.html,
http://jdandracing.blogspot.gr.
EQUIPMENT RECOMMENDED(NOT INCLUDED)
Radio Transmitter
• Radio Receiver
• Electronic Speed Control
• Steering Servo
•
Electric Motor
• Pinion Gear (64 or 48 Pitch)
•
Spur Gear (64 or 48 Pitch)
• 7.4 VLi-Po Battery
•
• 190mm Body Shell
M4mm Wheel Nuts
• Touring Car Wheels, Tires,Inserts
•
TOOLS RECOMMENDED(NOT INCLUDED)
1.5mm, 2.0mm Hex Driver
•
• 2.0mm Ball End Hex Driver
• 5.5mm, 7mm, 9mm, 10mm, 12mm Wrench
• 2.5mm Flat Screwdriver
• Callipers
Hobby Knife
• Camber Gauge
•Ride Height Gauge
•
• ThinCA Glue
Thread Lock
• Diff Silicone Oil
• Joint Grease
•
for
A700 EvoIIC
STEP1
FINISHED
Make Front Right
and Front Left.
Make Rear Right
and Rear Left.
3
SB3X5 M3x5 Button Head Screw x4
SB3X8 M3x8 Button Head Screw x2
SH1.0 6x3x1mm Spacer (Gray)x6
SH1.75 6x3x1.75mm Spacer (Black) x8
ST03 Ball Stud x8
AM06SSteeringBlockx4
AM14-1Steering Arm x2
AM23-1Rear SteeringArmx2
ST24 4,8mm Ball Studx4
SB3X5
SH1.75
ST24
AM06S
AM14-1
ST03
SH1.75
ST03
STEP1
AM06S
SB3X5
ST03
SH1.0
ST24
AM23-1
ST03
Notes:The last turnsofthe lowerST03Ball Studs
and SB3X5 screws are tight.Screwthemwithforce.
Notes:Use other combinations of SH0.5,SH1.0and SH1.75 Spacers under appropriate
Pivot Balls and Ball Studs to adjust your car set-up to better suit different track conditions.
SH1.0SH1.0
SH1.75
SH1.75
SB3X8

4
ST01Front Axle x2
ST16U-Joint Cross x4
ST17Universal Ringx2
ST13 Front Universal Bone x2
P20FrontUniversals Ring x2
PIN01 1.5x7.8 Pin x4
ST10 2.0mm Pin x2
SPR07 E-Ringx2
ST11 BushingRx4
Make 2 Front Universals.
2.5mm flat-blade
screwdriver
shaft collar
Tip:
Fix aappropriate shaftcollar on 1-2mm distance
from thescrewdriver end.
Itwill help at theFront Universals
assembling.
STEP2
FINISHED
PIN01
PIN01
ST10
SPR07
ST01
ST16
ST16
ST17
ST13
STEP2
1. Insert a 2.5mm flat screwdriver tip
into ST17 Universal Ringslot, bend of
the lug and turn screwdriver through 90 deg.
2. Take out/insert ST16U-Joint Cross
from/into unclamped ST17 Universal Ring.
Assembling/disassembling
method
You can use optional
ST12Bushings S or
UB1 Ball Bearingsset
instead of ST11 BushingR.
ST12
Apply Joint Grease to
the rubbing surfaces.
ST11
ST11
ST12
P20

5
PIN01 1.5x7.8 Pin x2
ST10 2.0mm Pin x2
SPR07 E-Ringx2
ST11 Bushing R x4
ST02Rear Axle x2
ST16U-Joint Cross x2
ST14Rear Universal Bone x2
P08C-Drive (optional) x2
STEP3
STEP3
FINISHED
Make 2 Rear Universals.
Tip:
Use a 2.5mm flat screwdriver
to unclamp ST13Rear Axle.
ST10
SPR07
PIN01
ST02
ST16
ST14
Assembling/disassembling method
1. Unclamp ST02Rear Axle a bit.
2. Take out/insert ST16U-Joint Cross
from/into unclamped ST02Rear Axle.
You can use optional
ST12Bushings S or
UB1 Ball Bearingsset
instead of ST11 BushingR.
ST12
ST12
ST11
ST11
Apply Joint Grease to
the rubbing surfaces.

6
STEP4
B106RS MR106RSBearing x8
SH0.16x8x0.1mm Shim x2
P16Lock Ring x4
AT15 Bearing Spacer x2
AT13 Wheel Hex x4
Note:Press P16LockRingonthe Axle to fix it.
It will demand the appreciable efforts for
the first time.
For disassembly hit to the end face
of the Axle or press down on it.
B106RS
AT15
B106RS
P16
AT13
Make 2 Front.
Make 2 Rear.
B106RS
B106RS
P16
AT13
Note:
Rear Universals may be a bit tight at this stage.
But don’t worry as the Rear Universals take its true
position only after the wheels mounting.
SH0.1
STEP4
FINISHED

7
P04
C04M
SB25X8
SB25X8
Note:Don’t overtighten SB25X8 Screws
to avoid ST03 Ball Stud binding.
Achieve the free action of the ball joint
with a minimal backlash.
STEP5
STEP5
FINISHED
P04
SB2.5X8
SB25X8M2.5x8Button HeadScrewx8C04MSuspension Armx4
P04Arm Hasp x4
Make Front Right
and Front Left.
Make Rear Right
and Rear Left.

8
AT21
AT21
AT21
AT21
SF3X6SF3X6
SF3X6
SF3X6
SS3X5
SS3X5
P07
P07
STEP6
STEP6(cont’d)
STEP6
FINISHED
STEP6(cont’d)
Mount all 4 Arms.
Note:Insert P06Downstop Collars and use CA glue for fixing them before SS3x5screwing.
Make sure that all Suspension Arms
swing freely.
Snap P03Ball Cups
gentlyon AT21Balls.
REAR
AT21
AT21
AT21
AT21
SF3X6
SF3X6
SF3X6
SF3X6
SS3X5
SS3X5
SH1.0
SH1.0
SH1.0
SH1.0
FRONT
SF3X6M3x6Flat Head Screw x8
SS3X5M3x5Set Screw x4
SH1.06x3x1mm Spacer (Gray)x8
AT21 PivotBall x8
P06-1 Downstop Collar x4
P03ArmBall Capx8
P07Arm Clip x8
Press P06-1 into the chassis,
push them upwards and leave
the least possible material
sticking out the underside.
P03
P03P03
P03
P03
P03
P03
P03
Notes:Use other combinations of SH0.5,SH1.0
and SH1.75 Spacers under appropriate Pivot Balls to
adjust your car set-up to better suit different track conditions.
SH1.0
SH1.0
SH1.0
SH1.0
P06-1
P06-1
Apply a drop of CA glue and
then cut out the part protruding.
CAdrop

9
STEP7STEP8
STEP8 (cont’d)
STEPS7 and8
FINISHED
SF3X6
SS3X4
P12
P05
P12
SS3X4
SF3X6
SWB10...SWB13
SS3X4
SS3X4
Use bigger hole for
SB12andSB13
SwayBars.
Use smaller hole for
SB10andSB11
SwayBars.
Attention!
Mountall 4 P12 Sway Bar Holders certainly.
They are obligatory for installation even if Sway Bars
aren’t used.
These Sway Bar Holders are necessary for
suspension arms upward travel restriction
andsetting Upstop parameters.
Attention!
Thedeflected tips of Sway Bar
should bedirected downwards.
Do not over-tighten
SS3X4Screws to avoid
binding of Sway Bars.
SF3X6M3x6Flat Head Screw x4
SS3X4M3x4Set Screw x8
P12Sway Bar Holder x4
P05Sway Bar Joint x4
SWB10....SWB13Sway Bar x2
snap
P42
Attention!Cut two front
P12 as on the picture.
Pierce P42Stoppers with a needle or a awl along
the center axis and slide P42along the Sway Bar. Adjust two P42Stoppers disposal
to reach the centered position of
the Sway Bar between two P12.
SWB10...SWB13
Note:SWB13- three strips
SWB12 - two strips
SWB11 - one strip
SWB10- nostrip

10
Rebuildable Damper Set
AT40-1
Note:Every A700 EvoII and A700 EvoIICkit includesfour factoryassembled and oil filled D2.1Rebuildable Dampers.
D2.1damper allows for both dampening adjustment via thicker silicon oil, and consistent performance since the racer can
rebuild the shock.
The factoryassembled and oil filled D2.1Rebuildable Dampers come with 500 cst pure silicone oil inside.
The build instructions for D2.1Rebuildable Dampers is on this page.
For disassembling please do all steps in the reverse order.
1)Stretch and place OR18O-ringin the groove ofthe AT40-1Cup.
2)Stand AT42-1Case up and fill ~1/2 of volume with the desirable silicone oil. Insert AT41-1Vane into AT42-1Case slowly full way down.
3)Add more silicone oil. Oil should cover the AT41-1Vane completely.It is highlyrecommend that damper be placed into a vacuum pump
to remove air. Otherwise let the damper sit for 30m+to allow air bubbles to escape.
4)With the damper still vertical (important !),screw AT40-1Cup into the AT42-1Case with a 9mm socket wrench until fullythreaded. Do
not force the AT40-1Cup -once aligned,it will screw on easily.The excessive oil should go out through the gap between AT40-1and
AT41-1Vane.Please don’t remove thisoil fromthe bearing cavityofAT40-1Cup on thisstage!
5)Place OR155 O-ringinto AT40-1Cup. You can use a piece of an appropriate tube to press o-ring slowly and fully into cavity.
6)Place B85bearingand one SH5X7X0.1shim onto AT41-1Vane output shaft.
7)Screw SS3X3Set Screw into AT41-1Vane with a 1.5mm hexdriver full way down.Don’t tighten thisset screwtoo much!
Press on and hold SH5X7X0.1shim and B85 bearing against an upward shift at SS3X3screwing.
8) Clean up oil off the outer surface of damper.
OR18
1)
4)5)
7)CUTAWAYVIEW
SS3X3
This cavity should be
filled by oil before
o-ring installation.
2)3)
AT42-1
OILOIL
6)
OR155 B85
SH5X7X0.1
AT40-1
AT41-1
Press here with a small pliers
or pincers at SS3X3 screwing.

11
STEP9
STEPS9
FINISHED
SRS
RHS
SPR03
P09
D2.1
AM17R
SPR01
STEP9
(cont’d)
Assemble 2Right Shocks
and 2 Left Shocks.
SPR02
SC2X6
Attention!The damper’s output shaft can’t rotate more than 40 degrees.
After installation of SPR02 rotate the complete damper within AM17 until the
maximum up travel is reached and secure SC2x6screw in the AM17 after that.
At the max up travel position the SPR02 should touch the stopper on AM17 !!!
ST05L
Note:
Initial position of RHSRide Height Screw is ~0,6mm.
Don’t tighten SRSSpring Rating Screw too much to
avoid P09 thread damage.
SC2X6 M2x6CapHead Screwx4
SRSSpring Rating Screw x4
RHS Ride Height Screw x4
SPR03Shock Pointer x4
P09Shock Screw Holder x4
AM17RDamper Holder Rightx2
AM17LDamper Holder Leftx2
D2.1 Damper x4
SPR01 STD Shock Spring x4
SPR02Shock Rod Guide x4
ST05LShock Rod Longx4
SS3X3
Up travel position of SPR02.
Inserting of SPR02into vane slot can be
tight. Please grind the lower surface on
the tip of SPR02a bit at this case.

12
STEP10
STEPS10
FINISHED
STEP10(cont’d)
Mount Front andRearShocks.
SF3X10M3x10 Flat Head Screwx4
AM08-1ShocksHolderx2
SF3X10
AM08-1
SF3X10
Note:
LaydownDampers into grooves on the Chassis.
snap

13
STEP12
STEP13
STEP13(cont’d)
SB3X6M3x6Button Head Screw x3
B84RSMR84RS Bearing x3
ST08Steering Nut x1
SC2X4M2x4CapHead Screwx1
AM10-2
SB3X6
B84RS
ST08
SB3X6
B84RS
B84RS
SB3X6
SH3X5X0.1
Adjust B84RSbearing position to achieve
free AM09Rod sliding at minimal clearance.
AM09AM10-2
Attention!
SC2X4
SH0.56x3x0.5mm Spacer (Silver)x1
SH1.756x3x1.75mm Spacer (Black) x2
SH3X5X0.1 3x5x0.1mm Shimx1
ST24 Ball Stud 6mm x2
ST24MBall Stud 8mm x1
AM09Steering Rod x1
AM10-1Steering Plate x1
STEP11
Note:
Please pay your attention on the correct amount
of the spacers under AT21 Pivot Ball !
ST24
SH1.75
AM09
STEP13
FINISHED
ST24
ST24M
SH1.75
SH0.5

14
SB3X6
SB3X6
SH1.0
SH1.0
STEP14
STEP15
FINISHED
STEP15
INNER ACKERMANN change:
Slide AM10-2Steering Plate to desired position.
Use SB3X6Screwsto unlock/lock Steering Plate.
B106RS
AM44-*
G03
SPR06
B106RS
SH0.1
Snap SPR06 Wire Ring
on G03Bevel Gear
AM44-*FFGGearBoxx1
G0325T Bevel Gear x1
SPR06 Wire Ring x1
AM41-* FFG Gear Box Sup. x1
AM42-* FFG LinkHolder F. x1
AM43-* FFG Bulkhead x2
AM54-* FFG LinkHolder R. x1
B106RSMR106RS Bearing x1
SH1.06x3x1mm Spacer (Gray)x2
SH0.1 6x8x0.1mm Shimx1
SB3X6M3x6 Button Head Screw x2
SB25X8M2,5Button Head Screw x2
SF3X6M3x6 Flat Head Screw x4
AM41-*
SB25X8
SB25X8
SF3X6
SF3X6
SF3X6
SF3X6
AM54-*
AM42-*
AM43-*
AM43-*
Note the orientation of AM41.

15
SF3X6x5
STEP16
STEP 19
REAR
G03
STEP17
STEP18
FRONT
P10
SB3X10
SS3X8
SB3X5 x 3
SH1.0 x 3
SH1.0 x 3
AM73-1
AM73-3
AM73-4
SH1.0
SB3X10
SH3X5X0.1
SH3X5X0.1
DT03
AM01-1
B106RS
P11
PIN02
B106RS
AT20
SS3X4PIN02
SF3X6x5
SH0.1
~0,7mm
~0,7mm
SB3X5
SS3X8
SS3X8
SH1.0
AT21
AT21
SH1.0(Mode 2,3,4)
AM01-1Gear Boxx1
AM73-1MM2 Lower Plate x1
AM73-3MM2 Middle Platex1
AM73-4MM2 Bearing Housing x1
AT21PivotBall x2
AT20Spur Axle x1
G03 25T Bevel Gear x1
P11 Gear Tube x1
DT03Motor MountCollar x1
B106RSMR106RS Bearing x1
SB3X10M3x10Button Head Screw x2
SB3X5M3x5Button HeadScrew x4
SS3X4M3x4Set Screw x1
SS3X8 M3x8Set Screw x3
PIN021.5x5.8Pin x1
SH1.06x3x1mm Spacer (Gray) x8
SH3X5X0.13x5x0.1mm Shim x2
SH0.16x8x0.1mm Shim x1
P10Diff Cover x1SF3X6M3x6 Flat HeadScrewx10..13
SH1.06x3x1mm Spacer (Gray)x1...3
SS3X5M3x5 Set Screw x0...1
SH1.0x2(Mode 4)
SF3X6x2 (Mode 4)
SF3X6(Mode 3,4)
or
SS3X5(Mode 1,2)

16
STEP20STEP21
AT123GD2Case1 x1
AT124GD2Case2 x1
ST23 GD Outdrive x2
ST31GD2 Output Axle x2
P39GD2 Cross Pin x1
OR1313mm O-Ringx1
G07GD2 Satellite Gear x4
G08GD2 Bevel Gear x2
WA02 3.5x9.5x0.2Washerx4
WA03 5x15.5x0.3 Washerx2
B106RSMR106RS Bearing x2
B85MR85 Bearing x2
OR05MO-Ring x2
OR06O-Ring x2
SS3X4-1M3x4DIN915Screwx2
PIN021,5x5,8Pin x2
Fill with desirable silicone oil (not included).
Screw
AT123GD Case with 10mm wrench slowly.
The excessive oil will go out through the ST31axial hole.
STEP22
STEP23
B85
OR05M
AT124
OR13
B106RS
G07
P39
AT123
G08
G07
G07
G07
ST31
B85
OR05M
SS3X4-1
ST23
B106RS
PIN02
oil level
OR06
PIN02
WA03
G08
ST31
WA03
WA02
WA02
WA02
WA02
SS3X4-1
ST23
OR06

17
AT03MSpool Axle x1
ST37 Spool Outdrive x2
B106RSMR106RS Bearing x2
B106RS
ST37
ST37
B106RS
AT03M
STEP35
Front One-Wayunit (optional)
STEP35FINISHED
OW1One-WayAxle Set(not included) AT05 OW Housing x1
ST22 OW Outdrive x2
BF1015RSF6700RSBearing x2
ST22
BF1015RSAT05
BF1015RS
ST22
SF3X8
SF3X8
SF3X8M3x8 Flat HeadScrewx2

18
SF3X5
AT06
STEP36SB3X5x4
AM40
SC2X6
STEP37
STEP 37FINISHED
SBSF3X6
SF3X6SF3X6
AT06
P10
AM19-2
STEP 37(cont’d)
AM19-2 Upper Arm Holder x2
AT06Antenna Holder x1
AM40FFGRear Plate x1
AM46-1FFG Front Plate x1
AM50FFG Rear Stopper x2
AT31FFG AlloyRod x1
DT04FFG Collar x2
DT02Bearing Housing x2
P10 Diff Cover x1
SF3X5M3x5 Flat Head Screw x1
SB3X5M3x5 Button Head Screw x5
SC2X6M2x6 Cap Head Screw x4
B74RSMR74RS Bearing x1
AM50
SC2X6
SC2X6
SC2X6
SB3X5
DT04
AT31
AT31
DT04
AM50
B74RS
AM46-1
Use a sandpaper for ~5mm on the tips of C31 rod to increase
the friction on AM40 and AM46 parts.
Make sure you don’t remove too much material.
Only a slightly scratched surface.
The top surfaces of AM46 and AM40 plates
should be parallel. Align them on the flat
board before SC2X6 screws tightening.
DT02
DT02
AM19-2

19
STEP38
SF3X6x10
AM49-3
Tighten two SB3X6screws after aligning
of the FFG rod axis and the chassis axis.
STEP38
STEP38FINISHED
SF3X6M3x6Flat Head Screwx6
AM49FFG Tower x1
P24Inner Battery Holder x2
AM49
SF3X6x6
SB3X6x2
SB3X6
Note: Four positions for AM49-3on AM33-5
are possible.
SF3X6M3x6Flat Head Screwx10
SB3X6M3x6Button Head Screwx3
AM49-3FFG Tower x1
AM33-5Chassis Stiffener x1
Note: The amount of SF3X6screws is used
for chassis flex setting. For the softest flex
setting use onlyone or two screws in the
middle ofAM33-5stiffener.
Add SF3X6screws for reducing of flex
of the desirable chassis area.
for
A700 EvoIIC
P24
P24

20
STEP40FINISHED
STEP39
STEP40
SB3X6
AT12
Note:Use 12mm wrench for AT12nut tightening.
Spurgears(not included): up to 98T/64p (73T/48p)
and 5.0mm max. thickness.
Bend FFG rod front end upward a little when inserting the front gearbox.
Theinitial setupforall FFGstoppers:
1) Place the chassis on the flat board and slide AM50/DT04towards
to AM49-3/AM49tower to remove the gaps between these parts.
2) Tighten SC2X6screws on AM50.
AT12
AM50
AM50
SB3X6
DT02
DT02
SB3X5x4
AM56
P10
P10
Note the face-down
orientation of AM56.
SB3X5M3x5ButtonHead Screwx4
SB3X6M3x6Button Head Screwx2
AM56FFGClamping Bar x1
AT12Spur Nut x1
P10Diff Cover x2
DT02Bearing Housing x2
Other manuals for A700 Evo II
1
Table of contents
Other Awesomatix Motorized Toy Car manuals

Awesomatix
Awesomatix A700 Evo II User manual

Awesomatix
Awesomatix A12 User manual

Awesomatix
Awesomatix A800 User manual

Awesomatix
Awesomatix A800X EVO User manual

Awesomatix
Awesomatix A12 User manual

Awesomatix
Awesomatix A800R User manual

Awesomatix
Awesomatix A800 User manual

Awesomatix
Awesomatix A700L2 User manual

Awesomatix
Awesomatix A800X User manual

Awesomatix
Awesomatix A800MMX User manual