Seing up your wireless speakers
Standard Transmier
Transmier Connections:
Aach one of the included antennas to the back of the transmier.
Use caution to not over-tighten - nger tighten only.
Connect a standard line level source that has a volume control, such
as the headphone jack of a smartphone or tablet, the le and right
outputs from a pre-amplier or receiver, etc. to the Le and Right
inputs of the transmier.
Plug the barrel connector of the supplied power supply into the DC
Input jack on the transmier.
Plug the power adaptor into a nearby wall outlet.
Speaker Connections:
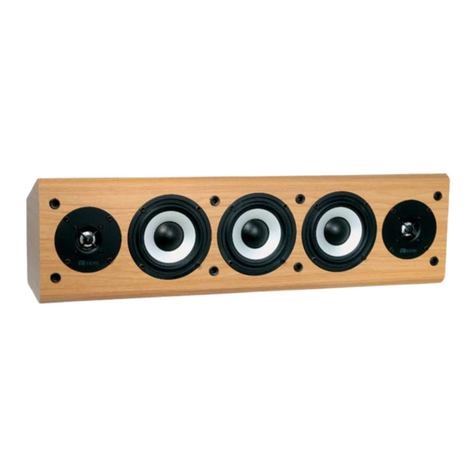
Note that each speaker is marked on the back panel as le or right.
Place each speaker in your preferred location.
Aach one of the included antennas to the back of each speaker. Use
caution to not over-tighten - nger tighten only.
Plug each power cable into a nearby wall outlet.
Powering On/O Transmier:
Press the white buon marked Power/Sync on the back of the
transmier once to turn on. An green indicator light will turn on or
ash (see below). Press the buon again to turn the transmier o.
Powering On/O Speaker:
Move the power switch to the On position. Press the buon marked
Standby/Sync on the back of each speaker once to turn on. An green
indicator light will turn on or ash (see below). Press the buon
again to place each speaker into standby mode and move the power
switch to the o position, if desired. Note that each speaker will
automatically switch to a low power mode approximately 30 seconds
aer playback stops.
4-in-1Transmier
Transmier Connections:
Aach one of the included antennas to the back of the transmier.
Use caution to not over-tighten - nger tighten only.
If desired, connect a standard line level source such as the headphone
jack of a smartphone or tablet, CD/DVD player, etc. to the Le and
Right analog inputs of the transmier.
If desired, connect a digital optical source such as a TV to the optical
input of the transmier.
Plug the barrel connector of the supplied power supply into the DC
Input jack on the transmier.
Plug the power adaptor into a nearby wall outlet.
Speaker Connections:
Note that each speaker is marked on the back panel as le or right.
Place each speaker in your preferred location.
Aach one of the included antennas to the back of each speaker. Use
caution to not over-tighten - nger tighten only.
Plug each power cable into a nearby wall outlet.
Powering on/o Transmier:
Press the white buon marked Power on the front of the transmier
once to turn on. An green indicator light will turn on and the system
will perform a start-up sequence that will take approximately 30
seconds. A start-up sound will play when the system is ready. Press
the buon again to turn the system o.
Powering On/O Speaker:
Move the power switch to the On position. Press the buon
marked Standby/Sync on the back of each speaker once to turn
on. An green indicator light will turn on or ash (see below).
Press the buon again to place each speaker into standby mode
and move the power switch to the o position, if desired. Note
that each speaker will automatically switch to a low power
mode approximately 30 seconds aer playback stops.
Syncing (all models):
In order for your wireless speakers to receive a signal from the wireless transmier, they need to be synced/paired. is process only needs to be
performed once as all the components will remember each other, even aer disconnecting the power.
On the transmier: Press and hold the white Power/Sync or Sync buon until the green light starts ashing rapidly.
On the rst speaker: Press and hold the Power/Sync or Standby/Sync buon until the green light is solid. Note that the green indicator light on
the transmier will also now be solid.
Repeat the steps above for the second speaker and conrm that the green indicator light next to the sync buon is solid on the transmier and
both speakers. Your wireless speakers are now ready to use!
Recommendations:
e most reliable wireless signal quality will be achieved by placing the transmier and speakers within “sight” of one another. If you notice
interruptions in the audio signal, try moving the transmier to another location.
