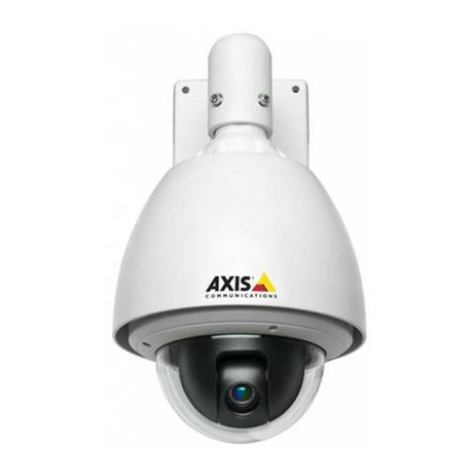
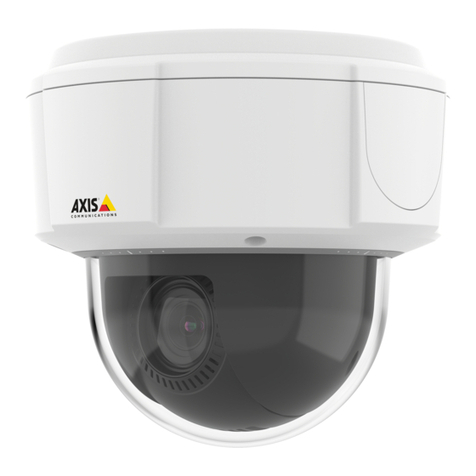
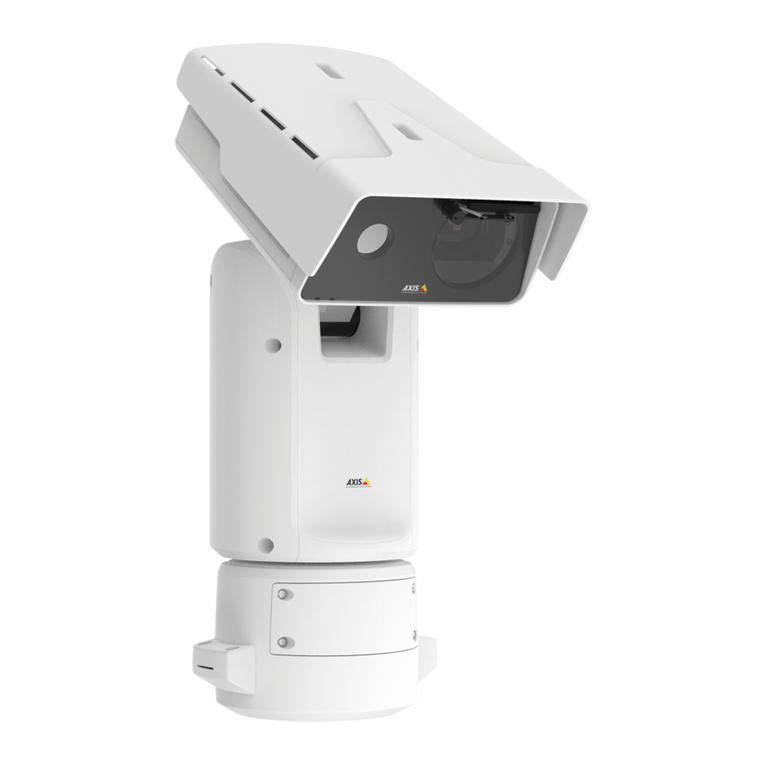
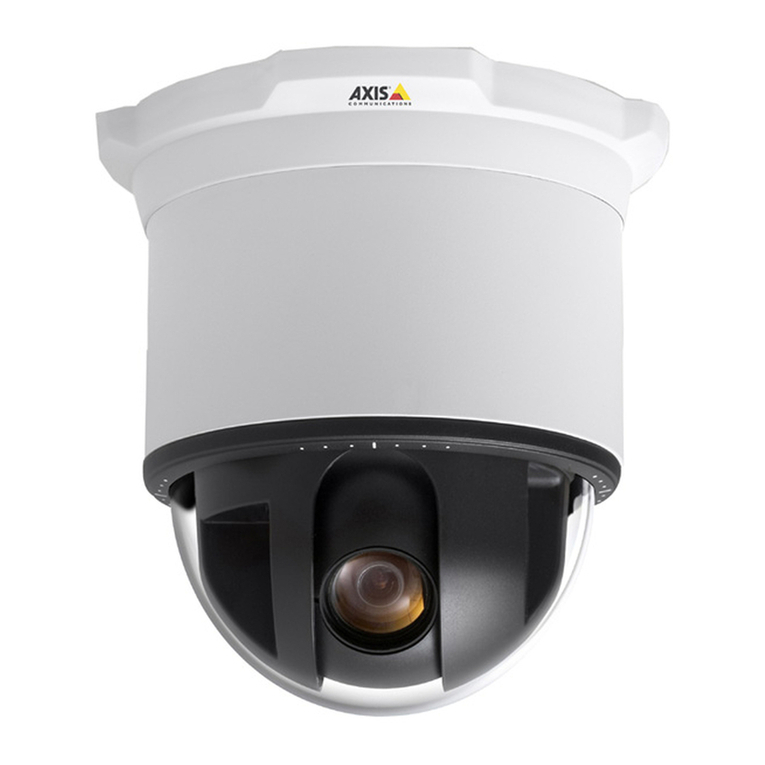
Axis Q8641-E PT User manual

AXIS Q86 Series
AXIS Q8641–E PT Thermal Network Camera
AXIS Q8642–E PT Thermal Network Camera
Installation Guide
Available from A1 Security Cameras

Installation Guide
Table of Contents
Safety information .......................................... 5
Hazard levels ................................................... 5
Other message levels ............................................. 5
Safety instructions .......................................... 6
Transportation .................................................. 7
Battery ....................................................... 7
Package contents ............................................ 9
Product overview ............................................ 10
How to install the product ..................................... 12
Mount the ase unit .............................................. 13
Route the ca les ................................................ 15
Install the network link ............................................ 21
Connect the ca les ............................................... 22
How to install an SD card (optional) .................................. 23
How to access the product ......................................... 23
How to reset to factory default settings ........................... 24
Further information .......................................... 25
Optional accessories .............................................. 25
Warranty information ............................................. 25
Specications .............................................. 26
LED Indicators .................................................. 26
SD card slot .................................................... 26
Buttons ....................................................... 27
Connectors .................................................... 27
Ca les ........................................................ 29
Operating conditions ............................................. 29
Power consumption .............................................. 30
2
Available from A1 Security Cameras

Read this rst
Read through this Installation Guide carefully efore
installing the product. Keep the Installation Guide for
future reference.
egal considerations
This product includes the following licences:
•one (1) H.264 decoder license
To purchase further licenses, contact your reseller.
This product is su ject to export control regulations. You
should always consult and comply with the regulations of
the appropriate local export control authorities.
iability
Every care has een taken in the preparation of this
document. Please inform your local Axis ofce of any
inaccuracies or omissions. Axis Communications AB cannot
e held responsi le for any technical or typographical errors
and reserves the right to make changes to the product and
manuals without prior notice. Axis Communications AB
makes no warranty of any kind with regard to the material
contained within this document, including, ut not limited
to, the implied warranties of merchanta ility and tness for
aparticular purpose. Axis Communications AB shall not
e lia le nor responsi le for incidental or consequential
damages in connection with the furnishing, performance
or use of this material. This product is only to e used for
its intended purpose.
Intellectual property rights
Axis AB has intellectual property rights relating to
technology em odied in the product descri ed in this
document. In particular, and without limitation, these
intellectual property rights may include one or more of
the patents listed at axis.com/patent.htm and one or more
additional patents or pending patent applications in the
US and other countries.
This product contains licensed third-party software. See
the menu item “A out” in the product’s user interface for
more information.
This product contains source code copyright Apple
Computer, Inc., under the terms of Apple Pu lic Source
License 2.0 (see opensource.apple.com/apsl). The source
code is availa le from developer.apple.com/bonjour/
Equipment modications
This equipment must e installed and used in
strict accordance with the instructions given in the
user documentation. This equipment contains no
user-servicea le components. Unauthorized equipment
changes or modications will invalidate all applica le
regulatory certications and approvals.
Trademark acknowledgements
AXIS COMMUNICATIONS, AXIS and VAPIX are registered
trademarks or trademark applications of Axis AB in various
jurisdictions. All other company names and products are
trademarks or registered trademarks of their respective
companies.
Apple, Boa, Apache, Bonjour, Ethernet, Internet Explorer,
Linux, Microsoft, Mozilla, Real, SMPTE, QuickTime, UNIX,
Windows, Windows Vista and WWW are registered
trademarks of the respective holders. Java and all
Java- ased trademarks and logos are trademarks or
registered trademarks of Oracle and/or its afliates. The
UPnP Word Mark and UPnP Logo are trademarks of Open
Connectivity Foundation, Inc. in the United States or other
countries.
SD, SDHC and SDXC are trademarks or registered trademarks
of SD-3C, LLC in the United States, other countries or oth.
Also, miniSD, microSD, miniSDHC, microSDHC, microSDXC
are all trademarks or registered trademarks of SD-3C, LLC
in the United States, other countries or oth.
Regulatory information
Europe
This product complies with the applica le CE marking
directives and harmonized standards:
• Electromagnetic Compati ility (EMC) Directive
2014/30/EU. See Electromagnetic compatibility (EMC)
on page 3.
• Low Voltage (LVD) Directive 2014/35/EU. See Safety
on page .
• Restrictions of Hazardous Su stances (RoHS) Directive
2011/65/EU. See Disposal and recycling on page .
Acopy of the original declaration of conformity may e
o tained from Axis Communications AB. See Contact
information on page .
Electromagnetic compatibility (EMC)
This equipment has een designed and tested to fulll
applica le standards for:
• Radio frequency emission when installed according to
the instructions and used in its intended environment.
• Immunity to electrical and electromagnetic phenomena
when installed according to the instructions and used
in its intended environment.
USA
This equipment has een tested using ashielded network
ca le (STP) and found to comply with the limits for a
Class Adigital device, pursuant to part 15 of the FCC Rules.
These limits are designed to provide reasona le protection
against harmful interference when the equipment is
operated in acommercial environment. This equipment
generates, uses, and can radiate radio frequency energy
and, if not installed and used in accordance with the
instruction manual, may cause harmful interference to
radio communications. Operation of this equipment in
aresidential area is likely to cause harmful interference
in which case the user will e required to correct the
interference at his own expense.The product shall e
connected using ashielded network ca le (STP) that is
properly grounded.
Canada
This digital apparatus complies with CAN ICES-3 (Class A).
The product shall e connected using ashielded network
ca le (STP) that is properly grounded. Cet appareil
numérique est conforme àla norme CAN NMB-3 (classe A).
Le produit doit être connecté àl'aide d'un câ le réseau
lindé (STP) qui est correctement mis àla terre.
Europe
This digital equipment fullls the requirements for RF
emission according to the Class Alimit of EN 55032. The
product shall e connected using ashielded network ca le
(STP) that is properly grounded. Notice! This is aClass A
product. In adomestic environment this product may cause
RF interference, in which case the user may e required
to take adequate measures.
Australia New Zealand
This digital equipment fullls the requirements for RF
emission according to the Class Alimit of AS/NZS CISPR 32.
The product shall e connected using ashielded network
ca le (STP) that is properly grounded. Notice! This is a
Class Aproduct. In adomestic environment this product
Available from A1 Security Cameras
may cause RF interference, in which case the user may e
required to take adequate measures.
Japan
この装置は、クラスA 情報技術装置です。この装
置を家庭環境で使⽤すると電波妨害 を引き起こす
ことがあります。この場合には使⽤者が適切な対
策を講ずるよう要求され ることがあります。 本
製品は、シールドネットワークケーブル(STP)を
使⽤して接続してください。また適切に接地し
てください。
Korea
이기기는 업무용 환경에서 사용할 목적으로 적합
성평가를 받은 기기로서 가정용 환경에서 사용하
는경우 전파간섭의 우려가 있습니다. 적절히 접
지된 STP (shielded twisted pair) 케이블을 사용하
여제품을 연결 하십시오.
Safety
This product complies with IEC/EN/UL 62368-1, safety of
audio/video and IT equipment and IEC/EN/UL 60950-22,
Safety of Information Technology Equipment. The product
shall e grounded using oth the protective earth wire in
the power ca le and the grounding raid. Make sure oth
ends of the protective earth wire and the grounding raid
are in contact with their respective grounding surfaces.
The power supply used with this product shall fulll the
requirements for Safety Extra Low Voltage (SELV) according
to clause 2.2 of IEC/UL 60950-1 or CEC/NEC Class 2source
of supply as dened in the Canadian Electrical Code, CSA
C22.1 and National Electrical Code, ANSI/NFPA 70.
Disposal and recycling
When this product has reached the end of its useful life,
dispose of it according to local laws and regulations. For
information a out your nearest designated collection point,
contact your local authority responsi le for waste disposal.
In accordance with local legislation, penalties may e
applica le for incorrect disposal of this waste.
Europe
This sym ol means that the product shall not e
disposed of together with household or commercial waste.
Directive 2012/19/EU on waste electrical and electronic
equipment (WEEE) is applica le in the European Union
mem er states. To prevent potential harm to human health
and the environment, the product must e disposed of in
an approved and environmentally safe recycling process.
For information a out your nearest designated collection
point, contact your local authority responsi le for waste
disposal. Businesses should contact the product supplier for
information a out how to dispose of this product correctly.
This product complies with the requirements of
Directive 2011/65/EU on the restriction of the use of
certain hazardous su stances in electrical and electronic
equipment (RoHS).
China
This product complies with the requirements of
SJ/T 11364-2014, Marking for the restriction of hazardous
su stances in electrical and electronic products.
有毒有害物质或元素
部
件
名
称
铅
(P )
汞
(Hg)
镉
(Cd)
六价
铬
(Cr-
(VI))
多溴
联苯
(PB-
B)
多溴
二苯
醚
(PB-
DE)
电
气
实
装
部
分
X00000
0: 表示该有毒有害物质在该部件所有均质材料中
的含量均在GB/T 26572标准规定的限量要求以下。
X: 表示该有毒有害物质至少在该部件的某一均质
材料中的含量超出GB/T 26572标准规定的限量要
求。
Contact information
Axis Communications AB
Emdalavägen 14
223 69 Lund
Sweden
Tel: +46 46 272 18 00
Fax: +46 46 13 61 30
axis.com
Warranty information
For information a out Axis’ product warranty and thereto
related information, go to axis.com/warranty
Support
Should you require any technical assistance, please contact
your Axis reseller. If your questions cannot e answered
immediately, your reseller will forward your queries through
the appropriate channels to ensure arapid response. If you
are connected to the Internet, you can:
• download user documentation and software updates
• nd answers to resolved pro lems in the FAQ data ase.
Search y product, category, or phrase
• report pro lems to Axis support staff y logging in to
your private support area
• chat with Axis support staff
• visit Axis Support at axis.com/support
earn more!
Visit Axis learning center axis.com/academy for useful
trainings, we inars, tutorials and guides.
Available from A1 Security Cameras
AXIS Q86 Series
Safety information
Hazard levels
DANGER
Indicates ahazardous situation which, if not avoided, will result in death or serious injury.
WARNING
Indicates ahazardous situation which, if not avoided, could result in death or serious injury.
CAUTION
Indicates ahazardous situation which, if not avoided, could result in minor or moderate
injury.
NONO
NOTICETICE
TICE
Indicates asituation which, if not avoided, could result in damage to property.
Other message levels
Important
Indicates signicant information which is essential for the product to function correctly.
Note
Indicates useful information which helps in getting the most out of the product.
5
Available from A1 Security Cameras
AXIS Q86 Series
Safety instructions
DANGER
Risk of electric shock. All ca les shall e de-energized efore installing or performing
maintenance on the product.
WARNING
The Axis product shall e installed y atrained professional, and in compliance with local
laws and regulations.
CAUTION
Risk of injury. Moving parts. Keep your ody parts away from the product when in
operation. Disconnect from power supply efore installing or performing maintenance
on the product.
CAUTION
Risk of injury. Hot surface. Do not touch the product when in operation. Disconnect
from power supply and allow the surfaces to cool efore performing maintenance on
the product.
NONO
NOTICETICE
TICE
•The Axis product shall e used in compliance with local laws and regulations.
•Store the Axis product in adry and ventilated environment.
•Avoid exposing the Axis product to shocks or heavy pressure.
•Do not install the product on unsta le poles, rackets, surfaces or walls.
•Use only applica le tools when installing the Axis product. Using excessive force with
power tools could cause damage to the product.
•Do not use chemicals, caustic agents, or aerosol cleaners.
•Use aclean cloth dampened with pure water for cleaning.
•Use only accessories that comply with the technical specication of your product. These
can e provided y Axis or athird party. Axis recommends using Axis power source
equipment compati le with your product.
•Use only spare parts provided y or recommended y Axis.
•Do not attempt to repair the product yourself. Contact Axis support or your Axis reseller
for service matters.
•Do not point the camera lens toward the sun or other high-intensity radiation sources
ecause this could cause damage to the camera.
6
Available from A1 Security Cameras
AXIS Q86 Series
Transportation
NONO
NOTICETICE
TICE
•When transporting the Axis product, use the original packaging or equivalent to prevent
damage to the product.
Battery
The Axis product uses a3.0 VBR2032 lithium attery as the power supply for its internal real-time
clock (RTC). Under normal conditions this attery will last for aminimum of ve years.
Low attery power affects the operation of the RTC, causing it to reset at every power-up. When
the attery needs replacing, alog message will appear in the product’s server report. For more
information a out the server report, see the product´s setup pages or contact Axis support.
The attery should not e replaced unless required, ut if the attery does need replacing, contact
Axis support at axis.com/support for assistance.
Lithium coin cell 3.0 Vatteries contain 1,2-dimethoxyethane; ethylene glycol dimethyl ether
(EGDME), CAS no. 110-71-4.
WARNING
•Risk of explosion if the attery is incorrectly replaced.
•Replace only with an identical attery or aattery which is recommended y Axis.
•Dispose of used atteries according to local regulations or the attery manufacturer's
instructions.
7
Available from A1 Security Cameras
AXIS Q86 Series
Package contents
•AXIS Q8641–E or AXIS Q8642–E PT Thermal Network Camera
•Power connector
•I/O connector
•Torx®it T20 and T30
• Printed materials
- Installation Guide (this document)
- Extra serial num er la el (2x)
- AVHS Authentication key
9
Available from A1 Security Cameras

1
2
3
5
6
7
8
AXIS Q86 Series
Back lid
SD card lid
SD card slot
Control button
Input power connector
I/O connector
RJ 5 connector
SFP slot for SFP module (SFP module not included)
11
Available from A1 Security Cameras
AXIS Q86 Series
ow to install the product
DANGER
Risk of electric shock. All ca les shall e de-energized efore installing the product.
CAUTION
The electrical connections and conduit installations shall e made y acertied electrician
and in compliance with local regulations.
CAUTION
Risk of injury. Moving parts. Keep your ody parts away from the product when in
operation. Disconnect from power supply efore installing or performing maintenance
on the product.
CAUTION
Risk of injury. Hot surface. Do not touch the product when in operation. Disconnect
from power supply and allow the surfaces to cool efore performing maintenance on
the product.
12
Available from A1 Security Cameras
AXIS Q86 Series
Mount the base unit
1Base unit
1. Remove the four ase unit screws (T30).
2. Simultaneously pull and turn the ase unit counterclockwise until the arrows on the ase
unit and the rest of the unit are aligned.
3. Remove the ase unit.
13
Available from A1 Security Cameras
AXIS Q86 Series
NONO
NOTICETICE
TICE
Do not use sharp tools when removing the transparent ase unit cover.
4. Remove the transparent ase unit cover.
14
Available from A1 Security Cameras
AXIS Q86 Series
1Conduit cover clip
2Conduit cover
3Screw hole (x )
5. For conduit installations only: remove the two conduit cover clips followed y the
conduit cover.
6. Attach the ase unit to the mounting surface using the appropriate fasteners in the
four screw holes.
Route the cables
WARNING
Risk of electric shock. The product shall e grounded using oth the protective earth wire
in the power ca le and the grounding raid. Make sure oth ends of the protective earth
wire and the grounding raid are in contact with their respective grounding surfaces.
Important
Use only ca les that comply with the specied ca le area. For more information, see
Cable thickness on page 29.
15
Available from A1 Security Cameras
AXIS Q86 Series
1Power cable (not included)
2Strain relief
3Grounding screw
Grounding braid (not included)
5Bottom cable hole
1. Install the optional conduit adapters (not included).
2. Connect the grounding raid to the grounding screw.
3. Insert the power ca le, I/O ca le and network ca le through the hole in the ase unit as
shown in the illustration a ove. Alternatively insert them through the ottom ca le hole.
4. Insert the power ca le through the strain relief with adistance of 530 mm (21 in) from
the strain relief to the end of the ca le.
16
Available from A1 Security Cameras
AXIS Q86 Series
1I/O cable (optional, not included)
2Network cable (not included)
5. Insert the I/O ca le (optional) through the strain relief with adistance of 420 mm (16½
in) from the strain relief to the end of the ca le.
6. Insert the network ca le (optical er ca le and/or RJ45 ca le) through the strain relief
with adistance of 580 mm (23 in) from the strain relief to the end of the connector.
For more information on different network connectivity options, see Install the network
link on page 21.
7. Close and tighten the three strain reliefs.
17
Available from A1 Security Cameras

AXIS Q86 Series
1Power cable (not included)
2I/O cable (optional, not included)
3Network cable (not included)
Cable gasket
5Transparent base unit cover
8. Fit ca le gaskets on the ca les. See Cable thickness on page 29.
9. Insert the power, I/O and network ca les including the ca le gaskets through the holes in
the transparent ase unit cover and arrange the ca les as shown in the illustration a ove.
NONO
NOTICETICE
TICE
If you use oth an optical re ca le and an RJ45 ca le for network connectivity, route the
optical re ca le through the same ca le gasket as the I/O ca le. Apply asealant etween
the ca les and the ca le gasket to prevent leakage. For more information on different
network connectivity options, see Install the network link on page 21.
10. Replace the transparent ase unit cover on the ase unit and t the ca le gaskets inside
the holes.
18
Available from A1 Security Cameras

AXIS Q86 Series
1I/O connector
2Power connector
3O-ring
NONO
NOTICETICE
TICE
Make sure the protective earth wire is a out 10 mm (3/8 in) longer than the other two
wires (in the power ca le), so that it will not e disconnected accidentally if pulled.
Note
We recommend that you strip approximately 90 mm (3½in) of the power ca le jacket and
70 mm (2¾in) of the I/O ca le jacket for ease of installation.
11. Install the power and I/O connectors, see Connectors on page 27.
12. Adjust the network, I/O and power ca les so that the distance from the ca le gasket to
the end of the connector is 240 mm (10 in), 170 mm (7 in), and 160 mm (7 in) respectively.
NONO
NOTICETICE
TICE
Make sure that the O-ring is tted correctly around the transparent ase unit cover.
19
Available from A1 Security Cameras
AXIS Q86 Series
13. Replace the positioning unit on the ase unit making sure that the arrows on the two
units are aligned.
14. Turn the positioning unit clockwise ack to its original position and tighten the four
ase unit screws (torque 3.0 Nm).
NONO
NOTICETICE
TICE
Make sure that the ca les do not get not pinched when mounting the two units.
20
Available from A1 Security Cameras
This manual suits for next models
2
Table of contents
Other Axis Security Camera manuals

Axis
Axis Q8665-LE PTZ User manual

Axis
Axis F101-A XF P1367 User manual

Axis
Axis P3364LV User manual

Axis
Axis AXIS P5532 PTZ User manual

Axis
Axis Q1715 User manual

Axis
Axis AXIS M1054 User manual

Axis
Axis P47-PLVE Series User manual

Axis
Axis P5624-E User manual

Axis
Axis M11 Mk II Series User manual

Axis
Axis AXIS P1353-E User manual