manuals.online logo
Brands
  1. Home
  2. •
  3. Brands
  4. •
  5. Balanced Body
  6. •
  7. Fitness Equipment
  8. •
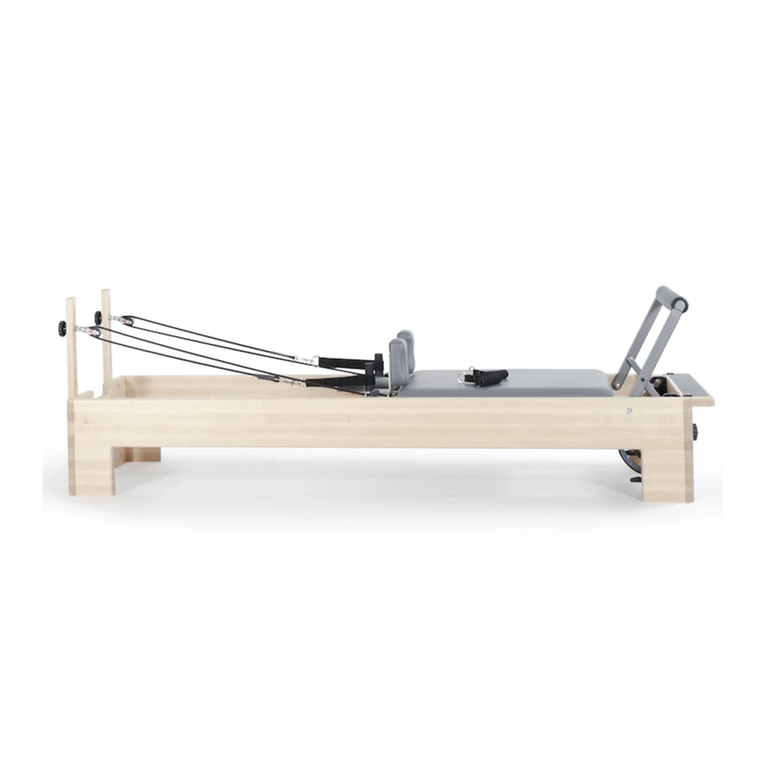
  9. Balanced Body Studio Reformer User manual

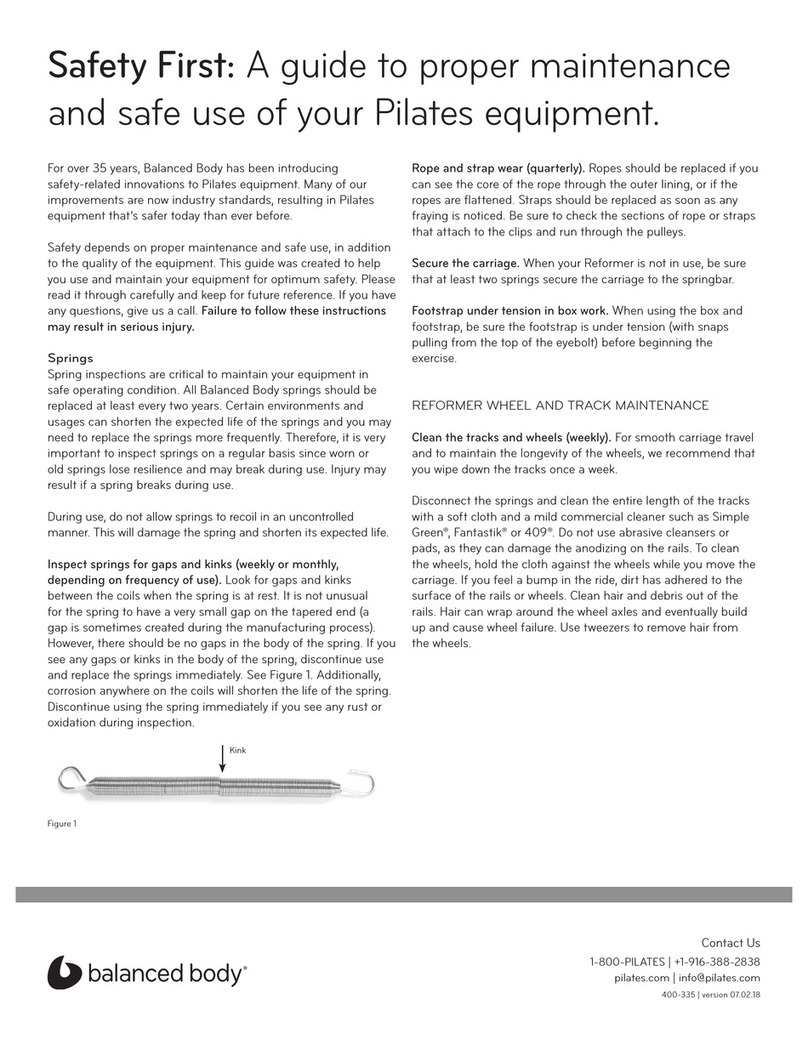
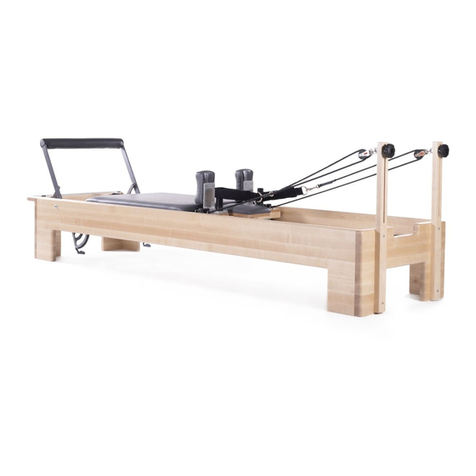
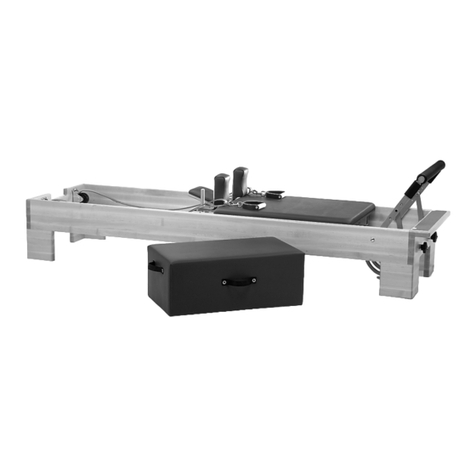
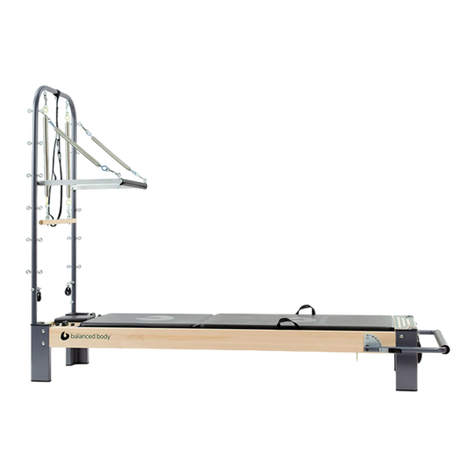
Balanced Body Studio Reformer User manual

Assembling the Balanced Body® Studio Reformer®
Contact Us
1-800-PILATES | +1-916-388-2838
pilates.com | info@pilates.com
400-013 | June 28, 2018 2:37 PM
INSTALL THE CARRIAGE
1. Turn the carriage over and clean both the wheels and the full length
of the rail surfaces inside the frame. Carefully place the carriage into
the frame with the headrest facing away from the footbar.
ATTACH THE SPRINGS TO THE UNDERSIDE OF
THE CARRIAGE
2. Locate the bracket with five
eye-bolts attached beneath
the carriage. Hook the springs
onto the eyebolts. The hook
should be facing down.
The bodies of the springs
should rest on the flat, padded
brace under the carriage
(Fig A).
INSTALL THE STANDARD WOODEN RISERS
3. The adjustable riser blocks
come with four black screws
and a hex key provided in a
hardware package. Install the
riser blocks to the outside of
the frame at the head end.
The long slots in the risers
go to the top with the fully
rounded edges facing out
as shown in Figure B. Start
threading both screws by
hand in one riser block before
tightening.
When both screws are
engaged, tighten them with
the hex key. Repeat with the
other riser.
ATTACH THE PULLEYS TO THE WOODEN RISERS
4. The hardware package
contains two pulleys with
black knobs. Unscrew the
black knobs and remove. Take
off one of the large washers
from the exposed bolt on
a pulley and install the bolt
through the slot on a riser.
Place the washer back onto
the bolt on the backside of the
riser and add the black knob.
Do this to both risers, making sure the pulleys are facing the
carriage. See Figure C for proper orientation.
Raise and lower the pulleys by loosening the black knob and sliding
the pulley up or down in the slot, then tighten the black knob.
Fig A
PARTS LIST
PART NUMBER QTY DESCRIPTION
Studio Reformer
SPR9070 3Red Springs
SPR9071 1Blue Spring
SPR9293 1Green Spring
101-005 1 Cotton Loops (pair)
101-016 1 Neoprene Handles (pair)
210-026 1 Ropes (pair)
200-211 1Carraige Extension Stopper
721-002 1Sitting Box
950-042 1Shoulder rest (pair)
950-034 1 Wooden Risers (pair)
GEN9018 4Riser Bolts
GEN9039 1Pully Assembly (pair)
950-004 1Shoulder Lockdown Kit
950-005 1 Quick Release Pin Kit
with Classic Footbar
101-011 1 Short Foot Strap
950-053 1 Spring Bar
with Revo Footbar
210-030 1 Revo Foot Strap
with Infinity Footbar
210-030 1 Revo Foot Strap
N/A 1 Complete Infinity footbar with
Trunnions attached
REF0702 2 Footbar Stoppers
GEN9027 2 Footbar Stopper Screws
ALL0060 1Plunger Knob Wrench
Fig C
Fig B
2
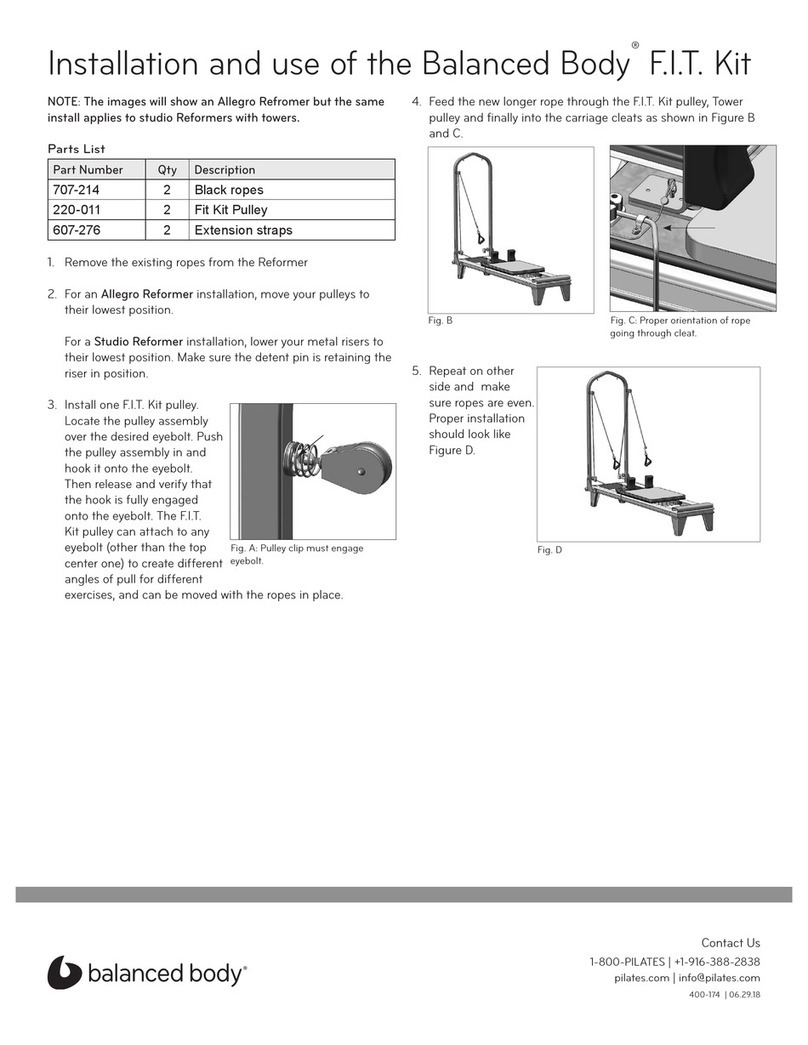
ATTACH THE ROPES
5. To attach the ropes, first
engage at least one carriage
spring to the springbar to
hold the carriage in place.
Unroll and separate the ropes.
6. Clip a cotton loop onto the end of each rope and hang the loops on
the shoulder rests. (Figure D). Thread the other end of each rope
through a pulley and back into the cam cleats on the carriage to
adjust the length. Be sure to go through the chrome eyestraps on
both sides of the cam cleats. Always push the rope firmly down into
the cleats to ensure a good grip.
INSTALL THE SHOULDER RESTS
7. Install the shoulder rests onto the carriage by locking them into the
keyholes on either side of the headrest. They can be set wider or
narrower by reversing their placement.
FOOTBAR
Follow the instructions below for the footbar configuration of
your Reformer.
Classic Footbar
For Reformers with a classic footbar, the springbar can be found in the
sitting box with the appropriate hardware. Install it into the gears under
the footbar with its hooks facing up.
Revo Footbar
There is no installation required for the Revo Footbar
Infinity Footbar
Installation can be done by one person, but it is easier and safer to have
a person hold each side.
1. Pull the plunger knob straight out so that the recessed cross-pin
comes out of the slots. Then turn the knob so that the cross-pin
rests on the bolt head. Repeat on the other side (Fig E).
2. Slide the trunion into the aluminum C-channels that run down both
sides of the Reformer frame (Figure F).
3. Twist the plunger knob until
it locks into the desired
position.
4. Attach the black stops to the
end of the channels with
provided wood screws
(Figure G).
SHOULDER REST LOCKING OPTIONS
When to Use the Removable Locking Pin
Option and How to Install It.
Use the locking pin option when
you want the ability to remove
the shoulder rests for installation
of the mat conversion, or when
you want the option of adjusting
wider/narrower shoulder rests for
different clients. Locking pins and
tethers are shown in Figure H.
To install the locking pins insert
the locking pins into the holes on
the shoulder rest. With a Phillips
screwdriver, unscrew the inside
metal rope guide screw.
Thread the eyelet on the end
of the pin tether through the screw.
Replace the screw and tighten with
the screwdriver. See Figure I.
When to Use the Shoulder Lock Down Option and How to Install
If you don’t have a mat conversion and don’t need to adjust your
shoulder rests for wider/narrower widths, then the shoulder lock down
option is suggested. The bolt-and-knob hold the shoulder rests firmly in
place. If you are using the locking pin option and feel there is too much
movement in the shoulder rests, use the bolt-and-knob option instead.
To install, drop the screw through the shoulder rest hole from the top
and tighten the knob from under the carriage.
CARRIAGE EXTENSION STOPPER
The carriage extension stopper
drops into the metal frame rail to
decrease the distance the carriage
can travel from its resting point at
the foot end. It is most commonly
used for clients who have a limited
range of motion or to stop the
carriage from traveling too far for
whatever reason may be necessary.
See Figure J.
Fig D
Fig H
Fig I
Tether
attached
rope to
guide screw
Fig J
Fig E
Trunnion
Plunger Knob
Fig F Fig G
3
OPTIONS
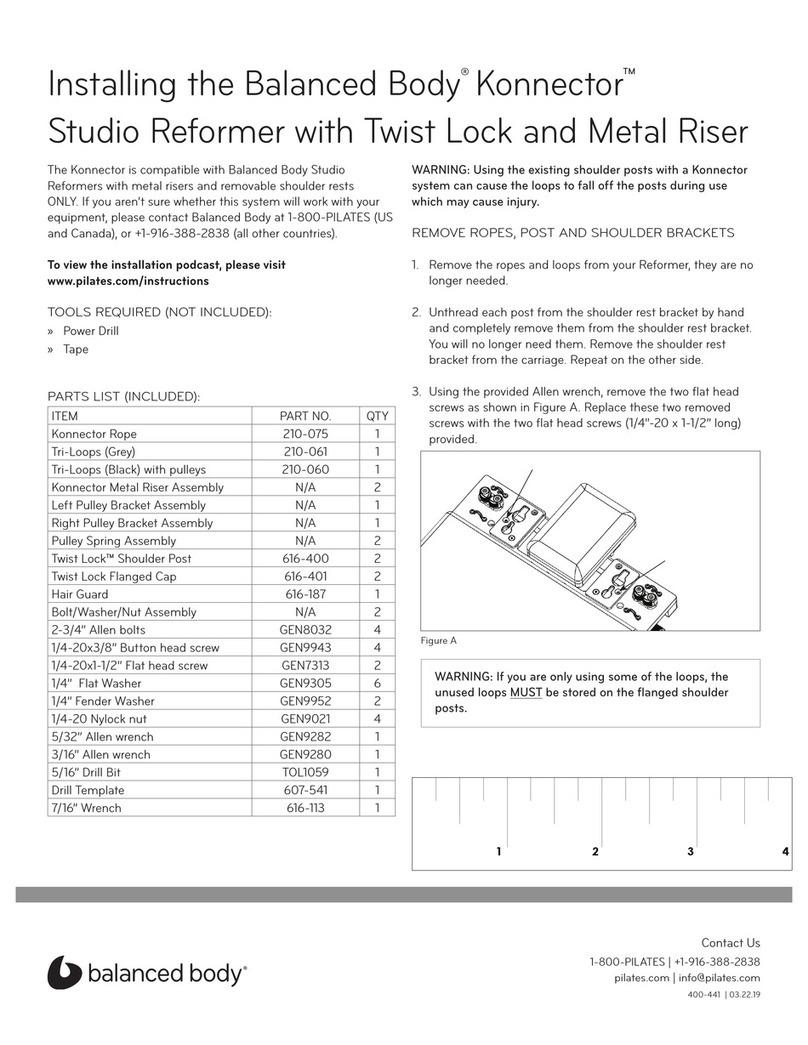
Adjustable Metal Risers
Just slide the metal risers into the receivers at the head-end of the
Reformer frame and lock with the tethered pin. This Studio Reformer
configuration comes with pulleys pre-installed.
Straps
For each strap there is a large loop at one strap end and a smaller
loop at the other. Place the large loop on the peg located behind the
shoulder rests. Remove the binding screws on the smaller loop so that
the loop is free. Freed that end of the strap through the caster at the
head-end of the Reformer and then through the metal clasp at the
head-end of the carriage. Make sure the rought side of the strap is
rolling on the caster. Reinstall the binding screws in the smaller loop so
that it is secure.
CLEANING AND MAINTENANCE
Cleaning
Clean all skin-contact parts after each use, including carriage, shoulder
rests, head rest, and footbar. Use a solution of mild soap and water.
Dry thoroughly.
BB upholstery has built-in antimicrobial/antibacterial protection. For
light soiling, use a solution of 10% household liquid dish soap with warm
water applied with a soft damp cloth. If necessary, a solution of liquid
cleanser and water applied with a soft bristle will also work. For heavier
soiling, please call Balanced Body Technical Support. Wheel tracks
and wheels should be cleaned regularly with a cloth to ensure that the
carriage rides smoothly and quietly.
Wash hand and foot straps regularly. Place in pillowcase, wash on gentle
cycle, air dry.
If you have any questions on cleaning, please call Balanced Body
Technical Support.
Lubrication and Adjustment
Periodically lubricate pulleys with silicone spray. Be careful of overspray.
Never use “wet” lubricants like WD40 or oil.
IN CASE OF FREIGHT DAMAGE
If there is freight damage, make certain you keep all packaging material.
Please call Balanced Body within 3 days.
QUESTIONS?
Please call Balanced Body Technical Support at 1-800-PILATES (U.S.)
or +1-916-388-2838 (International).
Contact Us
1-800-PILATES | +1-916-388-2838
pilates.com | info@pilates.com
400-013 | June 28, 2018 2:37 PM

Other manuals for Studio Reformer

3

Other Balanced Body Fitness Equipment manuals

Balanced Body Trapeze Table (Cadillac) Administrator Guide

Balanced Body

Balanced Body Trapeze Table (Cadillac) Administrator Guide

Balanced Body Allegro Reformer User manual

Balanced Body

Balanced Body Allegro Reformer User manual

Balanced Body Studio Reformer User manual

Balanced Body

Balanced Body Studio Reformer User manual

Balanced Body CoreAlign Quick setup guide

Balanced Body

Balanced Body CoreAlign Quick setup guide

Balanced Body IQ REFORMER User manual

Balanced Body

Balanced Body IQ REFORMER User manual

Balanced Body Allegro Instruction sheet

Balanced Body

Balanced Body Allegro Instruction sheet

Balanced Body CenterLine Tower Retrofit Instruction Manual

Balanced Body

Balanced Body CenterLine Tower Retrofit Instruction Manual

Balanced Body Reformer with Tower Instruction sheet

Balanced Body

Balanced Body Reformer with Tower Instruction sheet

Balanced Body Allegro Reformer User manual

Balanced Body

Balanced Body Allegro Reformer User manual

Balanced Body Avalon Chair User manual

Balanced Body

Balanced Body Avalon Chair User manual

Balanced Body CoreAlign Quick setup guide

Balanced Body

Balanced Body CoreAlign Quick setup guide

Balanced Body Allegro Administrator Guide

Balanced Body

Balanced Body Allegro Administrator Guide

Balanced Body Pilates Arc User manual

Balanced Body

Balanced Body Pilates Arc User manual

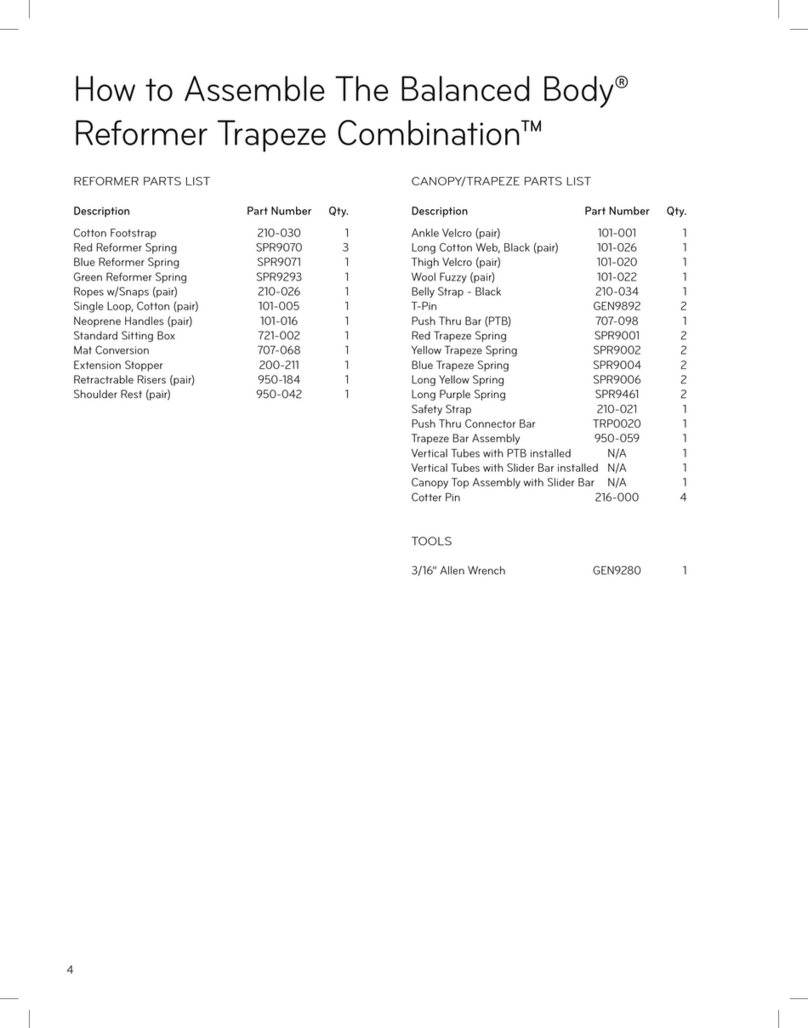
Balanced Body Reformer Trapeze Combination Administrator Guide

Balanced Body

Balanced Body Reformer Trapeze Combination Administrator Guide

Balanced Body Contrology User manual

Balanced Body

Balanced Body Contrology User manual

Balanced Body Cadillac Trapeze Table Administrator Guide

Balanced Body

Balanced Body Cadillac Trapeze Table Administrator Guide

Balanced Body Allegro 1A Instruction Manual

Balanced Body

Balanced Body Allegro 1A Instruction Manual

Balanced Body Pilates IQ Reformer User manual

Balanced Body

Balanced Body Pilates IQ Reformer User manual

Balanced Body Wall Tower Administrator Guide

Balanced Body

Balanced Body Wall Tower Administrator Guide

Balanced Body Exo Chair Guide

Balanced Body

Balanced Body Exo Chair Guide

Balanced Body Allegro CC User manual

Balanced Body

Balanced Body Allegro CC User manual

Balanced Body Studio Reformer User manual

Balanced Body

Balanced Body Studio Reformer User manual

Balanced Body Konnector User manual

Balanced Body

Balanced Body Konnector User manual

Balanced Body Reformer Trapeze Combination User manual

Balanced Body

Balanced Body Reformer Trapeze Combination User manual

Popular Fitness Equipment manuals by other brands

Abilica DoorGym 1370SE-66 manual

Abilica

Abilica DoorGym 1370SE-66 manual

Ironmaster Spotting Stand operating instructions

Ironmaster

Ironmaster Spotting Stand operating instructions

Star Trac Inspiration Strenght IP-S5308 installation instructions

Star Trac

Star Trac Inspiration Strenght IP-S5308 installation instructions

SportTec 28099 user manual

SportTec

SportTec 28099 user manual

ICON PFEL03815.1 user manual

ICON

ICON PFEL03815.1 user manual

Life Gear CLASSIC PRO  20790 owner's manual

Life Gear

Life Gear CLASSIC PRO 20790 owner's manual

Hanger Clinic AFO care guide

Hanger Clinic

Hanger Clinic AFO care guide

Matrix MyRide Service manual

Matrix

Matrix MyRide Service manual

KingsBox Mighty Squat SX-25 quick start guide

KingsBox

KingsBox Mighty Squat SX-25 quick start guide

AsVIVA F1 manual

AsVIVA

AsVIVA F1 manual

Precor AB-103 Assembly guide

Precor

Precor AB-103 Assembly guide

Recreation Supply BodyCraft GT manual

Recreation Supply

Recreation Supply BodyCraft GT manual

Weider 8525 user manual

Weider

Weider 8525 user manual

Schwinn SCHWINN AC PERFORMANCE FULL ASSY Wiring diagram

Schwinn

Schwinn SCHWINN AC PERFORMANCE FULL ASSY Wiring diagram

Auvon AS8012C manual

Auvon

Auvon AS8012C manual

TOGU Brasil Base Plus Usage and Care Instructions

TOGU

TOGU Brasil Base Plus Usage and Care Instructions

Nautilus EVO S9AA owner's manual

Nautilus

Nautilus EVO S9AA owner's manual

SPARTAN sport 69787 manual

SPARTAN sport

SPARTAN sport 69787 manual

manuals.online logo
manuals.online logoBrands
  • About & Mission
  • Contact us
  • Privacy Policy
  • Terms and Conditions

Copyright 2025 Manuals.Online. All Rights Reserved.