manuals.online logo
Brands
  1. Home
  2. •
  3. Brands
  4. •
  5. Balanced Body
  6. •
  7. Fitness Equipment
  8. •
  9. Balanced Body Konnector User manual

Balanced Body Konnector User manual

Installing the Balanced Body® Konnector™
Studio Reformer with Twist Lock and Metal Riser
The Konnector is compatible with Balanced Body Studio
Reformers with metal risers and removable shoulder rests
ONLY. If you aren’t sure whether this system will work with your
equipment, please contact Balanced Body at 1-800-PILATES (US
and Canada), or +1-916-388-2838 (all other countries).
To view the installation podcast, please visit
www.pilates.com/instructions
TOOLS REQUIRED (NOT INCLUDED):
»Power Drill
»Tape
PARTS LIST (INCLUDED):
ITEM PART NO. QTY
Konnector Rope 210-075 1
Tri-Loops (Grey) 210-061 1
Tri-Loops (Black) with pulleys 210-060 1
Konnector Metal Riser Assembly N/A 2
Left Pulley Bracket Assembly N/A 1
Right Pulley Bracket Assembly N/A 1
Pulley Spring Assembly N/A 2
Twist Lock™ Shoulder Post 616-400 2
Twist Lock Flanged Cap 616-401 2
Hair Guard 616-187 1
Bolt/Washer/Nut Assembly N/A 2
2-3/4” Allen bolts GEN8032 4
1/4-20x3/8” Button head screw GEN9943 4
1/4-20x1-1/2” Flat head screw GEN7313 2
1/4” Flat Washer GEN9305 6
1/4” Fender Washer GEN9952 2
1/4-20 Nylock nut GEN9021 4
5/32” Allen wrench GEN9282 1
3/16” Allen wrench GEN9280 1
5/16” Drill Bit TOL1059 1
Drill Template 607-541 1
7/16” Wrench 616-113 1
WARNING: Using the existing shoulder posts with a Konnector
system can cause the loops to fall off the posts during use
which may cause injury.
REMOVE ROPES, POST AND SHOULDER BRACKETS
1. Remove the ropes and loops from your Reformer, they are no
longer needed.
2. Unthread each post from the shoulder rest bracket by hand
and completely remove them from the shoulder rest bracket.
You will no longer need them. Remove the shoulder rest
bracket from the carriage. Repeat on the other side.
3. Using the provided Allen wrench, remove the two flat head
screws as shown in Figure A. Replace these two removed
screws with the two flat head screws (1/4”-20 x 1-1/2” long)
provided.
WARNING: If you are only using some of the loops, the
unused loops MUST be stored on the flanged shoulder
posts.
1 2 3 4
Figure A
Contact Us
1-800-PILATES | +1-916-388-2838
pilates.com | info@pilates.com
400-441 | 03.22.19
INSTALL THE HAIR GUARD AND CARRIAGE
PULLEY BRACKETS
4. Bolt the hair
guard to the two
carriage pulley
brackets using the
1/4-20x3/8” long
flanged button
head screws.
Make sure the
threaded holes
are facing inward,
and the hair guard
is aligned as in
Figure B. Fully
tighten the bolts that are through the circular holes in the
hair guard, and finger-tighten the bolts that are through the
slotted holes.
5. Unhook all of the springs from the springbar. Lift the carriage
out of the frame, turn it upside down, and rest it across the
Reformer frame with the underside facing up.
6. Align the hair guard and pulley bracket assembly with holes
on the underside of the carriage as shown in Figure C.
Make sure the pulleys point toward the headrest. Install the
1/4” fender washer and 1/4”-20 nylon nut over the screw that
protrudes up in to the pulley bracket. Finger tighten. Repeat
with the other carriage pulley bracket. See Figure F for a
finished view.
7. Find the pre-assembled bolt, washer
and nut. See Figure D.
8. Put the bolt with washer and nut into
the 5/8” hole (where the original rope
passed through) from the padded
side of the carriage. See Figure E. It should slide through a slot
in the carriage pulley bracket (refer back to Figure C). Apply
a 1/4” washer and nylock nut under the carriage and finger
tighten. See Figure F for a finished view.
9. Repeat steps 7 and 8 for the other carriage pulley bracket.
10. Make sure the front edge of the carriage pulley bracket is flush
along the edge of the wooden beam on the carriage. Tighten all
nylock nuts with a wrench (socket wrench, preferred) to secure
the brackets in place.
11. Tighten the 4 button head screws to secure the hair guard to
the pulley brackets.
12. Turn the carriage back over onto its wheels and place it on the
rails with the headrest toward the risers.
13. Make sure the springbar is in the position closest to the foot
end of the reformer (“first gear”). Attach at least one red
spring to keep the carriage in place.
14. Install the shoulder rests back onto the carriage by sliding
them into the slots and away from the carriage pad.
15. Install new flanged shoulder posts onto the protruding
threads of the shoulder rests. Turn the flanged shoulder posts
clockwise to tighten. Hand tighten so the shoulder rest does
not move. Repeat on the other side. See Figure G.
Figure D
Figure B
Circular holes
Slotted holes
Threaded holes
Step 6
Step 8 Step 8 Step 6
Figure C
Figure F
(Rope hole) Step 8
Step 6
Step 11
Figure E
2
ADDING LOWER MOUNT PULLEYS
16. Hold the drill template on the outside of the frame, in either
position as shown in Figure H.
17. If you have a tower, the top curves of the drill template will
fit and match the tower bracket. If you do not have a tower
bracket, the inside “L” of the template will be aligned with the
inside corners of the frame.
18. Once the template is in position, tape it in place to secure it.
You can also hold the template in position and mark the hole
on the wood with a pencil, then remove the template to drill
the marked location.
19. Using the provided drill bit, drill through the wooden frame.
Remove the drill template and tape, flip it over and place on
the opposite side to drill the other hole. Tape in place and drill.
20.Remove any burrs or wood splinters from both sides of the
frame.
21.Install the Pulley Spring Assembly as shown in Figure J. There
will be one plastic spacer on both sides of the pulley spring,
one will be against the side of the wood, and on the outside
frame, a washer, nut then acorn nut.
INSTALL RISERS
22.Remove the metal risers from your existing reformer by
removing the detent pins that go through the risers.
23.Install the new riser assemblies into the riser receivers and
install the detent pins. See Figure K.
INSTALL ROPE AND LOOPS
24.Place the black loops with pulleys on the shoulder posts. See
Figure L.
25.Thread one end of the rope through both pulleys under the
carriage and pull the ends evenly toward the risers.
See Figure M.
Figure L
Loop Pulley
Figure M
Figure G
Figure H
Figure J
Figure K
3
26.Take one end of the rope and thread up through the lowest
pulley on the wood frame. Continue threading the rope up
through the upper, inner pulley on the riser block and pull
toward the carriage. See Figure N.
27.Thread the rope through the pulley attached to the black
Tri-Loop with pulley on the same side of the Reformer as the
riser and pull back toward the riser.
28.Thread the rope through the upper, outer pulley on the riser
block and pull back toward the carriage. See Figure O. See
Figure P for a detailed view of the riser pulley block rope
routing.
29.Using a Soft-Touch connection, see Figure Q, secure each
end of the rope to a grey Tri-Loop on the same side of the
Reformer as the riser.
30.Repeat steps 27-29 for the other side of the Reformer.
IMPORTANT SAFETY NOTE: Use of the Konnector system in a manner for which it is not intended may result in equipment damage
and/or injury to the user. Intense cardio work utilizing jarring movements may overload the system. Balanced Body is not responsible
for injuries caused by equipment misuse.
Questions? Call Balanced Body Technical Support at 1-800-PILATES (US and Canada), or +1-916-388-2838 (all other countries).
WARNING: Using the existing shoulder posts with a Konnector system can cause the loops to fall off the posts during use which
may cause serious injury.
Figure Q
Figure O
Figure P
Figure N
Contact Us
1-800-PILATES | +1-916-388-2838
pilates.com | info@pilates.com
400-441 | 03.22.19

Other Balanced Body Fitness Equipment manuals
Balanced Body Trapeze Table (Cadillac) Administrator Guide

Balanced Body

Balanced Body Trapeze Table (Cadillac) Administrator Guide

Balanced Body Contrology Cadillac User manual

Balanced Body

Balanced Body Contrology Cadillac User manual

Balanced Body Wall Tower Administrator Guide

Balanced Body

Balanced Body Wall Tower Administrator Guide

Balanced Body Studio Reformer User manual

Balanced Body

Balanced Body Studio Reformer User manual

Balanced Body CoreAlign 616-085 Operation instructions

Balanced Body

Balanced Body CoreAlign 616-085 Operation instructions

Balanced Body Rialto with Riser Konnector Instruction Manual

Balanced Body

Balanced Body Rialto with Riser Konnector Instruction Manual

Balanced Body Rialto Reformer User manual

Balanced Body

Balanced Body Rialto Reformer User manual

Balanced Body Allegro 2 Reformer User manual

Balanced Body

Balanced Body Allegro 2 Reformer User manual

Balanced Body Rialto with Tower Konnector Instruction Manual

Balanced Body

Balanced Body Rialto with Tower Konnector Instruction Manual

Balanced Body CenterLine Pole System Programming manual

Balanced Body

Balanced Body CenterLine Pole System Programming manual

Balanced Body Konnector LITE Instruction Manual

Balanced Body

Balanced Body Konnector LITE Instruction Manual

Balanced Body Reformer with Tower Instruction sheet

Balanced Body

Balanced Body Reformer with Tower Instruction sheet

Balanced Body Allegro Legs Kit Instruction sheet

Balanced Body

Balanced Body Allegro Legs Kit Instruction sheet

Balanced Body Precision Rotator Discs User manual

Balanced Body

Balanced Body Precision Rotator Discs User manual

Balanced Body F.I.T. Quick start guide

Balanced Body

Balanced Body F.I.T. Quick start guide

Balanced Body CoreAlign Quick setup guide

Balanced Body

Balanced Body CoreAlign Quick setup guide

Balanced Body Studio Reformer User manual

Balanced Body

Balanced Body Studio Reformer User manual

Balanced Body Konnector Instruction Manual

Balanced Body

Balanced Body Konnector Instruction Manual

Balanced Body Pilates IQ Reformer Manual

Balanced Body

Balanced Body Pilates IQ Reformer Manual

Balanced Body Allegro Reformer User manual

Balanced Body

Balanced Body Allegro Reformer User manual

Balanced Body IQ REFORMER User manual

Balanced Body

Balanced Body IQ REFORMER User manual
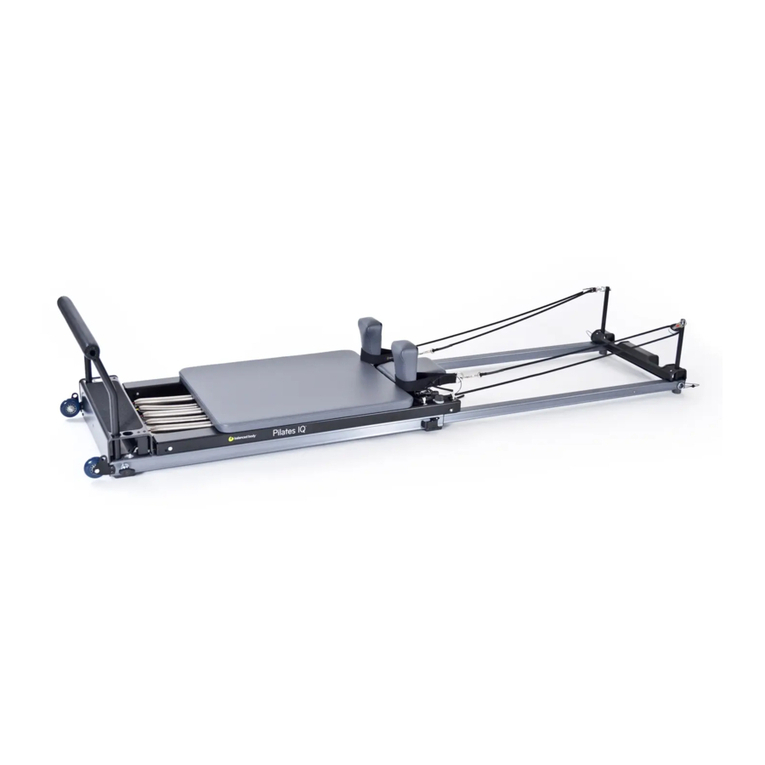
Balanced Body Allegro Reformer Administrator Guide

Balanced Body

Balanced Body Allegro Reformer Administrator Guide

Balanced Body Reformer with Tower Instruction sheet

Balanced Body

Balanced Body Reformer with Tower Instruction sheet

Balanced Body Legacy Reformer User manual

Balanced Body

Balanced Body Legacy Reformer User manual

Popular Fitness Equipment manuals by other brands

Sunny Health & Fitness SF-RW522017BLK user manual

Sunny Health & Fitness

Sunny Health & Fitness SF-RW522017BLK user manual

Rocky Mountain DOVETAIL instructions

Rocky Mountain

Rocky Mountain DOVETAIL instructions

True VC900 owner's manual

True

True VC900 owner's manual

ParaBody 908101 ST Assembly instructions

ParaBody

ParaBody 908101 ST Assembly instructions

AFG 5.3AT owner's manual

AFG

AFG 5.3AT owner's manual

Impex APEX PT-45 owner's manual

Impex

Impex APEX PT-45 owner's manual

Weider Wb-2 Bench manual

Weider

Weider Wb-2 Bench manual

Precor Queenax UFO Assembly

Precor

Precor Queenax UFO Assembly

MediaShop VibroShaper Compact User instructions

MediaShop

MediaShop VibroShaper Compact User instructions

Reebok Z7 Assembly guide

Reebok

Reebok Z7 Assembly guide

Schwinn 9-7300 Technical procedures

Schwinn

Schwinn 9-7300 Technical procedures

Insportline AB Perfect user manual

Insportline

Insportline AB Perfect user manual

BM FITNESS SG8020MT Assembly instructions

BM FITNESS

BM FITNESS SG8020MT Assembly instructions

CYBEX VR3 manual

CYBEX

CYBEX VR3 manual

Body Flex Sports Body Power BRM8981 owner's manual

Body Flex Sports

Body Flex Sports Body Power BRM8981 owner's manual

Teeter Hang Ups FlexTech Series Assembly instructions

Teeter Hang Ups

Teeter Hang Ups FlexTech Series Assembly instructions

Hang ups F5000 owner's manual

Hang ups

Hang ups F5000 owner's manual

Slackers Rickety Bridge manual

Slackers

Slackers Rickety Bridge manual

manuals.online logo
manuals.online logoBrands
  • About & Mission
  • Contact us
  • Privacy Policy
  • Terms and Conditions

Copyright 2025 Manuals.Online. All Rights Reserved.