manuals.online logo
Brands
  1. Home
  2. •
  3. Brands
  4. •
  5. Balanced Body
  6. •
  7. Fitness Equipment
  8. •
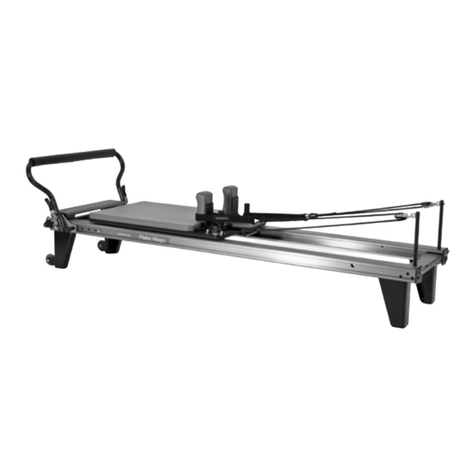
  9. Balanced Body Allegro 1A Instruction Manual

Balanced Body Allegro 1A Instruction Manual

Installing the Balanced Body®
Allegro 1A with Riser Konnector™
The Konnector is compatible with Balanced Body Reformers with
removable shoulder rests ONLY. If you aren’t sure whether this
system will work with your equipment, please contact Balanced
Body at 1-800-PILATES (US and Canada), or +1-916-388-2838
(all other countries).
To view the installation podcast, please visit
www.pilates.com/instructions
TOOLS REQUIRED (NOT INCLUDED):
»Flathead screw driver
PARTS LIST (INCLUDED):
ITEM PART NO. QTY
Konnector Rope 210-073 1
Tri-Loops (Grey) 210-061 2
Tri-Loops (Black) with pulleys 210-060 2
Allegro 1 A Riser Post Assembly 624-007 2
Lower Mount Allegro Assembly 624-006 2
Under Carriage Mount Assembly 624-004 2
Low Support Bracket A1A 624-010 1
Flanged Shoulder Post, Black 624-008 2
Truss Head Screw 1/4-20 x 1-1/4” GEN9235 2
Flat head cap screw 1/4-20 x 1-3/4” 210-216 4
Button head screw 1/4-20 x 3/4” GEN7325 2
Plastic Washer A1A Konnector 607-545 2
Washer, Flat, 1/4” GEN9305 6
1/4-20 Hex Nut GEN9056 2
5/32” Allen wrench GEN9282 1
7/16” Wrench 616-113 1
Spacer, Black, 1.5” Diameter** ALL0516 4
**If your machine has legs disregard these spacers. If you
machine has rubber feet, unscrew each foot. Install the spacer on
top of the threaded rubber foot. Screw the foot/spacer assembly
back on machine so spacer is between the machine and rubber
foot.
WARNING: Using the existing shoulder posts with a Konnector
system can cause the loops to fall off the posts during use
which may cause injury.
REMOVE ROPES, POST AND SHOULDER BRACKETS
1. Remove the ropes from the cam cleats, carriage and pulleys.
They are no longer needed.
2. Remove the detent pin from the shoulder rest bracket.
Remove the shoulder rest bracket from the carriage. Repeat
on the other side.
3. Remove the screw and spacer furthest away from the
shoulder pad on the underside of each bracket. See Figure A.
4. Reusing the same spacer that was on the removed screw,
install spacer onto the truss head screws 1-1/4” long. Using
a flat head screw driver secure the truss head screw to the
bottom of each shoulder rest bracket. From the top side of
each bracket, thread by hand, the flanged shoulder post.
See Figure B.
5. Using the provided 5/32” Allen wrench and 7/16” wrench,
remove the four flat head screws as shown in Figure C. Keep
the nuts, they will be reused.
WARNING: If you are only using some of the loops, the
unused loops MUST be stored on the flanged shoulder
posts.
1 2 3 4
Figure B
Figure A
Contact Us
1-800-PILATES | +1-916-388-2838
pilates.com | info@pilates.com
400-450 | 10.29.18
INSTALL THE CARRIAGE PULLEY BRACKETS
6. Bolt the two carriage pulley brackets to the underside of the
carriage using the 1/4-20x1-3/4” long flat head screws. Use
(2) 1/4” flat washers under the nuts that go over the slots in
the brackets. Make sure pulleys are facing the head end as in
Figure D. If the bolts do not go into the Nylon part of the nut,
it is okay to remove the washers.
7. Install the shoulder rests back onto the carriage by sliding
them into the slots and away from the carriage pad. Install the
detent pins into the brackets to lock in place.
INSTALL LOWER PULLEYS
8. Install the low support bracket into the inside frame head
end along with the low support bracket, using the (2) button
head screws, (4) flat washers, (2) half moon washers and nuts.
The half moon washers will be sandwiched between the two
brackets. See Figure E.
9. Remove the current risers by pulling the ring on the pins on
the end of the frame. See Figure F.
10. Slide the riser block with post down into the post holes and
reinstall the detent pins with ring on the head end.
See Figure G.
INSTALL ROPE AND LOOPS
11. Place the black loops with pulleys on the shoulder posts. See
Figure H.
12. Thread one end of the rope through both pulleys under the
carriage and pull the ends evenly toward the risers.
See Figure J.
13. Take one end of the rope and thread up through the lowest
pulley on the frame. Continue threading the rope up through
the upper, inner pulley on the riser block and pull toward
the carriage. See Figure K.
Figure D
Figure E
Figure C
Figure H
Figure G
Figure F
Hex Nut
1/4-20 x 3/4
Screw
Half Moon Spacer
Washer
2
14. Thread the rope through the pulley attached to the black Tri-
Loop with pulley on the same side of the Reformer as the riser
and pull back toward the riser.
15. Thread the rope through the upper, outer pulley on the riser
block and pull back toward the carriage, see Figure L. See
Figure M for a detailed view of the riser pulley block rope
routing.
16. Using a Soft-Touch connection, see Figure N. Secure each
end of the rope to a grey Tri-Loop on the same side of the
Reformer as the riser.
17. Repeat steps 13-16 for the other side of the Reformer.
IMPORTANT SAFETY NOTE: Use of the Konnector system in a manner for which it is not intended may result in equipment damage
and/or injury to the user. Intense cardio work utilizing jarring movements may overload the system. Balanced Body is not responsible
for injuries caused by equipment misuse.
Questions? Call Balanced Body Technical Support at 1-800-PILATES (US and Canada), or +1-916-388-2838 (all other countries).
WARNING: Using the existing shoulder posts with a Konnector system can cause the loops to fall off the posts during use which
may cause serious injury.
Figure K
Figure N
Figure J Figure L
Figure M
3
Contact Us
1-800-PILATES | +1-916-388-2838
pilates.com | info@pilates.com
400-450 | 10.29.18
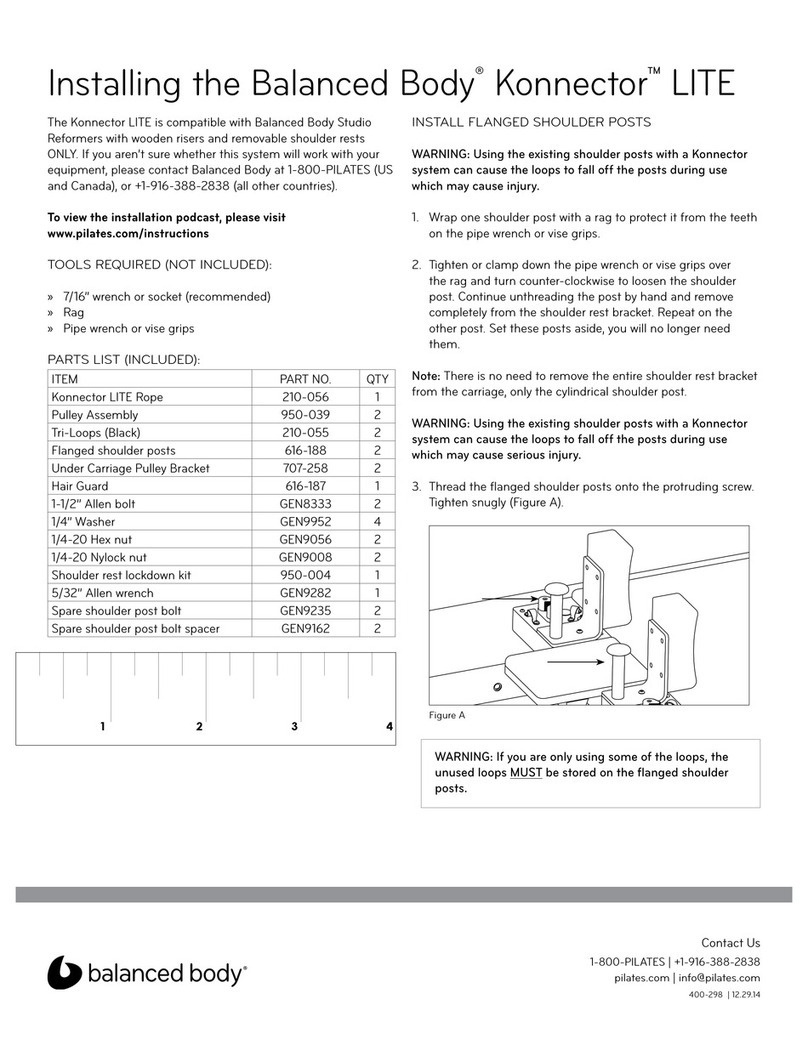
Other Balanced Body Fitness Equipment manuals

Balanced Body IQ REFORMER User manual

Balanced Body

Balanced Body IQ REFORMER User manual

Balanced Body Allegro 36395 User manual

Balanced Body

Balanced Body Allegro 36395 User manual

Balanced Body Allegro Instruction sheet

Balanced Body

Balanced Body Allegro Instruction sheet

Balanced Body CoreAlign Quick setup guide

Balanced Body

Balanced Body CoreAlign Quick setup guide

Balanced Body Pilates Arc User manual

Balanced Body

Balanced Body Pilates Arc User manual

Balanced Body Contrology User manual

Balanced Body

Balanced Body Contrology User manual

Balanced Body Cadillac Trapeze Table Administrator Guide

Balanced Body

Balanced Body Cadillac Trapeze Table Administrator Guide

Balanced Body Konnector Instruction Manual

Balanced Body

Balanced Body Konnector Instruction Manual

Balanced Body CoreAlign Quick setup guide

Balanced Body

Balanced Body CoreAlign Quick setup guide

Balanced Body Studio Reformer User manual

Balanced Body

Balanced Body Studio Reformer User manual

Balanced Body Cadillac User manual

Balanced Body

Balanced Body Cadillac User manual

Balanced Body Konnector LITE Instruction Manual

Balanced Body

Balanced Body Konnector LITE Instruction Manual

Balanced Body Konnector User manual

Balanced Body

Balanced Body Konnector User manual

Balanced Body Allegro User manual

Balanced Body

Balanced Body Allegro User manual

Balanced Body Duet User manual

Balanced Body

Balanced Body Duet User manual

Balanced Body Allegro Administrator Guide

Balanced Body

Balanced Body Allegro Administrator Guide

Balanced Body Arm Chair User manual

Balanced Body

Balanced Body Arm Chair User manual

Balanced Body CoreAlign 616-085 Operation instructions

Balanced Body

Balanced Body CoreAlign 616-085 Operation instructions

Balanced Body Wall Tower Administrator Guide

Balanced Body

Balanced Body Wall Tower Administrator Guide

Balanced Body Trapeze Table (Cadillac) Administrator Guide

Balanced Body

Balanced Body Trapeze Table (Cadillac) Administrator Guide

Balanced Body Legacy Reformer User manual

Balanced Body

Balanced Body Legacy Reformer User manual

Balanced Body Exo Chair Guide

Balanced Body

Balanced Body Exo Chair Guide

Balanced Body Reformer Trapeze Combination Administrator Guide

Balanced Body

Balanced Body Reformer Trapeze Combination Administrator Guide

Balanced Body Reformer with Tower Instruction sheet

Balanced Body

Balanced Body Reformer with Tower Instruction sheet

Popular Fitness Equipment manuals by other brands

SORINEX P00486 Assembly instructions

SORINEX

SORINEX P00486 Assembly instructions

SPARTAN sport X-KROSS owner's manual

SPARTAN sport

SPARTAN sport X-KROSS owner's manual

Weslo FLEX 3.0 user manual

Weslo

Weslo FLEX 3.0 user manual

Keys Fitness Leg Press Hack Squat KF-LPHS owner's manual

Keys Fitness

Keys Fitness Leg Press Hack Squat KF-LPHS owner's manual

LectroTruck LTA6512 owner's manual

LectroTruck

LectroTruck LTA6512 owner's manual

Polanik PP17-S546 TECHNICAL SPECIFICATION INSTRUCTION MANUAL

Polanik

Polanik PP17-S546 TECHNICAL SPECIFICATION INSTRUCTION MANUAL

Technogym MYWELLNESS KIOSK PRE-INSTALLATION

Technogym

Technogym MYWELLNESS KIOSK PRE-INSTALLATION

LesMills SMARTBAR Instructions for use

LesMills

LesMills SMARTBAR Instructions for use

HEALTH RIDER 831.285810 user manual

HEALTH RIDER

HEALTH RIDER 831.285810 user manual

SportsArt Fitness A961 owner's manual

SportsArt Fitness

SportsArt Fitness A961 owner's manual

Mobiclinic FLEXFIT instruction manual

Mobiclinic

Mobiclinic FLEXFIT instruction manual

Epic GZFI8043.1 owner's manual

Epic

Epic GZFI8043.1 owner's manual

Nautilus NT-1830 user manual

Nautilus

Nautilus NT-1830 user manual

Zynex Medical NexWave user manual

Zynex Medical

Zynex Medical NexWave user manual

Shenzhen Roundwhale Technology R-C3 instruction manual

Shenzhen Roundwhale Technology

Shenzhen Roundwhale Technology R-C3 instruction manual

LSG CTG-300 owner's manual

LSG

LSG CTG-300 owner's manual

Goalsetter Systems Junior Hoop Installation & owner's instructions

Goalsetter Systems

Goalsetter Systems Junior Hoop Installation & owner's instructions

Nobol PhysioPedal user guide

Nobol

Nobol PhysioPedal user guide

manuals.online logo
manuals.online logoBrands
  • About & Mission
  • Contact us
  • Privacy Policy
  • Terms and Conditions

Copyright 2025 Manuals.Online. All Rights Reserved.