Barco MVGD 1318 CR/ER Instruction Manual

Installation & User Manual
MVGD 1318 CR&ER

(This page intentionally left blank.)
2
(This page intentionally left blank.)

Table of Contents
3
Table of Contents
Preface ................................................................................................. 4
Safety Instructions........................................................................ 6
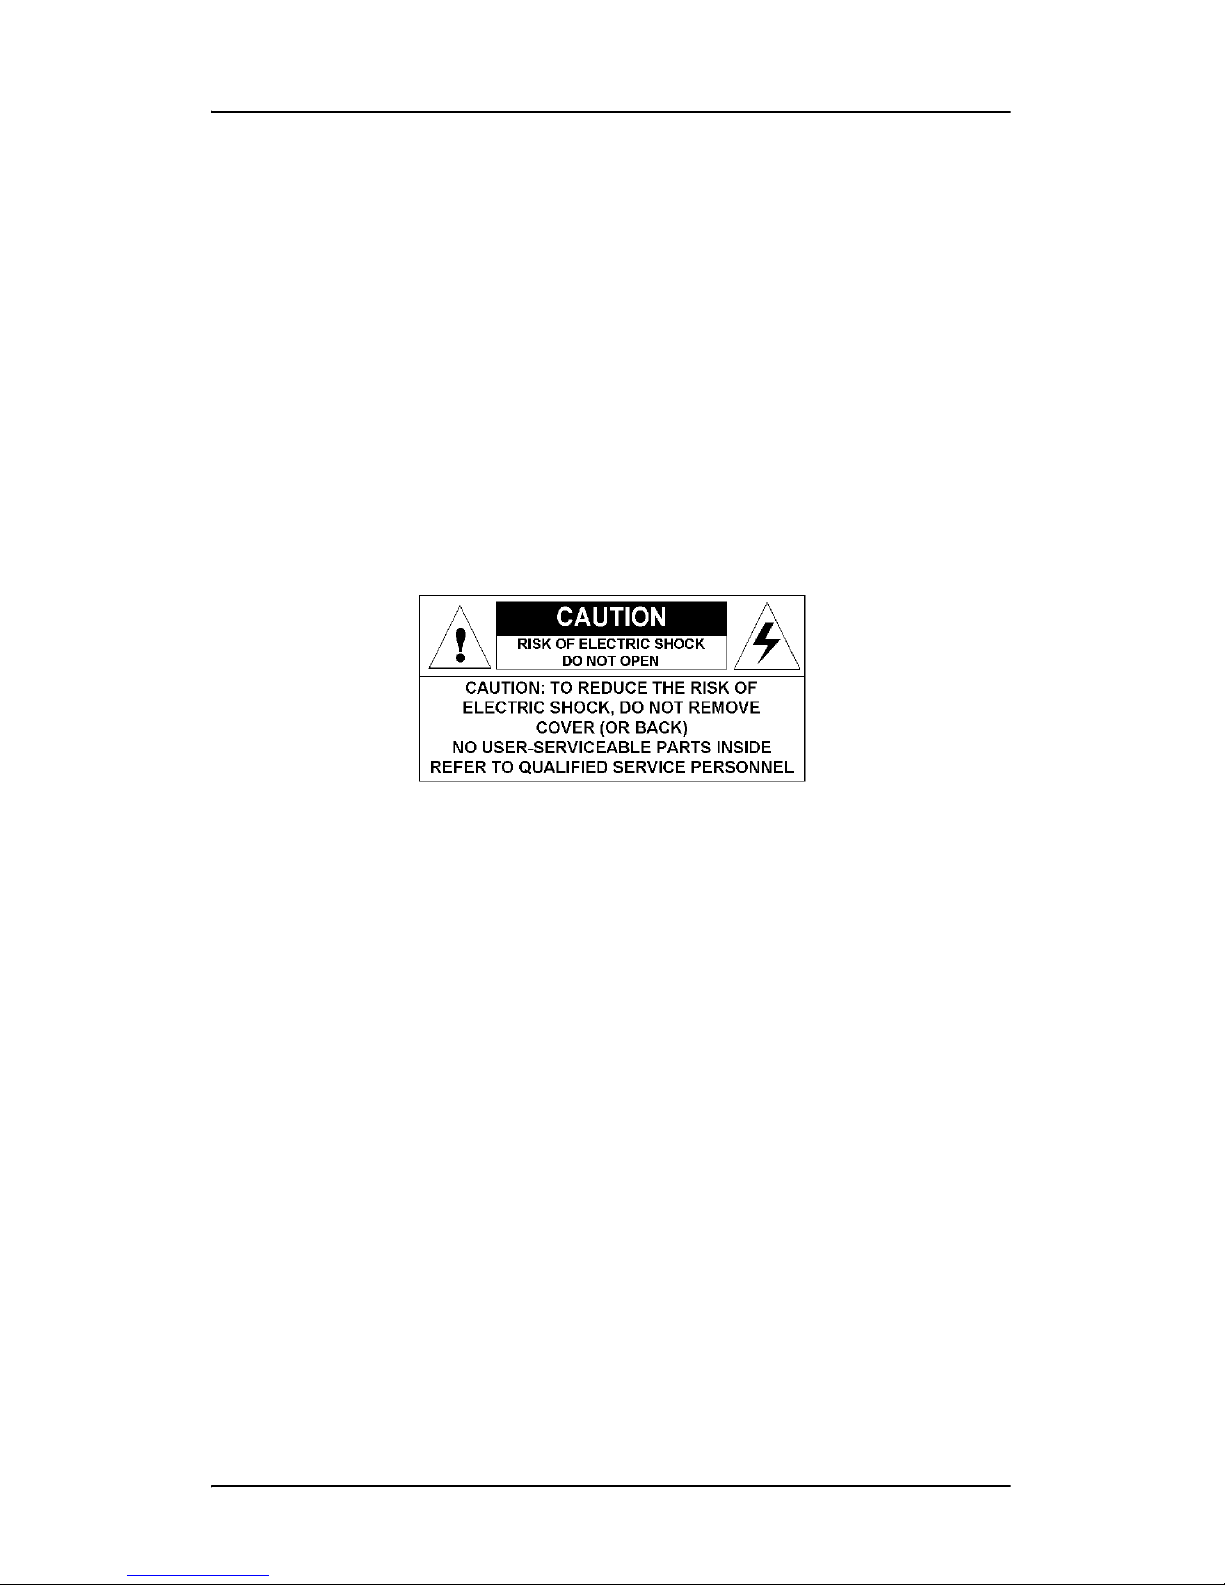
Explanation of symbols................................................................ 8
Overview............................................................................................ 10
Introduction ................................................................................ 10
Parts, controls and connectors................................................... 11
Installation ......................................................................................... 14
Display installation..................................................................... 14
Attaching the display to an arm stand ..................................... 18
Operation ........................................................................................... 20
Stand-by switching..................................................................... 20
About the On-Screen Display (OSD).......................................... 21
Adjustments for a digital video signal...................................... 26
Adjustments for an analog video signal................................... 26
Standard OSD functions.............................................................. 28
Advanced OSD functions............................................................ 37
Locking and unlocking user controls ......................................... 43
Cleaning ............................................................................................. 45
Troubleshooting................................................................................. 47
Technical Information........................................................................ 49
Technical specifications.............................................................. 49
Connector pin assignments ....................................................... 51
Glossary ...................................................................................... 52
Warranty Statement .......................................................................... 54

Preface
4
Preface
This document is copyrighted. All rights are reserved. Nor this
document, nor any part of it, may be reproduced or copied in any form
or by any means - graphical, electronic, or mechanical including
photocopying, taping or information storage and retrieval systems -
without written permission of Barco
© 2006 Barco N.V. All rights reserved.
Notice
Although every attempt has been made to achieve technical accuracy in
this document, we assume no responsibility for errors that may be
found. Our goal is to provide you with the most accurate and usable
documentation possible; if you discover errors, please let us know.
BarcoView software products are the property of BarcoView. They are
distributed under copyright by Barco N.V. or BarcoView, LLC., for use only
under the specific terms of a software license agreement between
Barco N.V. or BarcoView LLC. and the licensee. No other use, duplication,
or disclosure of a BarcoView software product, in any form, is
authorized.
The specifications of BarcoView products are subject to change without
notice.
Trademarks
All trademarks and registered trademarks are property of their
respective owners.
FCC Compliance Information (display)
This device complies with Part 15 of the FCC Rules. Operation is subject
to the following two conditions: (1) this device may not cause harmful

Preface
5
interference, and (2) this device must accept any interference received,
including interference that may cause undesired operation.
NOTE: This equipment has been tested and found to comply with the
limits for a Class B digital device, pursuant to Part 15 of the FCC Rules.
These limits are designed to provide reasonable protection against
harmful interference in a residential installation. This equipment
generates, uses and can radiate radio frequency energy and, if not
installed and used in accordance with the instructions, may cause
harmful interference to radio communications. However, there is no
guarantee that interference will not occur in a particular installation. If
this equipment does cause harmful interference to radio or television
reception, which can be determined by turning the equipment off and
on, the user is encouraged to try to correct the interference by one or
more of the following measures:
• Reorient or relocate the receiving antenna.
• Increase the separation between the equipment and receiver.
• Connect the equipment into an outlet on a circuit different from
that to which the receiver is connected.
• Consult the dealer or an experienced radio/TV technician for
help.
Canadian notice
This ISM device complies with Canadian ICES-001.
Cet appareil ISM est conforme à la norme NMB-001 du Canada.
Disposal Information
The lamps inside the display contain mercury. Do not throw the display
in the trash. Dispose of it as required by local ordinances or regulations.

Preface
6
Safety Instructions
General Recommendations
Read the safety and operating instructions before operating the display.
Retain safety and operating instructions for future reference.
Adhere to all warnings on the display and in the operating instructions
manual.
Follow all instructions for operation and use.
Electrical shock
Type of protection (electrical):
Class I equipment
Degree of safety (flammable anesthetic mixture):
Equipment not suitable for use in the presence of a flammable
anesthetic mixture with air or with oxygen or nitrous oxide.
Power connection
• This apparatus must be earthed.
• Power requirements: The display must be powered by the AC
mains voltage.
•Powercords:
Utilize a UL-listed detachable power cord, 3-wire, type SJ or
equivalent, 18 AWG min., rated 300 V min., provided with a

Preface
7
hospital-grade type plug 5-15P configuration for 120V application,
or 6-15P for 240V application.
• Do not overload wall outlets and extension cords as this may
result in fire or electric shock.
• Mains lead protection (U.S.: Power cord): Power cords should be
routed so that they are not likely to be walked upon or pinched
by items placed upon or against them, paying particular
attention to cords at plugs and receptacles.
Water and moisture
Never expose the display to rain or moisture.
Never use the display near water - e.g. near a bathtub, washbasin,
swimming pool, kitchen sink, laundry tub or in a wet basement.
Ventilation
Do not cover or block the ventilation openings in the cover of the set.
When installing the display in a cupboard or another closed location,
heed the necessary space between the set and the sides of the
cupboard.
Installation
Place the display on a flat, solid and stable surface that can support the
weight of at least 3 displays. If you use an unstable cart or stand, the
display may fall, causing serious injury to a child or adult, and serious
damage to the equipment.
More warnings in the Installation chapter.
Operating precautions
Continuous operation of the display with the same image may result in
some image sticking on the LCD panel. Over 10 hours operation with the
same image content is not recommended.
Switching on DPMS on display and PC and activating a good screen saver
may decrease the risk of image sticking (image retention).

Preface
8
This apparatus conforms to:
CE0120, IEC 60601-1, UL 60601-1, IEC 60950-1,
CAN/CSA C22.2 No. 601.01-M90 (c-UL)
National Scandinavian Deviations for Cl. 1.7.2 :
Finland: "Laite on liitettävä suojamaadoituskoskettimilla varustettuun
pistorasiaan"
Norway: "Apparatet må tilkoples jordet stikkontakt"
Sweden: "Apparaten skall anslutas till jordat uttag"
Explanation of symbols
Symbols on the display and power supply
On the display or power supply, you may find the following symbols:
Indicates compliance to the essential require-
ments of the Directive 93/42/EEC
or
Indicates the display is approved according to
the UL regulations
or
Indicates the display is approved according to
the c-UL regulations
Indicates the display is approved according to
the DEMKO regulations
Indicates the display is approved according to
the CCC regulations

Preface
9
Symbols used throughout the manual:
Indicates the USB connectors on the display
Functional ground terminal
Protective earth terminal
Indicates the manufacturing date
Indicates the temperature limitations for the
display to operate within specs
Indicates the display serial no.
Consult the operating instructions
Indicates this apparatus must not be thrown
in the trash but must be recycled, according
to the European WEEE (Waste Electrical and
Electronic Equipment) directive
Warning: Risk of
injury to human
beings
Caution: Risk of
damage to the
product
Important notice or
remark
Note
Hint, tip Additional
information

Overview
10
Overview
Introduction
Thank you for choosing Barco.
MVGD 1318 CR/ER display
The MVGD 1318 CR/ER is a 18.1-inch grayscale LCD display with a native
resolution of 1280 x 1024.
Its high-brightness, combined with image crispness and excellent
viewing angle, makes it an ideal solution for a multitude of medical
applications and environments.
Long-term stabilization
The display contains a Backlight Output Stabilization system (BLOS©),
which continuously stabilizes the luminance output of the LCD’s
backlight. This improves the overall optical efficiency and provides long-
term image confidence.
Ambient Light Compensation (ALC)
When enabled, the ALC system automatically adapts the display light
output, depending on the ambient light in the room. The ambient light
is measured by the ALC optical sensor located at the front of the display.
Power saving
The display is equipped with a power saving system. When left idle for a
certain time, the computer connected to the display, will power down
the display.
The power saving system can be switched on or off using the on-screen
display.
The power saving system works with the standard Windows power
saving and with the DPMS function on the Barco BarcoMed display
controller (if installed in the PC).

Overview
11
Parts, controls and connectors
Front
Figure 1
1. Ambient Light (ALC) sensor. When ALC is switched on, the display
light output is adapted automatically, depending on the ambient
light measured by the sensor.
2. Power LED
The LED is off when the display is disconnected from the power.
The LED is also off when the LED function is disabled in the on-
screen display (OSD).
The LED is green when the display is on (when enabled in the on-
screen menus).
The LED is orange when the display is in Stand-by power-saving
mode.
3. Control wheel
The control wheel can be pressed like a push button and rotated
like a knob.
It allows to put the display in stand-by, navigate through the on-
screen display (OSD) menus and change values in the OSD.
c d
e

Overview
12
Rear
Figure 2
1. Connector compartment cover
To get access to the connectors, remove the cover by pulling down
the 2 clips at the top of the cover.
Connectors
Figure 3
1. DVI-I video input
2. D-Sub 15 or VGA (analog) video input
3. Analog video input (separate or composite)
This is a monochrome video input
Video amplitude: 500-950 mV
Sync amplitude for composite video: 200-400 mV
c
cd
efg ih

Overview
13
4. Composite or Horizontal Sync (CS/HS) input
Amplitude: 500 mV to 5V
5. Vertical Sync (VS) input
Amplitude: 500 mV to 5V
6. USB upstream port
USB 1.1 standard is supported.
Connect this connector to the PC USB bus if you wish to control the
display via the USB bus.
7. AC power input, 90 - 264 Vac
Caution: Double pole / neutral fusing.
Connect the mains voltage to this connector.

Installation
14
Installation
Precautions
• Keep your original packaging. It is designed for this display and
is the ideal protection during transport.
• Avoid reflections in the flat panel to reduce eye strain.
• Place the display on a strong and stable table or desk (desktop
version).
• Keep the display away from heat sources and provide enough
ventilation around the display.
• Do not scratch or apply pressure to the LCD panel. This may
damage the panel permanently.
Display installation
Power connection
To connect the power:
1. To get access to the connectors, remove the connector
compartment cover by pulling down the 2 clips at the longest side
of the cover.
2. Connect one end of the proper power cable to the AC input of the
display.
Figure 4
3. Connect the other end of the power cord to a power outlet.

Installation
15
Video connection
The display accepts 3 different video formats: DVI-I, VGA (analog) and
BNC (analog, only for monochrome video signals).
You can connect one or all of these inputs.
If more than 1 input is connected you can switch inputs by using the
display’s on-screen display.
Connecting DVI signals
1. Connect one end of the DVI cable to the DVI input of the display.
Figure 5
2. Connect the other end of the DVI cable to the DVI connector of the
signal source.
Connecting analog video to the VGA connector
Proceed as follows:
1. Connect one end of the VGA cable to the D15 input of the display.

Installation
16
Figure 6
2. Connect the other end of the VGA cable to the analog video output
of the signal source.
Note: If you connect an analog video signal, you may need to
perform some image adjustments to obtain optimum image
quality. Please refer to chapter “Operation”.
Connecting analog video to the BNC inputs
The video signal must be monochrome. You should use a proper video
cable (e.g., from VGA to BNC). This cable is not delivered with the
system.
Proceed as follows:
1. Connect one end of the signal cable to the analog video output
(monochrome) of the signal source.
2. Connect the Video signal to the display’s BNC input labeled
“Video”.
3. In case of separate video and sync signals, connect the horizontal
or composite sync signal to the display’s BNC input labeled “HS/
CS”.
4. In case of separate video and sync signals, connect the vertical
sync signal to the display’s BNC input labeled “VS”.

Installation
17
Figure 7
Note: If you connect an analog video signal, you may need to
perform some image adjustments to obtain optimum image
quality. Please refer to chapter “Operation”.
USB connection
The USB connection allows you to use the display as USB hub, to which
you can connect USB devices, such as a keyboard, mouse or digital
camera. It also makes it possible to control the display with external
software.
To connect the USB cable:
1. Connect a PC USB downstream connector to the display’s USB
upstream connector.
2) 3) 4)

Installation
18
Figure 8
Cable routing
Routing the signal cables
• Bind the cables in the connector compartment together with the
cable tie inside the connector compartment.
• Put the connector compartment cover back on the display. Pay
attention that the signal cables are positioned under the bulge
in the cover.
Attaching the display to an arm stand
The panel is compatible with the VESA 100 mm standard. So it can be
used with an arm stand according to the VESA 100 mm standard.
Important:
• Use an arm that is approved by VESA (according to the VESA 100
mm standard).
• Use an arm that can support a weight of at least 13 kg (28.66
lbs).
1)
PC

Installation
19
To attach the display to an arm stand:
1. Attach the arm stand firmly to the panel using 4 screws M4 x 8
mm.
Figure 9
4 screws M4 x 8mm

Operation
20
Operation
Operating precautions
Continuous operation of the display with the same image may result in
some image sticking on the LCD panel. Over 10 hours operation with the
same image content is not recommended.
Switching on DPMS on display and PC and activating a good screen saver
may decrease the risk of image sticking (image retention).
Stand-by switching
When the display is on and no on-screen display is visible, push the
control wheel at the front for a few seconds to switch the display in
stand-by. The LED turns orange.
Figure 10
When the display is in stand-by, press the control wheel to switch it
back on. The LED turns green.
Push and hold
Table of contents
Other Barco Monitor manuals

Barco
Barco MDSC-8258 User manual

Barco
Barco MDRC Series User manual

Barco
Barco DU10P User manual

Barco
Barco AMM215WTD User manual

Barco
Barco MDSC-2326 MNAH User manual

Barco
Barco MDSC-2124 User manual

Barco
Barco SLite Series User manual

Barco
Barco R9850100 User manual

Barco
Barco X8 User manual

Barco
Barco SLite 10 XP Product guide

Barco
Barco KVD5521 User manual

Barco
Barco SLite 10 XP Manual

Barco
Barco MDSC-1119-2124 Technical manual

Barco
Barco MFCD 1219 (TS User manual

Barco
Barco TX-126 User manual

Barco
Barco Coronis Fusion 6MP User manual

Barco
Barco OverView OVL815 Owner's manual

Barco
Barco MDSC-8358 Series User manual

Barco
Barco Coronis User manual

Barco
Barco MRFD-243 A User manual