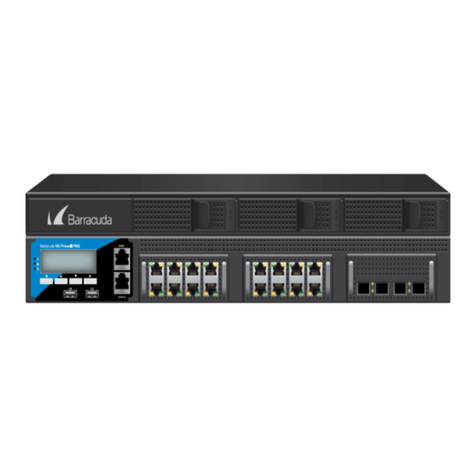
Barracuda SSL VPN - Quick Start Guide
Conrm the Network Settings
1. Go to the BASIC > IP Conguration page to verify your settings:
•Verify the IP Address, Subnet Mask, and Default Gateway.
•Verify the Primary and Secondary DNS Server.
•Enter the Default Hostname and Default Domain.
•If you are using a proxy server on your network, verify the Proxy Server Conguration settings
2. Complete the rest of the elds on this page and save your changes.
Complete the Product Activation
If a warning message is displayed at the top of every page on the Barracuda SSL VPN appliance web
interface, activate the Barracuda SSLVPN by following these steps:
1. Click on the link in the warning message or use the link on the BASIC > Status page to open the
Barracuda Networks Product Activation page in a new browser window.
2. Fill in the required elds and click Activate. A conrmation page opens, displaying the terms of your
subscription.
Update the Firmware
Barracuda Networks recommends to use the Latest General Release.You can update by visiting the
ADVANCED > Firmware Update page and following these steps:
1. Click Download Now.You will be notied when the download is complete.
2. Click Apply Now to apply the rmware.This takes a few minutes.
3. The system will automatically reboot and prompt you to log in, after the rmware is applied.
Change the Administrator Password
To avoid unauthorized use, change the default appliance administrator password.
1. Go to BASIC > Administration page and change your password.
2. Complete the rest of the elds on this page.
3. Click Save Changes.
Verify Incoming Connections to the Barracuda SSLVPN
The Barracuda SSLVPN is able to accept incoming SSL connections, once your corporate rewall is
congured to forward SSL connections through to the Barracuda SSL VPN.
1. Test the connection, by using a web browser from the Internet (not inside the LAN) to establish an SSL connection
to the external IP address of your corporate rewall. For example, if your rewall’s external IP address is
203.0.113.1, direct your browser to https://203.0.113.1/
2. Proceed at the certicate warning.
3. On the login page for the SSL VPN web interface, log in with the default credentials for the SSL VPN administrator:
Login: ssladmin
Password: ssladmin
Now you can set up accounts and other resources for users of the Barracuda SSL VPN.
Next Steps
•Obtain a trusted certicate signed by a third party Certication Authority (CA) for the Barracuda SSL VPN.
•Register a hostname with your DNS server for the Barracuda SSL VPN
For Barracuda Firewall technical documentation, visit
http://techlib.barracuda.com/SSLVPN
Contact and Copyright Information
Barracuda Networks, Inc. 3175 S. Winchester Blvd, Campbell, CA 95008 USA • phone: 408.342.5400 • fax: 408.342.1061 • www.barracuda.com Copyright 2004-2013 • Barracuda Networks, Inc. All rights reserved. Use of this product and this manual is subject to license. Information in this document is subject to change without notice. Barracuda
SSL VPN is a trademark of Barracuda Networks, Inc. All other brand and product names mentioned in this document are registered trademarks or trademarks of their respective holders.The Software supplied with this Product is provided under license from Barracuda Networks, Inc. and other licensors, and certain of the programs included in the
Software may be provided under the GNU General Public License (GPL) or the Lesser General Public License (LGPL). In accordance with the terms of the GPL and LGPL, you may request a copy of the relevant source code.This oer is valid for up to three years from the date of original purchase of the Product. For terms of use for this product, visit
http://techlib.barracuda.com/x/SSLVPNWarrantyLicense (LimitedWarranty and License) in the Barracuda TechLibrary. V2.3-120911-05-1030sk
6
7
8
9
10
