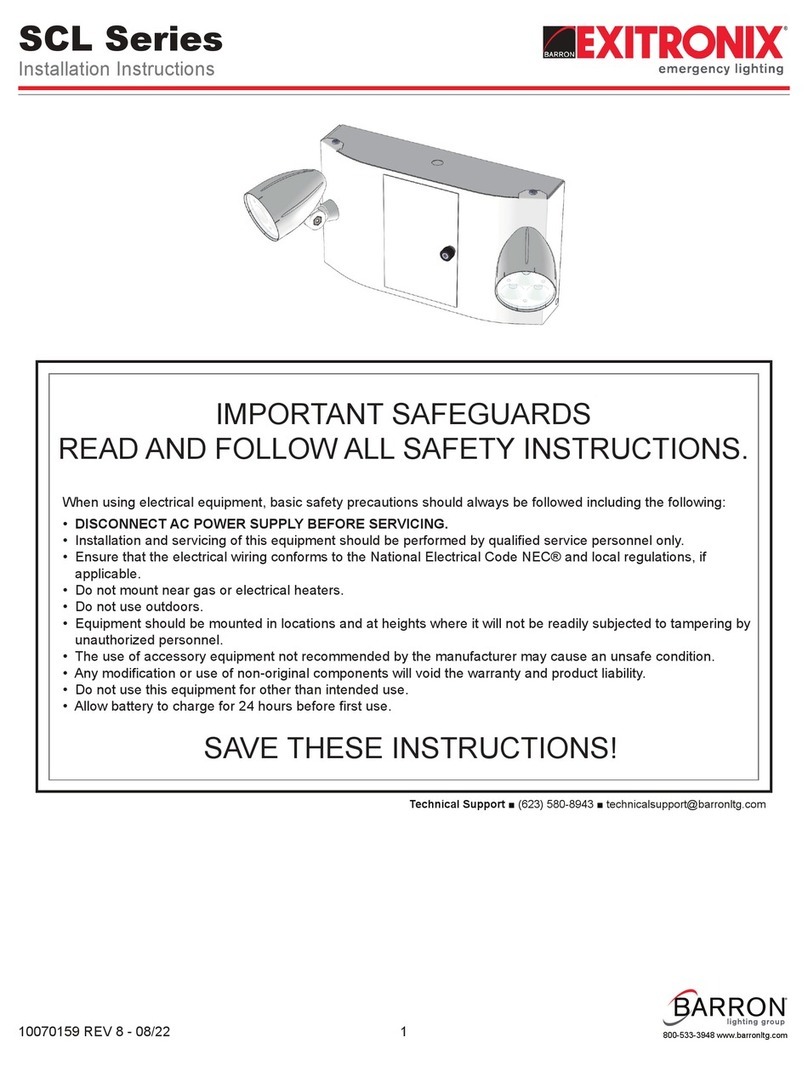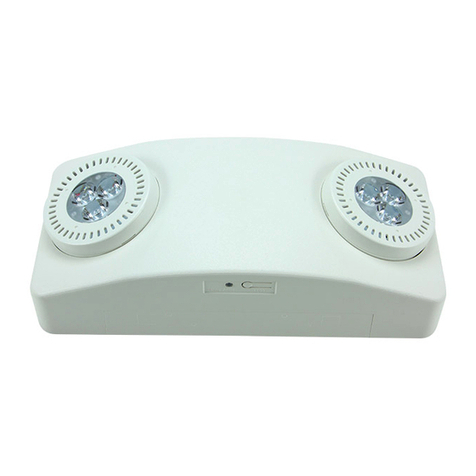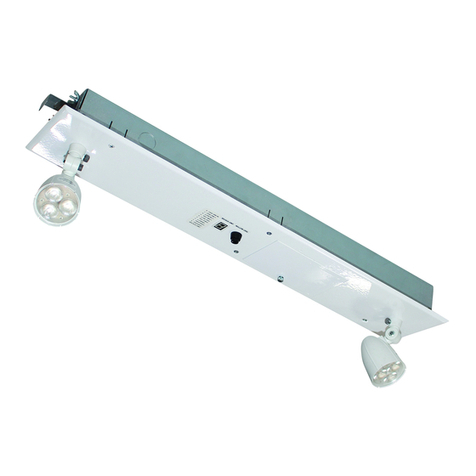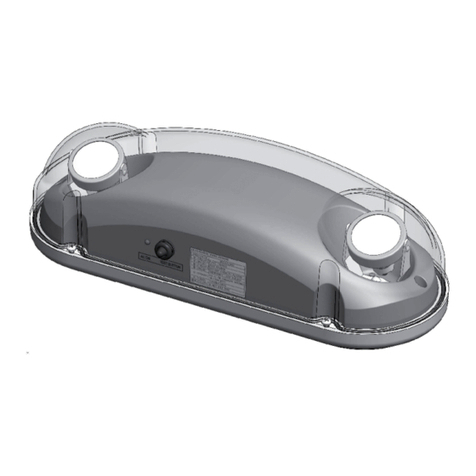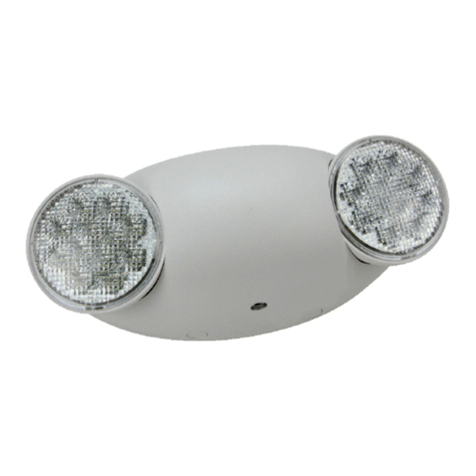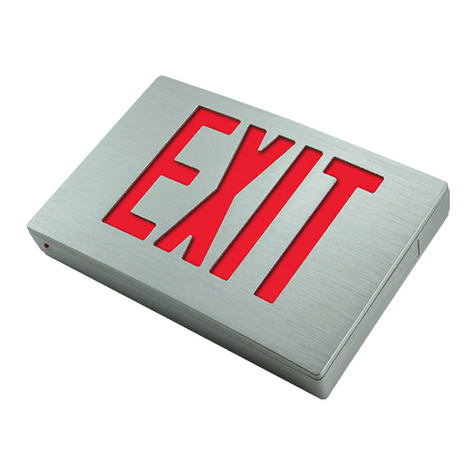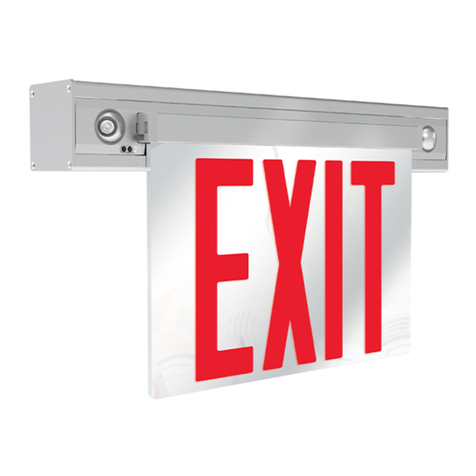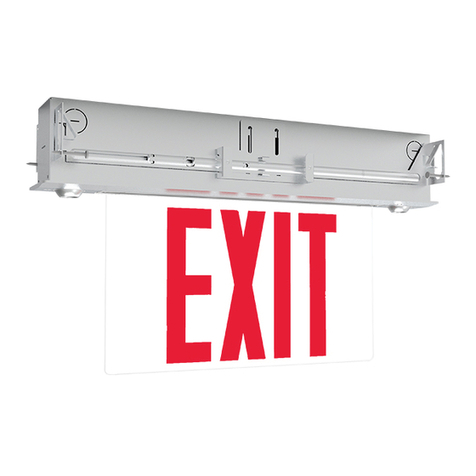
Wall/Ceiling Mount - Back Power Feed
1. Insert a flat blade screwdriver into the two slots to remove front cover from backplate. (Fig 1).
2. Remove knockout from center of backplate and route wires through the hole.
3. Remove appropriate knockouts on backplate and mount to junction box.
4. Connect the fixture wires to the power supply wires using the wire nuts provided. Connections should be made inside
junction box. Connect the white wire to neutral and black wire to the hot lead. Refer to Wiring Diagram section.
5. Connect remote lamp wires if fixture is remote capable. Refer to Remote Lamp Connection section.
6. Plug battery male connector into battery female connector on power supply. (Fig 2).
7. Snap the front cover on the backplate.
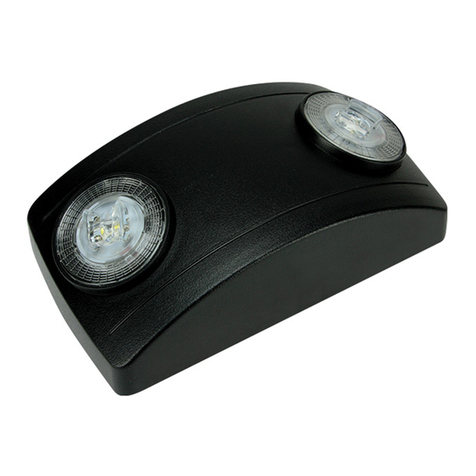
8. Restore power and test fixture by pressing test button. LED heads will turn on.
9. Adjust the direction of lamp heads for optimal lighting coverage.
INSTALLATION INSTRUCTIONS
1
IMPORTANT SAFEGUARDS
READ AND FOLLOW ALL SAFETY INSTRUCTIONS.
When using electrical equipment, basic safety precautions should always be followed including the following:
•DISCONNECT AC POWER SUPPLY BEFORE SERVICING.
• Installation and servicing of this equipment should be performed by qualified service personnel only.
• Ensure that the electrical wiring conforms to the National Electrical Code NEC® and local regulations if applicable.
• Do not mount near gas or electrical heaters.
• Do not use outdoors.
• Equipment should be mounted in locations and at heights where it will not readily subjected to tampering by
unauthorized personnel.
•The use of accessory equipment not recommended by the manufacturer may cause an unsafe condition.
Any modification or use of non-original components will void the warranty and product liability.
• Do not use this equipment for other than intended use.
• Allow battery to charge for 24 hours before first use.
SAVE THESE INSTRUCTIONS!
INSTALLATION INSTRUCTIONS
NFT Series
10070187 Rev 3 - 03/18
Open fixture
Use screwdriver
to pry open
Wire nut
Mounting
screw
Backplate
Battery
connector
Front
cover
Wall mount - Back Power Feed
Fig. 2Fig. 1
Use Flexible Condult Only

