manuals.online logo
Brands
  1. Home
  2. •
  3. Brands
  4. •
  5. BARRON
  6. •
  7. Lighting Equipment
  8. •
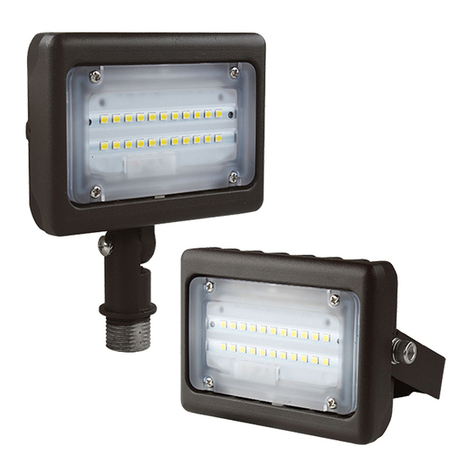
  9. BARRON Trace-Lite E110 User manual

BARRON Trace-Lite E110 User manual

Other BARRON Lighting Equipment manuals

BARRON Exitronix 900E Series User manual

BARRON

BARRON Exitronix 900E Series User manual

BARRON Exitronix NFT Series User manual

BARRON

BARRON Exitronix NFT Series User manual

BARRON EXITRONIX EQUITY QMR Series User manual

BARRON

BARRON EXITRONIX EQUITY QMR Series User manual

BARRON TRACE-LITE WTA Series User manual

BARRON

BARRON TRACE-LITE WTA Series User manual

BARRON Growlite GLB-315-A-120/277 User manual

BARRON

BARRON Growlite GLB-315-A-120/277 User manual

BARRON EXITRONIX LL30 Series User manual

BARRON

BARRON EXITRONIX LL30 Series User manual

BARRON TRACE-LITE AXL2 User manual

BARRON

BARRON TRACE-LITE AXL2 User manual

BARRON EXITRONIX ILX Series User manual

BARRON

BARRON EXITRONIX ILX Series User manual

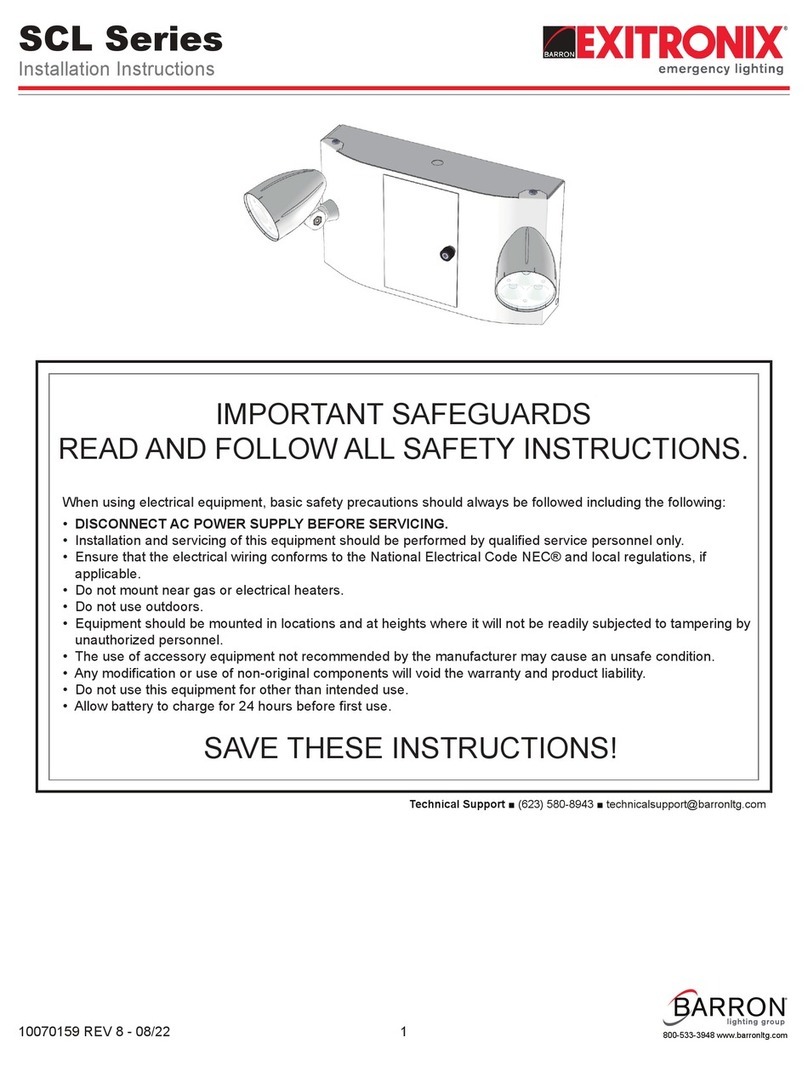
BARRON EXITRONIX SCL Series User manual

BARRON

BARRON EXITRONIX SCL Series User manual

BARRON Trace-Lite AXL2 User manual

BARRON

BARRON Trace-Lite AXL2 User manual

BARRON Growlite GRM User manual

BARRON

BARRON Growlite GRM User manual

BARRON Speciality LED FBTCJ-24V User manual

BARRON

BARRON Speciality LED FBTCJ-24V User manual

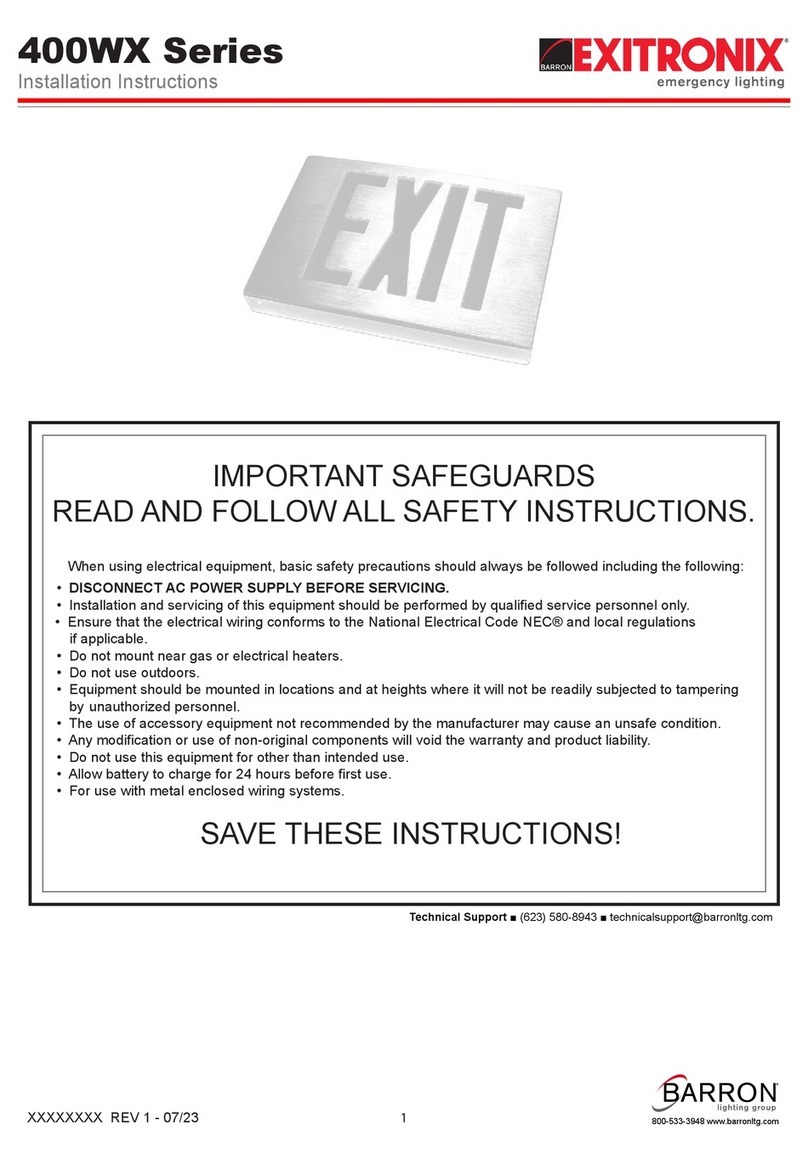
BARRON EXITRONIX 400WX Series User manual

BARRON

BARRON EXITRONIX 400WX Series User manual

BARRON Growlite GLE-GL User manual

BARRON

BARRON Growlite GLE-GL User manual

BARRON specialtyLED FTK User manual

BARRON

BARRON specialtyLED FTK User manual

BARRON TL301 User manual

BARRON

BARRON TL301 User manual

BARRON Exitronix VEX-8 NEMA User manual

BARRON

BARRON Exitronix VEX-8 NEMA User manual

BARRON EXITRONIX LED-51 Series User manual

BARRON

BARRON EXITRONIX LED-51 Series User manual

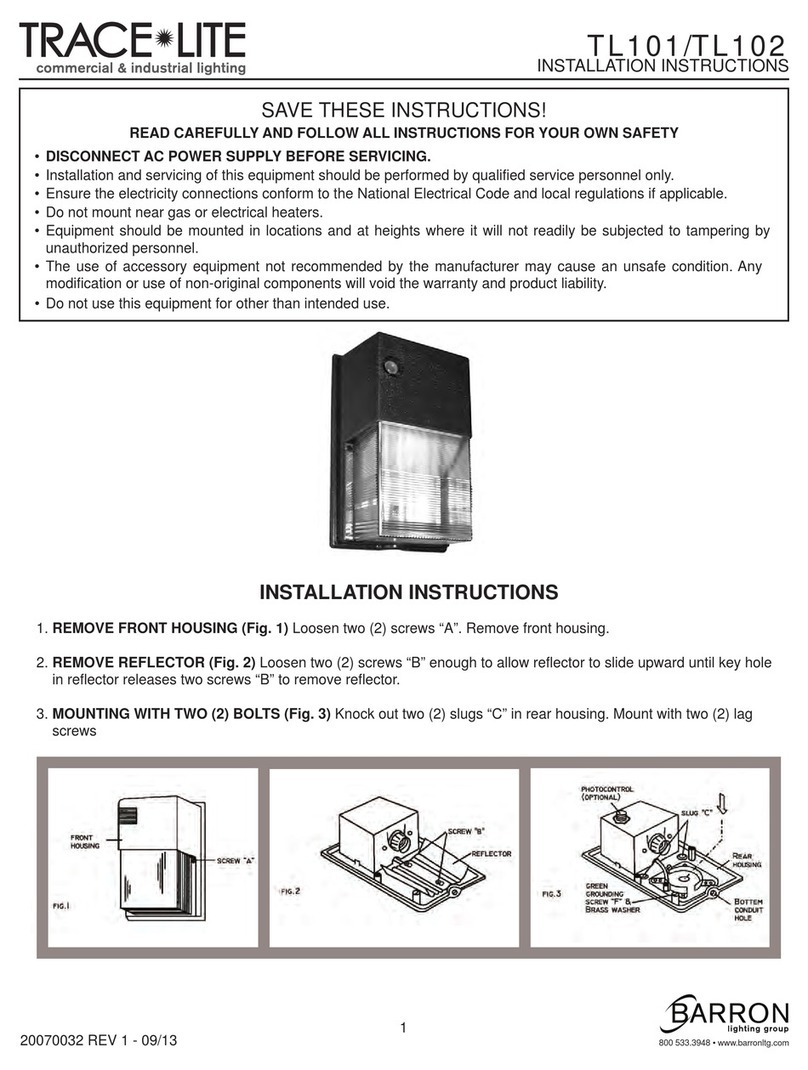
BARRON TRACE-LITE TL101 User manual

BARRON

BARRON TRACE-LITE TL101 User manual

BARRON Exitronix CRL Series User manual

BARRON

BARRON Exitronix CRL Series User manual

BARRON EXITRONIX CRL Series User manual

BARRON

BARRON EXITRONIX CRL Series User manual

BARRON Exitronix NY900C Series User manual

BARRON

BARRON Exitronix NY900C Series User manual

BARRON Exitronix S900C Series User manual

BARRON

BARRON Exitronix S900C Series User manual

BARRON Exitronix 400U Series User manual

BARRON

BARRON Exitronix 400U Series User manual

Popular Lighting Equipment manuals by other brands

Life 39.9F70020C quick start guide

Life

Life 39.9F70020C quick start guide

EuroLite LED ML-20 user manual

EuroLite

EuroLite LED ML-20 user manual

LIGMAN OD-50141 installation manual

LIGMAN

LIGMAN OD-50141 installation manual

Home Accents Holiday 1002461144 instructions

Home Accents Holiday

Home Accents Holiday 1002461144 instructions

Experia IRiS Ripple Light instruction manual

Experia

Experia IRiS Ripple Light instruction manual

Erco Gecko Mounting instructions

Erco

Erco Gecko Mounting instructions

Inter-lux ZTA.100.Surface Installation and maintenance instructions

Inter-lux

Inter-lux ZTA.100.Surface Installation and maintenance instructions

Whelen Engineering Company TN Series installation guide

Whelen Engineering Company

Whelen Engineering Company TN Series installation guide

IKEA BJÖRKSPIREA manual

IKEA

IKEA BJÖRKSPIREA manual

Toolland PM 6640 instruction manual

Toolland

Toolland PM 6640 instruction manual

GTD GTD-LP200 user manual

GTD

GTD GTD-LP200 user manual

LIVARNO home 1105-W-UK manual

LIVARNO home

LIVARNO home 1105-W-UK manual

ProLights EclPar IPMFC user manual

ProLights

ProLights EclPar IPMFC user manual

Velvet EVO Series user manual

Velvet

Velvet EVO Series user manual

IDTOLIGHT GENT installation instructions

IDTOLIGHT

IDTOLIGHT GENT installation instructions

MAYTONI S35 installation manual

MAYTONI

MAYTONI S35 installation manual

MaxLite MLFP14DP4535 user manual

MaxLite

MaxLite MLFP14DP4535 user manual

SLV Elektronik 550621 instruction manual

SLV Elektronik

SLV Elektronik 550621 instruction manual

manuals.online logo
manuals.online logoBrands
  • About & Mission
  • Contact us
  • Privacy Policy
  • Terms and Conditions

Copyright 2025 Manuals.Online. All Rights Reserved.

INSTALLATION INSTRUCTIONS
800.533.3948 • www.barronltg.com
1
1
1
20070136 REV 2 - 02/19
E110
A
A
CC
A
B
C
A-1/2” NPS tapped holes (surface conduit or photo control).
B -3/4” dia. backplate access hole.
C - 5/16” Mounting holds
Screw
Housing
Sealing ring
Gasket
Leveling Bubble
Backplate
Driver location may
vary depending on
the model
IMPORTANT SAFEGUARDS
READ AND FOLLOW ALL SAFETY INSTRUCTIONS.
When using electrical equipment, basic safety precautions should always be followed including the following:
• DISCONNECT AC POWER SUPPLY BEFORE SERVICING.
• Installation and servicing of this equipment should be performed by qualified service personnel only.
• Ensure that the electrical wiring conforms to the National Electrical Code NEC® and local regulations if applicable.
• Do not mount near gas or electric heaters.
• Equipment should be mounted in locations and at heights where it will not be readily subjected to tampering by
unauthorized personnel.
• The use of accessory equipment not recommended by the manufacturer may cause an unsafe condition.
• Any modification or use of non-original components will void the warranty and product liability.
• Do not use this equipment for other than intended use.
SAVE THESE INSTRUCTIONS!
Junction box Mount
1. Loosen screws and remove the front housing carefully from the
backplate (Fig. 1).
2. Drill appropriate knockouts (B) for wiring. The fixture supports standard
3 1/4'' and 4''J-box. (Fig. 2)
Note: Do not rely solely on fasteners at the J-box.
3. Drill out the mounting holes (C) from the backplate and secure to the
wall with appropriate screws (hardware provided by others).
Note: Use the supplied gasket for a weather tight seal.
4. Connect the wires (See Wiring section)
5. Replace the housing onto the backplate hinges, make connections,
then close and tighten with screws.
Conduit Mount
1. Loosen screws and remove the front housing carefully from the
backplate.
2. Remove 1/2” plug (A) for conduit feed.
3. Drill out the mounting holes (C) from the backplate and secure to the
wall with appropriate screws (hardware provided by others).
Note: Use the supplied gasket for a weather tight seal.
4. Connect the wires (See Wiring section).
5. Replace the housing onto the hinges, make connections then close and
tighten with screws.
Note: Construction is suitable for downlight ONLY.
Fig. 1
Fig. 2

INSTALLATION INSTRUCTIONS
800.533.3948 • www.barronltg.com
2
E110
Wiring
Make electrical connections as follows:
Note: This fixture auto adjusts for voltages from 120-277V.
Cap all unused leads to prevent shorting.
EM MODELS: Securely connect the battery before closing the unit.
To prevent battery damage connect battery only after continuous
AC power can be supplied to the unit.
IMPORTANT: Weather-proof your outdoor installation, be sure to
seal all holes in the fixture’s housing such as the mounting,
conduit, plugs, sensors, photocontrols, etc. with silicone sealant.
Troubleshooting
If the E110 does not turn on:
1. Check incoming voltage to the LED driver, voltage must be between 120VAC and 277VAC.
2. If all LEDs do not illuminate, the driver(s) may be disconnected. Ensure driver(s) are secure. If secure, use
multimeter to check voltage is present at the output of the power supply. If low or no voltage, consult factory.
3. If some, but not all LEDs are illuminated, consult factory for additional technical support. Please have the catalog
number and photos available when contacting technical support.
EM MODELS: Check that the battery and test button are securely connected. Check using a multimeter if the
voltage is below the rating written on the battery, battery may need to be replaced.
Black - Line
White - Neutral
Green/Yellow Green - Ground
If Dimming is used:
Purple - DIM+
Gray - DIM-
20070136 REV 2 - 02/19