manuals.online logo
Brands
  1. Home
  2. •
  3. Brands
  4. •
  5. Baumatic
  6. •
  7. Oven
  8. •
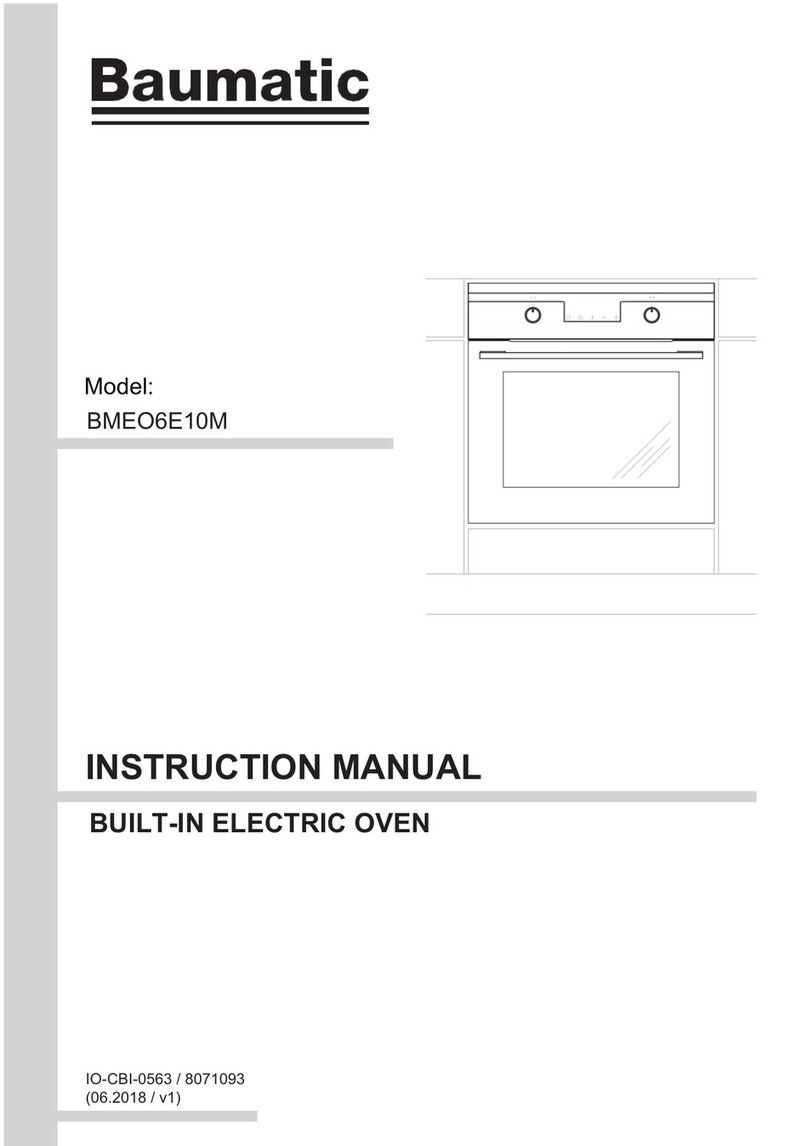
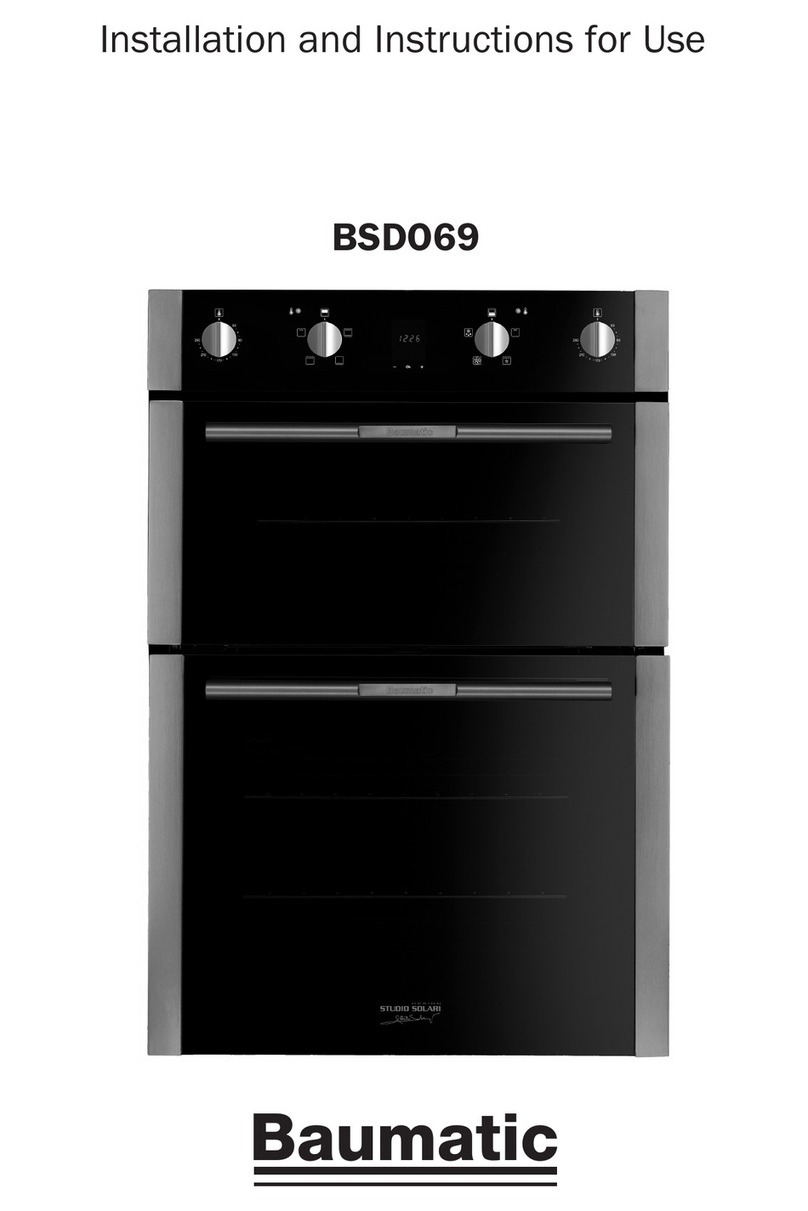
  9. Baumatic ELECTRIC SINGLE OVENS User manual

Baumatic ELECTRIC SINGLE OVENS User manual

INSTRUCTION MANUAL
www.baumatic.com
GAS SINGLE
OVENS
USER AND INSTALLATION
INSTRUCTIONS
For future reference please record the following information
which be found on the Rating Plate and the date of purchase
which can be found in the invoice:
Model Number…………………….
Serial Number…………………….
Date of Purchase……………………
Supplier . . . . . .……………………













!"#$%&


                      





''$%!(!)*$#&
*)%$$"$!$"$)#!*('''#!"#
*''$$+"#*''+%($&


 




    




1























    

2







!#


$
&
'()
*
+
+,
+
+   -   &    

3




0,1











0,1




$
%
DIMENSIONI FORNO INCASSO
DIMENSIONS OVEN SLOT-IN UNIT
DIMENSIONS FOUR EINBAUNISCHE
ABMESSUNGEN HERD EINBAUNISCHE
DIMENSIONES HORNO EMPOTRAMIENTO
altezza / height / hauteur / höhe / altura 595mm 585mm
larghezza / width / largeur / breite / largo 895mm 865mm
proffondità / depth / profondité / tiefe / profundidad 548mm 560mm
volume / volume / volume / volumen / volùmen 105l. Lordo / gross / brut / brutto / bruto 73l. Netto / net / net / netto / neto
7$5*+(77$'$7,
UDWLQJSODWH
SODT HWWHGLGHQWLILFDWLRQ
GDWHQVFKLOG
SODFDGHFDUDFWHU©VWLFDV
AB
4
INSTALLATION PREMISES
For correct operation of the appliance,
sufficient natural ventilation must be
provided in the room for combustion of
the gas.
Installation personnel must follow the
safety regulations in force in the country.
The room must be ventilated directly via
inlets on the outside walls.
These inlets must have a free section of at
least 100 cm² (one or more inlets can be
provided).
Combustion products must be discharged
by means of extractor hoods connected to
the flue or directly to the outside.
If it is not possible to install an extractor
hood, an electric fan must be fitted either
to the outside wall or the window; the
room must be provided with ventilation
inlets in compliance with current
regulations. The fan flow rate must be
able to guarantee an hourly exchange of
air 3-5 times the volume of the kitchen.
5
CONNECTION
At the bottom of the oven surround you
will find a rating plate specifying the gas
used for calibration. If you are using
exactly the same type of gas, carefully
follow the connection instructions. If not,
the oven must be adapted to the type of
gas available before following the
connection instructions.
Connection instructions
The appliance must be connected to the
gas supply by means of a rigid metal pipe
or a metal hose in compliance with the
regulations in force in the country.
The connection between the gas ramp
coupling and the pipe must be made as
follows:
1. tapered fitting (ISOR7) with seal on
thread plus addition of suitable
sealing agent;
2. by fitting an approved sealing gasket
(aluminium, copper, rubber) in-
between (ISO 228-1).
WARNING: application of a rubber hose
to the hose fitting is not allowed
because it cannot be inspected.
The appliance is supplied with cable
without plug. A standardised plug must be
used bearing in mind that:
- yellow - green = earth
- blue = neutral
- brown = phase
Caution: once you have finished the
operation,
check that there are no gas
leaks by testing with soapy water or
equivalent. DO NOT USE FLAMES TO
TEST FOR GAS LEAKS.
ELECTRICAL CONNECTION
Before connecting the appliance to the
mains, ensure that:
The voltage corresponds to the
voltage specified on the rating plate
at the bottom of the surround.
The overload cut-off device and the
domestic system can withstand the
load of the appliance (see rating
plate).
The power supply system is provided
with an efficient earth connection
and that the socket or omnipolar
switch, with minimum contact
opening of 3mm., is easily accessible
once the appliance has been
installed.
If the plug is not easily accessible, the
installation personnel must provide
an omnipolar switch with contact
opening distance equal to or greater
than 3 mm.
The power supply cable must be
positioned so that it does not at any point
exceed the ambient temperature by 50°C.
RAMP GASKET
HOSE
6
BURNER TECHNICAL SPECIFICATIONS TABLE
Liquid gas Natural gas Mains gas
Burner Power
Kw By-pass
mm
Nozzle
1/100
Consumption
g/h
Nozzle
1/100
Consumption
m3/h
Nozzle
1/100
Consumption
m3/h
Oven 4 0.52 95 290 1.45 0.36 3 0.80
25 25
30 37
Supply
pressures
mbar
minimum
rated
maximum 35 45
17
20
25
6
8
15
Air
regulation mm open 2 2
Power supply voltage ~V 220-240 50/60 Hz
Electric grill power W 2500
ADAPTING TO OTHER TYPES OF GAS:
if the gas delivered is different from the appliance
gas setting, the following adaptation operations
must be performed:
Ensure that the oven is electrically disconnected;
fully open the oven door; take the bedplate out, then
slide the burner out as follows:
1. take the diffuser element C out, removing
the nuts D;
2. move the plug holder bracket E plus thermocouple;
3. remove the screw B and slide out the burner tube;
4. remove the injector F with a 7 mm spanner and
replace it following the instructions in the previous
table (the injector must be locked to prevent it
sliding out).
Refit the oven burner performing the above operations
in reverse order; replace the bedplate.
Pay particular attention to the plug wires and
thermocouple tubes.
7



 
 
             !            
  "   #

$ 
%
8
ADJUSTING THE BURNER AIR
Due to the characteristics of the different types of gas used, the flame may have too little or too
much air. In this case adjustment must be performed as follows:
Loosen the screw C on the burner (to remove the burner see on the previous page).
Turn the ring nut D to position N for natural gas and to position G for liquid gas so that the moving
reference mark on the ring nut coincides with the fixed reference mark on the burner, thus obtaining
a regular flame.
Examples:
a) Flame with too much air, small and thin: turn the ring nut D to reduce the distance X
(anticlockwise).
b) Flame with too litle air, irregular with yellow tips: turn the ring nut D to increase the distance X
(clockwise).
c) Normal flame: blue colour.
TOO MUCH AIR
NOT ENOUGH AIR
REGULAR FLAME
9




 "#
$%
%
&'%
(%
) "#%
)*+
),-

.,-
/-,
01 23-,


*,()
4
)&-%
%
(,
$,(,(
)
E
10
SWITCHING THE GAS OVEN ON
The oven is switched on with the DOOR FULLY OPEN as follows:
Press the thermostat knob A slightly and turn it anticlockwise to maximum.
Press knob A right in to trigger the electric ignition and keep it pressed for a few seconds
to activate the safety device. set the knob to the required temperature.
Check, through the apertures at the front of the oven plate, that the oven burner has ignited and ensure
that when the thermostat knob is released, the burner flame remains on.
If not, repeat the operation. Always check perfect operation of the burner with the door closed.
SWITCHING ON THE OVEN WHEN NOT PROVIDED WITH ELECTRONIC IGNITION
If the ignition does not work or the oven is not provided with ignition device, use a match or gas lighter to light
the oven via the ignition hole at the front of thebedplate at the same time pressing thethermostat knob right in,
turned anticlockwise to maximum; keep it pressed for a few seconds to activate the safety device and then set
the knob to the required temperature.
11
USING THE ELECTRIC GRILL
SYMBOLS
Pos. 0 OFF
Pos. 1 OVEN LIGHT
Pos. 2 SPIT
Switch the gas oven on and set the thermostat knob to between 150°C and 270°C.
The oven door must be closed.
Pos. 3 GRILL + SPIT
This type of cooking allows you to brown the food. The oven door must be kept open and
the knob protection fitted. With the selector in this position, the grill and spit automatically
operate together.
Pos. 4 CENTRAL GRILL
This type of cooking is particularly suitable for quick browning. The oven door must be kept
open and the knob protection fitted.
WARNING:
If the oven thermostat knob is accidentally turned during operation of the electric grill, a safety
device will prevent operation of the grill. To restore operation, simply turn the oven knob until
the moving reference mark coincides with the fixed reference mark on the front panel (closed).
frontale (chiuso).
USING THE ELECTRIC GRILL SELECTOR
Turn the knob to the required function.
You are advised to pre-heat the grill for 5 minutes.
Place the food to be grilled on the rack or in a low-sided baking tin. The rack must be posi-
tioned as high as possible (according to th volume of food to be cooked) with the dripping
pan below. For this type of cooking the oven door must be kept open and then partially closed.
The food must be turned so that both sides are evenly grilled, depending on what you are
cooking (e.g. meat, fish, poultry, etc.).
The grill must not be used for more than 30 minutes.
CAUTION: the grill does not work when the oven gas function is switched on.
12

!!"#
 

 !#$$$
 % &
'(
$
$%&
$)$*(+,-,,

 ' (!"
 #+) #$
( )
/# 
),,&
(00(
          $    #  &          $)    
$1
"' '),,&(&/)0
2 $      
00345 678)
003 $
13
 ) !&
4 )   $
            +                
$
$
&)
($$$
"& ' ) !&!&'&"
(-
  :  2-          $)    $        
$)$;

#0(;
14


 
!""
"# 
$    ! % 
Α ΠΠΟ Γ Γ ΙΟ
Α ΠΠΟ Γ Γ ΙΟΑ ΠΠΟ Γ Γ ΙΟ
Α ΠΠΟ Γ Γ ΙΟ
SUPPORT
15







16

Other manuals for ELECTRIC SINGLE OVENS

1

Other Baumatic Oven manuals

Baumatic P960SS Pythagora User manual

Baumatic

Baumatic P960SS Pythagora User manual

Baumatic BOD890-SS/BL User manual

Baumatic

Baumatic BOD890-SS/BL User manual

Baumatic B151BL-B User manual

Baumatic

Baumatic B151BL-B User manual

Baumatic BCD901SS User manual

Baumatic

Baumatic BCD901SS User manual

Baumatic BMO6S User manual

Baumatic

Baumatic BMO6S User manual

Baumatic B99 Operating instructions

Baumatic

Baumatic B99 Operating instructions

Baumatic B300SS Operator's manual

Baumatic

Baumatic B300SS Operator's manual

Baumatic BSD67MS User manual

Baumatic

Baumatic BSD67MS User manual

Baumatic BAO6009-P User manual

Baumatic

Baumatic BAO6009-P User manual

Baumatic BO788SS User manual

Baumatic

Baumatic BO788SS User manual

Baumatic B906.6SS User manual

Baumatic

Baumatic B906.6SS User manual

Baumatic BO620SS User manual

Baumatic

Baumatic BO620SS User manual

Baumatic PT2810SS User manual

Baumatic

Baumatic PT2810SS User manual

Baumatic B724SS-A User manual

Baumatic

Baumatic B724SS-A User manual

Baumatic BO988BL User manual

Baumatic

Baumatic BO988BL User manual

Baumatic B100SS-B User manual

Baumatic

Baumatic B100SS-B User manual

Baumatic BT3400SS Operating instructions

Baumatic

Baumatic BT3400SS Operating instructions

Baumatic BYO152.5SS User manual

Baumatic

Baumatic BYO152.5SS User manual

Baumatic B724SS-A User manual

Baumatic

Baumatic B724SS-A User manual

Baumatic BMOP12 User manual

Baumatic

Baumatic BMOP12 User manual

Baumatic BS65MS User manual

Baumatic

Baumatic BS65MS User manual

Baumatic MEGACHEF B600MC User manual

Baumatic

Baumatic MEGACHEF B600MC User manual

Baumatic BO988BL User manual

Baumatic

Baumatic BO988BL User manual

Baumatic BS67MS User manual

Baumatic

Baumatic BS67MS User manual

Popular Oven manuals by other brands

Hotpoint Ariston FK 992EJ 1 X/HA operating instructions

Hotpoint Ariston

Hotpoint Ariston FK 992EJ 1 X/HA operating instructions

Glen GL 653N MR user guide

Glen

Glen GL 653N MR user guide

WINIA WKBE-V65CA user manual

WINIA

WINIA WKBE-V65CA user manual

Whirlpool RB100PXK Use & care guide

Whirlpool

Whirlpool RB100PXK Use & care guide

Smeg classic DOSFA38X Brochure & specs

Smeg

Smeg classic DOSFA38X Brochure & specs

Ariston FZ 990 C.1 operating instructions

Ariston

Ariston FZ 990 C.1 operating instructions

Kuppersbusch B6335.0 Instructions for use

Kuppersbusch

Kuppersbusch B6335.0 Instructions for use

Zanussi ZOB353X user manual

Zanussi

Zanussi ZOB353X user manual

NEFF C17CR22G0 instruction manual

NEFF

NEFF C17CR22G0 instruction manual

Fisher & Paykel BI601 Series parts manual

Fisher & Paykel

Fisher & Paykel BI601 Series parts manual

Zanussi Electrolux ZCM 1030 X Instruction booklet

Zanussi Electrolux

Zanussi Electrolux ZCM 1030 X Instruction booklet

Siemens HB33AB 50 Series instruction manual

Siemens

Siemens HB33AB 50 Series instruction manual

ZANKER KOU10311XK user manual

ZANKER

ZANKER KOU10311XK user manual

Electrolux Built-In Dishwasher Instruction book

Electrolux

Electrolux Built-In Dishwasher Instruction book

Nordmende SOC316IX user manual

Nordmende

Nordmende SOC316IX user manual

KitchenAid KEBS208SBL04 parts list

KitchenAid

KitchenAid KEBS208SBL04 parts list

Candy FPP646 User instructions

Candy

Candy FPP646 User instructions

Siemens HM836GN.6 user manual

Siemens

Siemens HM836GN.6 user manual

manuals.online logo
manuals.online logoBrands
  • About & Mission
  • Contact us
  • Privacy Policy
  • Terms and Conditions

Copyright 2025 Manuals.Online. All Rights Reserved.