Baxtran COVER-ARX User manual
COVER-ARX
USER’S MANUAL
MANUAL DE USUARIO
MANUEL D’UTILISATION
EN - ES - FR
PALLET TRUCK WITH
SCALE
TRANSPALETA
PESADORA
TRANSPALETTE
PESEUR
V.1
30062017
El fabricante se reserva el derecho de modificar sin previo aviso las características de sus productos para introducir mejoras técnicas o cumplir con nuevas regulaciones oficiales./Le
constructeur se réserve le droit de modifier les caractéristiques de ses produits en vue d’y apporter des améliorations techniques ou de respecter de nouvelles réglamentations./The
manufacturer reserves the right to modify the specifications of its products in order to ma e technical improvements or comply with new regulations.

2
Cover-ARX
EN - CONTENTS
I
Technical indicators
5
II
Main function
5
III
Boundary dimension
5
IV
Introduction to panel
6
V
Parameter setting
7
SETTING ENTRY 7
1 PARAMETER SETTING O SCA 7
2
APPLICATION
UNCTION
SETTING
8
3
APPLICATION UNCTION SETTING
4 SERIAL-PORT SETTING
5 MAINTENANCE AND SERVICE
VI
unction description
10
VII
Prompt Message of instrument
12
APPENDIX 1. Continuous output format specification
12
APPENDIX 2. Printing format specification
12
ES - ÍNDEX
I
Indicadores técnicos
14
II
unción principal
14
III
Dimensiones límites
14
IV
Introducción al panel
15
V
Configuración de parámetros
16
CON IGURACIÓN ENTRADA
16
1 Configuración parámetros de SCA
16
2 Configuración función de aplicación
17
3 Configuración función de aplicación
18
4 Configuración puer to de serie
1
5 Mantenimiento y servicio
1
VI
Descripción de unciones
20
VII
Impulsar Mensaje de Instrumento
22
APPENDIX 1. Especificación de formato continúo de salida
22
APPENDIX 2. Especificación de formato de impresión.
22

Cover-ARX
FR - CONTENU
I
Indicateur
24
II
onction principale
24
III
Dimension limite
24
IV
Introduction au panel
25
V
Paramétrage
26
RÉGLAGE DE L’ENTRÉE
27
1
PARAMÉTRAGE DE SCA
27
2
PARAMÈTRE DE LA ONCTION D’APPLICATION
28
3
PARAMÈTRE DE LA ONCTION D’APPLICATION
2
4
RÉGLAGE SERIAL-PORT
2
5
MAINTENANCE ET SERVICE
2
VI
Description des fonctions
30
VII
Prompt Message of instrument
32
APPENDIX 1. Spécification du format de sortie continue
32
APPENDIX 2. Spécification du format d’impression
32

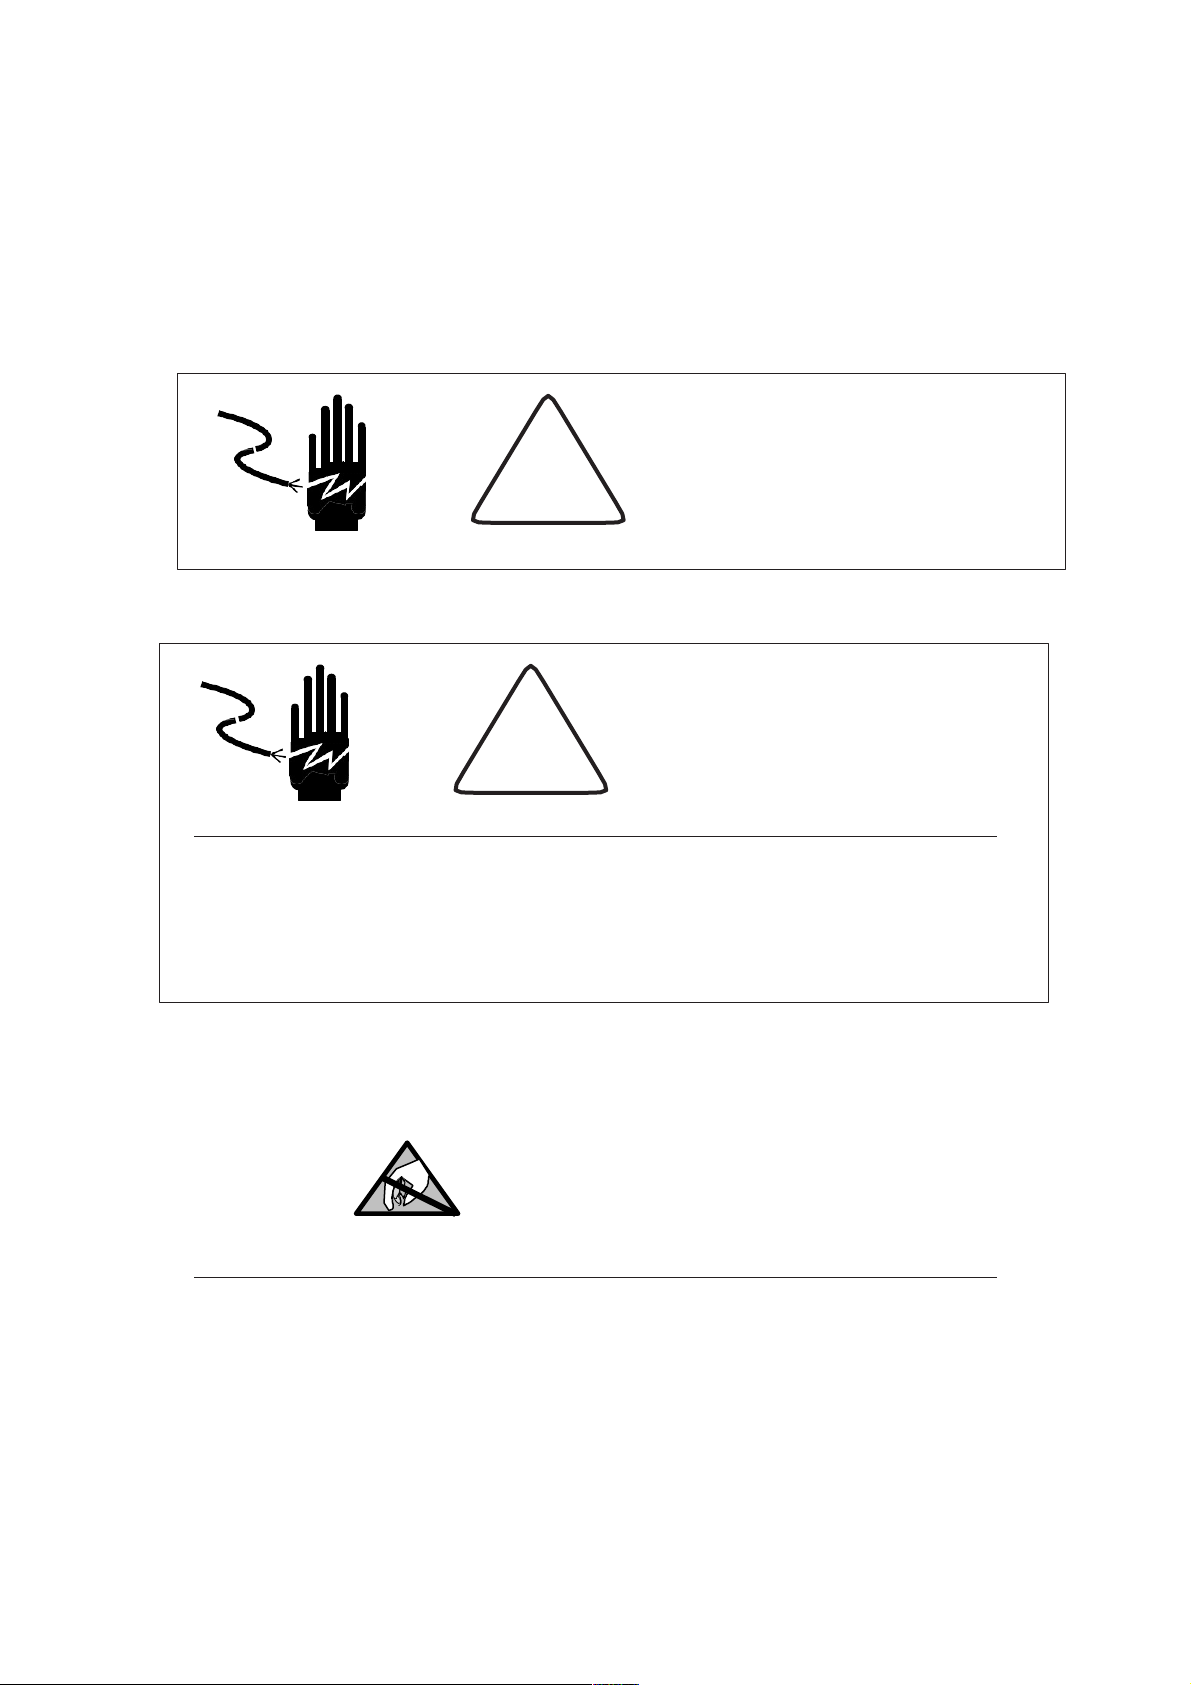
!WARNING:
Ask professional personnel to debug, detect and repair controller.
!WARNING:
Please keep good grounding of
controller.
In electrical connection of controller, please cut off the power supply in advance.
Wait for 30 seconds between power on of the controller for 2 times.
PAY ATTENTION TO STATIC ELECTRICITY
The controller is a device sensitive to static electricity, thus please take anti static precautions in use and maintenance.
USER’S MANUAL
ARX EN
I
TECHNICAL INDICATORS
▪
6-digit 1.2-inch LED display, 7 state indicator lamps. Long service life and shock resistance
▪
7 function keys. Operation is simple and convenient
▪
Protection level: IP5x
▪
Excitation voltage:
+5VDC
▪Load capacity of sensor: at most 4 350Ω simulation sensors
▪
Input signal range of null point:
0-5mV
▪Input signal range of full scale: 1-10 mV
▪
Inner resolution:
1 million
▪
Weight upgrading rate:
40 times per second
▪
Power supply mode
Battery:
6V4Ah
Battery Charger:
voltage 100-240VAC Current 0.26A requency 50-60Hz.
// 7VAc 1A - + With LED indicator of the state of charge
▪
2
RS232
por ts
▪
Operating temperature:
-10ºC to +40ºC, relative humidity is below 85 %
▪
Storage temperature:
-20ºC to +60ºC, relative humidity is below 85 %
▪
Conforming to standard:
GB/T 7724-1999
II
MAIN FUNCTION
▪
Basic weighing function:
resetting, removing the peel and clearing the peel
▪
Weight detection function, counting function, animal scale function
▪
Weight keeping function, weight accumulation function, percentage display
▪
Set redundant backup function of parameters
▪
Automatic screen protection and automatic shutdown energy-saving function
▪
Rich printing formats and communication protocol.
(Only for printer models)
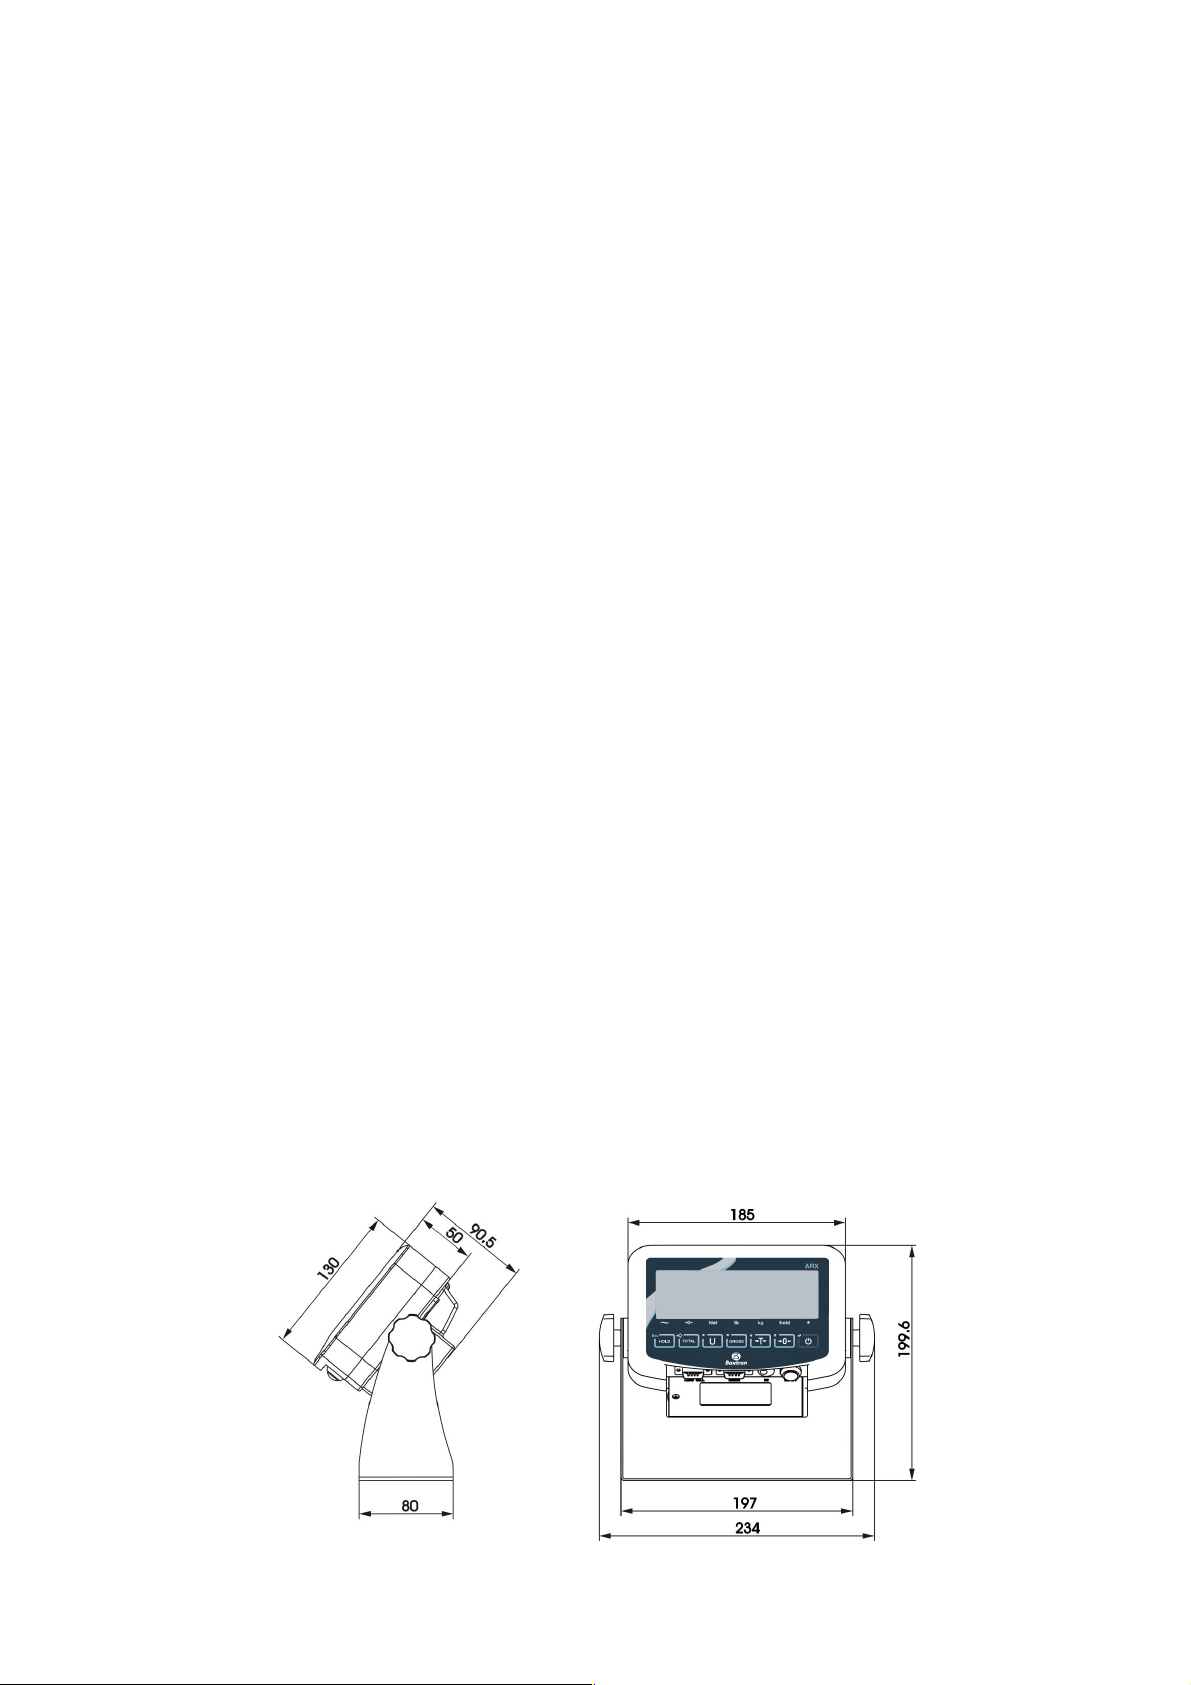
III
BOUNDRY DIMENSION
Instrument size: detailed in the following figure (mm); instrument weight: 1.5kg
IV
INTRODUCTION TO PANEL
•
Introduction to indicator lamps
Identification Analysis Remark
~
Dynamic and static indication
The lamp is on when scale is in dynamic
state, otherwise, the lamp is off.
→0←
center indication
The lamp is on when the absolute value
of
weight on the scale is less than ±0.2d,
otherwise the lamp is off.
Net Identification of gorses weight and net
weight
The lamp is on in net weight and off in
gross weight
kg
Weight unit
or indicating current unit
Hold
Weight maintenance
The lamp is on when the weight is locked,
otherwise it is off.
Ac
Voltage indication of battery and power
supply The green lamp is on when the voltage of
the adapter and battery is normal, and the red
lamp is on in undervoltage state.
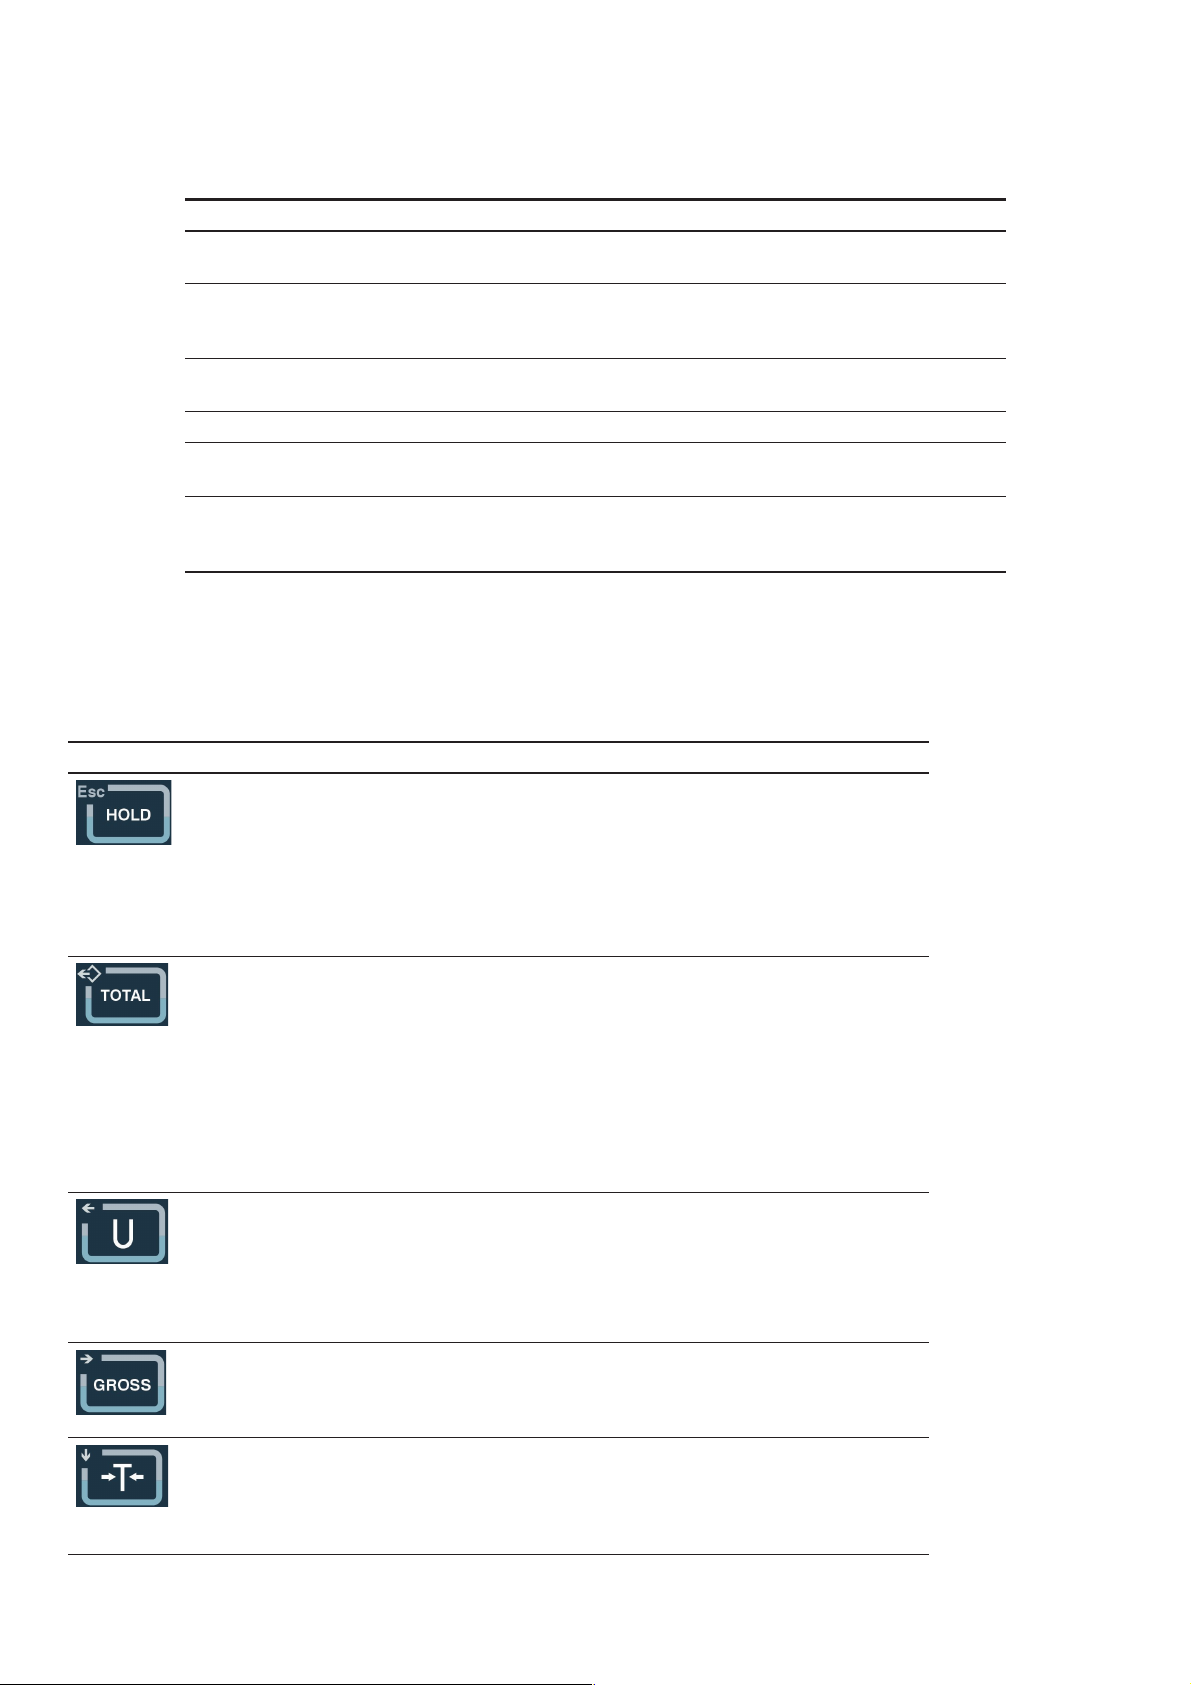
•
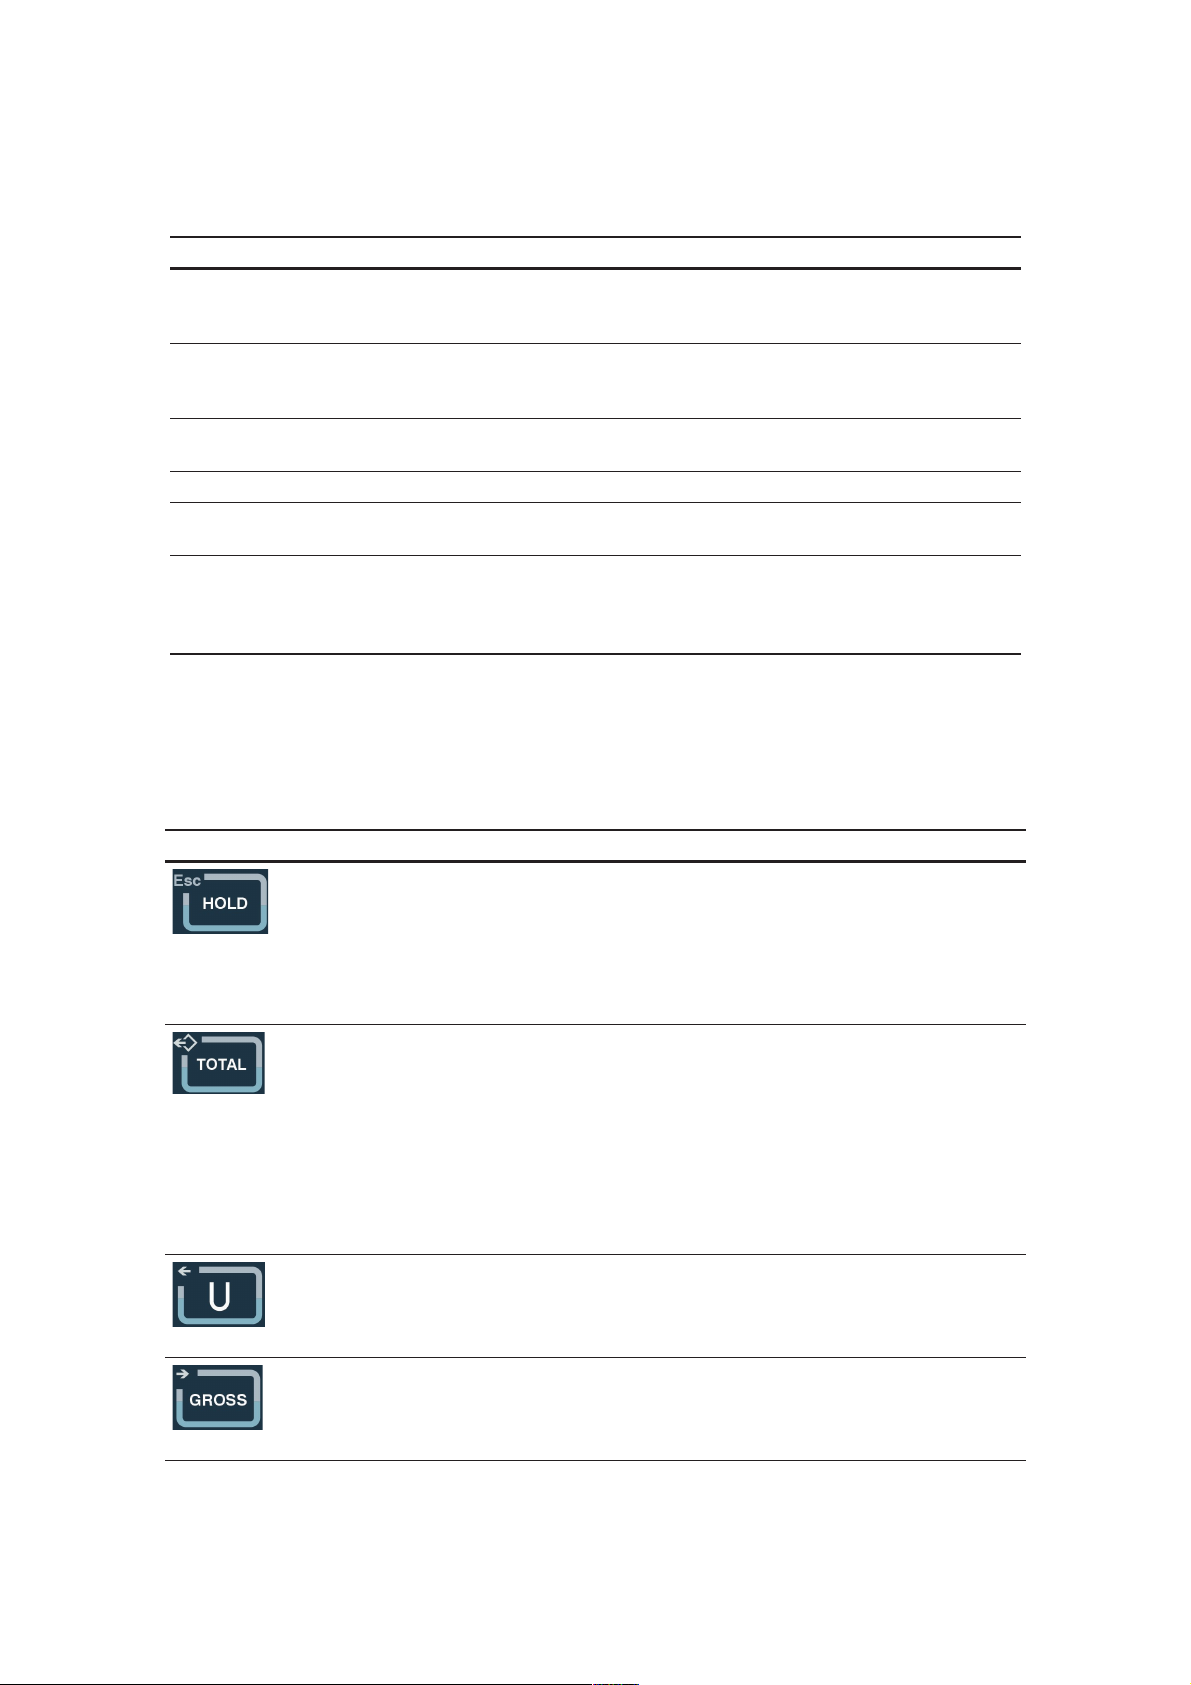
Introduction to operation keys
Operationwithout special specification refers to short press on keys.
Each key takes the following functions according to the mesure settings.
Key symbol Normal weighing state Set state
Weight maintenance key
Short press
→
2.1 = 1, keep/cancel.
2.1 = 2, switch between percentage and weight. 2.1
= 5, switch between quantity and weight.
Long key
→
enter setting menu.
Return to the last menu.
Accumulation key
Short key
→
2.1 = 4, include display weight in accu-
mulation value.
Long key
→
2.1 = 3, select scale to sample target
weight.
2.1
=
4, accumulate weight of scale display.
2.1
= 5, count sampling of scale.
No definition.
Unit conversion key
Short key
→
in weighing state, switch weight unit. The
corresponding unit indication lamp is on.
licker bit is on the left.
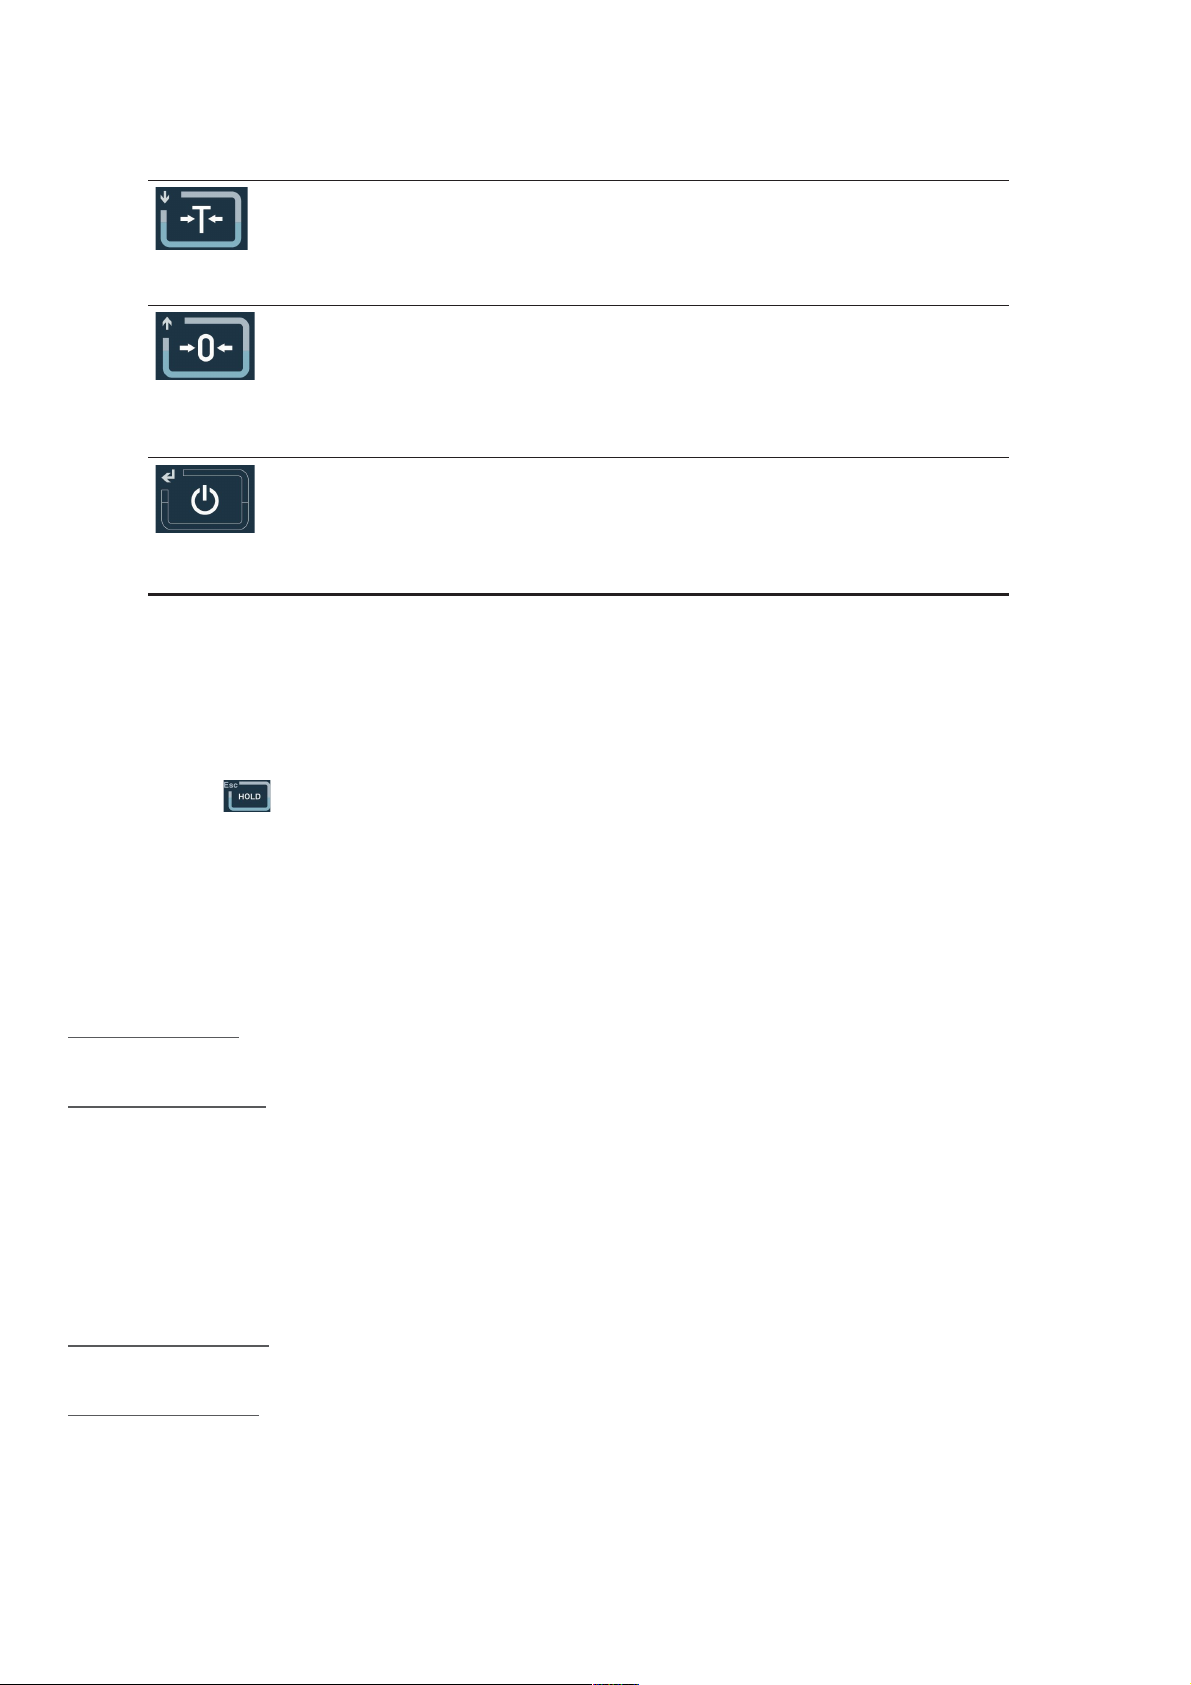
Skin removal key
Short key
→
net weight turns to gross weight; induction
lamp of net weight “Net” is off.
licker bit is on the right.
Skin removal key
Short key
→
gross weight turns to net weight. Indication
lamp of net weight “Net” is on. Conduct skin removal
operation for multiple times.
Digit flicker position reduces.

clearing key
Gross weight state resets weight. When the scale is in
net weight, dynamic state, saving state and out of reset- ting
range, clearing operation is invalid
In setting, digit of flicker posi-
tion increases. In adjustment
of display, accumulation is
cleared.
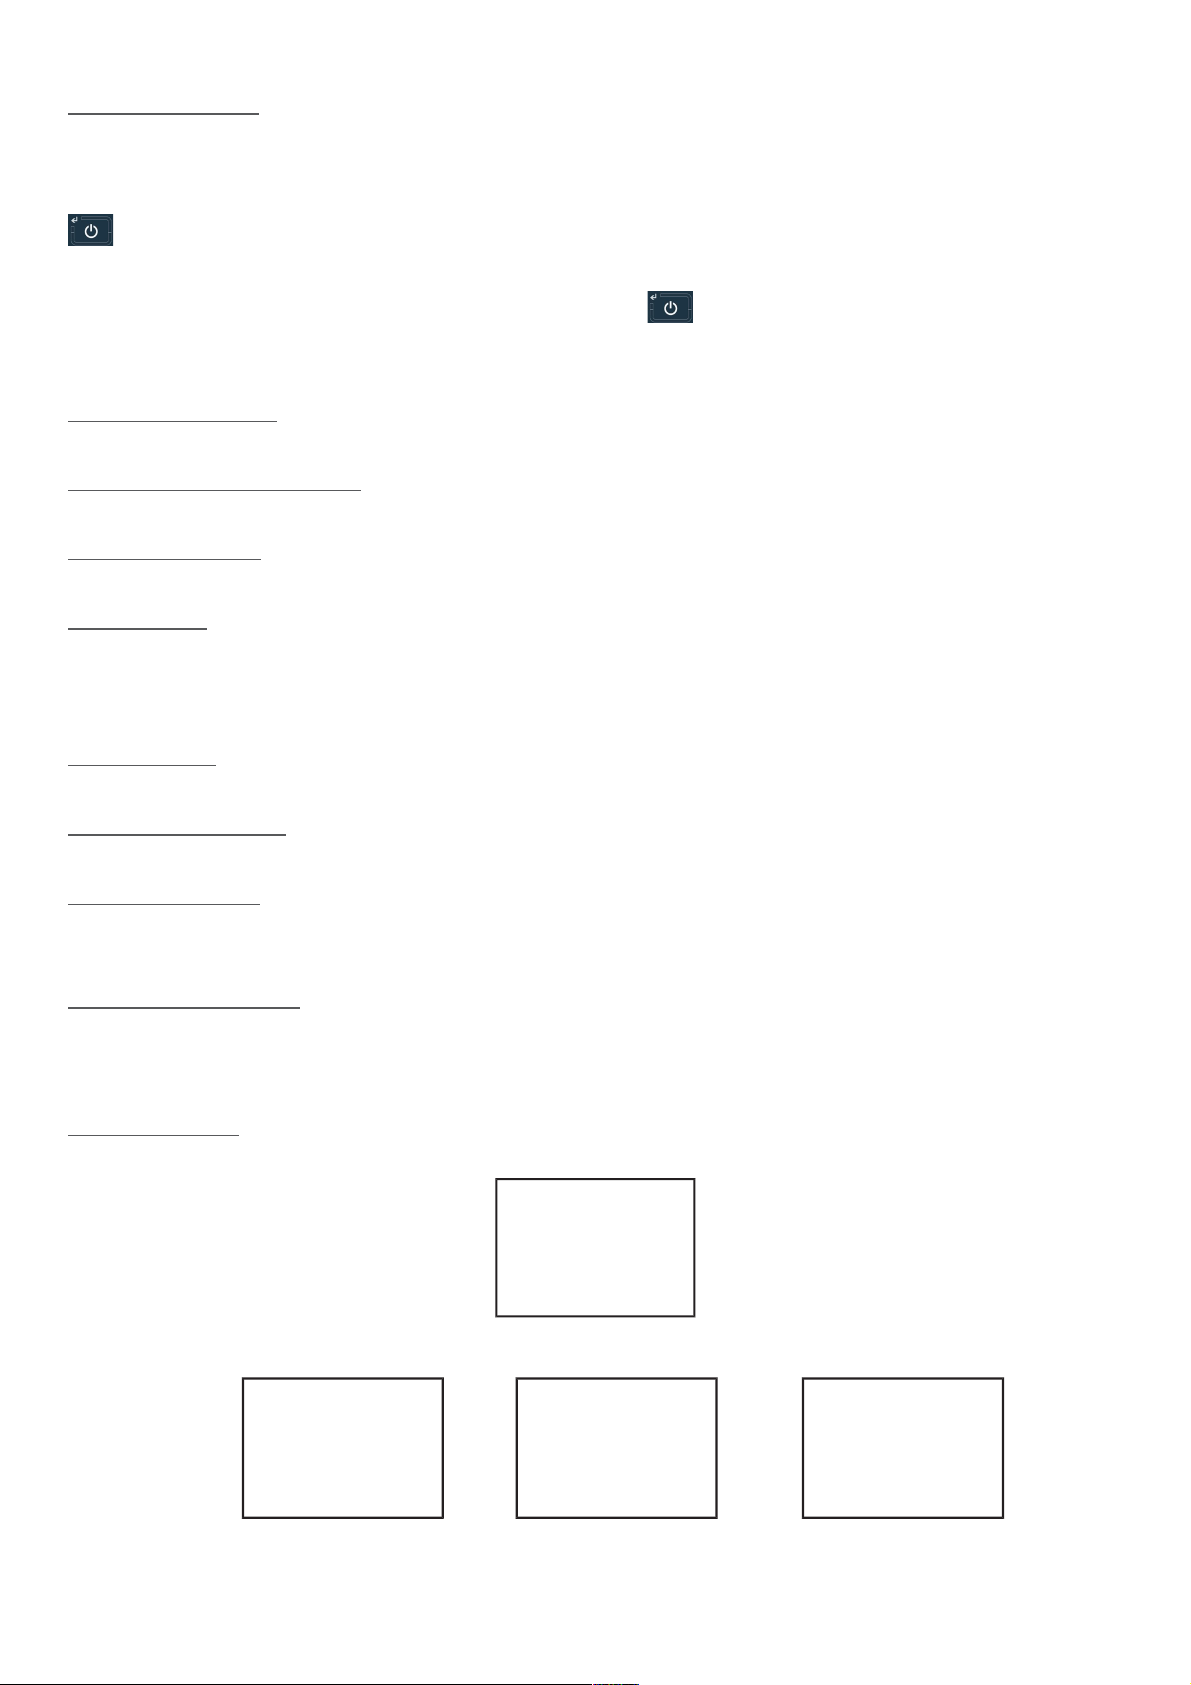
ON/O key
Short key
→
start up or print. (only for printer models)
Printing format refers to Appendix1.
Long key
→
shut down. Turn on/off
Confirm operation, to save
setting data.
V
INTRODUCTION TO PANEL
SETTING ENTRY:
Press the
button on the operating panel in the state of normal weighing.
If
1.14
=
0, you can set all the parameters within 1~ 5.
If 1.14 = 1, you can only set all parameters within 2~ 5.
If 1.14 = 1 and you need to set the parameters within 1 menu, you can press the calibration switch button until the 1 menu is
entered.
F1 PARAMETER SETTING OF SCALE
F1.1
Measuring Range
Selectable parameters: 3~200000 (default value: 6)
F1.2
Decimal Places
Selectable parameters: 0 ---- no decimal point
0.0 ---- 1 decimal place
0.00 ---- 2 decimal places
0.000 ---- 3 decimal places (default value)
0.0000 ---- 4 decimal places
F1.3
Number of Divisions
Selectable parameters: 1 (default value), 2, 5, 10, 20, 50
F1.4
Calibration Unit
Selectable parameters: 0 ---- kg (default value)
1 ---- lb
F1.5
Gravitational Acceleration
Selectable parameters: 9.70000~9.99999. Default value = 9.79455.
F1.6
Null-point Calibration
[
E- CL
] Keeping empty the scale
Remove the weights on the weighing platform to guarantee the scale is in the empty state. Press the
key and the meter will dis-
play [
0
cal
]. The displayed digits will reduce slowly until the meter displays [
00 cal
]. In the end it will display [
End
] for one second,
which
indicates the end of null-point calibration.
F1.7
Load-point Calibration
[
LOAd
]
Loading weights
Load weights on the weighing platform to ensure that 10% of full scale value
≤
weight of weights
≤
full scale value, and then
press the
key to start the next step.
[
000000
] Entering the same weight value as that of the loaded weights.
Entering the same weight value as that of the loaded weights, please press the
key after the scale becomes stable, and the meter
will
display [ ]. After that, the displayed digits will reduce slowly until the meter displays [ ]. In the end it will display [ ] for one second,
which
indicates the end of null-point calibration.
F1.8
Automatic Null Tracking
Selectable parameters: O , 1 d, 2 d, 3 d (default value)
F1.
Automatic Reset Range at Startup
Selectable parameters: O , 2 %, 10 %, 20 % (default value)
F1.10
Button Reset Range
Selectable parameters: O , 2 %, 10 % (default value), 20 %
F1.11
Digital ilter
Selectable parameters: 0 ---- Mild iltering
1 ---- Moderate iltering (default value)
2
---- Severe iltering
F1.12
Steady Range
Selectable parameters: 1 d, 2 d, 3 d (default value)
F1.13
Overload Display Range
Selectable Parameters: 9d, 5% (default value), 10%, 20%
F1.14
1 Menu Protection
Selectable Parameters: 0 ---- Enter 1 menu by keyboard operation
1 ---- Enter 1 menu by pressing the calibration button
F1.15
Restoring actory Default
Set the parameters within 1~ 4 as the defaults, which can’t impact the parameters of standard scale.
F2 APPLICATION FUNCTION SETTING
F2.1
unction Selection
Selectable Parameters: 0 ---- Close the application functions (default value)
1
---- Weight keeping function
REPORT
---------------------------
Gross
0.200 Kg
Tare
0.000 Kg
Net 0.200 Kg
REPORT
---------------------------
Gross
25.000 Kg
Status Hold
REPORT
---------------------------
Net
25.000 Kg
Status Hold
REPORT
---------------------------
Gross
0.200 Kg
Tare
0.000 Kg
Net 0.200 Kg

2
---- Percentage display function
3
---- Weight checking and sorting function
REPORT
---------------------------
Gross
1.980 Kg
State
Less
REPORT
---------------------------
Gross
25.000 Kg
State OK
REPORT
---------------------------
Net
25.000 Kg
State Over
4
---- Accumulative scale function
REPORT
---------------------------
1
0.200 kg
2
0.175 kg
3
0.347 kg
4
0.375 kg
---------------------------
Total: 1097Kg
REPORT
---------------------------
Total
1.097 Kg
5
---- Counting scale function
6
---- Animal scale function
F2.2
Empty-scale threshold value
Selectable Parameters: 0~ full range (default value: 0.001)
F2.3
Target Weight for Weight Checking and Sorting
Selectable
Parameters: 0~ full range (default value: 2.000)
F2.4
Positive
Error for Weight Checking and Sorting
Selectable
Parameters: 0~ full range (default value: 0.100)
F2.5
Negative
Error for Weight Checking and Sorting
Selectable Parameters:
0~ full range (default value: 0.100)
F2.6
Access to Target Weight for Weight Checking and Sorting, and Counting Sample Weight
Selectable Parameters: 0 ---- Access to Platform Weighing (default value)
1 ---- Manual Input Access
REPORT
---------------------------
Gross
0.547 Kg
Amount 55
F3 ENERGY-SAVING PARAMETER SETTING
F3.1
Time-out Screensaver Time Setting
Selectable Parameters: 0~ 99 minutes, (default value: 30 minutes)
If set
to be 0, this function shall not be allowed.
During the screen protection, the display will randomly show “ ”.
F3.2
Energy-saving Time Setting for Auto Power-off
Settable Parameters: 0~250 minutes. (default value: 150 minutes)
If set
to be 0, this function shall not be allowed.
F3.3
Display Brightness Contro
l
Selectable
Parameters: 0---- low light level
1 ---- middle light level (default value)
2
---- high light level
F3.4
Real-time clock, date setting
F3.5
Real-time clock, time setting
F4 PRINTER CONFIGURATION (NON MODIFY)
F4.2.4
Printing languages selection
CHI:
CHINESE
\
ENG
: ENGLISH
\
FRA:
RENCH
\
ESP:
SPANISH
\
ITA:
ITALIAN
\
POR:
PORTUGUESE
F5 MAINTENANCE AND SERVICE
F5.1
Key test
Instrument display¡, press
, ,
,
, [lb/kg] and in order, and the instrument displays
, , , , and , press
to quit key
test.
F5.2
Display screen test
All strokes of meter display will have self-inspection, to observe whether there is lacks of strokes.
Press
or
to quit test of display screen.
F5.3
Display current internal code
The display will show internal code of current instrument after smoothing. Press
or
to quit the interface.
VI
FUNCTION DESCRIPTION
WEIGHT MAINTENANCE FUNCTION F2.1 = 1
Operation method
In normal weighing state, press
on the operation panel, the will instrument lock display weight of the current scale, and “Hold” indi-
cation
lamp is on. Only when weight setting value≥F2.2 is displayed, weight maintenance operation is effective. Otherwise, it will return to
weighing state after invalid operation information [
--no--
] is shown for a second.
If weight is in locked state, press
again to cancel locking of weight and return to normal weighing state, and “Hold” indication
lamp is off.
If it is in weight locking state, refuse to remove skin, clear skin and setting operation.
PERCENTAGE DISPLAY F2.1 = 2
Display specification
Display [
Pr 20.
], representing 20.5 %.
Pr = current actual weight / range ×100%.
Press
to display switch in percentage and weight.
CHECK WEIGHT AND SELECTION SCALE FUNCTION F2.1
=
3
Function description
Set parameters such as 2.2
=
A, 2.3
=
B, 2.4
=
C and 2.5
=
D.
When display weight is X.
If X
≤
A, do not conduct check weight and selection.
If X < (B – D), it lacks of weight, and the display flickers.
If (B – D)
≤
X
≤
(B – C), it is qualified and the display has normal display
If X > (B – C), it is overweight and the display flickers.
Acquisition of target value
Press
long until the display shows [
TAR ET
], and then press
to show current target value and flicker.
If 2.6
=
0, press
, the instrument will take the weight on current scale as the new target value and quit the setting interface.
If 2.6 = 1, the display shows [
000000
], to request manual change of target value. After change, press
to save setting data and quit
setting interface.
FUNCTION OF ACCUMULATION SCALE F2.1 = 4
Operation method
In normal weighing state, when the scale is in , add weight to the scale and press
on operation panel, if the display shows [
Add--
]
progress bar,
it indicates that the current display weight is included accumulated value, and then it returns to normal weighing state. If the
display shows [
--no--
] for a
second, and returns to the normal weighing state, it indicates operation is invalid. Reason: 1. Between two
accumulation operations, the scale
must have back-to- process, otherwise, accumulation is refused. 2. Accumulation operation is effective
only when display
weight≥F2.2
is set. 3. The
scale is in
dynamic
state.
Adjustment, clearing and printing of accumulated value
In normal weighing state, press
on operation panel for more than 2 seconds, the display will show [
Zero
] for a second, and then the
display shows current total accumulated value [
A 9. 00
] and flickers. To clear accumulated value, press [
Pr 20.
], to make flicker weight be 0.
Press
to print accumulated data. Press
to quit the interface.
Attention: set whether to be over detailed data or accumulated data in 4.6.
FUNCTION OF COUNTING SCALE F2.1
=
5
Instrument display
[
c 128
], showing current quantity.
Sampling method
1.
Check whether the scale is in , if not, press
for setting.
2.
Place materials counted on the scale.
3.
Press
long until the display shows [
AMPLE
], and then press
. If 2.6 = 0, the display shows [
PC 00
]. Input the quantity
counted just now, and press for confirmation. The instrument saves sampling data and quits the sampling interface. If 2.6 = 1, the
display shows [
000000
], input sample weight. Press
, the instrument saves setting data and quits sampling setting interface.
4.
In this function, press
to display switch between quantity and weight.
FUNCTION OF ANIMAL SCALE F2.1
=
6
Operation method
In normal weighing state, place the animal on the weighing platform and its weight must be ≥threshold value set in F2.2. Press
,
instrument will collect data sampling. After sampling, the average value of sampling data will be locked, showing A X.XXX. Press
to print; press
or
to quit the interface.
VII
PROMPT MESSAGE OF INSTRUMENT
The instrument has extremely high stability and reliability, thus is not easy to
have error in general situation. Once an error occurs,
please make clear the error first and observe whether the instrument still has error after power-on. Do not hurry to repair the scale body or instrument.
Repair the instrument according to error code of the instrument as possible.
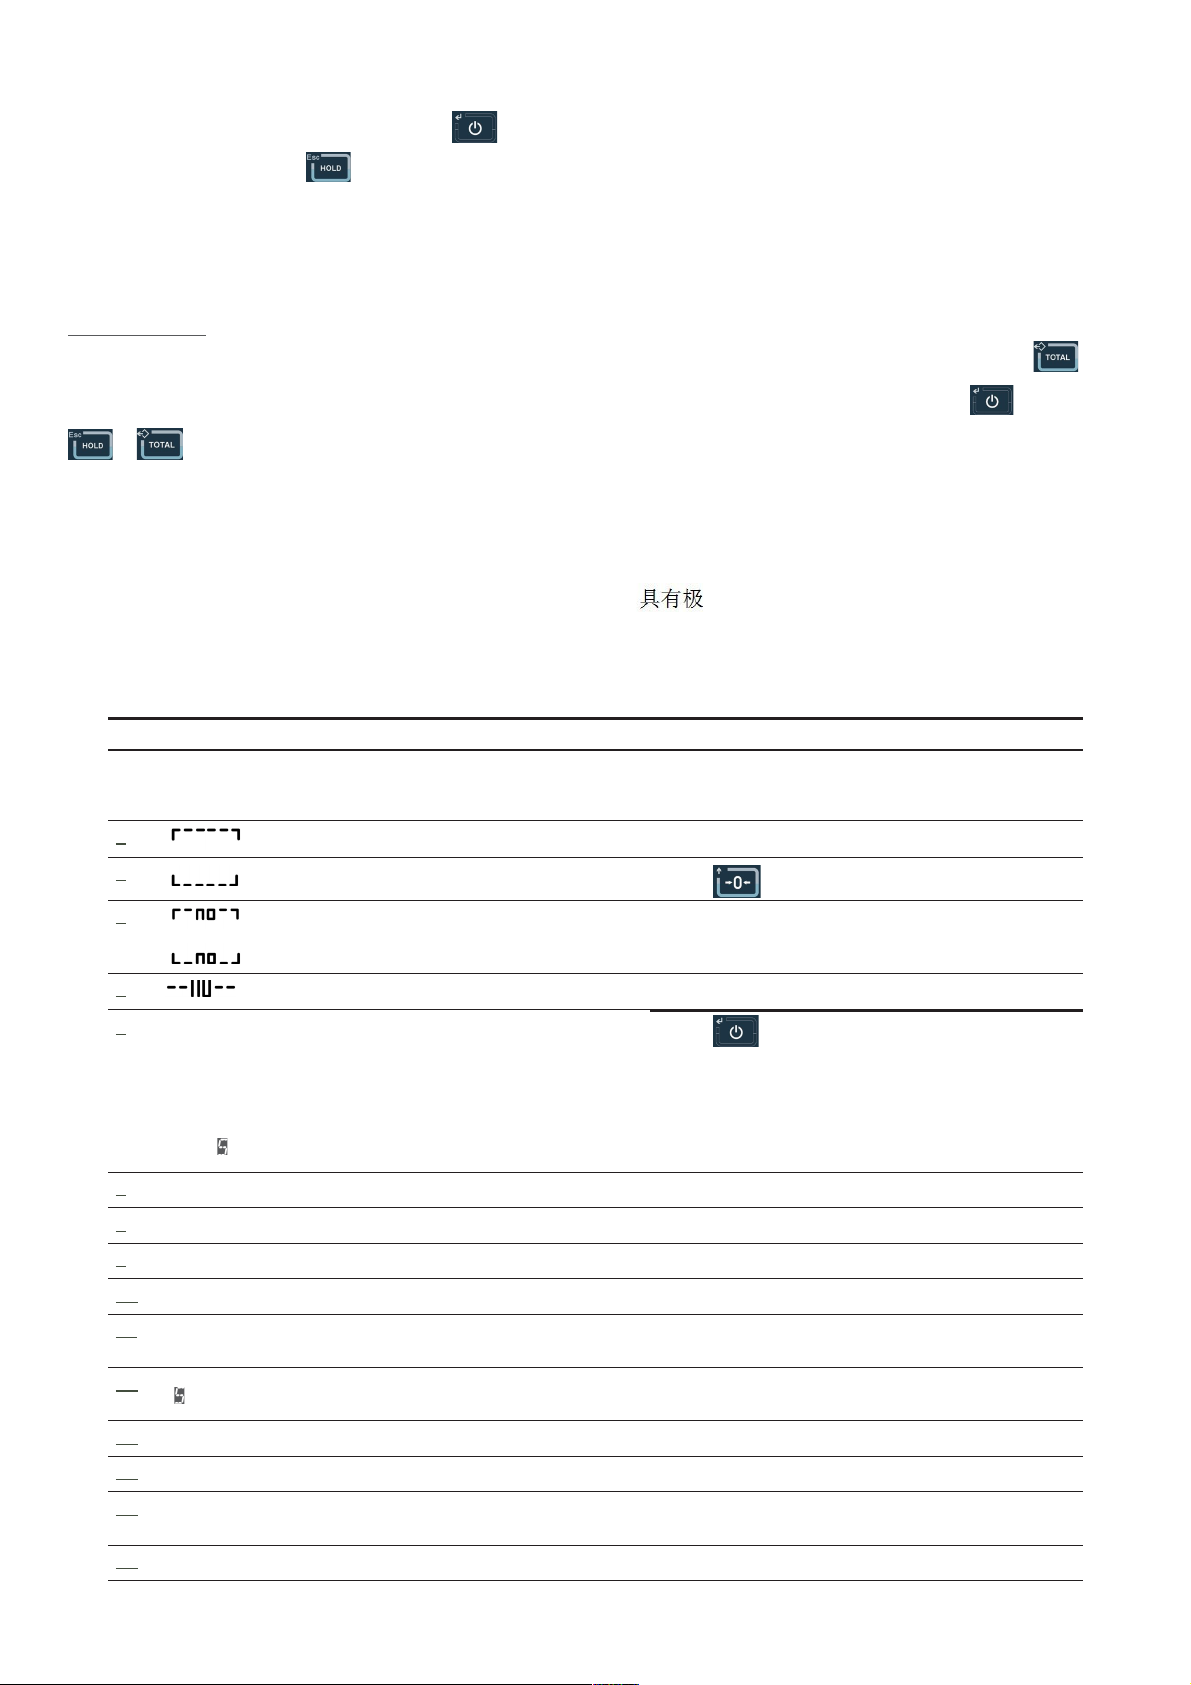
Nº
Symbol Analysis Remark
1
[-EEE]
[
EEE
]
Unable to reset after startup
1.
Determine it is no-load state in startup;
2.
Make calibration again.
2
[
]
The weighed object is over full range for 9 days
Reduce weight on weighing platform
3
[
]
The weighed object is below 0 for 5 DAYS
Press
to reset
4
[
]
[
]
Out of clearing range Check whether the weighing platform has weight.
Remove weight.
5
Invalid operation
6
[Err 03]
EEPROM checksum and error
Press
reprint factory value. Start up again. If the
information occurs again, return to factory for repair.
Please calibrate the scale again if the situation does not
occur;
Attention: this place is provided with all parameters of
instruments of the factory.
7
[Err 0]
The calibration input weight is too small
Input≥10 % weight of full range
8
[Err 06]
The weight in calibration is too light
Load≥10% weight of full range
9
[Err 07]
The scale is dynamic in scale
Inspect the scale body
10 [Err 08]
Setting error of date and time
Set according to specification of date and time
11 [Err 09]
Error of AD initialization
If the error occurs after restar ting, return it to the fac-
tory for repair
12
[
LOAd
]
In loading scale, it indicates to loading weight;
Load weight according to requirements
13 [ Et P]
It has enters menu setting Pres [print] to continue setting.
14 [End ]
End of point and loading point calibration
15 [Add-- ]
Including current display weight in accumulated
value
16 [-O ER-]
Accumulated weight overflows Clear accumulated weight in time.

17
[
Ld---
]
Loading default value
18
[
Print
]
Printing
!
ADVERTENCIA:
Pedir ayuda a personal especializado para depurar, detectar o reparar el re gulador.
!ADVERTENCIA:
Por favor, proporcione una buena base al controlador.
Cuando conecte eléctricamente el controlador, por favor cor te primero la fuente de alimentación.
Espere durante 30 segundos cuando se encienda el controlador, 2 veces.
PRESTE ATENCIÓN A LA ELECTRICIDAD ESTÁTICA.
El controlador es un dispositivo sensitivo a la electricidad estática, por tanto, por favor, tome precauciones antiestáticas cuando lo utilice y también durante su mantenimiento.
MANUAL DE USUARIO
ARX ES

I INDICADORES TÉCNICOS
▪
Pantalla LED de 6 dígitos 1.2 pulgadas, 7 lámparas indicadoras de estado. Vida útil larga y resistente a choques.
▪
7 teclas de función. Es fácil y simple de utilizar.
▪
Nivel de protección:
IP5x
▪
Tensión de excitación:
+5VDC
▪
Capacidad de carga del sensor:
como máximo 4 350…. sensores de simulación
▪
Rango de señal de entrada del punto cero:
0-5mV
▪Rango de señal de entrada a gran escala: 1-10mV
▪
Resolución interior:
1 milion
▪
Rango de actualización de peso:
40 veces por segundo
▪
Modo suministro eléctrico
Batería:
6V4Ah
Cargador de Batería
: potencia 100-240VAC Tensión 0.26A
recuencia 50-60Hz//7VAc 1ª -+
Con indicador LED del estado de carga
▪
2 puer tos RS232
▪
Temperatura de funcionamiento:
-10 ºC a +40 ºC, la humedad relativa se encuentra por debajo del 85%
▪
Temperatura de almacenamiento:
-20ºC a + 60ºC, la humedad relativa se encuentra por debajo de 85%
▪
Conforme a la norma:
GB/T 7724-1999
II FUNCIONES PRINCIPALES
▪
Función básica de pesar:
reinicio, retirar la cáscara y eliminar la cáscara
▪
unción de detección de peso, función de contar, función balanza para pesar animales
▪
unción mantener peso, función acumulación de peso, mostrar porcentaje en pantalla
▪
Programar función de parámetros de backup redundantes
▪
Protección automática de pantalla y función automática de cierro para ahorrar energía
▪
ormatos de impresión variados y protocolo de comunicación.
( Sólo para modelos de impresora)
III
DIMENSIÓN DE FRONTERA
Tamaño del instrumento: se encuentra detallado en la figura siguiente (mm), instrumento de peso: 1,5 kg.
IV
INTRODUCCIÓN AL PANEL
•
Introduction to indicator lamps
Identificación Análisis Observación
~
Indicación dinámica y estática
La lámpara se enciende cuando la báscula se en-
cuentra en estado dinámico; cuando no se encuentra en
este estado la lámpara se apaga
→0←
Indicación centro
La lámpara se enciende cuando el valor absoluto del
peso de la báscula es inferior a +-0,2d; cuando no
se
cumplen estas condiciones
Net
Identificación de peso neto y peso
bruto
La lámpara se enciende cuando el peso es neto y se
apaga cuando es bruto
kg
Unidad de peso
or indicating current unit
Hold
Mantener peso La lámpara se enciende cuando el peso está cerrado,
cuando no lo está esta apagada.
Ac
Indicación de la tensión de la batería
y
la fuente de alimentación
La lámpara verde está encendida cuando la tensión de
la batería y del adaptador es normal; si la tensión se
encuentra por debajo de la normal se enciende la
lámpara roja.
•
Introducción a las teclas de funcionamiento
Para el funcionamiento del aparato sin especificaciones especiales debe presionarse las teclas brevemente. Cada
una de las teclas realiza las siguientes funciones dependiendo de la configuración de la medida .
Símbolo teclas
Estado normal de pesada Programar estado
Tecla de mantenimiento de peso.
Presionar brevemente- 2.1=1, mantener/cancelar
2.1=2, cambiar entre porcentaje y peso
2.1=5,
cambiar entre cantidad y peso
Teclear un período largo- para introducir la configuración
del
menú
Volver al último menú
Tecla acumulación
Pulsar la tecla durante un período de tiempo cor to-
2.1=4, incluye la aparición en pantalla del peso en
cantidad total
Pulsación larga- 2.1=3, seleccionar la balanza para la
muestra del peso deseado
2.1=4, muestra en pantalla el peso acumulado de la
balanza
2.1=5, contar la muestra de la balanza.
Sin definición
Tecla unidad de conversión
Pulsación cor ta- en modo de pesar, cambie la unidad de
peso. Se enciende la señal correspondiente de indica-
ción
de unidad.
El bit parpadeante se encuen-
tra
a la izquierda.
Tecla eliminar piel
Pulsación cor ta- el peso neto vuelve a peso bruto; la
lámpara de inducción de peso neto “Net” se encuentra
apagada
El bit parpadeante se encuen- tra a
la derecha.
Tecla eliminar piel
Pulsación cor ta- el peso bruto vuelve a peso neto. La
lámpara de indicación de peso neto “Net” se encuentra
encendida. Realiza la operación eliminar piel múltiples
veces.
La posición del dígito parpa-
deante se reduce.
Tecla borrado
El modo del peso bruto reinicia el peso. Cuando la bás- cula
se encuentra en peso neto, modo dinámico, guar- dando
modo y fuera del rango de reiniciar, la operación borrar no
es válida.
En la configuración, el dígito
de posición de parpadear in-
crementa. Cuando se ajusta
la
pantalla, se borra el total
acumulado.
Tecla ON/O
Pulsación breve- Poner en marcha o imprimir ( sólo para
modelos de impresión)
El formato de impresión hace referencia al Apéndice 1.
Pulsación larga- cierre. Apagar/Encender
Confirmar la operación, para
guardar la configuración de
datos.
V
INTRODUCCIÓN AL PANEL
ENTRAR CONFIGURACIÓN
Presionar la tecla
en el panel de operación en el modo de pesar normal.
Si
1.14= 0, usted puede programar todos los parámetros entre 1- 5.
Si 1.14 = 1, usted puede programar sólo los parámetros entre 2- 5
Si 1.14 = 1, usted puede necesitar programar los parámetros que se encuentran el menú 1, usted puede presionar la tecla de cambio de
calibración hasta que esté introducido el menú 1.
F1 PARÁMETRO F1 CONFIGURACIÓN DE LA BÁSCULA
F1.1
Rango de medición
Parámetros a seleccionar: 3-200000 ( valor por defecto: 6)
F1.2
Posiciones decimales
Parámetros seleccionables: 0----sin punto decimal
0.0----1 posición decimal
0.00----2 posiciones decimales
0.000----3 posiciones decimales ( valor por defecto)
0.0000----4 posiciones decimales
F1.3
Número de Divisiones
Parámetros seleccionables: 1 (valor por defecto), 2, 5, 10, 20, 50
F1.4
Unidad de Calibración
Parámetros seleccionables: 0----kg ( valor por defecto)
1----lb

F1.5
Aceleración Gravitaciona
l
Parámetros seleccionables: 9,70000-9,99999. Valor por defecto= 9,79455
F1.6
Calibración Punto Cero
[
E- CL
] Mantener la balanza vacía
Retirar los pesos que se encuentran sobre la plataforma de pesar para garantizar que la báscula se encuentra en modo vacío. Presione
la tecla
y en el contador aparecerá el símbolo [
00 cal
]. Los dígitos que se muestran en pantalla se irán reduciendo poco a poco
hasta que aparece en pantalla el contador [
00 cal
]. Al final aparecerá en pantalla el mensaje [
End
] durante un segundo, ello indica el final
del proceso de
calibración del punto cero.
F1.7
Calibración punto de carga
[
LOAd
]
Cargando pesos
Cargar pesos en la plataforma de pesa para asegurarse que el 10% del valor total de la báscula
≤
peso de pesos
≤
valor báscula
llena, y
después presionar la tecla
para empezar el paso siguiente.
[
000000
]
introducir el mismo valor de peso que el de los pesos cargados.
Para introducir el mismo valor de peso que el que tienen los pesos cargados, presione por favor la tecla
una vez que la báscula se encuentre
estable, y el contador muestre en pantalla el símbolo (). Después de esto, los dígitos que aparecen en pantalla se irán redu- ciendo poco a poco hasta
que el contador muestre ().AL final aparecerá en pantalla () durante un segundo, ello indica que el final de la
calibración del punto de carga.
F1.8
Búsqueda automática de Nulo
Parámetros seleccionables: O , 1 d, 2 d, 3 d ( valor por defecto)
F1.
Rango Reinicio Automático al Inicio
Parámetros seleccionables: O , 2%, 10 %, 20 % (valor por defecto)
F1.10
Botón Rango Reinicio
Parámetros seleccionables: O , 2%, 10% ( valor por defecto), 20 %
F1.11
iltro Digita
l
Parámetros seleccionables: 0---- iltrado suave
1---- iltrado moderado ( valor por defecto) 2----
iltrado fuer te
F1.12
Rango Estable
Parámetros seleccionables: 1 d, 2 d, 3 d ( valor por defecto)
F1.13
Rango Pantalla Sobrecarga
Parámetros seleccionables: 9d, 5% ( valor por defecto), 10%, 20 %
F1.14
1 Menú Protección
Parámetros seleccionables: 0 ----Introducir menú 1 a través del uso del teclado
1 ----Introducir menú 1 a través de la tecla de calibración
F1.15
Restaurar Ajuste Predeterminado
Configurar los parámetros a través de 1- 4 como valores por defecto, ello no puede impactar los parámetros de la báscula estándar.

F2 APLICAR FUNCIÓN CONFIGURACIÓN
F2.1
Seleccionar unción
Parámetros seleccionables: 0 ---- Cerrar la aplicación de funciones ( valor por defecto)
1
---- Mantener función pesar
REPORT
---------------------------
Gross
0.200 Kg
Tare
0.000 Kg
Net 0.200 Kg
REPORT
---------------------------
Gross
25.000 Kg
Status Hold
REPORT
---------------------------
Net
25.000 Kg
Status Hold
2
---- unción mostrar porcentaje
3
---- unción comprobar peso y función de clasificación
REPORT
---------------------------
Gross
1.980 Kg
State
Less
REPORT
---------------------------
Gross
25.000 Kg
State OK
REPORT
---------------------------
Net
25.000 Kg
State Over
4
---- unción de acumulación de la báscula
REPORT
---------------------------
1
0.200 kg
2
0.175 kg
3
0.347 kg
4
0.375 kg
---------------------------
Total: 1097Kg
REPORT
---------------------------
Total
1.097 Kg
5
---- unción de contar de la báscula
6
---- unción animal de la báscula
REPORT
---------------------------
Gross
0.200 Kg
Tare
0.000 Kg
Net 0.200 Kg
REPORT
---------------------------
Gross
0.547 Kg
Amount 55

F2.2
Valor límite Vaciar Báscula
Parámetros seleccionables: 0—rango pleno ( valor por defecto: 0,001)
F2.3
Peso deseado para Comprobación de peso y función de clasificación Parámetros
Seleccionables: 0—rango completo ( valor por defecto: 2,000)
F2.4
rror Positivo
para Comprobación de peso y la función de clasificación Parámetros
Seleccionables: 0- gama completa ( valor por defecto: 0,100)
F2.5
Error Negativo para Comprobación de peso y la función de clasificación
Parámetros
Seleccionables: 0- gama completa (valor por defecto: 0,100)
F2.6
Acceso
a
Peso
Deseado
para
Comprobación
de
Peso
y
unción
de
Clasificación
,
y
contar
Peso
de
Muestra
Parámetros
Seleccionables: 0 ---- Acceder a Plataforma de Pesar ( valor por defecto)
1 ---- Acceder a la Introducción manualmente
F3 CONFIGURACIÓN DE PARÁMETROS DE AHORRO DE ENERGÍA
F3.1
Configuración del protector de pantalla de tiempo de espera
Parámetros seleccionables: 0-99 minutos ( valor por defecto: 30 minutos) Si
está configurado a 0, no se permitirá esta función
Durante la aparición del protector de pantalla, el visor mostrará al azar “ “.
F3.2
Configuración Tiempo de Ahorro de Energía para el Auto Apagado Parámetros
configurables: 0-250 minutos ( valor por defecto: 150 minutos) Si se encuentra
programado a 0, no se permitirá esta función
F3.3
Mostrar Control de Brillo
Parámetros seleccionables: 0-----nivel de luz bajo
1----nivel de luz mediano ( valor por defecto)
2----
Nivel de luz alto
F3.4
Reloj en tiempo real, ajuste de la fecha
F3.5
Reloj en tiempo real, ajuste de hora
F4 CONFIGURACIÓN IMPRESORA (NO MODIFICAR)
F4.2.4
Selección de idioma de impresión
CHI:
CHINESE
\
ENG
: ENGLISH
\
FRA:
RENCH
\
ESP:
SPANISH
\
ITA:
ITALIAN
\
POR:
PORTUGUESE
F5 MANTENIMIENTO Y SERVICIO
F5.1
Test teclado
Mostrar panel de mandos, presionar las teclas
, , ,
, [lb/kg] y
en este orden, y las teclas del panel de mandos
, , , ,
y
, pulsar
para
salir
del test del panel de mandos.
F5.2
Mostrar el test de pantalla
Todos los trazos del contador mostrados en pantalla serán sometidos a una uto inspección, para
observar si hay problemas en los trazos. Presionar
o
para salir del test de pantalla.
F5.3
Mostrar
el código interno actual
La pantalla mostrará el código interno actual del panel de mandos después de la estabilización. Presionar
o
para
salir de la
interfaz.
This manual suits for next models
1
Table of contents
Languages:
Other Baxtran Truck manuals


