Bebecar one&two User manual

www.bebecar.com
instructions
instrucciones
instruções
instructions
gebruiksaanwijzing
istruzione
инструкции
pokyny
instrukcja obsługi
інструкція
használati utasítás
תוארוה


s
g
y
n
s
i
t
l
e
l
m
o
r
EN 1888:2003
Conforms to Standards
Normas de Seguridad
Normas de Segurança
Exigences Sécurité
Conform
A Termék a Fenti
Szabványnak Megfelel
system
www.bebecar.com
Style / Stylo / Multipla
Vector
Icon / M3
Rversus C / Rversus
RV3 / RC3
Prime / Ip-Op
Vector Duo
Act
Ip-Op Evolution / Ip-Op EL
Stylo Class EL / Stylo AT EL
One & Two
TS • LF • LF CT
TS • LF • LF CT
TS • LF • LF CT
FS
FS (07)
LF • FS • LF CT
FS CT
FS EL
LF EL
LF EL
FS CT EL • FS CTS EL
MAXIBOBNEST • BOBCOT
BOBNEST • MINIBOB • MAXIBOBNEST • BOBCOT
BOBNEST • MINIBOB
BOBNEST • MINIBOB
BOBNEST • MINIBOB
BOBNEST • MINIBOB
MINIBOB
MINIBOB EL
MINIBOB EL
BOBCOT EL
MINIBOB EL
SEAT UNIT • ASIENTO • ASSENTO • בשומ תדיחי
SIEGE • ZITJE • AMACA • SEDACKA
ПРОГУЛОЧНЫЙ БЛОК •
SIEDZISKO SPACERÓWKI • СИДІННЯ
SPORT ÜLŐRÉSZ
CARRYCOT • CAPAZO • ALCOFA • היטבמא
NACELLE • DRAAGWIEG • NAVICELLA
ЛЮЛЬКА • GONDOLA •
HLUBOKÁ VANA • ПЕРЕНОСНЕ ЛІЖКО
MÓZESKOSÁR
COMPATIBILITY • COMPATIBILIDADE • COMPATIBILITÉ • COMPATIBILITEIT • COMPATIBILITA •
СОВМЕСТИМОСТЬ • KOMPATYBILNOŚĆ • KOMPATIBILITA • СУМІСНІСТЬ • ÖSSZEEGYEZTETHETŐSÉG
.
CHASSIS • CHASIS • הדלש
ONDERSTEL • TELAIO
ШАССИ • PODVOZEK •
PODWOZIE WÓZKA • ШАСІ
VÁZ
תומיאת
91 cm
101 cm 39 cm
made in europe

NOOK OK OK
NONONO NO
NONO NO
OK
NONO NO
OK
NONO NOOK
NONONO OK
Configurations • Combinaciones • Configurações • Configuratie
Configurazioni • Конфигурация • Uwaga • Usporadani • Конфігурації
GB - WARNING: When using this pushchair with only one child, NEVER use the front seat.
With two seats occupied take the front seat occupant out first.
Whilst loading with two children load the rear seat first before the front seat is loaded.
ES - ADVERTENCIA: Cuando utiliza esta silla con solo un niño, NUNCA utilice el asiento delantero.
Cuando los dos asientos están ocupados, primero coge el niño del asiento delantero. Cuando va a utilizar la silla para dos
niños, primero sube un niño en el asiento trasero antes de subir al otro niño en asiento delantero.
PT - ATENÇÃO: Quando usar esta cadeira com uma só criança, NUNCA utilize o lugar da frente.
Com os dois assentos ocupados, primeiro retire o ocupante do assento dianteiro.
Quando utilizar os dois assentos, primeiro coloque o ocupante do assento traseiro.
FR - ATTENTION: Si vous employez cette poussette avec un seul enfant, il ne peut JAMAIS être assis dans le siege avant.
Si deux sièges sont occupés, il faut d’abord enlever l’enfant du devant.
Quand vous mettez les enfants dans la poussette, mettez d’abord celui à l’arrière.

OK OK OK OK
NONO
OKOKOK NO
NONO NO
NONONO NO
NONONO NO
NL - OPGELET: Indien U deze wandelwagen gebruikt met slechts één kind mag het NOOIT vooraan zitten.
Wanneer U de twee zitjes gebruikt moet U eerst de baby die vooraan zit er uit nemen.
Als U de babys in de wandelwagen wil plaatsen, moet U eerst degene plaatsen die achteraan zit.
IT - ATTENZIONE: Usando questo passeggino con un solo bambino NON utilizzare il seggiolino anteriore.
Mettere sempre per primo l'occupante del sedile posteriore. Togliere sempre per primo l'occupante del sedile anteriore.
RUS - ВНИМАНИЕ: Когда используете эту коляску только с одним ребенком, НИКОГДА не устанавливайте кресло
или прогулочный блок на переднюю часть шасси. Если в коляске находится два ребенка одновременно, первым
снимайте впереди сидящего ребенка. Если используете коляску с двумя детьми одновременно, сначала посадите
одного ребенка на заднее сидение (ближе к себе), а второго на переднее сидение.
PL - UWAGA! Przewożąc tym wózkiem tylko jedno dziecko, NIGDY NIE WOLNO USADZAĆ GO NA PRZEDNIM
SIEDZISKU. W wypadku przewożenia dwojga dzieci, najpierw należy wyjmować dziecko siedzące na przednim siedzisku.
Przy usadzaniu dwojga dzieci w wózku, w pierwszej kolejności należy posadzić dziecko na tylnym siedzisku.
CZ - VAROVANI: Pokud pouzijete podvozek pouze s jednim ditetem, NIKDY nepouzivejte predni sedacku.
Pokud jsou obe sedacky obsazeny, vyjmete nejprve dite z prvni sedacky.
Pokud budou obsazeny obe sedacky detmi obsadte nejprve zadni sedacku a nasledne predni.
UKR - УВАГА: У випадку використання цієї коляски тільки для однієї дитини, НІКОЛИ не використовуйте переднє
сидіння. Коли обидва сидіння зайняті, спершу звільніть переднє сидіння.
Коли розміщуєте двох дітей, перед тим як садити дитину на переднє сидіння, спочатку посадить іншу на заднє.
HUN - FIGYELMEZTETÉS: Ha ezt a babakocsit csak egy gyermekkel használja, SOHASE használja az első ülést.
Ha két ülés van használatban,először az első ülésből vegye ki a gyermeket. A gyermekek beültetésekor a hátsó ülésbe
tegye először be az egyik gyermeket és csak azután helyezze az első ülésbe a másikat.
NONO
NO

1
23
a

9
8
7
4
5
6

10 11
12
NOTE
NOTA
ВНИМАНИЕ
UWAGA
POZOR
УВАГА
FIGYELEM
a b
NOTE
NOTA
ВНИМАНИЕ
UWAGA
POZOR
УВАГА
FIGYELEM

14
13
AB
B
A
B A
BA

15
NO NO NO

16
NO NO

17
NO NO

20
19
18
NOTE
NOTA
ВНИМАНИЕ
UWAGA
POZOR
УВАГА
FIGYELEM

21

NOTE:
NOTA:
NOTA:
NOTE:
NOTA:
NOTA:
ВНИМАНИЕ:
UWAGA:
POZOR !
УВАГА:
The buttons on the swivel wheel forks should be facing outwards.
Los botones que están en las horquillas de la ruedas giratorias
deben de estar mirando hacía fuera.
Os botões das forquetas devem ficar virados para fora.
Les boutons sur les fourches des roues pivotantes doivent
être tournés vers l’extérieur.
De knoppen op de vorken van de zwenkwielen moeten naar
buiten gekeerd zijn.
I bottoni sulle forcelle delle ruote girevoli devono essere rivolti
all'esterno.
Красные кнопки на вилках вращающегося колеса должны
быть с внешней стороны.
Czerwone przyciski umieszczone się na na widelcach kół
obrotowych powinny znajdować się na zewnętrznej stronie.
Cervena tlaitka aretace prednich piruetnich kol musi smerovat
ven, nikoliv dovnitr konstrukce.
Червона кнопка на розвилці обертаючогося колеса повинна
знаходитися назовні.
ןקתהה לע תינוציח בכרומ תויהל ךירצ לגלגה ןקתה לעש םודאה רותפכה
FIGYELEM: A piros gombok a bolygósítható kerék villákon kifelé kell hogy
nézzenek.
GB
ES
PT
FR
NL
IT
RUS
CZ
PL
UKR
HUN
ISR

GB
ES
PT
FR
NL
IT
RUS
CZ
PL
UKR
ISR
Infant Car Seat
Silla de Auto
Assento Auto
Siége Auto
Autozitje
Seggiolino auto
Автокресло для младенца
Dziecięcy fotelik
Samochodowy
Autosedacku
Автосидіння для малюка
Hordozó
The Infant Car Seat should be facing rearwards when used on chassis.
La silla de auto debe ser colocada mirando hacia atrás, cuando se usa en
el chasis.
O Assento Auto deve ser colocado virado para trás, quando utilizado no
chassis.
Le siège doit toujours être placé vers la maman si employé sur le chassis.
Het autozitje moet altijd naar de moeder gekeerd zijn bij gebruik op het
onderstel.
Il Seggiolino auto, quando è posto sul telaio, deve stare fronte-mamma.
При использовании автокресла для малышей на шасси, сидение должно
быть установлено против хода движения коляски.
W przypadku instalacji na tym podwoziu, dz ęcy fotelik samochodowy
ieci
powinien być ustawiony odwrotnie do kierunku jazdy.
Autosedacku umistete na podvozku kocarku vzdy smerem k vam !
При використанні автосидіння для малюків на шасі, сидіння повинно
бути встановлене проти ходу руху коляски.
הלגעה תדלש לע אסכה תא םיחינמ רשאכ אמאה יפלכ םינפה םע הנפומ תויהל ךירצ תוחיטבה אסכ
A hordozót menetiránnyal ellentétesen helyezze a vázra.
HUN
בכרל קוניתל יתוחיטב אסכ

•
•
•
•
•
•
•
•
•
•
•
seat
asiento
assento
siège
zitje
passeggino
прогулочный блок
siedzisko spacerówki
sedacka
сидіння
sport rész
GB
ES
PT
FR
NL
IT
RUS
CZ
PL
Before folding chassis with FS CT EL Seat, please return the footrest to the
horizontal position.
Antes de plegar el chasis con la hamaca puesta, levante el reposapies
hacía arriba.
Antes de fechar o chassis com o assento FS CT EL, levante o pousa-pés
para a posição horizontal.
Avant de replier le chassis avec le siège FS CT EL, il faut mettre le
repose-pieds droit.
Alvorens het onderstel te plooien met het FS CT EL zitje, moet u eerst de
voetsteun rechtop plaatsen.
Prima di chiudere il telaio con il passeggino di tipo FS CT EL, ricordarsi di
alzare il poggiapiedi.
Перед тем, как сложить шасси сначала поднимите подставку для
ног кверху.
Przed złożeniem podwozia z siedziskiem FS CT EL należy najpierw ustawić
podnóżek w położeniu do przodu.
Drive nez zacnete skladat podvozek se sedackou FS CT EL, je nutne
zvednout operku nohou dle vyobrazeni, aby se zabranilo poskozeni sedacky.
Перед складанням шасі з сидінням FS CT EL, встановіть будь ласка
підставку для ніжок у горизонтальне положення.
Mielőtt összecsukná az vázat az FS CT EL (egyenesre fektethető) sport
résszel kérjük állítsa vissza a lábtartót vízszintes helyzetbe.
E L
FS CT
UKR
ISR .הלעמל םיילגרה תנעשמ תא םירהל שי תלגע לופיק ינפל
HUN
easylock

PORTUGAL
BÉBÉCAR - UTILIDADES PARA CRIANÇA, S.A.
RUA DOMINGOS OLIVEIRA SANTOS, 62
APARTADO 8
4509-903 CALDAS DE S.JORGE (PORTUGAL)
TELEF: 256 910400
FAX: 256 911346
E-mail: info@bebecar.com
www.bebecar.com
FABRICADO EM PORTUGAL
GREAT BRITAIN
BÉBÉCAR UK LTD.
ROBERTSON HOUSE, NORTH WALSHAM.
NORFOLK, NR28 0BX
TELE: SALES 01692 408801
SERVICE 01692 408807
FAX: 01692 500176
E-mail: sales@bebecar.co.uk
www.bebecar.co.uk
MADE IN PORTUGAL
ESPAÑA
BÉBÉCAR ESPAÑOLA, S.L.
C/ MARCHES, S/N PARCELA 74
APARTADO DE CORREOS Nº 1115
POLIGONO INDUSTRIAL
45007 TOLEDO (ESPAÑA)
TELEF: (925) 241474
FAX: (925) 241633
E-mail: [email protected]
FABRICADO EN PORTUGAL
FRANCE
BÉBÉCAR FRANCE, S.A.R.L..
ZA LES PORTES DE LA FORÊT
3, ALLÉE DES PORTES DE LA FORÊT
77090 COLLEGIEN (FRANCE)
TELEF: (01) 64628400
FAX: (01) 60376998
E-mail: service.france@bebecar.com
FABRIQUÉ AU PORTUGAL
made in europe
ITX000000427 - 01/2012 - DDH 0056/00

GB
READ THESE INSTRUCTIONS CAREFULLY BEFORE
USE AND KEEP THEM FOR FUTURE REFERENCE
YOUR CHILD’S SAFETY MAY BE AFFECTED IF YOU DO NOT FOLLOW THESE INSTRUCTIONS
WARNING: This pushchair has been designed to be operated as shown in the instructions supplied.
Not to do so may cause damage and render your guarantee void.
1 - TO UNFOLD: When opening the pushchair with the adjustable handle, ensure that the handle is in line with the main
handle.
2 - Pull gently on handle of pushchair, and press down on metal tube of pushchair with your foot as indicated by the
figure, until primary locks engage with a click. NB: Do not rotate handle collar when opening the chassis (fig 2a).
The secondary lock will automatically engage.
3 - STEERING - NON-STEERING: The front wheels can be used in either mode.
Slide lever (on both sides of chassis) to the upward position for steering, as indicated in the figure.
For non-steering wheels press button and lever will slide in a downward position.
NB: When using your pushchair on rough ground we recommend non-steering mode.
4 - BRAKE OPERATION: To apply brake, press down on pedal.
5 - To release brake, pull up the pedal.
6 - REAR SUSPENSION SYSTEM: Adjustable in two positions. With brakes applied, use foot to make adjustment.
Release suspension mouldings as showed in the figure for a soft option for the young infant.
7 - Press down on suspension mouldings, for a strong but comfortable setting for the larger child.
8 - TO REMOVE THE REAR WHEEL: Press lever downwards and at the same time pull the wheel away from the axel
housing.
9 - TO FIT THE REAR WHEELS: Place axel in axel housing and press inwards.
Check by pulling wheel to confirm latching of the axel.
10 - TO REMOVE THE FRONT WHEEL: N.B. The front wheels of this chassis can only be removed if the steering button
is in an upward position. Press button and at the same time pull the wheel away from the front leg.
11 - TO FIT THE FRONT WHEELS: N.B. The front wheels of this chassis can only fitted if the steering button is in an
upward position.
Press button and at the same time push wheel housing into front leg, until it locks into position.
Check by pulling wheel to confirm latching of the wheel housing.
12- ADJUSTABLE HANDLE HIGHT: (a) Press the two buttons simultaneously and rotate the handle bar as required.
(b) Press the two buttons simultaneously and raise or lower the handle bar as required.
13 - REMOVING ADAPTER: To convert the tandem version (TWO) to a single version (ONE) pushchair, remove adapter
by pushing in device (A) on both sides of the adapter and simultaneously remove adapter away from chassis frame.
14 - TO FIT ADAPTER: To convert the single version (ONE) to a tandem version (TWO) pushchair, fit adapter by
hooking metal plate (B) to back metal rivet on chassis on both sides. Then lower adaptor engaging devise (A) into
front metal rivet and lock will automatically engage.
Ensure adapter is secure at all four attachments points (A and B).
15 - TO FIT CARRYCOT: Place carrycot base on chassis attachment device “easylock”. Lock will automatically engage.
Warning: Check that the pram body attachment devices are correctly engaged before use.
N.B: In the tandem version (TWO) do not use two carrycots or a single carrycot. Use either a carrycot with
pushchair seat or a carrycot with car seat.
For all possible configurations for the tandem version (TWO) see page 4 and 5.
TO REMOVE CARRYCOT: Push in button on base of the carrycot and simultaneously lift carrycot away from chassis
frame.
16 - TO FIT SEAT: Seat may be forward or rear facing. Place seat on chassis attachment devise “easylock”. Lock will
automatically engage. Warning: Check that the seat unit attachment devices are correctly engaged before use.
N.B: In the tandem version (TWO) do not use just a single pushchair seat.
TO REMOVE SEAT: Push in button on both side of seat unit and lift seat away from chassis frame.
17 - TO FIT AUTO SEAT: Place auto seat on chassis attachment devise “easylock”. Lock will automatically engage.
Warning: Check that the auto seat attachment devices are correctly engaged before use.
N.B: In the tandem version (TWO) do not use just a single auto seat.
TO REMOVE AUTO SEAT: Push in button on front of seat unit and lift auto seat away from chassis frame.

GB
18 - FOLD PUSHCHAIR:
N.B: Please remember to lock the swivel wheels in the non-steering mode before folding chair.
When folding the pushchair ensure that the adjustable handle is in line with the main handle.
To fold, firstly press the red button and simultaneously, turn the handle collar in the direction of the "FOLD" and the
chair will begin to close.
19 - Operate secondary safety device by pulling the plastic tab.
Tilt the chair forward and continue the folding action until the chassis is fully closed.
20 - TO STORE PUSHCHAIR: Fold adjustable handle as shown in the figure.
21 - BASKET: To attach the basket, pass the webbing and press-stud through the frame as shown.
Attach the back edge of the basket around the rear cross member.
WARNING - A CHILD´S SAFETY IS YOUR RESPONSIBILITY
Conform to EN 1888:2003
This vehicle is intended for children from 0 months of age and up to maximum weight 15kg.
WARNING: It may be dangerous to leave your child unattended.
WARNING: Ensure that all locking devices are engaged before use.
WARNING: To avoid injury ensure that your child is kept away when unfolding and folding this product.
WARNING: Do not let your child play with this product.
WARNING: Do not add a mattress thicker than 20 mm.
WARNING: Use a harness as soon as your child can sit unaided.
Never carry more children in the pushchair than it was design for.
It may be unsafe to use accessories, e.g. child seats, bag hooks, rain cover etc. other than those approved by BÉBÉCAR.
It may be unsafe to use replacement parts, other than those supplied or approved by BÉBÉCAR.
WARNING: Any load attached to the handle affects the stability of the pushchair.
Always apply brakes when loading or unloading child.
WARNING: Always use the crotch strap in combination with the waist belt.
Additional attachment points called ‘D’ rings are provided on the seat lap strap and in the centre of the carrycot for the
attachment of a separate safety harness.
WARNING: Check that the pram body or seat unit attachment devices are correctly engaged before use.
WARNING: This product is not suitable for running or skating.
The child should be clear of moving parts while making adjustments.
This vehicle requires regular maintenance by the user.
Overloading, incorrect folding and the use of non-approved accessories may damage or break this vehicle.
If a shopping basket is supplied, the maximum permissible load is 5kg, evenly distributed.
Never allow a child to attempt to operate this vehicle. Remember, it is not a toy.
It is not advisable to have sources of heat (open electric or gas fires etc) near this product.
This vehicle should be regularly checked for wear.
Wheels, swivel units and other moving parts of the chassis should be kept free of accumulated dirt and should be regularly
lubricated with a silicon spray. Do not use oil.
Please remember that this vehicle is not waterproof. You must use a BÉBÉCAR PVC raincover, and that raincover must
be raised or removed when inside to give adequate ventilation. After use in wet weather, ensure both the vehicle and PVC
raincover are thoroughly dried and aired before storage or further use.
Dry metal and plastic parts with a soft cloth.
Read and keep the instructions supplied.
Note: For washing instructions and Service Agents Network see separate list.
GUARANTEE
All BÉBÉCAR products have a period of guaranteed subject to the local law of the country in which it is being sold, from the
date of purchase, against mechanical defects which will be repaired, or parts replaced free of charge within this period. This
is conditional upon the product having been used for the purpose for which it was designed and no liability is accepted for
defects arising out of fair wear and tear, undue force, neglect or accident.
In furtherance of their policy of continuous product development BÉBÉCAR
reserve the right to make specification and design changes.
Table of contents
Languages:
Other Bebecar Stroller manuals
Bebecar
Bebecar Spot User manual
Bebecar
Bebecar Icon User manual

Bebecar
Bebecar Stylo User manual
Bebecar
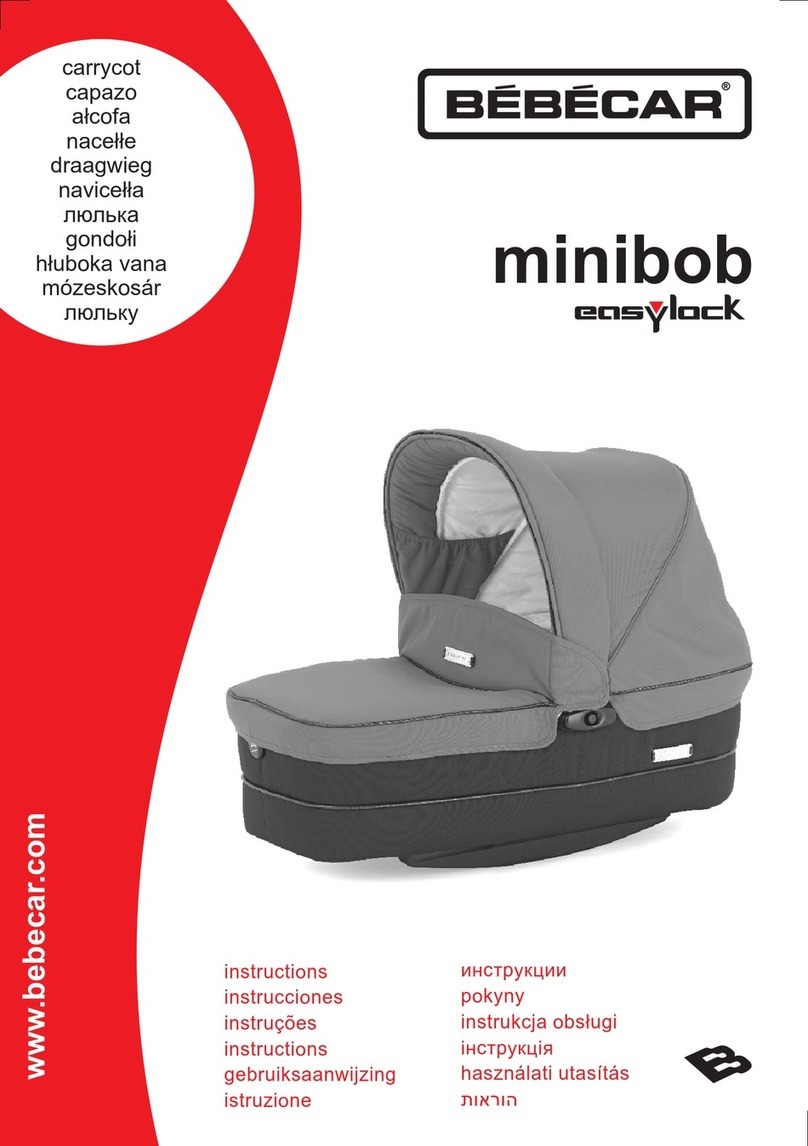
Bebecar MINIBOB EasyLock User manual
Bebecar
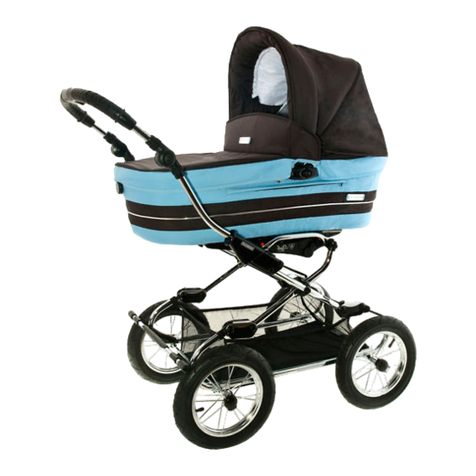
Bebecar Style AT User manual
Bebecar
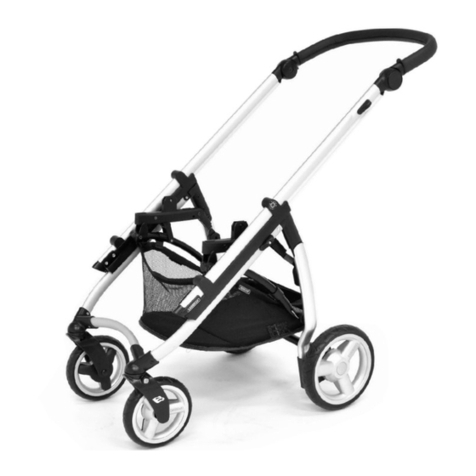
Bebecar NOVO User manual
Bebecar
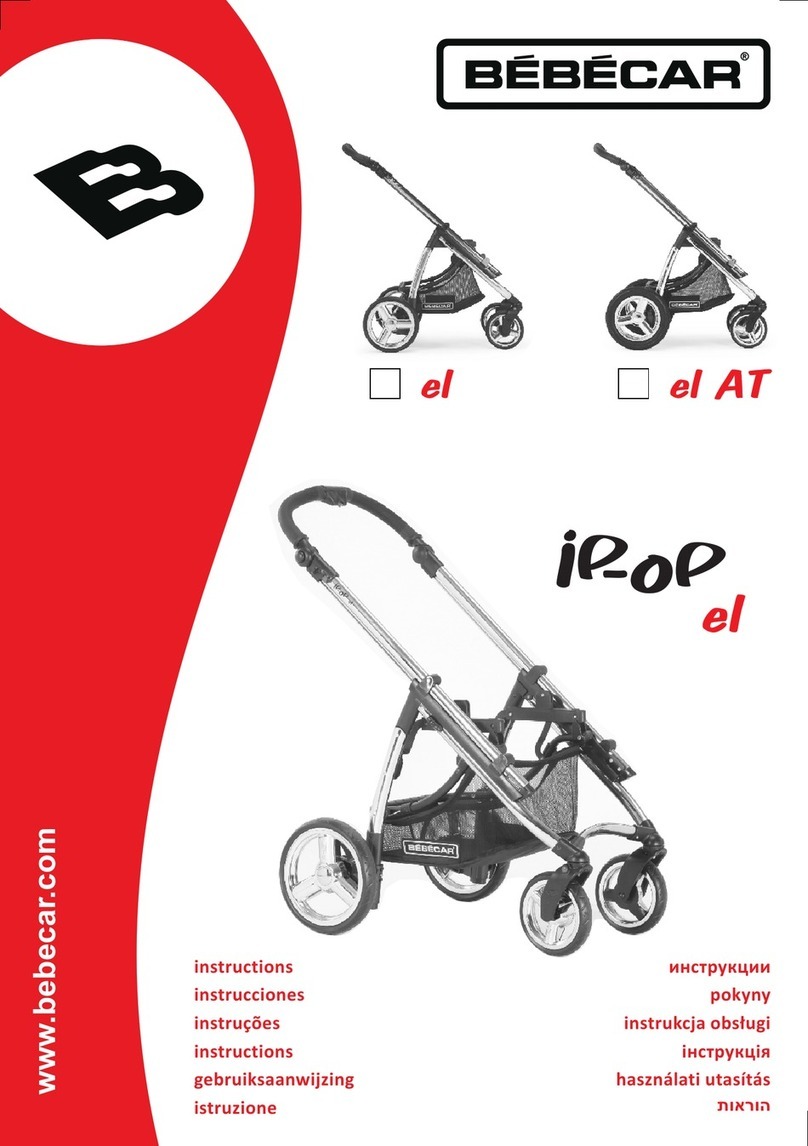
Bebecar IP-OP EL User manual
Bebecar
Bebecar MCity User manual

Bebecar
Bebecar Raider AT+ User manual
Bebecar
Bebecar ACT EasyLock User manual
