Becker A2D-BKR Instruction Manual

Courtesy of:DiscountCarStereo.com
A2D-BKR
QuickStartAudioStreamingInstallation Guide
forBeckerRadioswithAUXMenuOption
Created October 1, 2015
Revised: May 23, 2019

Introduction:
Becker radio is popular in older European luxury cars (e.g. Porsche, BMW,
Mercedes, Land Rover, Ferrari etc.) and for those looking to upgrade to
Bluetooth without changing the radio, we offer the A2D-BKR Bluetooth receiver.
The A2D-BKR provides a Bluetooth Audio Streaming solution for any A2DP
Smartphones which then allows these vehicle owners to stream music without
wires. Most Phones with Bluetooth 2.x, 3.0 and 4.0 include the A2DP profile so
please check your phone to verify compatibility. Remember the A2D-BKR works
only on Becker Radios with an “AUX”Menu Option and replaces the CD
Changer (if present) however; to retain use of the CD Changer, purchase our
A2D-BKRCD instead.
See Frequently Asked question at the end of this guide for more details.
Installation:
Remove radio from dashboard to gain access to the connectors. A pair of
removal tools (See Fig. 1) is required to remove all Becker radios.
Fig. 1
Radio removal Tools
1. Slide tools into slots to detent position. Withdraw radio by pulling
outwards on the tools. See Fig. 2
Fig. 2
2. With radio removed disconnect the Blue (C-3) and Green (C-2) plugs
from Radio (See Fig. 3 )
Fig. 3
Becker Radio Connectors
Warning!
C2-C3 slots are for the CD Changer or another Accessory. C-1 slot
(yellow) is reserved for vehicles with amplifier. The A2D-BKR adapter
replaces any accessory connected to C-3 slot.
3. Connect Blue ISO plug from installation harness (See Fig. 4) into the C-
3 slot vacated in step 2

Fig. 4
8-way plug
Optional Install notes for Ferrari Cascade Radios with factory Hands-Free
Optional T-harness is required to retain cluster display (see Fig. 4a) and/or
factory hands-free calling option.
To install:
1. Connect blue ISO plug from step 2 to the black connector on T-harness (Fig. 4b)
2. Connect blue plug from T-harness to C-3 slot on radio vacated in step 2.
3. Proceed to step 4 below.
Optional T-harness NOT required in vehicles without cluster display and/or
Bluetooth hands-free
Fig. 4a
Fig. 4b
optional T-harness
Warning!
Most Becker radios are coded and will not operate without the code.
Do not proceed to step 4 if radio code is not available otherwise radio will not
operate upon reconnection.
4. Disconnect the 8-pin plug from slot A on Radio (See Fig. 3)
5. Connect 8-pin plug (from step 4) to matting 8-pin connector on power
supply harness (See Fig. 5)
6. Connect 8-pin plug from power harness to slot A on radio (vacated in
step 4)
Fig. 5
Power harness

7. Test for engine noise. If present a noise filter (not included) may be
added. We recommend purchasing our NF3A noise filter.
Warning
:Some BMW and Mercedes have a Solid A/B plug that will NOT mate with our
harness. To resolve this, you must purchase conversion harness below: (BHA1784_iso)
http://www.discountcarstereo.com/bha1784_iso.html
8. Secure adapter box and proceed to next section.
Enabling the AUX function
the most important step in this process is to enable the AUX function within
the radio menu. Most Becker radios are pre-programmed to recognize a CD
Changer connection and because of that you must perform the following steps
and change the setting to “AUX” otherwise the radio will not recognize the
adapter.
Radios with TP button: (i.e. CDR-220)
1. Turn radio "ON"
2. Press and hold the "TP" button for about 8 seconds until Becker 1 is
displayed.
3. Turn the Tuning Knob until AUX OFF is displayed.
4. Press either button located directly under the Arrows on the display to
change the present setting from OFF to ON.
Turn radio OFF.
5. Turn Radio back ON, press the “S” (Source) button to enter AUX Mode.
This is the mode to use whenever you want to listen to the device
connected to the adapter.
Radios with ☼button: (i.e. BE6104)
1. Turn Radio “ON”
2. Press and hold the ☼button for about 8 seconds.
3. Select AUX “ON/OFF”option.
4. Press either button located directly under the Arrows on the display to
change the setting to ON.
5. Turn radio OFF.
6. Turn Radio back ON press the “☼”button until “AUX”is displayed.

Other Radios with ☼button (i.e. BE4602)
1. Turn radio ON.
2. Press and hold the ☼button for 8 seconds, until Becker 1 is displayed.
3. Turn the Tuning Knob until AUX OFF is displayed.
4. Press either button located directly under the Arrows on the display to
change the present setting from OFF to ON
5. Turn Radio back “ON” Press “CD” button to enter AUX Mode
Radios with 3 Function buttons (i.e. BE4527)
1. Turn radio ON.
2. Press and hold Function button #2 (center) for more than 4 seconds.
3. The accompanying menu appears on the display.
4. Press the multifunction button located directly under “AUX” on the
display to change the present setting from OFF to ON.
5. The Setting is stored automatically.
Nav Traffic Radios
1. Press the "Radio" button to enter Radio mode.
2. Press the "Navi" and "F10" simultaneously
3. Press "Next" until the AUX input, Changer Res screen
4. Press AUX to enable/disable.
Becker 4775 (Land Rover Traffic Pro)
1. With the Radio "ON" press and hold the Tone button until the sub-menu
comes up.
2. Press the soft-key labeled “Aux” until the screen displays “AUX Mode
on”.
3. Press the Tone button to exit the menu.
4. To enter "AUX" mode, press the "CD" button and select the "AUX" soft-
key.
Sound 5 (BE7077 Sprinter Van)
1. Turn radio ON.
2. Press the
dp
repeatedly until EXT menu appear.
3. Turn Rotary control knob clockwise and select EXT AUX.
4. Press the CD button repeatedly until “AUX” is displayed
Cascade Pro (i.e. BE7941)
To activate the External Device mode
1. Turn radio ON.
2. Press the information button
3. Turn the rotary control/push (OK) button counterclockwise until
System Settings appears at the top right of the display
4. Press the rotary control/push (OK) button
5. Turn the rotary control /push (OK) button to select External Device
6. Confirm selection by pressing the rotary control/push (OK) button
7. Select “AUX” from list and turn it “ON”.

8. Exit menu
9. To listen to the “AUX” device, press the MEDIA button
10. Turn the rotary control /push (OK) button to “AUX” and press the
rotary control/push (OK) button
Becker BE7801 Infotainment (Ferrari, Maserati)
1. Press the TP button for more than 2 seconds
2. Press multifunction button “AUX”
3. Select Ext audio source
4. press the right control knob to select “ON”
5. The setting is store automatically
Becker DTM /High speed (i.e. BE-7892, BE7910)
1. Press the Sound button for more than 2 seconds
2. Press multifunction button “AUX”
3. Select Aux Mode on
4. The setting is stored automatically
In CD Operation, the multifunction button AUX must be pressed to select
AUX operation
Mercedes Sound 5
1. Press the Mode button (indicated by arrow) repeatedly until AUX is
displayed.
Pairing:
The pairing process varies from Phone to Phone but the basic steps are the
same. This process is done upon initial install and will not have to be repeated
1. Turn Ignition and Radio “ON”
(May Porsche radios turn ON without key in ignition; however, for this
Bluetooth adapter to power up ignition must be turned “ON”)
LED within adapter peephole will flash (pairing mode)
2. On A2DP device: go to
Settings, Wireless & Networks, Bluetooth
Settings
3. Select
Bluetooth
and turn on, select Bluetooth settings
4. Tap
Scan for devices
.
5.
Wait for the Bluetooth device name to appear and select it.
Once
paired the LED will glow steady (paired)
Note: Supports multiple phones but connect to one phone at a time.

Test Operation:
1. Turn ignition and Radio “ON”
(May Porsche radios turn ON without key in ignition; however, for this
Bluetooth adapter to power up ignition must be turned “ON”)
2. Press CD or button combination to enter AUX Mode.
3. Launch Smartphone or tablet streaming application
4. Use radio volume control button to set playback level.
Warning!
Playlist and Track selection is *NOT* possible from the
Radio. You must use audio devices built-in controls to access audio
files.
5. If correct operation is confirmed go ahead and push radio back into
slot
Optional Remote Control
Optional remote control allows users to:
1. Control music wirelessly
2. Activate Phone commands (Siri, Google play etc.)
3. Track up/down
4. Volume up/down
Pairing:
Operation:
Use wireless remote to perform the following functions on any iOS7.0 and higher
or Android 4.4 and higher.

Contents:
Frequent asked questions
1. My vehicle has a CD Changer. Does the A2D-BKR work in vehicles with CD
Changer?
YES; but the CD Changer, aux, iPod adapter must be disconnected.
2. Does the A2D-BKR work on all Becker Radios?
NO; Works on all Becker radios with “AUX” menu option. Becker radios without
AUX option (e.g. CR-210, CDR-210, CR-1 etc.), are not compatible, however if
vehicle has a working CD Changer, see our A2D-BKRCD
3. Do you offer an adapter that works on Becker radios that do not have “AUX”
input capabilities?
YES; Purchase our BLU-BKR2223 or A2D-BKRCD if equipped with a CD Changer
(CD Changer remains functional).
4. Can I control my Smartphone music from the radio buttons?
NO; you must continue to use audio device (e.g. Smartphone) built-in controls
and display to operate the device.
5.
Can I pair or save more than one device to the A2D-BKR?
YES; more than one device (slaves) can be paired however only one connection
can be active at a time.
6. I’m getting noise that increases with engine speed. Is this normal?
If you experience alternator whine (increases with engine speed), we recommend
adding a noise filter (e.g. NF3A) to power/ground supply lines.
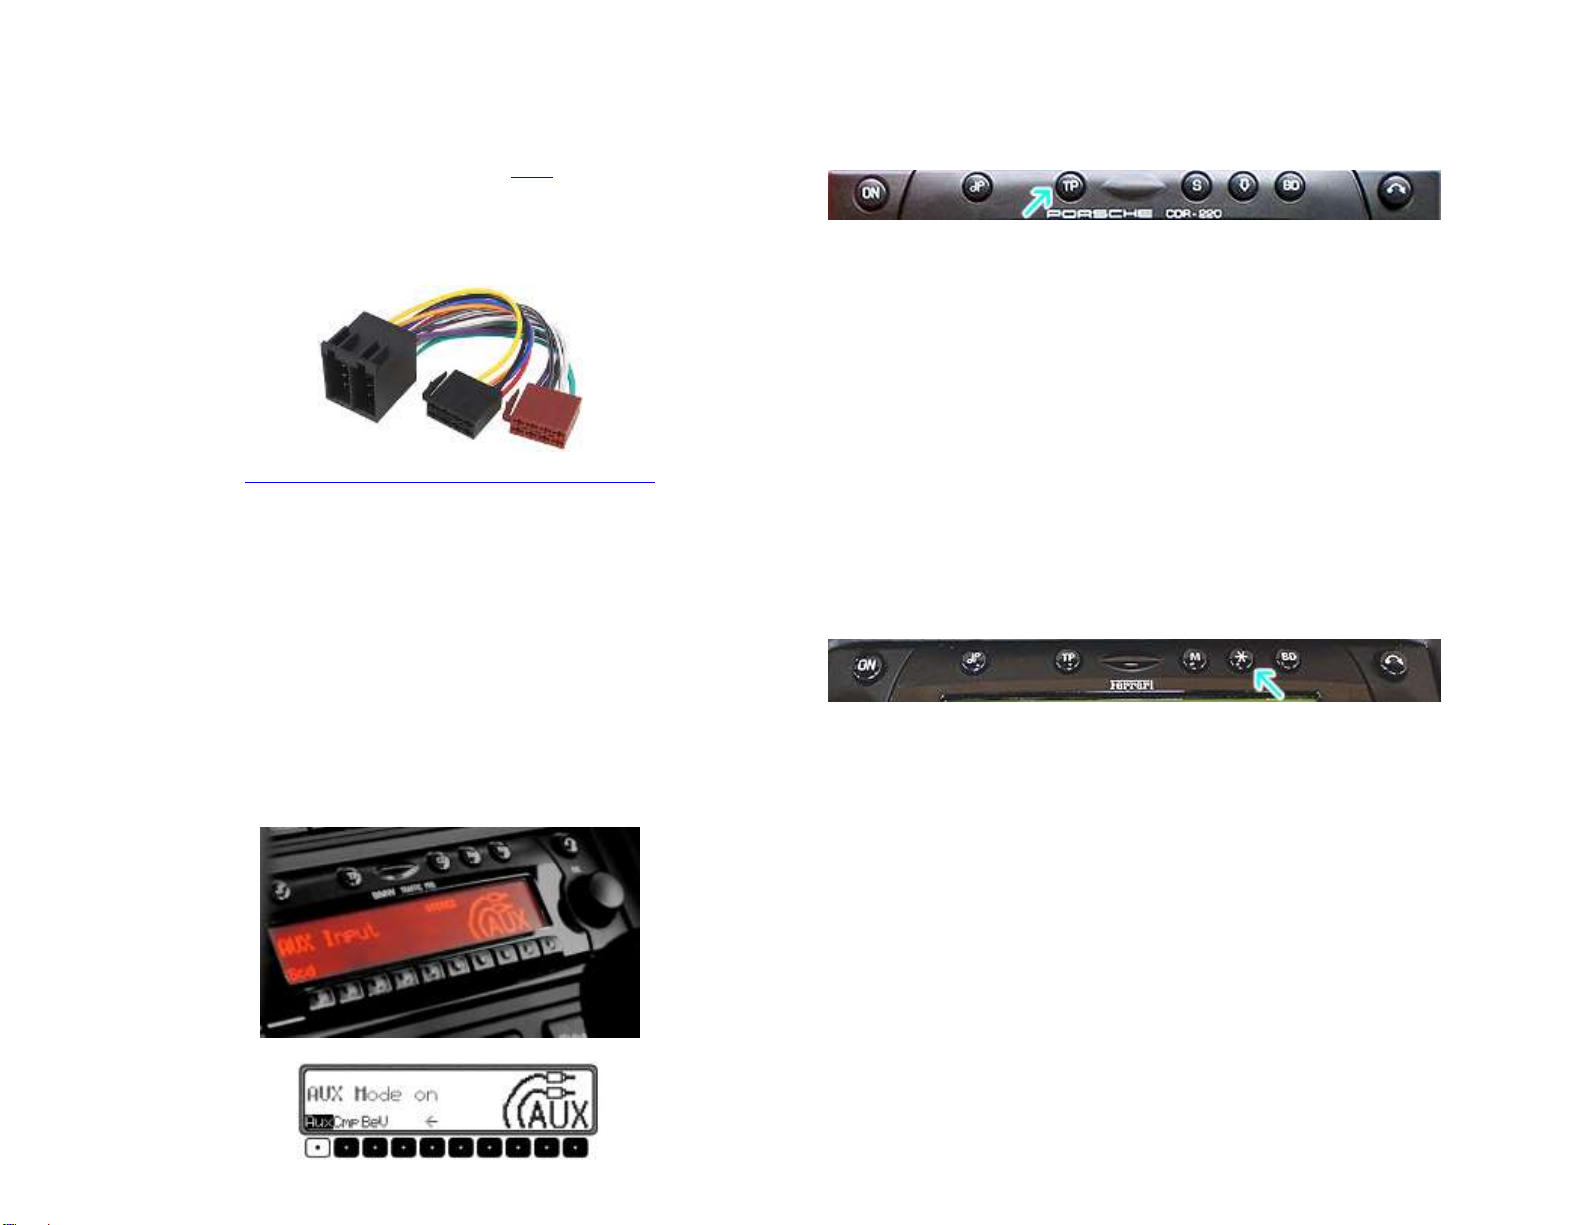
Here is how to add our Noise Filter:
Filter installs between Module and plug (Ro radio) as seen in Fig.7 (No need to cut
factory harness)
- If necessary, remove black tape from module installation harness
- Cut red and black wires about 2 inches away from 8-pin plug
- Connect red wire from module to red wire from filter (out)
- Connect black wire from module to black wire from filter (out)
- Connect like wire colors from installation harness to filter (in)
Fig. 7
7. Can I use A2D-BKR to make/receive phone calls?
No; The A2D-BKR support audio streaming only. Purchase our BKR-HF for phone
calls and audio streaming.
Disclaimer
• This product has no affiliation with Porsche, Becker etc.
• We’re not liable for misuse of this product.
•We recommend professional installation.
Email support@discountcarstereo.com
© 1995-2019-05-23 Discount Car Stereo, Inc. All rights reserved. Information in this document
is subject to change without notice. Other products and companies referred to herein are
trademarks or registered trademarks of their respective companies or mark holders
Table of contents
Other Becker Car Receiver manuals

Becker
Becker 780 User manual

Becker
Becker 1432 User manual

Becker
Becker Grand Prix User manual

Becker
Becker 1480 User manual

Becker
Becker BT-BKRMT User manual

Becker
Becker A2DIY-BKR User manual

Becker
Becker BLU-BKR23 Instruction Manual

Becker
Becker VISION PRO User manual

Becker
Becker BLU-BKR User manual

Becker
Becker Mercedes Benz MY99 User manual