manuals.online logo
Brands
  1. Home
  2. •
  3. Brands
  4. •
  5. Becker
  6. •
  7. Car Receiver
  8. •
  9. Becker Grand Prix User manual

Becker Grand Prix User manual

Other manuals for Grand Prix

3

Other Becker Car Receiver manuals

Becker BT-BKRMT User manual

Becker

Becker BT-BKRMT User manual

Becker Traffic Pro 7949 User manual

Becker

Becker Traffic Pro 7949 User manual

Becker MEXICO User manual

Becker

Becker MEXICO User manual

Becker Grand Prix User manual

Becker

Becker Grand Prix User manual

Becker Mercedes Benz MY99 User manual

Becker

Becker Mercedes Benz MY99 User manual

Becker 780 User manual

Becker

Becker 780 User manual

Becker VISION PRO User manual

Becker

Becker VISION PRO User manual

Becker BT45-BKR User manual

Becker

Becker BT45-BKR User manual

Becker BLU-BKR23 Instruction Manual

Becker

Becker BLU-BKR23 Instruction Manual

Becker 1480 User manual

Becker

Becker 1480 User manual

Becker A2D-BKR Instruction Manual

Becker

Becker A2D-BKR Instruction Manual

Becker BLU-BKR User manual

Becker

Becker BLU-BKR User manual

Becker Audio 30 ECE Typ 3300 User manual

Becker

Becker Audio 30 ECE Typ 3300 User manual

Becker 1432 User manual

Becker

Becker 1432 User manual

Becker Audio 30 USA 3309 User manual

Becker

Becker Audio 30 USA 3309 User manual

Becker Mexico 7948 User manual

Becker

Becker Mexico 7948 User manual

Becker A2DIY-BKR User manual

Becker

Becker A2DIY-BKR User manual

Becker A2D-BKR User manual

Becker

Becker A2D-BKR User manual

Popular Car Receiver manuals by other brands

Linear Series LS5050 Operation and installation manual

Linear Series

Linear Series LS5050 Operation and installation manual

Kenwood KRC-160 instruction manual

Kenwood

Kenwood KRC-160 instruction manual

Sony XR-CA430X Service manual

Sony

Sony XR-CA430X Service manual

T+A Elektroakustik K1 CD-RECEIVER operating instructions

T+A Elektroakustik

T+A Elektroakustik K1 CD-RECEIVER operating instructions

SoundMax SM-CDM1052 instruction manual

SoundMax

SoundMax SM-CDM1052 instruction manual

Xtrons HD107HD user manual

Xtrons

Xtrons HD107HD user manual

Mopar RB3 manual

Mopar

Mopar RB3 manual

Clarion ADDZEST DMZ615 owner's manual

Clarion

Clarion ADDZEST DMZ615 owner's manual

Sony XAV-601BT Specifications

Sony

Sony XAV-601BT Specifications

PIE GM12-POD/S Operation manual

PIE

PIE GM12-POD/S Operation manual

Hyundai H-910H instruction manual

Hyundai

Hyundai H-910H instruction manual

Sony XR-C6100 Service manual

Sony

Sony XR-C6100 Service manual

Sony CDX-L600X - Fm/am Compact Disc Player Installation/connections

Sony

Sony CDX-L600X - Fm/am Compact Disc Player Installation/connections

Motorola VWA63 Service manual

Motorola

Motorola VWA63 Service manual

Sound Storm STM93R user manual

Sound Storm

Sound Storm STM93R user manual

Nextar D3201 instruction manual

Nextar

Nextar D3201 instruction manual

Alpine CDE-163BT owner's manual

Alpine

Alpine CDE-163BT owner's manual

Kenwood KDC-X303 quick start guide

Kenwood

Kenwood KDC-X303 quick start guide

manuals.online logo
manuals.online logoBrands
  • About & Mission
  • Contact us
  • Privacy Policy
  • Terms and Conditions

Copyright 2025 Manuals.Online. All Rights Reserved.

Courtesy of:DiscountCarStereo.com
AUX Installation Guide for
Becker Radios with CD Changer
Not for digital systems (e.g. PCM2+, COMAND)
Created: August 1, 2015
Revised: April 19, 2019
Introduction:
Many European vehicle owners looking for a simply audio jack to play audio
devices on the car Radio while also retaining the CD Changer will be pleased to
find the AUX-BKR Adapter.
This AUX-BKR requires and retains the remoteCD Changer** to provide a
3.5mm dash mount Audio jack which can be used to connect and play all kinds of
audio devices including iPod, iPhones, Smartphones, Mp3 Players on the car
system without sacrificing the CD Changer.
Installation:
Warning! Although not critical, we recommend disconnecting the car battery.
Keep in mind that most Becker radios are coded and will not operate without the
code. Radio code must be available for radio to operate upon reconnection.
Remove radio from the dashboard to gain access to the connectors. A pair
of special removal tools (See Fig. 1) is required to remove the Becker radio.
Fig. 1
Radio removal Tools
1. To remove radio, slide tools into slots to detent position. Withdraw the
radio by pulling outwards. See Fig. 2
Fig. 2
2. With radio removed separate and disconnect the green and blue plugs
(C-2 & C-3) from Radio connector (See Fig. 3 )
Fig. 3
Becker Radio Connectors
Warning! The C-1 chamber (yellow) for vehicles with amplifier.
3. Connect Blue plug removed in step 2 to the 8-pin (black) connector on
adapter harness (See Fig. 4).
Fig. 4
harness connector
4. Mate Blue ISO plug from Adapter harness to Green plug removed from
radio in step 2 and this combination should be reconnect to radio (See
Fig. 5)
Fig. 5
mating plugs
5. Carefully route audio jack (See Fig. 6) to a location on the dash or
nearby panel where it will be mounted (within 4 ft.). This location will
vary based on vehicle and customer’s preference.
Fig. 6
Audio Jack
6. Drill a ¼” at mounting location on the dash etc., insert aux jack
threated end through the hole and secure with nut (See Fig.7)
Fig. 7
Warning! Should you decide to secure the jack to dashboard etc. make
sure the panel is 1/8” thick or less to allow threads on the jack to
protrude and engage the nut. (If necessary use a dremel or sander to
thin the panel). Drilling a hole to secure the jack is not necessary but
doing so makes for a stock appearance and easier to plug/unplug the
audio device
.
Test Operation
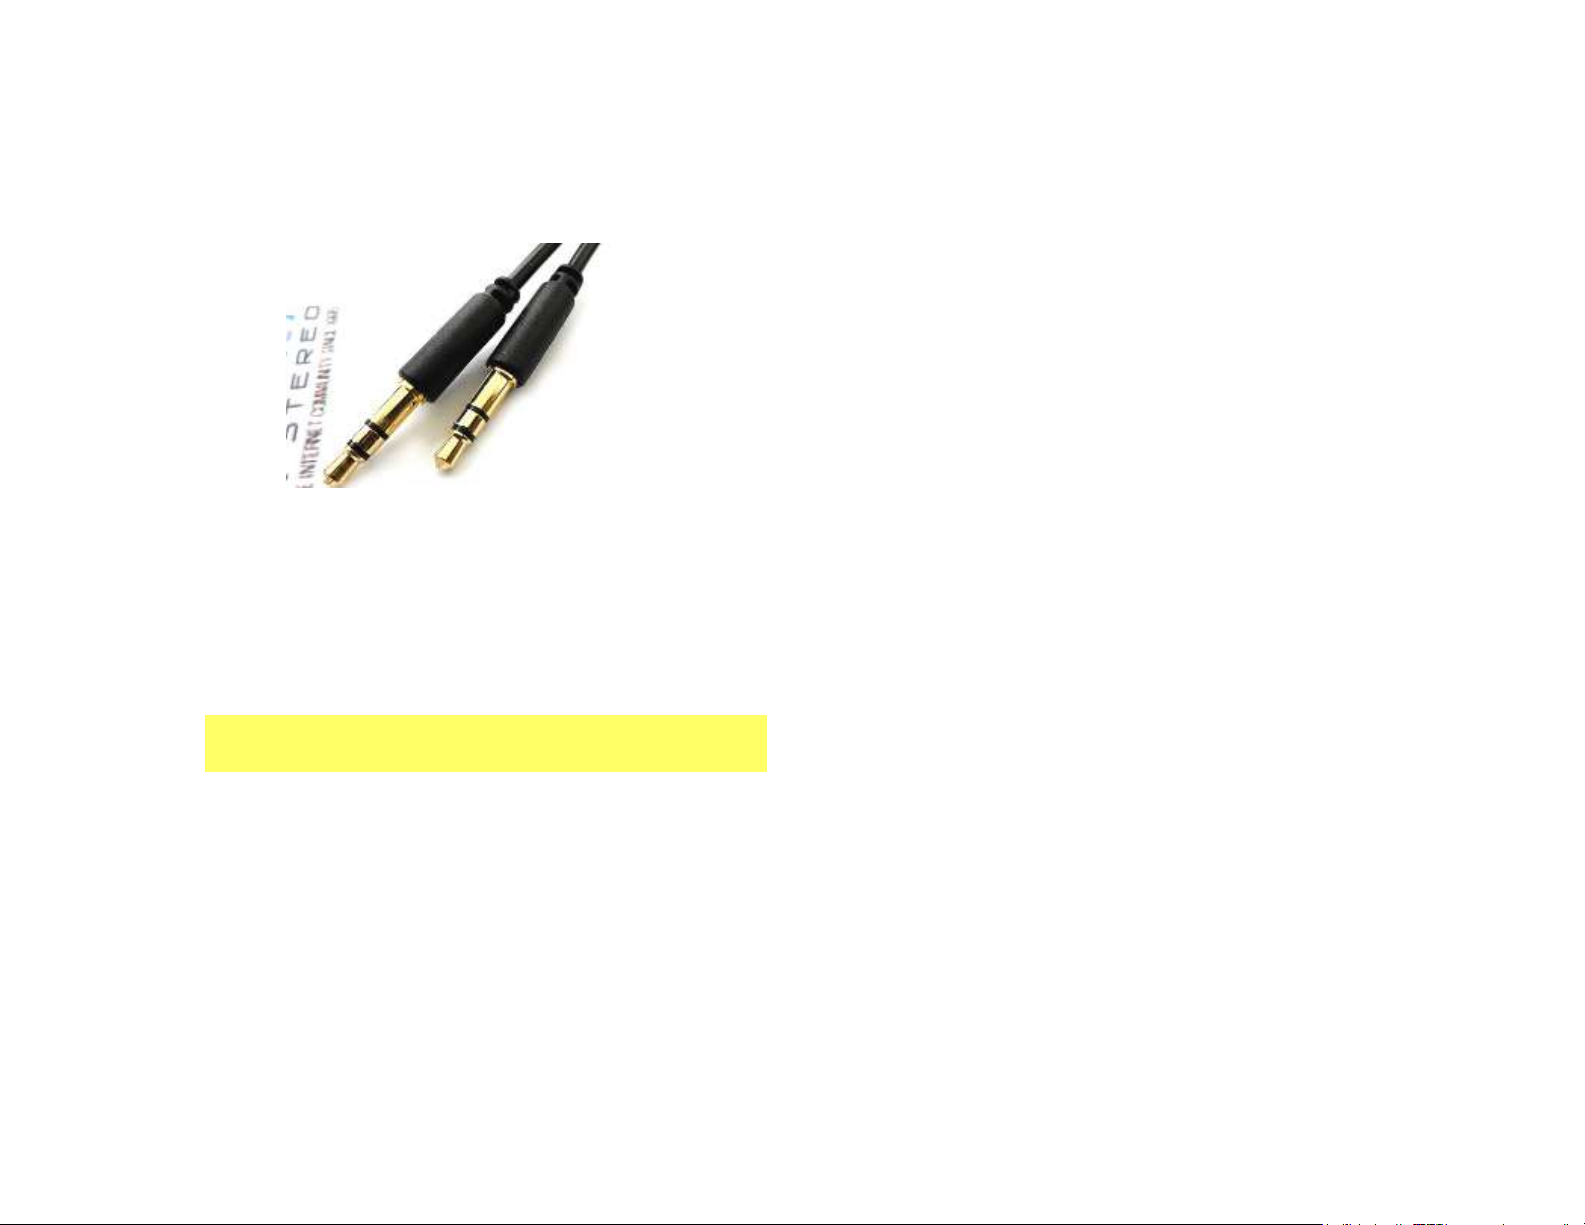
1. Use included 3.5mm audio cable (See Fig. 8) to connect audio device to the
jack
Fig. 8
3.5mm male to male cable
2. Press the CD or unique set of buttons on Radio to enter CD Changer Mode.
Radio display will change to Track or Disc numbers (At least one disc must
remain in CD Changer.)
3. Select a track on audio device. Selected track will play on the car stereo.
Warning! Playlist and Track selection is *NOT* possible from the radio.
You must use the Audio device built-in controls to access music files.
4. Use radio volume knob to adjust playback level
Note: if playback is distorted, lower volume on audio device.
5. To listen to the CD Changer, simply disconnect audio device from the
AUX-BKR jack and operate Changer as customary.
Warning! AUX-BKR Audio jack must be empty when listening to the CD
Changer; otherwise CD Changer playback will be weak or distorted.
6. If correct operation is confirmed go ahead and reinstall Radio
Important Notes:
The AUX-BKR works on any factory installed Becker Radio in BMW, Land Rover,
Mercedes, Porsche, Ferrari etc. and aftermarket Becker Radios (e.g. Grand Prix,
Indianapolis, Cascade pro etc.) that also include an analog CD CHANGERS.
The AUX-BKR WILL NOT WORK with Fiber CD Optic CD Changer applications
(e.g. PCM2+, COMAND etc.)
Plug and play installation to Becker Radio with CD Changer in less than 10
minutes. No wire cutting or splicing.
** External or remote CD Changer refers to the optional Changer installed on the lower dash,
center armrest, hatch, trunk etc. (external CD Changer is not the Changer built-into the head
unit)
Disclaimer
• This product has no affiliation with Porsche, Becker etc.
• We’re not liable for misuse of this product.
•We recommend professional installation.
Email support@discountcarstereo.com
© 1995-17 Discount Car Stereo, Inc. All rights reserved. Information in this document is
subject to change without notice. Other products and companies referred to herein are
trademarks or registered trademarks of their respective companies or mark holders.