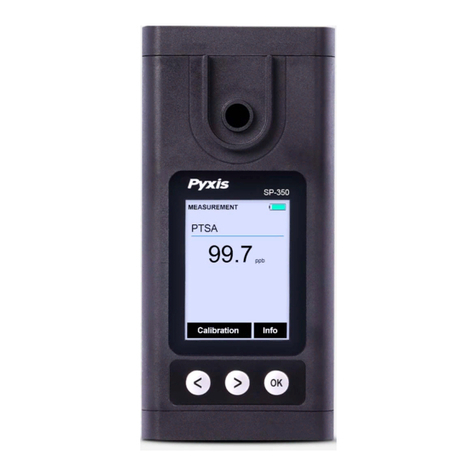
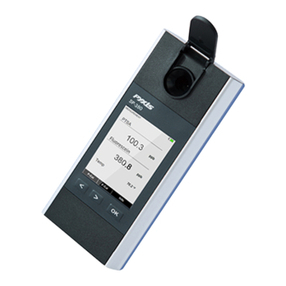
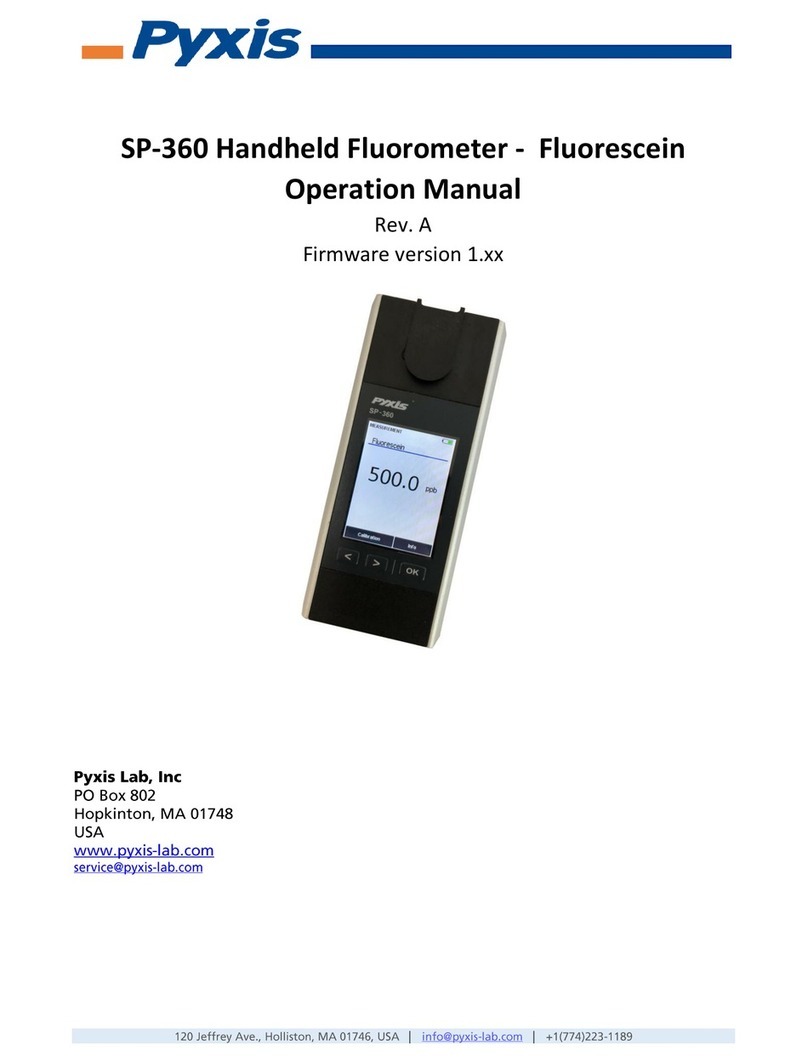
Pyxis SP-350 User manual

1
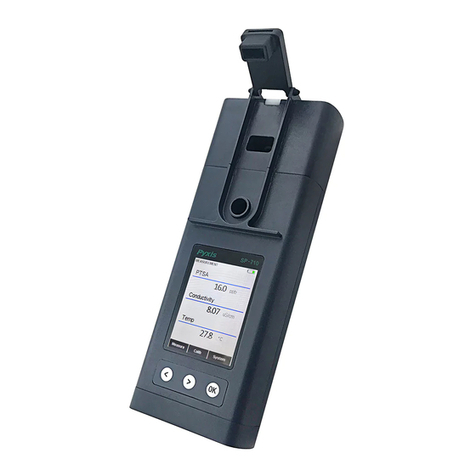
SP-350 Handheld Fluorometer
Operation Manual
Version 1.1 October 2018

2
Table of Contents
1. Specification 4
1.1. Unpacking 4
1.2. Standard Accessories 5
1.3. Sample Vial Compartment 5
1.4. Light Shield Cover 5
2. Start Pyxis SP-350 5
2.1. Battery Installation 5
2.2. Description of the Keys 5
2.3. Powering on SP-350 6
2.4. Main Screen 6
2.5. Powering off SP-350 6
2.6. Auto Power Off 6
3. PTSA Measurement 7
3.1. PTSA Measurement 7
3.2. PTSA Calibration 8
4. How to Clean SP-350 10
5. Storage 10

3
TRADEMARKS PATENTS
Pyxis * as Pyxis Lab, Inc. trademark, May be registered in one or more countries.
CONFIDENTIALITY
The information contained in this manual may be confidential and proprietary and is the property of
Pyxis Lab Inc. Information disclosed herein shall not be used to manufacture, construct, or otherwise
reproduce the goods disclosed herein. The information disclosed herein shall not be disclosed to others
or made public in any manner without the express written consent of Pyxis Lab Inc.
STANDARD LIMITED WARRANTY
Pyxis Lab warrants its products for defects in materials and workmanship. Pyxis Lab will, at its option,
repair or replace instrument components that prove to be defective with new or remanufactured
components (i.e., equivalent to new). The warranty set forth is exclusive and no other warranty,
whether written or oral, is expressed or implied.
WARRANTY TERM
The Pyxis warranty term is thirteen (13) months ex-works. In no event shall the standard limited
warranty coverage extend beyond thirteen (13) months from original shipment date.
WARRANTY SERVICE
Damaged or dysfunctional instruments may be returned to Pyxis for repair or replacement. In some
instances, replacement instruments may be available for short duration loan or lease. Pyxis warrants
that any labor services provided shall conform to the reasonable standards of technical competency and
performance effective at the time of delivery. All service interventions are to be reviewed and
authorized as correct and complete at the completion of the service by a customer representative, or
designate. Pyxis warrants these services for 30 days after the authorization and will correct any
qualifying deficiency in labor provided that the labor service deficiency is exactly related to the
originating event. No other remedy, other than the provision of labor services, may be applicable.
Repair components (parts and materials), but not consumables, provided in the course of a repair, or
purchased individually, are warranted for 90 days ex-works for materials and workmanship. In no event
will the incorporation of a warranted repair component into an instrument extend the whole
instrument’s warranty beyond its original term.
4
SHIPPING
A Repair Authorization Number (RA) must be obtained from the Technical Support (service@pyxis-
lab.com) before any product can be returned to the factory. Pyxis will pay freight charges to ship
replacement or repaired products to the customer. The customer shall pay freight charges for returning
products to Pyxis. Any product returned to the factory without an RA number will be returned to the
customer.
1. Specifications
•Fluorescence Excitation Wavelength: 365nm LED
•Fluorescence emission wavelength: 410 nm
•Wavelength Accuracy: ±1 nm
•Fluorescence Measurement Range: 1-300 ppb
•Fluorescence Reproducibility: 1 ppb PTSA (3)
•Fluorescence detection limit: 1 ppb
•Battery: 9V alkaline battery
•Typical Battery Life: 3200 readings(480mAh battery)
•Display: 320*240 TFT-LCD, visible under direct sunlight
•Dimension: L160 W74 H33(mm)
•Weight: (without battery)
•Temperature Range: 40 to 106 °F (4 to 41 °C)
•Humidity: 85% to 106 °F (41 °C)
•Environmental: IP67, dustproof and waterproof
1.1. Unpacking
Remove the instrument and accessories from the shipping container and inspect each item for any
damage that may have occurred during shipping. Verify that all items listed on the packing slip are
included. If any items are missing or damaged, please contact Pyxis Customer Service at service@pyxis-
lab.com.
1.2. Standard Accessories
•9V alkaline battery

5
1.3. Sampling Vial Compartment
The sample vial compartment should be kept clean. A small amount foreign material could significantly
affect turbidity and fluorescence measurement results. Use a soft cloth or lint free paper tissue to clean
sample vial compartment periodically. Remove debris, scale, and deposit promptly.
1.4. Light Shield Cover
The light shield cover should be in the closed position during storage, transportation, and
measurements. When turned on, Pyxis SP-350 carries out self-diagnosis including checking the
performance of a variety of optical devices. The light shield door shall be at the closed position to shield
interference from ambient light during self-diagnosis.
2. Start SP-350
2.1. Battery Installation
The SP-350 is powered by a 9-volt alkaline battery. Do not use rechargeable nickel cadmium (NiCad) or
lithium batteries. A typical 9V battery lasts for two months and enables about 3000 measurements.
When the battery capacity is critically low, the SP-350 will display a LOW BATTERY warning for 5 seconds
and then automatically turn off. The SP-350 battery compartment, is on the back side of the instrument.
Insert a small pad underneath the screen area to make the back surface level when the instrument is
turned upside down. Install battery as follows:
•Remove the battery compartment cover by loosening two screws.
•Snap the 9 volt alkaline battery firmly into the battery holder.
•Replace the battery compartment cover, making sure that the sealing O-ring is lying flat on the
battery holder. To prevent the SP-350 from accidently being turned on due to vibration, please
firmly tighten the two screws.
2.2 Description of the Keys
The SP-350 has three keys, the left (<), right (>) and OK keys are used to launch an action indicated on
the screen directly above the keys. Please note that the screen is not a touch screen. The labels above
the keys indicate the function associated with the keys and can change according to the screen modes.

6
2.3. Powering on SP-350
To turn on the SP-350, press and hold on the OK key for 3 seconds, and release the OK key when the LCD
is light. You can navigate the main page menu and launch an operation by pressing on an icon. If battery
voltage is too low for the instrument to work properly, Pyxis SP-350 will show a low battery warning
message for 5 seconds and turn off automatically. If this happens, replace all four batteries.
2.4. Main Screen
Pyxis SP-350 provides intuitive icon menu-assisted user operations. A brief description of each feature
group is given as Figure 1.
•Calibration Icon_ Calibration routine for PTSA
•Info Icon _Diagnosis
B
Figure 1: Main Screen
2
2.5. Powering off SP-350
To turn off the SP-350, press and hold the OK key. Release the OK key when the LCD display turns off
(after about 5 seconds).

7
2.6. Auto Power off
SP-350 automatically turns itself off after 20 seconds with no-key activity. Single press the OK key will
wake up the instrument and return to the main screen.
3. PTSA Measurement
3.1. PTSA Measurement
•The water sample is injected into the flow cell, close the shielding cover. If the SP-350 is
turned off, press the OK button.
•SP-350 will start to measure the PTSA concentration in the sample.
•SP-350 will display the PTSA concentration in ppb as PTSA.
During the fluorescence measurement to determine the PTSA concentration, SP-350 checks the sample
turbidity. If the PTSA sample turbidity value detected is greater than 40 NTU, Pyxis SP-350 will display a
warning. For best results, the sample should be filtered if turbidity exceeds 40 NTU.
Sample color causes a lower PTSA concentration to be measured. SP-350 automatically compensates for
sample color. If the sample color is too intense, SP-350 will display a warning.
In order to obtain accurate test results, water samples should be filled to the top rim of the sample
chamber.
Figure 2: PTSA Reading

8
3.2. PTSA Calibration
Deionized water (DI) as the blank calibration solution and the 100 ppb (200 ppb or 300 ppb) PTSA
calibration standard solution are needed.
•Turning on SP-350, Rinse sample cell with DI water. Fill sample cell with DI water.
•Close the light shield. Press P-Cal labeled key (<) to launch the calibration page.
•Follow the message prompts, Press Zero labeled key (<) to set the zero point.
•Follow the message prompts, Press Cycle labeled key (<),Select injected PTSA concentration
standard solution, you can select a value of 100ppb, 200ppb, 300ppb, according to the selected
value, injected PTSA concentration standard solution to Sample room and Press Slope labeled
key (>).
•If calibration successes, a message will display in red “Calibration Succeed”. After successful
calibration, press and hold OK key for 3 seconds (labeled Calibration) to return to the basic read
(measurement) screen.
•If calibration fails, a message will display in red “Slope Calibration Failed”.
If calibration fails, the following should be checked.
•The DI blank is being contaminated.
•The light shield cover is not in the closing position.
•The sample compartment is blocked with debris, water, or other materials.

9
4. How to Clean SP-350
Soak the sampling cup of the SP-350 meter with handheld cleaning solution for 30 minutes. Rinse the
SP-350 sampling cup with distilled water, wipe down sampling cup with Q-tip, rinse with distilled water
once again, and then check for the flashing blue light inside the sampling cup of the SP-350 meter. If the
surface is not entirely clean, continue to soak the SP-350 meter sampling cup for an additional 30
minutes. Pyxis Lab Handheld Cleaning Solution can be purchased at our online Estore/Catalog:
https://pyxis-lab.com/product/handheld-device-cleaning-kit/.
Video on how to clean handheld meters: https://www.youtube.com/watch?v=OJDnCOjw7-M.
5. Storage
Avoid long term storage at temperature over 100 °F.
Other manuals for SP-350
1
Table of contents
Other Pyxis Measuring Instrument manuals

Pyxis
Pyxis SP-900 User manual

Pyxis
Pyxis SP-700 User manual

Pyxis
Pyxis SP-800 Reference guide

Pyxis
Pyxis IK-76SSS-S03 User manual

Pyxis
Pyxis SP-910 User manual

Pyxis
Pyxis ST-601 User manual

Pyxis
Pyxis SP-395 HST Quick start guide

Pyxis
Pyxis SP-400 User manual

Pyxis
Pyxis ST-725 User manual

Pyxis
Pyxis SP-395 User manual

Pyxis
Pyxis DW-2100P User manual

Pyxis
Pyxis SP-910 User manual

Pyxis
Pyxis SP-395T User manual

Pyxis
Pyxis SP-360 User manual

Pyxis
Pyxis ST-540SS-HR User manual

Pyxis
Pyxis SP-400 User manual

Pyxis
Pyxis ST-590 Series User manual

Pyxis
Pyxis ST-525 User manual

Pyxis
Pyxis SP-350P User manual

Pyxis
Pyxis ST-600 Quick start guide