Beko TAM 4220 W User manual

TAM 4220 W
User Manual
Toaster
EN / AR
01M-8914443200-0823-05

CONTENTS
ENGLISH 06-14

8
7
1
2
4
5
6
3

1
456
2 3
9
78
10 11 12
1
2
1
2
1
2

1
45
2 3
EN OPERATION CLEANING AND CARE
AR

Please read ths user ma-
nual frst!
Dear Customers,
Thank you for selectng an Beko product.
We hope that you get the best results
from your product whch has been
manufactured wth hgh qualty and
state-of-the-art technology. Therefore,
please read ths entre user manual and all
other accompanyng documents carefully
before usng the product and keep t as a
reference for future use. If you handover
the product to someone else, gve the
user manual as well. Follow all warnngs
and nformaton n the user manual.
Meanngs of the symbols
Followng symbols are used n the varous
secton of ths manual:
C
Important information and useful
hints about usage.
A
WARNING: Warnings
for dangerous
situations concerning
the safety of life and
property.
WARNING: Warning
for hot surfaces.
Suitable for contact with food.
Do not immerse the appliance in
water.
1. Bread slot
2. Start lever
3. Browning control
4. Reheat button
5. Defrost button
6. Stop button
7. Crumb tray
8. Housing
Technical data
Power supply: 220-240 V~, 50-60 Hz
Power: 800 W
Technical and design modifications reserved.
The values whch are declared n the markngs axed on your
applance or the other prnted documents suppled wth t
represent the values whch were obtaned n the laborato-
res pursuant to the pertnent standards. These values may
vary accordng to the usage of the applance and ambent
condtons.

7 / EN
Toaster / User Manual
Ths chapter contans safety nstruct-
ons that wll help protect from rsk of
personal njury or materal damage.
Falure to follow these nstructons wll
vod the granted warranty.
1.1 General safety
• Ths applance comples wth the
nternatonal safety standards.
• Ths applance can be used by
chldren who are at the age of
8 and above and by people who
have reduced physcal, perceptual
or mental abltes or by people
who are defcent n terms of ex-
perence and knowledge as long
as they are supervsed and gven
the nstructons regardng the
safe use of the applance and dan-
gers encountered. Chldren should
not play wth the applance.
• Cleanng and mantenance sho-
uld not be performed by chldren
unless they are older than 8 years
old and supervsed.
• Keep the applance and ts power
cable so that they are naccessble
by chldren under 8 years old.
• This appliance is intended to be
used in household only. It is not
designed for professional use in.
• Do not use the applance f the
power cable or the applance t-
self s damaged. Contact an aut-
horsed servce.
• Your mans power supply sho-
uld comply wth the nformaton
suppled on the ratng plate of the
applance.
• For addtonal protecton, ths
applance should be connected
to a household resdual current
devce wth a ratng of 30 mA ma-
xmum.
• Use the applance wth a groun-
ded outlet only.
• Do not use the applance wth an
extenson cord.
• Prevent damage to the power
cord by not squeezng, bendng,
or rubbng t on sharp edges.
• Do not touch the plug of the appl-
ance wth damp or wet hands.
• Do not unplug the applance by
pullng the power cable.
• Do not mmerse the applance or
ts cable n water.
• Do not leave the applance unat-
tended whle t s plugged n.
1Important nstructons for safety and
envronment

8 / EN Toaster / User Manual
• For toasters, they shall nclude
detals on how to remove breadc-
rumbs, whe applcable.
• Ths applace s ntented to be
used n household and smlar
applcatons such as;
-sta kitchen areas in shops, oces
and others working environments;
- farm houses,
-by clients in hotels, motels and
other residential type environ-
ments;
-bed and breakfast type environ-
ments.
• Before cleanng, unplug from the
applance and let the applance
cool down completely.
• Wpe the outsde wth soft dry
cloth, never use metal polsh.
• Pull out crumb tray at the bottom
of toaster and empty t. If toaster
s used frequently, accumulated
bread crumbs should be remo-
ved at least once a week. Make
sure the crumb tray s completely
closed before usng the toaster
agan.
• When not use or storage, the
power cord may be wound under
the bottom of toaster.
• Exteror surface gets hot whle
the applance s n use. Do not
touch hot surfaces to avod rsk of
burnng.
• Do not leave metal cookng uten-
sls and tems on cookng plates.
• Operate and store the applance
on a stable surface.
• Do not attempt to dsmantle the
applance.
• Only use the orgnal parts or parts
recommended by the manufactu-
rer.
• Unplug the applance before clea-
nng and let t completely dry after
cleanng.
• The applance s not sutable for
outdoor use.
• The bread may burn, therefore do
not use the toaster near or below
combustble materal, such as cur-
tans
• Do not use the applance n or
near the areas where combustble
or nflammable places and mater-
als exst.
• Do not operate the applances
are not ntended to be operated
by means of an external tmer or
separate remote-control system.
1Important nstructons for safety and
envronment

9 / EN
Toaster / User Manual
• If you keep the packagng mater-
als, store them out of the reach of
chldren.
• Allow the applance to cool before
storng t n a cupboard, on a shelf
and etc.
• Do not put bread on any plastc
part of the applance.
• Snce temperatures are perce-
ved dfferently by dfferent pe-
ople, ths devce should be used
wth cauton. Hold the applance
exclusvely on surfaces ntended
to hold and use heat protecton
measures such as heat protecton
gloves or pot holders. Areas whch
are not ntended to be touched
must be gven suffcent tme to
cool.
• The heated rolls can only be touc-
hed when the applance has coo-
led down to room temperature.
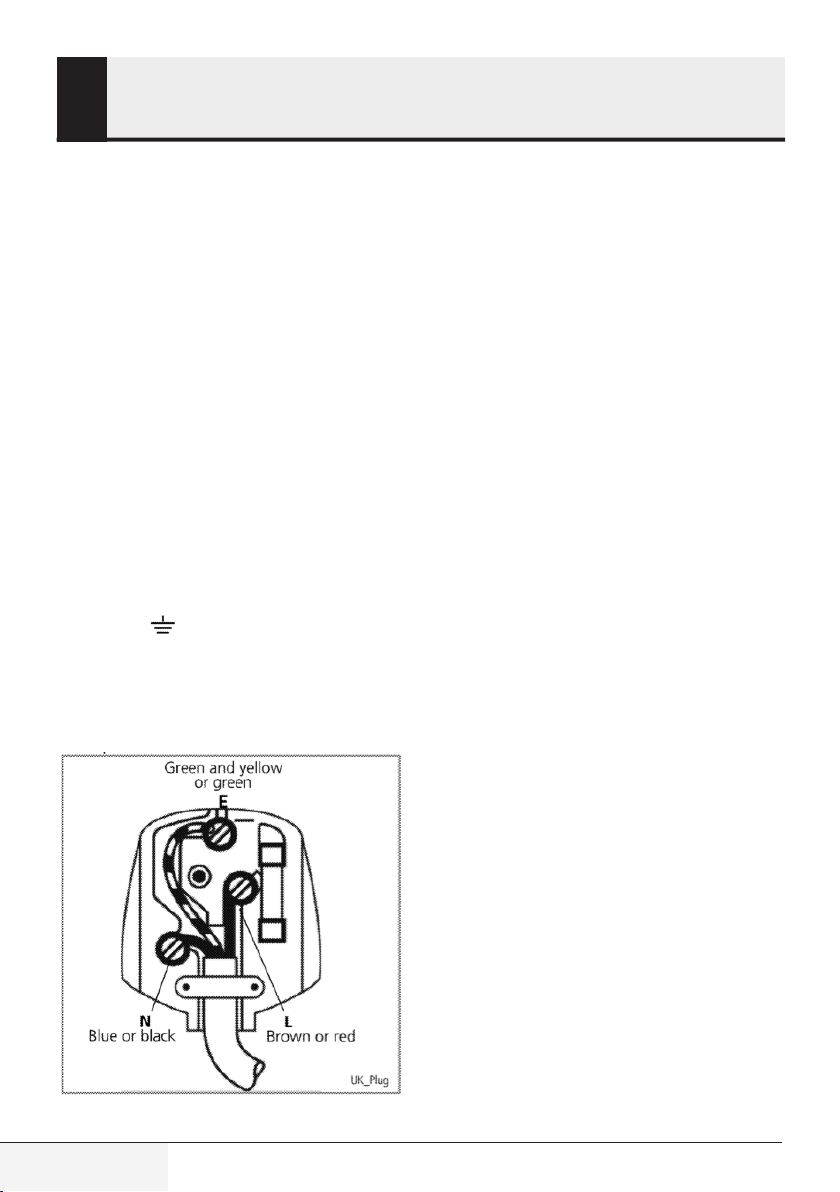
• If the connectng cable s dama-
ged, t should only be replaced by
a servce agent recommended by
the manufacturer n order to pre-
vent any danger! Please contact
the manufacturer or hs customer
servce.
1Important nstructons for safety and
envronment
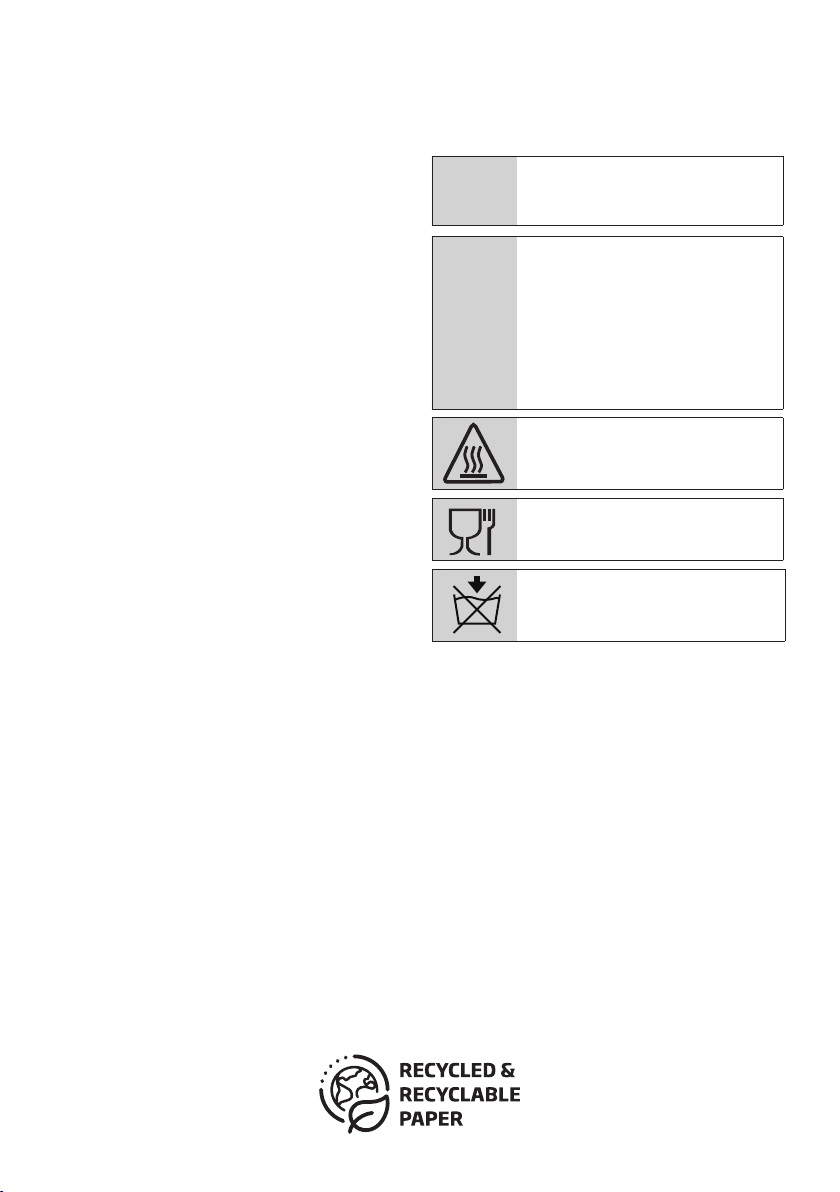
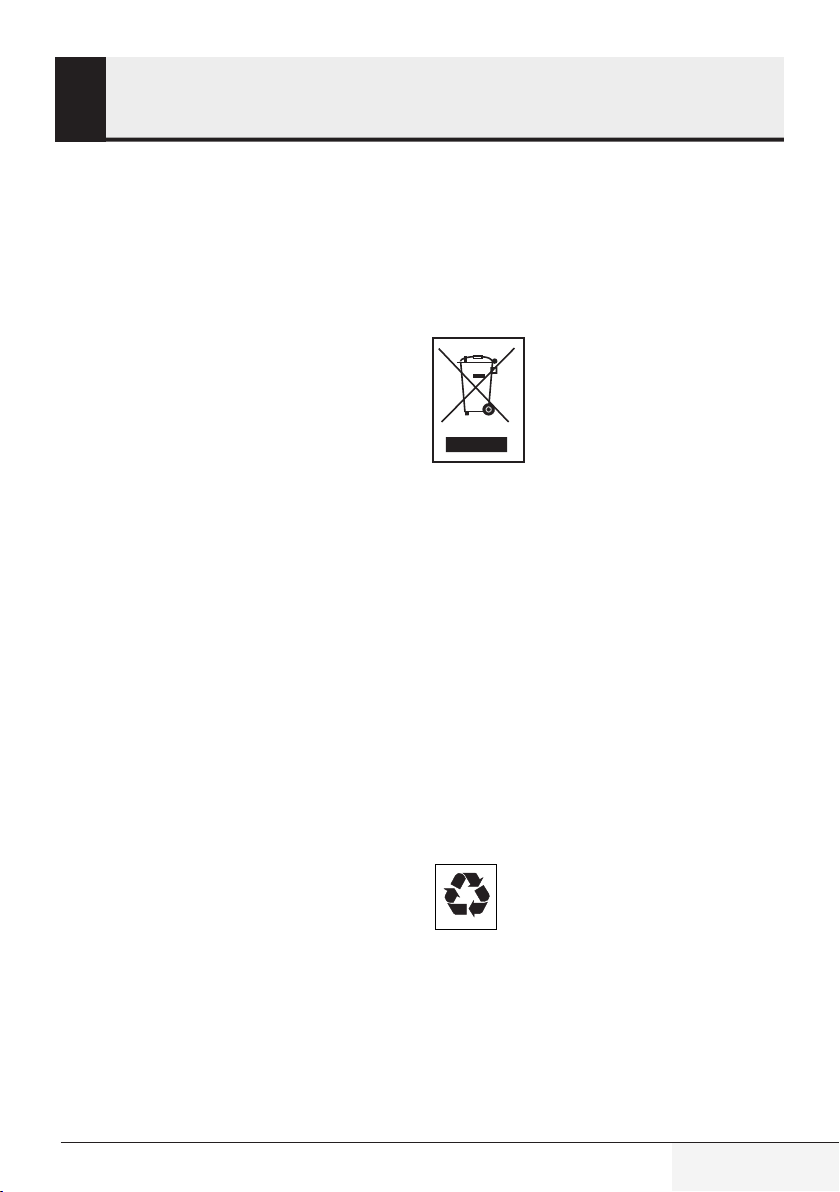
1.2 Compliance with the WEEE
Directive and Disposing of the
Waste Product:
Ths product comples wth EU WEEE Drectve
(2012/19/EU). Ths product bears a classfcaton
symbol for waste electrcal and electronc equp-
ment (WEEE). Ths symbol ndcates that ths
product shall not be dsposed wth
other household wastes at the end
of ts servce lfe. Used devce must
be returned to offcal collecton
pont for recyclng of electrcal and
electronc devces. To fnd these
collecton systems please contact to your local
authortes or retaler where the product was puc-
hased. Each household performs mportant role n
recoverng and recyclng of old applance.
Approprate dsposal of used applance helps pre-
vent potental negatve consequences for the en-
vronment and human health.
1.3 Compliance with RoHS
Directive
The product you have purchased comples wth
EU RoHS Drectve (2011/65/EU). It does not con-
tan harmful and prohbted materals specfed n
the Drectve.
1.4 Package nformaton
Packagng materals of the product are
manufactured from recyclable mater-
als n accordance wth our Natonal
Envronment Regulatons. Do not ds-
pose of the packagng materals together wth
the domestc or other wastes. Take them to the
packagng materal collecton ponts desgnated
by the local authortes.

10 / EN Toaster / User Manual
1.5 Plug Wiring
The moulded plug on this appliance incorporates
a 13 A fuse. Should the fuse need to be replaced
an ASTA approved BS1362 fuse of the same rating
must be used. Do not forget to refit the fuse cover.
In the event of losing the fuse cover, the plug must
not to be used until a replacement fuse cover has
been fitted. Colour of the replacement fuse cover
must be the same colour as that visible on the pin
face of the plug Fuse covers are availabe from any
good electrical store.
•Fiting a different plug
•As the colours of the wires in the mains lead
of this appliance may not correspond with the
coloured markings identifying the terminals on
your plug, proceed as follows:
•Brown cable = L (Live)
•Blue cable = N (Neutral)
•Green/yellow cable must be connected to
ground (E) line
•With the alternative plugs a 13 A fuse must be
fitted either in the plug or adaptore or in the
main fuse box. If in doubt contact a qualified
electrician.
1Important nstructons for safety and
envronment

11 / EN
Toaster / User Manual
2 Operation
C
When using the appliance for the
first time, smoke can develop due
to production residues. However,
this does not mean the appliance
is defective. The first time you
switch it on use the appliance as you
normally would but without bread. It
is recommended to use the medium
setting of the browning control (3).
Ensure for proper room ventilation.
C
Pushing 1 from the browning control
(3) will give the lightest degree of
browning and pushing 7 the darkest.
C
The browning degree can vary
depending on the type of bread.
C
When toasting several slices of
bread consecutively, the toaster will
become hotter and therefore the
bread will gradually become darker.
Therefore select an appropriate
browning degree.
C
The browing degree of one slice is
darker than two slices, although
the browning control (3)is set to the
same level.
C
If the power plug is not connected
to the wall socket, the start lever (2)
does not snap into place.
C
The degree of browning can also be
adjusted during the toasting process
with the browning control (3).
C
To cancel the toasting process
before it has finished, press the
stop button (6). The start lever (2)
springs back up and the toast slices
can be taken out of the toaster.
C
After the start lever (2) springs
back up, you can use the high-lift
function by pushing the start lever
(2) upwards.
A
Be very careful when taking the
toast slices out of the toaster as the
metal parts of the toaster and also
the bread can become very hot.
C
If toast slices get stuck in the
toaster, switch the toaster off
immediately by pressing the stop
button (6). Pull the power plug out
of the wall socket. Let the toaster
cool down completely. Carefully try
to take the bread out of the toaster
without damaging the sensitive
heating elements and other parts.
Do not use any electroconductive
objects to remove the bread from
the toaster.
C
When the defrost button (5) is
pressed, the toasting process takes
longer than with normal toasting.
C
To cancel the toasting process
before it has finished, press the
stop button (6). The start lever (2)
springs back up and the toast slices
can be taken out of the toaster.
C
After the start lever (2) springs back
up, you can use high-lift function by
pushing the start lever (2) upwards.
A
Be very careful when taking the
toast slices out of the toaster as the
metal parts of the toaster and also
the bread can become very hot.

12 / EN Toaster / User Manual
2 Operaton
C
To cancel the toasting process
before it has finished, press the
stop button (6). The start lever (2)
springs back up and the toast slices
can be taken out of the toaster.
C
After the start lever (2) springs back
up, you can use high-lift function by
pushing the start lever (2) upwards.
C
Be very careful when taking the
toast slices out of the toaster as the
metal parts of the toaster and also
the bread can become very hot.

13 / EN
Toaster / User Manual
3 Informaton
3.1 Cleaning and care
A
Never use petrol solvents, abrasive
cleaners, metal objects or hard
brushes to clean the appliance.
A
Never put the appliance or power
cord in water or any other liquids.
C
Before using the appliance after
cleaning, dry all parts carefully using
a soft towel.
3.2 Storage
•If you do not plan to use the appliance for a long
period of time, please store it carefully.
•Make sure the appliance is unplugged, cooled
down and completely dry.
•Wrap the power cord around the cable coil on
the bottom of the toaster.
•Store the appliance in a cool, dry place.
•Make sure the appliance is kept out of the reach
of children.
3.3 Handling and
transportation
•During handling and transportation, carry
the appliance in its original packaging. The
packaging of the appliance protects it against
physical damages.
•Do not place heavy loads on the appliance or the
packaging. The appliance may be damaged.
•Dropping the appliance will render it non-
operational or cause permanent damage.
For commissioning, general use
and cleaning, please observe the
instructions on pages 4-5 of this
operating manual.

12 months breakdown and repair guarantee
Product Guarantee
Guarantor: Beko plc, 1 Greenhill Crescent, Watford, Hertfordshire. WD18 8UF
The guarantee does not in any way diminish your statutory or legal rights.
Your appliance hasthe benefit of our manufacturer’s guarantee which covers the product for 12 months
from the date of original purchase.
This gives you reassurance thatif within that time, your appliance is proven to be defective because of
either workmanship or materials, we will at our discretion either repair or replace your appliance.
The appliance must be correctly installed, located and operated in accordance with the instructions
contained in the user manual.!The guarantor disclaims anyliabilityfor accidental or consequential damage.
The Guarantee is subject tothe following conditions:
Documentary proof of the original purchase date is provided.
The appliance has been installed and operated correctly and in accordance with our operating and maintenance
instructions.
The appliance is used only on the electricity supply on the rating plate.
The appliance has only been used for normal domestic purposes.
The appliance has not been altered, serviced, dismantled or otherwise interfered with by any person.
The appliance is used in the United Kingdom or Republic of Ireland.
Any parts removed during repair work or any product that has been replaced becomes our property.
The guarantee is not transferrable if the product is resold.
The Guarantee does not cover:
Transit, installation or delivery damage.
Accidental damage.
Misuse or abuse.
Replacement of any consumable item or accessories. These include but are not limited to: plugs, cables, light bulbs,
knobs, filters and flaps.
Repairs or replacements required as a result of unauthorised repairs or inexpert installation that failsto meet the
requirements contained inthe user guide or instruction book.
Repairs to products used in commercial or non-residential household premises.
How to obtain after sales service, help or general advice
Please keep your purchase receipt or other proof of purchase in a safe place as you will need to
show us this document if your product requires attention within the guarantee period.
Please also record your product details below, which will allow you to access our services more quickly and
help us identify your product. The model numberis printed on the front of the user guide and the serial and
model number is shown on your products rating plate.
Model number
Serial number
Purchased from
Date of purchase
Please call our UK based Customer Service department if you need help or advice from us:
United Kingdom and Northern Ireland: 0333 207 9710
Republic of Ireland: 01 862 3411
You can also contact us through our website: www.beko.co.uk

Arçelik A.Ş.
Karaağaç Cad. No: 2-6, 34445
Sütlüce, İstanbul, Türkiye
www.beko.com

AR / 8
3
3.1
A
A
C
3.2
•
•
•
•
•
3.3
•
•
•

AR / 7
2
C
3
C
1
(3
7
C
C
C
3
C
2
C
3
C
26
C
2
2
A
C
6
C
5
C
26
C
2
2
A
C
26
C
2
2
C

AR / 6
1.2
(2012/19/EU)
WEEE
RoHS1.3
RoHS
(2011/65/EU)
1.4
1
10
BS1362
•
•
•L
•N
•(E
•10

AR / 5
•
•
•
•
•
•
•
•
•
•
•
•
•
•
•
•
•
1

AR / 4
1.1
•
•
8
•
8
•
8
•
•
•
30
•
•
•
•
•
•
•
•
•
•
•
•
1
Other manuals for TAM 4220 W
1
Table of contents
Languages:
Other Beko Toaster manuals

Beko
Beko TAM4321 User manual

Beko
Beko TAM 8202 T User manual

Beko
Beko TAM6202W User manual

Beko
Beko TAM 6201 I User manual

Beko
Beko TAM4311W User manual

Beko
Beko TAM 4220 W User manual

Beko
Beko BKK 2109 User manual

Beko
Beko 01M-8836613200-5216-01 User manual

Beko
Beko TAM 8202 CR User manual

Beko
Beko 01M-8832803200-4617-04 User manual