manuals.online logo
Brands
  1. Home
  2. •
  3. Brands
  4. •
  5. Belkin
  6. •
  7. Switch
  8. •
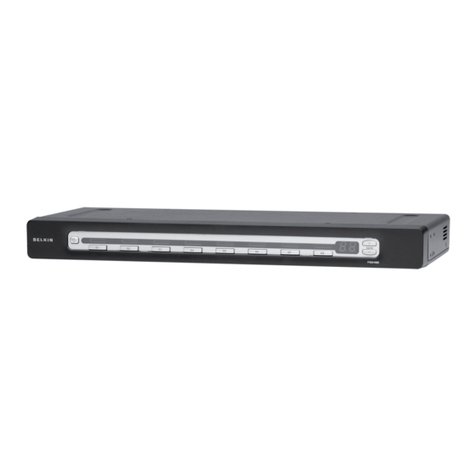
  9. Belkin OmniView F1DW116C User manual

Belkin OmniView F1DW116C User manual

Other manuals for OmniView F1DW116C

1

This manual suits for next models

1

Other Belkin Switch manuals

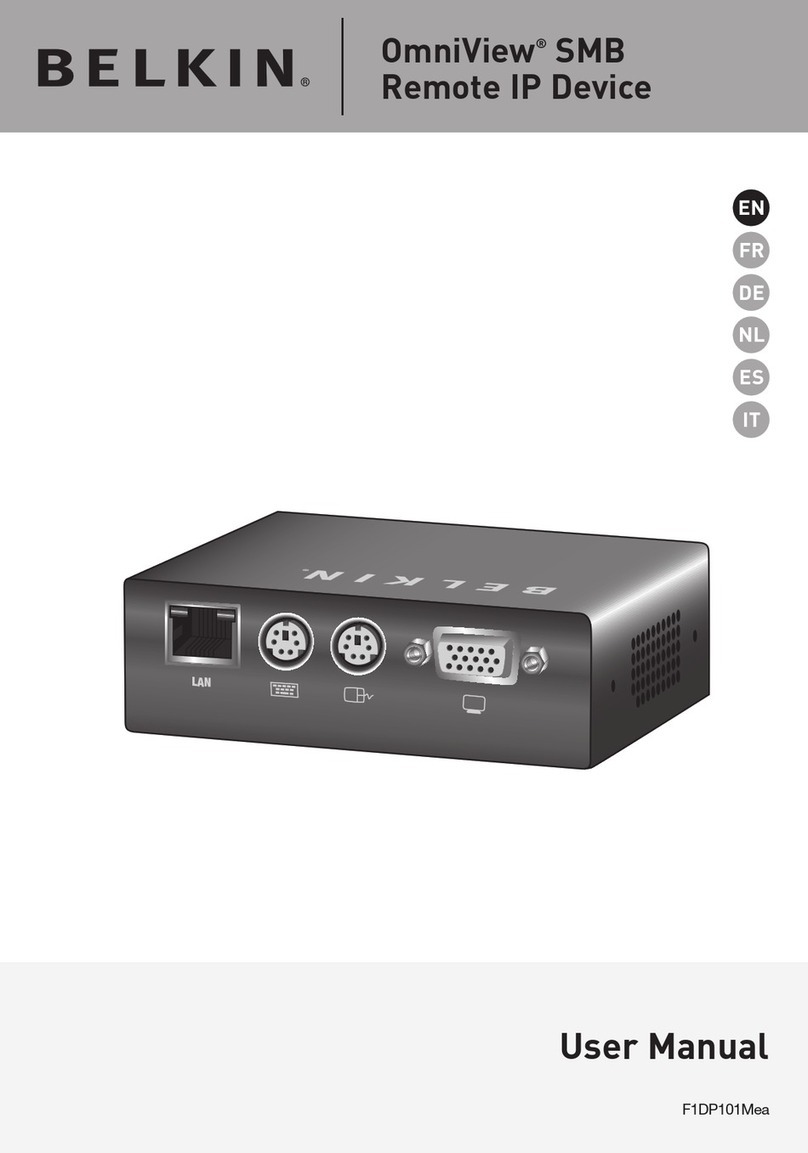
Belkin F1DE101H User manual

Belkin

Belkin F1DE101H User manual

Belkin F5D5131-16 - 10/100 Switch User manual

Belkin

Belkin F5D5131-16 - 10/100 Switch User manual

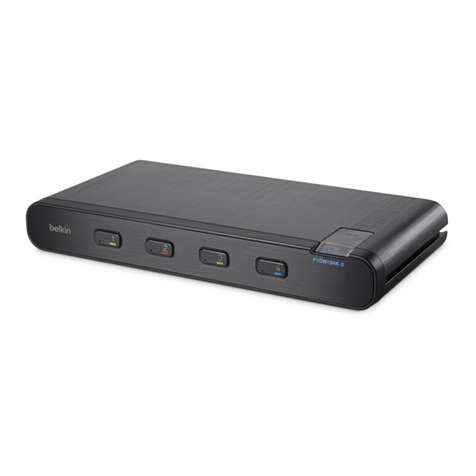
Belkin F1DN104K-3 Instruction sheet

Belkin

Belkin F1DN104K-3 Instruction sheet

Belkin F5U261 User manual

Belkin

Belkin F5U261 User manual

Belkin OmniView F1DS102P User manual

Belkin

Belkin OmniView F1DS102P User manual

Belkin OmniView F1DW116C User manual

Belkin

Belkin OmniView F1DW116C User manual

Belkin OmniView F1DJ102P-B User manual

Belkin

Belkin OmniView F1DJ102P-B User manual

Belkin F5D5131-5 User manual

Belkin

Belkin F5D5131-5 User manual

Belkin F1DA208Z User manual

Belkin

Belkin F1DA208Z User manual

Belkin OmniView F1DB102P User manual

Belkin

Belkin OmniView F1DB102P User manual

Belkin F5U413 User manual

Belkin

Belkin F5U413 User manual

Belkin F1DH104L User manual

Belkin

Belkin F1DH104L User manual

Belkin OmniView MATRIX F1D208-OSD User manual

Belkin

Belkin OmniView MATRIX F1D208-OSD User manual

Belkin Network USB Hub User manual

Belkin

Belkin Network USB Hub User manual

Belkin SE 2-Port User manual

Belkin

Belkin SE 2-Port User manual

Belkin P75341ej User manual

Belkin

Belkin P75341ej User manual

Belkin F1DL102 User manual

Belkin

Belkin F1DL102 User manual

Belkin F1DN104K User manual

Belkin

Belkin F1DN104K User manual

Belkin OmniView F1DD102Lea User manual

Belkin

Belkin OmniView F1DD102Lea User manual

Belkin OmniView F1DZ102T User manual

Belkin

Belkin OmniView F1DZ102T User manual
Belkin F1DJ102PeaB User manual

Belkin

Belkin F1DJ102PeaB User manual

Belkin F1DN104E User manual

Belkin

Belkin F1DN104E User manual

Belkin OmniView F1D5102P User manual

Belkin

Belkin OmniView F1D5102P User manual

Belkin THUMB HUB F5U218-MOB User manual

Belkin

Belkin THUMB HUB F5U218-MOB User manual

Popular Switch manuals by other brands

SMC Networks SMC6224M Technical specifications

SMC Networks

SMC Networks SMC6224M Technical specifications

Aeotec ZWA003-S operating manual

Aeotec

Aeotec ZWA003-S operating manual

TRENDnet TK-209i Quick installation guide

TRENDnet

TRENDnet TK-209i Quick installation guide

Planet FGSW-2022VHP user manual

Planet

Planet FGSW-2022VHP user manual

Avocent AutoView 2000  AV2000BC AV2000BC Installer/user guide

Avocent

Avocent AutoView 2000 AV2000BC AV2000BC Installer/user guide

Moxa Technologies PT-7728 Series user manual

Moxa Technologies

Moxa Technologies PT-7728 Series user manual

Intos Electronic inLine 35392I operating instructions

Intos Electronic

Intos Electronic inLine 35392I operating instructions

Cisco Catalyst 3560-X-24T Technical specifications

Cisco

Cisco Catalyst 3560-X-24T Technical specifications

Asante IntraCore IC3648 Specifications

Asante

Asante IntraCore IC3648 Specifications

Siemens SIRIUS 3SE7310-1AE Series Original operating instructions

Siemens

Siemens SIRIUS 3SE7310-1AE Series Original operating instructions

Edge-Core DCS520 quick start guide

Edge-Core

Edge-Core DCS520 quick start guide

RGBLE S00203 user manual

RGBLE

RGBLE S00203 user manual

Thrustmaster FLIGHT SIMULATOR X quick guide

Thrustmaster

Thrustmaster FLIGHT SIMULATOR X quick guide

Southwire SURGE GUARD 41390 RVC troubleshooting guide

Southwire

Southwire SURGE GUARD 41390 RVC troubleshooting guide

Buhler Nivotemp NT 61 Brief instructions

Buhler

Buhler Nivotemp NT 61 Brief instructions

Kramer VS-41HDCP user manual

Kramer

Kramer VS-41HDCP user manual

Techly IDATA AU-270 user manual

Techly

Techly IDATA AU-270 user manual

Emerson Rosemount 2521 Series quick start guide

Emerson

Emerson Rosemount 2521 Series quick start guide

manuals.online logo
manuals.online logoBrands
  • About & Mission
  • Contact us
  • Privacy Policy
  • Terms and Conditions

Copyright 2025 Manuals.Online. All Rights Reserved.

Introduction Daisy-Chain Configuration
2
Installation
1
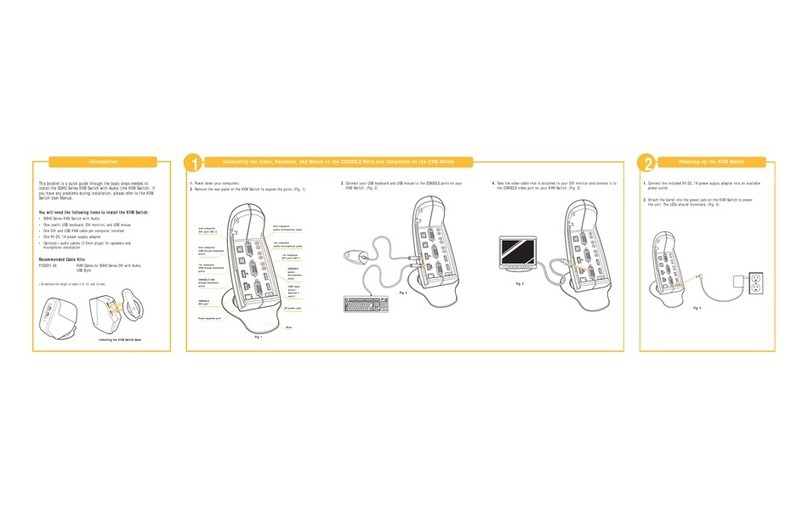
Step 1: Remove the contents from the box.
Step 2: Install the rack-mount brackets and place the Switch on a rack.
Step 3: Decide whether the Switch will be used in a single-unit configuration
or in a daisy-chained configuration. If the unit will be used in a
daisy-chained configuration, skip to Step 1 of “Daisy-Chain
Configuration”. Otherwise, proceed to Step 4.
Step 4: Attach the IEC power cable to the power connector located on the rear
of the Switch.
Step 5: Using an RJ45 CAT5 or CAT6 cable, connect to a free port on your
KVM Switch.
Step 6: Connect the other end of the RJ45 cable to an OmniView ENTERPRISE
Quad-Bus Series Server Interface Module (Belkin part number
F1DE101A-AP).
Step 7: Connect the VGA and PS/2 connectors to the
computer (make sure that you connect the
keyboard and mouse cables to the correct
ports on your computer; purple indicates
the keyboard connector and green
indicates the mouse connector).
Step 8: Set the video compensation switch to the appropriate position as
described in the “Initial switch position for video compensation” chart.
Note: If video resolution is poor, adjust the respective video compensation switch
±1 position to improve.
Step 9: Repeat steps 5 through 8 for each additional computer you wish
to connect.
Step 10: Connect the console keyboard, monitor, and mouse.* (For mouse and
keyboard, use PS/2 or USB or any combination of both.
*Note: Dual-console support available on 2x16 models only.
F1DE101A-AP
Initial switch position for video compensation
Length of Low resolution Medium resolution High resolution
CATX cable 640x480 to 1024x768 800x600 to 1600x1200 1024x1280 to 2048x1536
0-200 ft. Position 0 Position 0 Position 0
100-300 ft. Position 1 Position 1 Position 2
200-400 ft. Position 2 Position 4 Position 5
300-500 ft. Position 3 Position 5 Position 6
400-600 ft. Position 4 Position 6 Position 7
500-700 ft. Position 5 Position 6 Position 7
600-800 ft. Position 6 Position 6 Position 7
700-900 ft. Position 6 Position 6 Position 7
800-1000 ft. Position 7 Position 7 Position 7
Package Contents:
• OmniView ENTERPRISE Quad-Bus Series KVM Switch with CAT5 Extension
• Two Rack-Mount Brackets with Screws
• User Manual
• Quick Installation Guide
• IEC power supply cable
• One set of rubber feet
This booklet will guide you through the basic steps needed to install the
OmniView ENTERPRISE Quad-Bus Series KVM Switch with CAT5 Extension.
If you have any problems during installation, please refer to your User Manual.
DIP SWITCH # BANK ADDRESS
12 3 4
DOWN DOWN DOWN DOWN BANK 00 (Default)
UP DOWN DOWN DOWN BANK 01 PRIMARY/SECONDARY
DOWN UP DOWN DOWN BANK 02 PRIMARY/SECONDARY
UP UP DOWN DOWN BANK 03 PRIMARY/SECONDARY
DOWN DOWN UP DOWN BANK 04 SECONDARY
UP DOWN UP DOWN BANK 05 SECONDARY
DOWN UP UP DOWN BANK 06 SECONDARY
UP UP UP DOWN BANK 07 SECONDARY
DOWN DOWN DOWN UP BANK 08 SECONDARY
UP DOWN DOWN UP BANK 09 SECONDARY
DOWN UP DOWN UP BANK 10 SECONDARY
UP UP DOWN UP BANK 11 SECONDARY
DOWN DOWN UP UP BANK 12 SECONDARY
UP DOWN UP UP BANK 13 SECONDARY
DOWN UP UP UP BANK 14 SECONDARY
UP UP UP UP BANK 15 SECONDARY
Step 1: Set the BANK address for the daisy-chained Switch.
P74344_F1DWXXXC_QIG.qxd 7/11/03 10:43 AM Page 1
Belkin Corporation
501 West Walnut Street
Compton • CA • 90220 • USA
Tel: 310.898.1100
Fax: 310.898.1111
Belkin Components, Ltd.
Express Business Park • Shipton Way
Rushden • NN10 6GL • United Kingdom
Tel: +44 (0) 1933 35 2000
Fax: +44 (0) 1933 31 2000
Belkin Components B.V.
Starparc Building • Boeing Avenue 333
1119 PH Schiphol-Rijk • The Netherlands
Tel: +31 (0) 20 654 7300
Fax: +31 (0) 20 654 7349
Belkin, Ltd.
7 Bowen Crescent • West Gosford
NSW 2250 • Australia
Tel: +61 (0) 2 4372 8600
Fax: +61 (0) 2 4372 8603
Belkin Tech Support
US: 310.898.1100 ext. 2263
800.223.5546 ext. 2263
Europe: 00 800 223 55 460
Australia: 1800 666 040
P74344
© 2003 Belkin Corporation. All rights reserved. All trade names are
registered trademarks of respective manufacturers listed.
OmniView
™
KVM Switch with CAT5 Extension
Quick Installation Guide
ENTERPRISE Quad-Bus Series
F1DW116C
F1DW216C
Control up to 16 servers located up to 1000 feet
away from your KVM Switch with up to two consoles
Daisy-Chain Configuration
2
Step 4: Attach the Daisy-Chain Cable (Belkin part number F1D9402-XX) to an
available daisy-chain port of the previous Switch, making sure that
the Daisy-Chain Cables are only connected in an "in-to-out" or
"out-to-in" configuration.
Step 5: Attach the IEC power cable to the power connector located
on the rear of the Switch.
Step 6: Power up the connected servers. Check for keyboard, video, and
mouse function.
belkin.com
• Expandable for control of up to 256 servers from four consoles
Step 2: Connect the console monitor, keyboard, and mouse to the console ports
of the primary Switch(es).*
*Note: Dual-console support available on 2x16 models only.
Step 3: Connect the computers to the Switch as previously described for standalone
Switches, skipping Step 4.
P74344_F1DWXXXC_QIG.qxd 7/11/03 10:43 AM Page 2