manuals.online logo
Brands
  1. Home
  2. •
  3. Brands
  4. •
  5. Belkin
  6. •
  7. Switch
  8. •
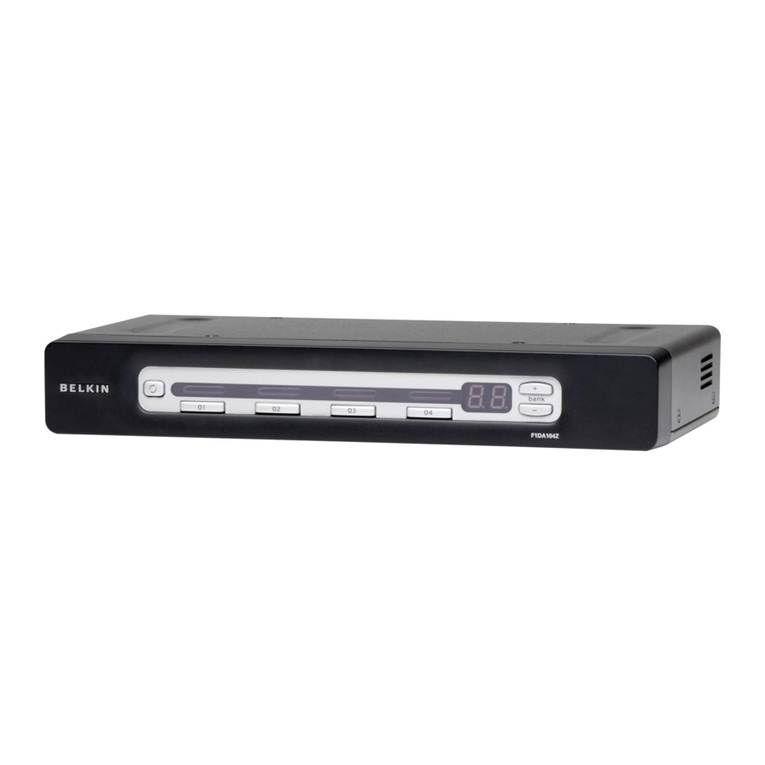
  9. Belkin F1DC116V User manual

Belkin F1DC116V User manual

PR# 26705
MKTG#
F1DCxxH_8820-02660
DESIGNER KeVIN
DATE 11/24/17 VERSION 03
Introduction
This booklet will guide you through the basic steps needed to install the 18.5"
Widescreen Rack-Mount Console.
Introduction
Ce document vous guidera à travers les étapes élémentaires nécessaires à
l’installation de la console à écran large 18.5" pour montage en baie.
Einleitung
Diese Anleitung führt Sie durch die wesentlichen Schritte bei der Installation der 18.5"
Widescreen Rackmount-Konsole.
Package Contents
Contenu de l’emballage
Verpackungsinhalt
1
*Models containing KVM switch only
*Uniquement les modèles comprenant un switch KVM
*Modelle, die nur mit einem KVM-Switch ausgestattet sind
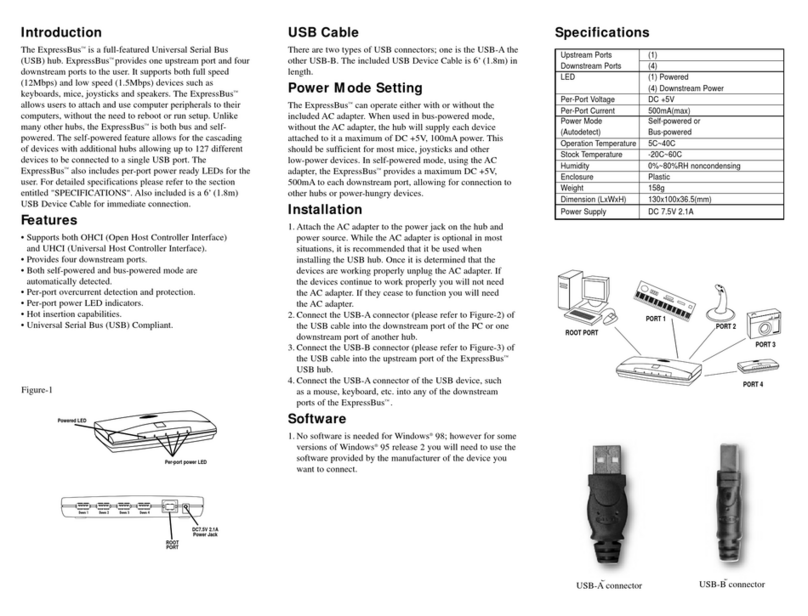
18.5"Widescreen Rack-Mount Console
Console à écran large 18.5"pour
montage en baie
18.5" Widescreen Rackmount-Konsole
Cable Kit
Kit de câbles
Kabelsatz
DB9-to-RJ11 Serial Flash Cable*
Câble Flash série DB9 vers RJ11*
Serielles DB9/RJ11-Flash-Kabel*
2 Brackets
2 supports de fixation
2 Halterungen
CD
Power Cord
Cordon d’alimentation
Netzkabel
Quick Installation Guide
Guide d’installation rapide
Installationsanleitung
or / ou / oder
Specifications 2
2
Cabinet/Rack Installation
Installation dans une armoire / baie
Installation im Schrank bzw. Rack
Step 1: Place the Console inside the rack.
Étape 1 : Placez la console dans la baie.
Schritt 1: Setzen Sie die Konsole ins Rack ein.
Step 2: Mount the front brackets to the rack.
Étape 2 : Montez les supports avant dans la baie.
Schritt 2: Befestigen Sie die Halterungen an der Vorderseite am Rack.
Step 3: Slide the rear brackets to the Console.
Étape 3 : Glissez les supports arrière contre la console.
Schritt 3: Schieben Sie die Halterungen an der Rückseite in die Konsole.
1
Specifications 3
3
Step 4: Adjust the length of the rear rack-mount brackets and mount them.
Étape 4 : Réglez la longueur des supports de montage arrière et fixez-les.
Schritt 4: Stellen Sie die Länge der Rack-Halterungen an der Rückseite ein und befestigen Sie sie.
Step 5: Lock the adjustable brackets by tightening the rear screws.
Étape 5 : Verrouillez les supports réglables en serrant les vis arrière.
Schritt 5: Befestigen Sie die verstellbaren Halterungen durch Anziehen der Schrauben
an der Rückseite.
Step 6: Connect the IEC power cable to an active power outlet and power up the Console.
Étape 6 : Branchez le câble d’alimentation CEI à une prise murale secteur et allumez la console.
Schritt 6: Schließen Sie das IEC-Netzkabel an eine Steckdose an, die mit Strom versorgt wird, und
schalten Sie die Konsole ein.
2
4
Step 1: Make sure your KVM switch or server is powered OFF.
Étape 1 : Assurez-vous que le switch KVM ou le serveur est éteint.
Schritt 1: Stellen Sie sicher, dass der KVM-Switch bzw. der Server abgeschaltet ist.
Step 2: Using the included PS/2 KVM Cable Kit, connect one set of VGA and PS/2 connectors to
the back of the Console. (Refer to diagrams below.)
Étape 2 : À l’aide du kit de câbles KVM PS/2 inclus, branchez un jeu de connecteurs VGA et PS/2
à l’arrière de la console. (Reportez-vous à l’illustration ci-dessous.)
Schritt 2: Schließen Sie das VGA- und das PS/2-Kabel des enthaltenen PS/2-KVM-Kabelsatzes an
die Rückseite der Konsole an. (Siehe Abbildung unten.)
Step 3: Connect the other end of the Cable Kit to the Console monitor, keyboard,
and mouse ports on your KVM switch or server. (Refer to diagrams below.)
Étape 3 : Branchez l’autre extrémité du kit de câbles aux ports pour clavier, souris et moniteur de
votre switch KVM ou serveur. (Reportez-vous à l’illustration ci-dessous.)
Schritt 3: Schließen Sie das andere Ende des Kabelsatzes an die Bildschirm-, Tastatur- und
Mausanschlüsse Ihres KVM-Switches oder Servers an. (Siehe Abbildung unten.)
Step 4: Power ON the Console.
Étape 4 : Allumez la console.
Schritt 4: Schalten Sie die Konsole ein.
Step 5: Power ON the KVM switch or server connected to the Console.
Étape 5 : Allumez le switch KVM ou le serveur relié à la console.
Schritt 5: Schalten Sie den an die Konsole angeschlossenen KVM-Switch oder Server ein.
Connecting the KVM Switch or Server
Branchement du switch KVM ou du serveur
Anschließen des KVM-Switches oder Servers
Step 2 / Étape 2 / Schritt 2
Connecting to a KVM switch / Branchement à un switch KVM
Anschließen an einen KVM-Switches
Slave Input
Master Input/Slave Output
VGA
Console / console / Konsole
KVM Switch / switch KVM / KVM-Switch
Step 3 / Étape 3 / Schritt 3
Connecting to a server / Branchement à un serveur
Anschließen an einen Servers
VGA
Console / console / Konsole
Server / Serveur / Servers
3
5
My Console doesn’t appear to be on.
Make sure that the power switch located at the front of the keyboard drawer is “on” and that the
power cable is connected properly.
Ma console ne semble pas être allumée.
Assurez-vous que l’interrupteur à l’avant du tiroir à clavier est en position « marche » et que le câble
d’alimentation est correctement branché.
Meine Konsole scheint nicht in Betrieb zu sein.
Stellen Sie sicher, dass der Betriebsschalter an der Vorderseite der Tastaturschublade eingeschaltet ist,
und dass das Netzkabel ordnungsgemäß angeschlossen ist.
What is the maximum video resolution that the LCD panel supports?
The LCD panel supports a resolution of up to 1366x768.
Quelle est la résolution vidéo maximale prise en charge par l’écran LCD ?
L’écran LCD prend en charge les résolutions jusqu’à 1366 x 768.
Welche Bildschirmauflösung wird vom LCD-Bildschirm maximal unterstützt?
Der LCD-Bildschirm unterstützt eine Bildschirmauflösung von bis zu 1366 x 768.
Do I have to install any software to use the Console?
No, the Console does not require any drivers or software to be installed in your computers. Simply
connect the Console directly to a computer or to a KVM switch, and it is ready for use.
Dois-je installer un logiciel pour pouvoir utiliser la console ?
Non. La console ne nécessite aucune installation de pilote ou de logiciel sur les ordinateurs. Branchez
simplement la console directement à un ordinateur ou un switch KVM. La console est ensuite prête
à l’emploi.
Muss ich für die Konsole Software installieren?
Nein. Für die Konsole müssen weder Treiber noch andere Software installiert werden. Schließen Sie die
Konsole einfach direkt an einen Computer oder KVM-Switch an. Dann ist sie betriebsbereit.
You are now ready to use your Widescreen Rack-Mount Console.
Votre console à écran large pour montage en baie est désormais prête à l’emploi.
Jetzt können Sie mit Ihrer Widescreen Rack-Konsole arbeiten.
Troubleshooting
Dépannage
Fehlerbehebung
6
Specifications
Spécifications
Technische Daten
Enclosure Material High-impact plastic and steel
Power Auto-switching
100 to 240VAC
Matériau du boîtier Plastique à résistance élevée aux chocs et acier
Alimentation Commutation automatique
100 à 240 VCA
Gehäusematerial Schlagfester Kunststoff und Stahl
Stromversorgung Automatische Umschaltung
100 bis 240 VAC
Net Weight 23.5 lbs. (10.7kg.) [F1DC101V]
25.0 lbs. (11.3kg.) [F1DC108V]
25.0 lbs. (11.3kg.) [F1DC116V]
Poids net 10,7 kg (23,5 lb) [F1DC101V]
11,3 kg (25,0 lb) [F1DC108V]
11,3 kg (25,0 lb) [F1DC116V]
Nettogewicht 10,7 kg [F1DC101V]
11,3 kg [F1DC108V]
11,3 kg [F1DC116V]
Unit Dimensions 19 (W) x 27.5 (D) x 1.70 (H) in.
(482.6 x 698.5 x 43.18mm)
Dimensions de l’unité 482,6 (L) x 698,5 (P) x 43,18 (H) mm
(19 x 27,5 x 1,70 po.)
Abmessungen des Geräts 19 (W) x 27,5 (D) x 1,70 (H) Zoll
(482,6 x 698,5 x 43,18 mm)
Minimum Rack-Mount Depth 29 in. (736mm)
Profondeur min. de la baie 736 mm (29 po.)
Minimale Rack-Tiefe 736 mm
Maximum Rack-Mount Depth 40 in. (1016mm)
Profondeur max. de la baie 1016 mm (40 po.)
Maximale Rack-Tiefe 1016 mm
Display Type 18.5-inch widescreen LCD
Type d’écran Écran large LCD de 18.5 pouces
Display-Typ 18.5-Zoll Widescreen LCD-Bildschirm
7
LCD Life Up to 30,000 hrs.
Durée de vie de l’écran LCD Jusqu’à 30 000 h
LCD-Lebensdauer Bis zu 30 000 Stunden
Resolution WXGA (1366 x 768)
Résolution WXGA (1366 x 768)
Auflösung WXGA (1366 x 768)
Contrast Ratio 1000:1
Rapport de contraste 1000:1
Kontrast 1000:1
Pixel Pitch 0.2835mm
Pas 0,2835 mm
Pixeldichte 0,2835 mm
Panel Color 16.7 Million Display Colors
Couleurs 16,7 millions de couleurs
Farbdisplay 16,7 Millionen Display-Farben
Response Time Rising 3.6ms, Falling 1.4ms
Temps de réponse Montée 3,6ms ; Chute 1,4ms
Reaktionszeit 3,6ms (Rise), 1,4ms (Fall)
Keyboard Type Laptop style
Connectique clavier Type ordinateur portable
Tastatur-Typ Laptop-Design
Keyboard Connection PS/2, USB
Connectique clavier PS/2, USB
Tastaturanschluss PS/2, USB
Mouse Type Touchpad with 2 buttons
Type de souris Pavé tactile à 2 boutons
Maus-Typ Touchpad mit 2 Tasten
Mouse Connection PS/2, USB
Connectique souris PS/2, USB
Mausanschluss PS/2, USB
Operating Life of Individual Keys 8 million cycles
Durée de vie utile des touches individuelles 8 millions de cycles
Lebensdauer der einzelnen Tasten 8 Millionen Anschläge
8
105-Key Keyboard (PS/2)
Clavier 105 touches (PS/2)
105-Tasten-Keyboard (PS/2)
TFT/LCD Active-Matrix Color Panel
Écran couleur TFT/LCD à matrice active
TFT/LCD-Farbmonitor mit aktiver Matrix
LCD Front-Panel Controls
Commandes à l’avant de l’écran
Bedientasten an der Vorderseite
des LCD-Bildschirms
Touchpad
Pavé tactile
Touchpad
Handle
Poignée
Griff
Belkin Tech Support
Assistance technique Belkin
Belkin technischer Support
US
http://www.belkin.com/support
UK
http://www.belkin.com/uk/support
France
http://www.belkin.com/fr/support
New Zealand
http://www.belkin.com/au/support
Europe
http://www.belkin.com/uk/support
Germany
http://www.belkin.com/de/support
© 2017 Belkin International, Inc. All rights reserved. All trade names are registered trademarks of respective
manufacturers listed.
© 2017 Belkin International, Inc. Tous droits réservés. Toutes les raisons commerciales sont des marques
déposées de leurs fabricants respectifs.
© 2017 Belkin International, Inc. Alle Rechte vorbehalten. Alle Produktnamen sind eingetragene Marken der
angegebenen Hersteller.
8820-02660 Rev. A00
F1DC101V
F1DC108V
F1DC116V
Widescreen Rack-Mount Console
Console à écran large pour montage en baie
Widescreen Rackmount-Konsole
Quick Installation Guide
Guide d’installation rapide
Installationsanleitung
F1DC101V
F1DC108V
F1DC116V
Widescreen Rack-Mount Console
Console à écran large pour montage en baie
Widescreen Rackmount-Konsole

This manual suits for next models

1

Other Belkin Switch manuals

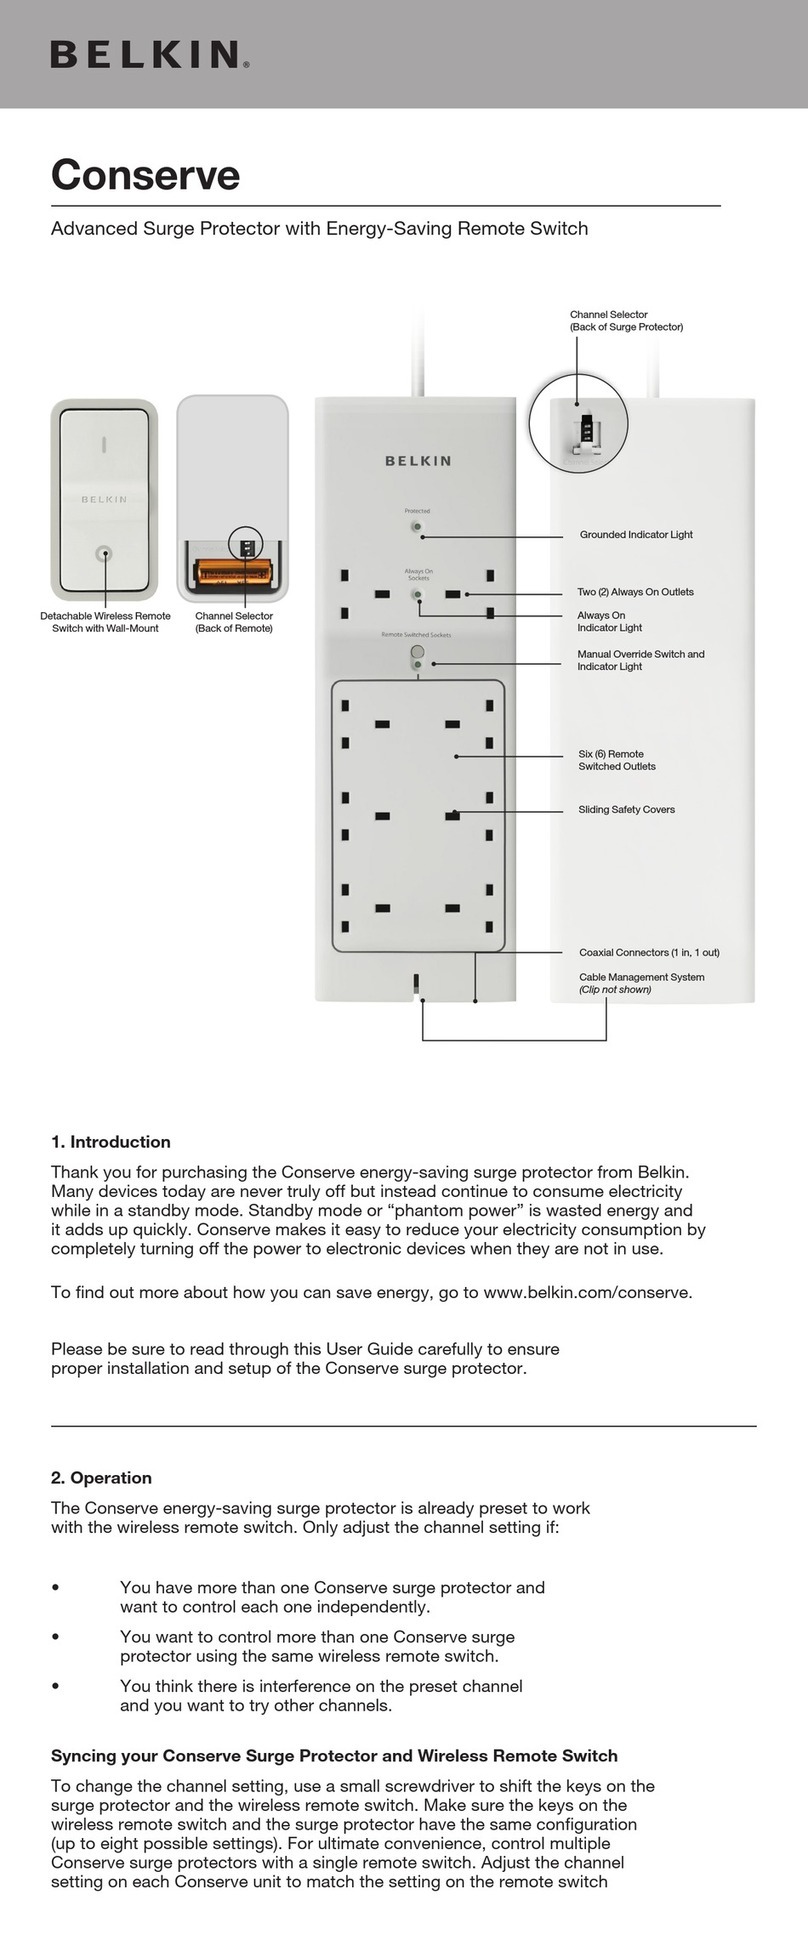
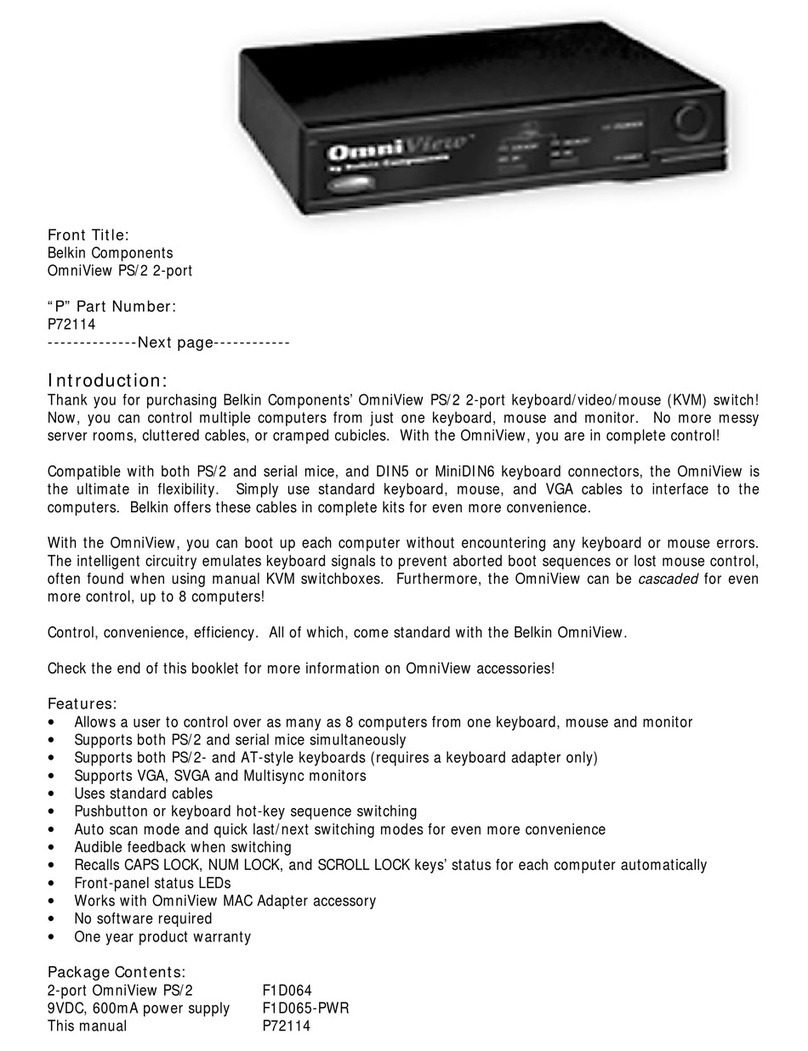
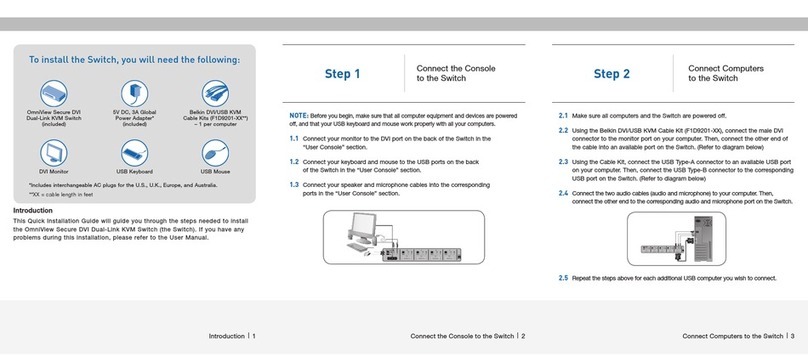
Belkin OmniView F1DK102P User manual

Belkin

Belkin OmniView F1DK102P User manual

Belkin F5U700 User manual

Belkin

Belkin F5U700 User manual

Belkin OmniView F1DE108C User manual

Belkin

Belkin OmniView F1DE108C User manual

Belkin OmniView Dual-User PRO3 User manual
Belkin

Belkin OmniView Dual-User PRO3 User manual

Belkin OMNIVIEW F1DN102D User manual

Belkin

Belkin OMNIVIEW F1DN102D User manual
Belkin F1DN102KVM-UNN4 User manual

Belkin

Belkin F1DN102KVM-UNN4 User manual

Belkin F1U117 User manual

Belkin

Belkin F1U117 User manual

Belkin OmniView SOHO KVM User manual

Belkin

Belkin OmniView SOHO KVM User manual

Belkin Switch User manual

Belkin

Belkin Switch User manual

Belkin F1DE101H User manual

Belkin

Belkin F1DE101H User manual

Belkin P73371-F5U524-G User manual

Belkin

Belkin P73371-F5U524-G User manual

Belkin F1U109 User manual

Belkin

Belkin F1U109 User manual

Belkin OMNIVIEW F1DA104PEA User manual

Belkin

Belkin OMNIVIEW F1DA104PEA User manual

Belkin OmniCube User manual

Belkin

Belkin OmniCube User manual

Belkin F1DN102KVM-UNN4 User manual

Belkin

Belkin F1DN102KVM-UNN4 User manual

Belkin F5U231 F5U231ea User manual

Belkin

Belkin F5U231 F5U231ea User manual

Belkin HI-SPEED USB 2.0 EXTERNAL DRIVE ENCLOSURE User manual

Belkin

Belkin HI-SPEED USB 2.0 EXTERNAL DRIVE ENCLOSURE User manual

Belkin Bitronics F1U128-KIT User manual

Belkin

Belkin Bitronics F1U128-KIT User manual

Belkin Secure DVI-I User manual

Belkin

Belkin Secure DVI-I User manual

Belkin OmniView Dual-User PRO3 User manual

Belkin

Belkin OmniView Dual-User PRO3 User manual

Belkin F1DN104E User manual

Belkin

Belkin F1DN104E User manual

Belkin F1DN104K User manual

Belkin

Belkin F1DN104K User manual

Belkin OmniView F1DZ102T User manual

Belkin

Belkin OmniView F1DZ102T User manual

Belkin F5U116 User manual

Belkin

Belkin F5U116 User manual

Popular Switch manuals by other brands

Bay Technical Associates DS72 manual

Bay Technical Associates

Bay Technical Associates DS72 manual

Juniper EX8208 Instruction

Juniper

Juniper EX8208 Instruction

TRENDnet TE100-S5 Specifications

TRENDnet

TRENDnet TE100-S5 Specifications

Cisco Catalyst 3850 Configuration guide

Cisco

Cisco Catalyst 3850 Configuration guide

DANLERS ControlZAPP CZ CEFL DALI Installation notes

DANLERS

DANLERS ControlZAPP CZ CEFL DALI Installation notes

CYP CH-1539TXPLPD Operation manual

CYP

CYP CH-1539TXPLPD Operation manual

D-Link DES-3326SR manual 

D-Link

D-Link DES-3326SR manual 

NETGEAR FS728TS - ProSafe Smart Switch user guide

NETGEAR

NETGEAR FS728TS - ProSafe Smart Switch user guide

Edge-Core ES3526YA installation guide

Edge-Core

Edge-Core ES3526YA installation guide

Cudy GS108D Quick installation guide

Cudy

Cudy GS108D Quick installation guide

Russound A-BUS A-H2 instruction manual

Russound

Russound A-BUS A-H2 instruction manual

Zte ZXR10 5250 Series Command reference

Zte

Zte ZXR10 5250 Series Command reference

Banner R95C instruction manual

Banner

Banner R95C instruction manual

AMG Systems AMG510-25G-2XS Series installation manual

AMG Systems

AMG Systems AMG510-25G-2XS Series installation manual

Kramer VP-553xl user manual

Kramer

Kramer VP-553xl user manual

StarTech.com StarView SV221DD Instruction guide

StarTech.com

StarTech.com StarView SV221DD Instruction guide

Interlogix NS3552-8P-2S-V2 user manual

Interlogix

Interlogix NS3552-8P-2S-V2 user manual

SMC Networks 6824MPE INT - FICHE TECHNIQUE Management guide

SMC Networks

SMC Networks 6824MPE INT - FICHE TECHNIQUE Management guide

manuals.online logo
manuals.online logoBrands
  • About & Mission
  • Contact us
  • Privacy Policy
  • Terms and Conditions

Copyright 2025 Manuals.Online. All Rights Reserved.