manuals.online logo
Brands
  1. Home
  2. •
  3. Brands
  4. •
  5. Bell'O
  6. •
  7. Indoor Furnishing
  8. •
  9. Bell'O CW340 User manual

Bell'O CW340 User manual

CW340
AUDIO/VIDEO TELEVISION SYSTE
ASSEMB Y INSTRUCTIONS
Bell’O International Corp. will not be responsible for failure to assemble as directed or for the improper assembly, use or handling of this stand.
FOR YOUR SAFETY, PLEASE FOLLOW THESE PRECAUTIONS:
!
DO NOT P ACE ITEMS ON THE SHE VES WHICH EXCEED THE MAXIMUM WEIGHT IMITS OF 50 BS. FOR TOP SHE F,
25 BS. FOR EACH MIDD E SHE F, AND 75 BS FOR THE BOTTOM SHE F.
! ALWAYS RE OVE THE TV AND OTHER EQUIP ENT FRO THE FURNITURE PRIOR TO OVING THE ASSE BLED UNIT.
! BE CAREFUL WHEN OVING THE ASSE BLED FURNITURE AFTER THE GLASS SHELVES HAVE BEEN IN-
STALLED, AS THIS AY CAUSE THE SHELVES AND OTHER ITE S TO BECO E UNSECURED AND FALL.
! WHEN IN USE, THIS FURNITURE UST BE PLACED ON A FLAT, SOLID AND LEVEL SURFACE.
! DO NOT LEAN ON THE TV WHEN IT IS ON THE TV STAND.
! DO NOT CLI B OR STEP ON THE STAND.
! DO NOT BANG INTO OR PLACE YOUR OWN WEIGHT ON THE GLASS SHELF.
PARTS IST
#
YF1
YF2
YF3
YF4
YF5
YF6
YF7
YF8
YF9
1
3
6
1
4
4
12
2
4
2
Quantity
Part
YF10
#
YF11
YF12
YF13
YF14
YF15
YF16
YF17
YF18
YF19
1
1
1
1
1
1
1
1
1
1
Quantity
Part
YF20
8 mm
15 mm
28 mm
38 mm
1. ATTACH the Right Curved Wood Leg (YF12) to the Right Black Chrome Post (YF10) as shown and SECURE using a 38 mm Bolt
(YF4). Do not yet fully tighten.
2. ATTACH the Left Curved Wood Leg (YF13) to the Left Black Chrome Post (YF11) as shown and SECURE using a 38 mm Bolt
(YF4). Do not yet fully tighten.
ASSEMB Y INSTRUCTIONS
NOTE: 2 PEOPLE ARE RECO ENDED TO ASSE BLE THIS FURNITURE. TO AVOID DA AGE DURING ASSE BLY, IT SHOULD BE ASSE BLED ON A
SOFT SURFACE.
Fig. 1
YF4
YF4
YF12
YF10
YF11
YF13
RIGHT
LEFT
Fig. 2
YF15
YF10
YF12
YF16
YF13
YF11
YF2
YF2
YF3
YF3
YF3
YF3
3. ATTACH the bottoms of the Right and Left Curved Wood Legs (YF12, YF13) to the Bottom Shelf Support Frame (YF16) as shown
using two 28 mm Screws (YF3) for EACH Leg. Do not yet fully tighten.
4. ATTACH the tops of the Right and Left Curved Wood Legs (YF12, YF13) to the Top Shelf Support Frame (YF15) as shown using
two 15 mm Screws (YF2) for EACH Leg. Do not yet fully tighten.
5. ATTACH the bottoms of the Right and Left Black Chrome Posts (YF10, YF11) to the Bottom Shelf Support Frame (YF16) as shown
using one 28 mm Screws (YF3) for EACH Post. Do not yet fully tighten.
6. ATTACH the tops of the Right and Left Black Chrome Posts (YF10, YF11) to the Top Shelf Support Frame (YF15) as shown using
one 28 mm Screws (YF3) for EACH Post. Do not yet fully tighten.
7. ake sure all parts are properly attached and that the preassembled stand is sitting flat on a level floor surface. NOW GO BACK
AND FULLY TIGHTEN ALL SCREWS AND BOLTS.
Fig. 3
YF3
YF16
YF7
YF15
YF14
YF3
8. SCREW three Adjustable ShelfSupport Screws (YF7) into the holes along the front top edge of the TopShelf Support Frame (YF15)
as shown.
9. ATTACH the C S®(Cable anagement System) Rear Panel (YF14) as shown to the Top and Bottom Shelf Support Frames (YF15,
YF16) and SECURE using four 28 mm Screws (YF3). Tighten all Screws fully.
Fig. 4
YF6
YF10
YF12
YF13
YF14
YF11
YF8
YF5
10. SCREW four Shelf Locking Clips (YF6) into the prethreaded holes in the front of the C S®Rear Panel (YF14) as shown. Fully tighten screws.
Make sure the small screws in the Shelf Locking Clips are beneath the clips when in a final position.
11. P ACE six Soft Glass Pads (YF8), evenly distributed as shown above, along the top edge of the Bottom Shelf Support Frame (YF16).
12. SCREW four Round ShelfSupport Pins (YF5) into the prethreaded holes in the inside edges of the Right and Left Curved Wood Legs (YF12, YF13)
and in the Right and Left Black Chrome Posts (YF10, YF11) as shown. Tighten fully by hand.
YF16
Fig. 5
Fig. 5A
YF1
YF7
YF18
YF17
YF19
YF20
YF6
13. ATTACH the TopGlass Shelf (YF17) to the Top Shelf Support Frame as shown. ake sure the silver discs on the underside of the
Top Shelf are properly inserted into the brackets in the Support Frame and SECURE from underneath using two 8 mm Screws
(YF1). Be careful not to overtighten! NOTE: TURN the Adjustable ShelfSupport Screws (YF7) to make sure the Top Glass
Shelf is properly supported and level before placing any items on it.
14. INSERT the two iddle Glass Shelves (YF18, YF19) into place. ake sure each Shelf is FULLY inserted into the Shelf Locking
Clips (YF6), and that the front edges of the Shelves are properly resting on the four Round Shelf Support Pins (YF5). SECURE
each Shelf by tightening the small screw in the Shelf Locking Clips (YF6) as shown in Fig. 5A. Do not overtighten!
15. P ACE the Bottom Glass Shelf (YF20) down onto the Soft Glass Pads (YF8) on the Bottom Shelf Support Frame (YF16).
MAKE SURE ALL SHEL ES ARE PROPERLY INSTALLED, SUPPORTED, AND LE EL BEFORE PLACING ANY COMPONENTS
ON THEM. MAKE SURE THE AUDIO/ IDEO STAND IS PLACED ON A SOLID AND LE EL FLOOR SURFACE BEFORE USE.

Other Bell'O Indoor Furnishing manuals
Bell'O AVSC2122 User manual

Bell'O

Bell'O AVSC2122 User manual

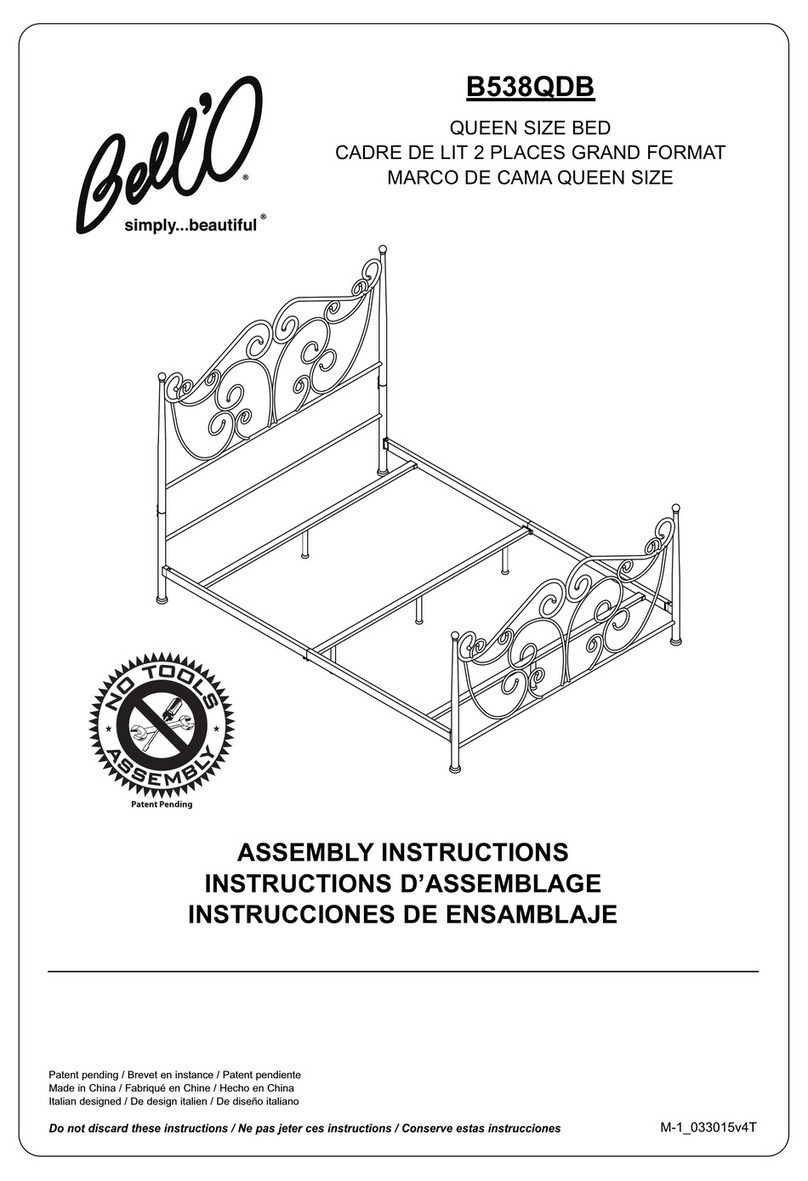
Bell'O B538QDB User manual

Bell'O

Bell'O B538QDB User manual
Bell'O AVSC2155 User manual

Bell'O

Bell'O AVSC2155 User manual

Bell'O WAVS-327 User manual

Bell'O

Bell'O WAVS-327 User manual
Bell'O CW356 User manual

Bell'O

Bell'O CW356 User manual
Bell'O WAVS99163 User manual

Bell'O

Bell'O WAVS99163 User manual
Bell'O CW349 User manual

Bell'O

Bell'O CW349 User manual

Bell'O ATC402 User manual

Bell'O

Bell'O ATC402 User manual
Bell'O AVS-4601HG User manual

Bell'O

Bell'O AVS-4601HG User manual

Bell'O ATC402 User manual

Bell'O

Bell'O ATC402 User manual
Bell'O PVS4257 User manual

Bell'O

Bell'O PVS4257 User manual
Bell'O NT2145 User manual

Bell'O

Bell'O NT2145 User manual

Bell'O WAVS331 User manual

Bell'O

Bell'O WAVS331 User manual
Bell'O AVSC2155 User manual

Bell'O

Bell'O AVSC2155 User manual
Bell'O AVSC-2124 User manual

Bell'O

Bell'O AVSC-2124 User manual
Bell'O AVS-2572 User manual

Bell'O

Bell'O AVS-2572 User manual

Bell'O WAVS333 User manual

Bell'O

Bell'O WAVS333 User manual

Bell'O ODP10444 User manual

Bell'O

Bell'O ODP10444 User manual
Bell'O WAVS322 User manual

Bell'O

Bell'O WAVS322 User manual
Bell'O PVS4206HG User manual

Bell'O

Bell'O PVS4206HG User manual

Bell'O PVs4208HG User manual

Bell'O

Bell'O PVs4208HG User manual

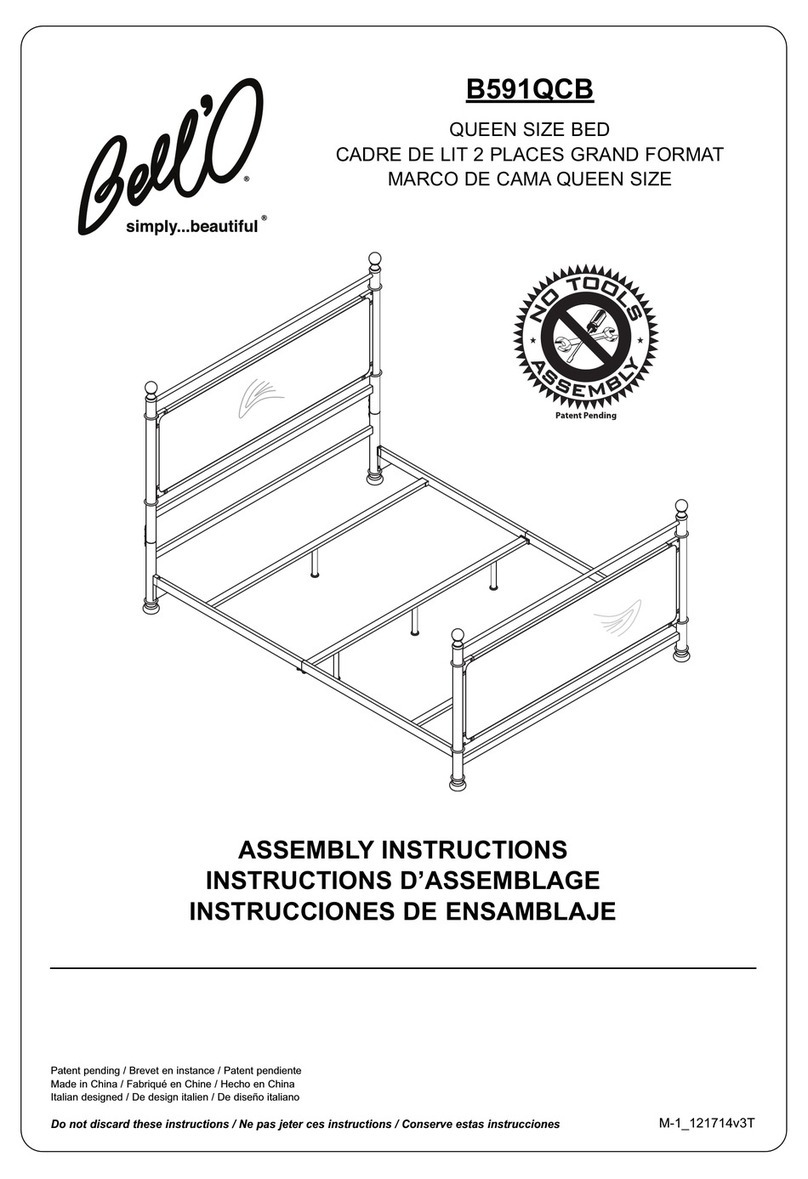
Bell'O B591QCB User manual

Bell'O

Bell'O B591QCB User manual

Bell'O PVS-4216 User manual

Bell'O

Bell'O PVS-4216 User manual

Bell'O PR12 User manual

Bell'O

Bell'O PR12 User manual

Popular Indoor Furnishing manuals by other brands

Regency LWMS3015 Assembly instructions

Regency

Regency LWMS3015 Assembly instructions

Furniture of America CM7751C Assembly instructions

Furniture of America

Furniture of America CM7751C Assembly instructions

Safavieh Furniture Estella CNS5731 manual

Safavieh Furniture

Safavieh Furniture Estella CNS5731 manual

PLACES OF STYLE Ovalfuss Assembly instruction

PLACES OF STYLE

PLACES OF STYLE Ovalfuss Assembly instruction

Trasman 1138 Bo1 Assembly manual

Trasman

Trasman 1138 Bo1 Assembly manual

Costway JV10856 manual

Costway

Costway JV10856 manual

moss DESIGN Caisson Credenza Assembly instructions

moss DESIGN

moss DESIGN Caisson Credenza Assembly instructions

Aquaglide FULL DECK 15.0 owner's manual

Aquaglide

Aquaglide FULL DECK 15.0 owner's manual

AREBOS AR-HE-SW30 user manual

AREBOS

AREBOS AR-HE-SW30 user manual

Till-Hilft Fulda 87005.330 Assembly instructions

Till-Hilft

Till-Hilft Fulda 87005.330 Assembly instructions

Twoey Outside 2010 quick start guide

Twoey Outside

Twoey Outside 2010 quick start guide

Hettich Easys 200 operating instructions

Hettich

Hettich Easys 200 operating instructions

The bedboss RELAX 404 Series owner's manual

The bedboss

The bedboss RELAX 404 Series owner's manual

Oeseder Möbelindustrie Bern 991 720 Assembly instructions

Oeseder Möbelindustrie

Oeseder Möbelindustrie Bern 991 720 Assembly instructions

Costway HW68469 user manual

Costway

Costway HW68469 user manual

Next ALIX A27743 Assembly instructions

Next

Next ALIX A27743 Assembly instructions

BROSA Hans Assembly guide

BROSA

BROSA Hans Assembly guide

Prodigg MINIKA PBA015T-FUR installation manual

Prodigg

Prodigg MINIKA PBA015T-FUR installation manual

manuals.online logo
manuals.online logoBrands
  • About & Mission
  • Contact us
  • Privacy Policy
  • Terms and Conditions

Copyright 2025 Manuals.Online. All Rights Reserved.