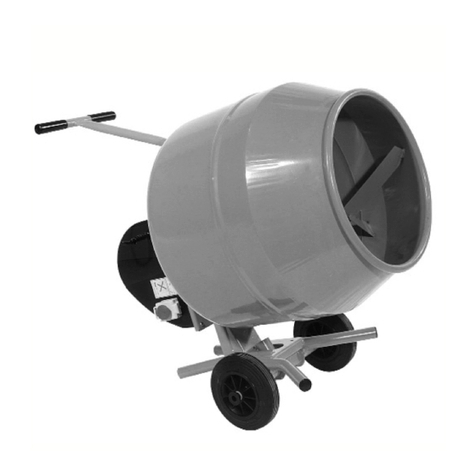
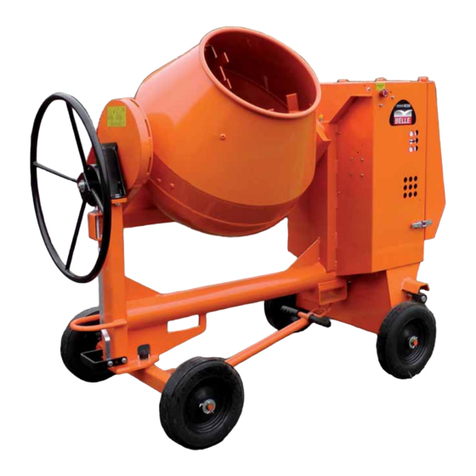
Belle Group Minimix 150 User manual

Operators Manual 4
GB
- Spare Parts Book 14
870/00001/0
12/09

6
12/09
Functional Controls
GB
Air Intake Vent (This must not be
obstructed or blocked)
Emergency Stop Button
Thermal Trip Reset Button (USA Only)
Tip Handles
Stand Base
Pivot Stand Top With
360° rotation
Stand Assembly
Clip
Mixing Drum
On / Off Buttons

712/09
Safety Instructions
GB
Before starting the mixer
Ensure engine oil is filled to correct level before operating mixer. Note: The engine must be lifted to the horizontal position when
filling and checking oil.
Check that all guards are in position and correctly fitted.
DO NOT wear loose clothing or jewellery that may become entangled in the workings of this machine.
Suitable clothing as follows should meet relevant EEC/local safety standards: overalls, work boots, goggles, face mask, gloves
and ear defenders etc.
DO NOT tip mixer onto the drum mouth when motor is running.
Ensure that any trailing cable is protected against damage and not liable to be tripped over or trapped underneath the mixer.
We recommend the use of an Residual Current Device on 230v electrics.
Remove all packaging material before operating.
When operating the mixer
Keep unauthorised persons away from mixing drum.
Keep area around the mixer clear of obstructions which could cause persons to fall onto moving parts.
Always ensure mixer is on level ground before mixing.
DO become familiar with the controls before operating this machine.
DO ensure that all guards are fitted in the correct position.
DO ensure plenty of ventilation when running diesel/petrol engines in a confined area.
DO replace any worn/damaged warning decals.
DO ensure the drum is rotating while emptying the mixer.
DO always switch off and remove the plug from the socket if leaving the machine unattended.
DO NOT use as a wheel barrow. Disconnect from power supply before moving.
BEWARE of the Danger Zones & Hot Zones.
BE AWARE of exhaust venting directions.
Emergency Stop
If you have to turn off the mixer in a emergency you must: Electric: either turn off at switch or at the mains, Petrol: turn the engine
switch off, see engine manual.
Fire Fighting
If your mixer catches fire, turn off the electric supply. Using a dry powder or C02 fire extinguisher put out the fire. If the fire can not be
put out, keep away and call the fire brigade. If you are in any doubt about the safety condition of your machine, please contact your
Belle authorized Service Dealer.
Warning - Important
Should the socket outlets in your home not be suitable for the plug supplied with your product, the plug must be removed (cut-off if it
is a moulded plug and disposed of) and an appropriate plug fitted. Follow wiring instructions carefully. Do not connect either core to
the earth pin, as this is a Class II Isolated Product.
BLUE = NEUTRAL & BROWN = LIVE
As the colours of the wires in the mains lead of this appliance may not correspond with the coloured markings identifying the
terminals in your plug, proceed as follows:
The wire which is coloured Blue must be connected to the terminal which is is marked with the letter N or coloured Black. The wire
which is coloured Brown must be connected to the terminal which is is marked with the letter L or coloured Red.

8
12/09
x1
13mm x1
Ensure drum fits right up to the shoulder on the shaft. Do not spin on fast as this may
damage the gearbox
Ensure all nuts and bolts are securely tight
Electric Only
Tools Required:-
PARALLEL
Emergency Stop Button
(Electric Only)
Please Note: Supplied with no oil in petrol engine
use bottle provided for initial engine fill
Assembly Instructions
Warning Decals
GB
Warning! Caution Taken When Handling.
Wear Ear Protection. Fire and Explosive Risk.
Wear Eye Protection. Wear Protective Footwear.
Read Operators Manual. Do Not Hang.
This Way Up. Only Stack 3 High.
GB
Honda GX120 Engine Only:-
Position Of The Engine
Emergency Stop Switch. Emergency Stop Switch
Operating Instructions.
ON
OFF

912/09
Stand Assembly
GB
2
1
3
DO NOT Tip mixer onto drum mouth when the motor is running
CAUTION whilst rotating the mixer up into the stand position, always lift from the front of the mixer.
NOTE: When ready for dismantling the mixer after use, follow all the previous procedures but in reverse order. Ensure Stand Clip is located
correctly onto frame.
Loading and Unloading
GB
Never remain under or in the immediate vicinity of the machine when it is lifted by a crane. Only use
marked lifting points. Always make sure that all lifting devices are dimensioned for the weight of the
products.
CAUTION

12
12/09
Mixing Hints
GB
Mix Ratios
The correct mix ratio (cement:sand:stone) depends on the type of application; harder concrete requires more cement, rougher
applications require more aggregate. The ratios given below are guidelines: best proportions may depend on the quality of sand/stone
used.
First put in the water - around 7 litres (1½ gallons), using more or less depending on the type of mix required. Add some aggregate
before adding cement, to avoid sticking. Work consistently to the ratio of ingredients for whatever type of concrete mix you are
working to.
Getting A Good Mix
The approximate mixing time for concrete is 2-4 minutes from when all the material (including the water) has been added - over-
mixing can reduce strength and cause segregation of the coarser aggregates.
Beware of low grade aggregates; these will only lead to trouble later on with sinking and frost spoiling the appearance of the pour.
Also do not get the concrete mix too wet as this can reduce strength and make it less able to withstand weathering.
Looking After Your Mixer
Never throw material into the mixer - trickle it steadily over the rim or it will stick firmly to the back of the drum and can only be
dislodged by stopping the mixer.
Keep your mixer clean - material left in the drum will harden, and attract more on each use until the mixer is useless.
Do not throw bricks into a mixer drum to clean it out. The best method is a mix of 1” (2½cm) gravel and clean water - use plenty of it,
as this will do the job in half the time.
Warranty
GB
Your new Belle Group Minimix 150 is warranted to the original purchaser for a period of one-year (12 months) from the original date of
purchase. The Belle Group warranty is against defects in design, materials an workmanship.
The following are not covered under the Belle Group warranty:
1. Damage caused by abuse, misuse, dropping or other similar damage caused by or as a result of failure to follow assembly,
operation or user maintenance instructions.
2. Alterations, additions or repairs carried out by persons other than Belle Group or their recognised agents.
3. Transportation or shipment costs to and from Belle Group or their recognised agents, for repair or assessment against a warranty
claim, on any machine.
4. Materials and/or labour costs to renew, repair or replace components due to fair wear and tear.
The following components are not covered by warranty.
· Drive Belt
· Engine air filter
· Engine spark plug
Belle Group and/or their recognised agents, directors, employees or insurers will not be held liable for consequential or other damages,
losses or expenses in connection with or by reason of or the inability to use the machine for any purpose.
Warranty Claims
All warranty claims should firstly be directed to Belle Group, either by telephone, by Fax, by Email, or in writing.
For warranty claims:
Belle Group Warranty Department,
Sheen, Nr. Buxton
Derbyshire
SK17 0EU
England.
APPLICATIONS QUANTITIES
CEMENT SAND STONE
MOST ORDINARY 1 2 4
FOUNDATIONS 1 3 6
ROUGH MASS CONCRETE 1 4 8
WATERTIGHT FLOORS,TANKS PITS ETC. 1 1.5 3
Other manuals for Minimix 150
1
Table of contents
Other Belle Group Mixer manuals

