bemodern 1174 User manual

200673_7 Page 1
Model 1174 Electric Heater
User instructions for LED effect 2kw Inset Heater
These instructions should be read carefully and retained for future reference
Important Notes
This product is only suitable for well insulated spaces or occasional use
Do not use this appliance as a primary heat source
This heater must not be located immediately below a fixed socket outlet.
Do not use the heater in the immediate surrounds of a bath, a shower, or a swimming pool.
Do not cover this heater, or obstruct the air inlet or outlet, otherwise there is a risk of
overheating.
Do not use outdoors
The heater must be cooled down completely before any maintenance
After unpacking, please make sure that the appliance is intact, with no signs of damage caused by
transport. If in doubt, do not use the appliance and contact the Service Centre.
During normal operation this appliance will emit noise from the internal fan unit.
If the supply cord is damaged, it must be replaced by the manufacturer, its service agent or similarly
qualified persons in order to avoid a hazard.
Children should be supervised to ensure that they do not play with the appliance or handset.
Children of less than 3 years should be kept away unless continuously supervised. Children aged from 3
years and less than 8 years shall only switch on / off the appliance provided that it has been placed in its
intended normal operating position and they have been given supervision or instruction concerning use of
the appliance in a safe way and understand the hazards involved. Children aged from 3 years and less
than 8 years shall not plug in, regulate, clean the appliance or perform user maintenance.
This appliance can be used by children aged from 8 years and above and persons with reduced physical,
sensory or mental capabilities or lack of experience and knowledge if they have been given supervision or
instruction concerning use of the appliance in a safe way and understand the hazards involved. Cleaning
and user maintenance shall not be made by children without supervision
Some parts of this product can become very hot and could cause burns. Particular attention has to be
given where children and vulnerable people are in the vicinity.
Ensure that furniture, curtains and other combustible materials are positioned no closer than 1m from the
front of the fire.
Do not run cord under carpeting, do not cover cord with throw rugs, runners or the like. Arrange cord away
from traffic areas and where it will not be tripped over.
Do not insert or allow foreign objects to enter any ventilation or exhaust openings as this may cause
electric shock, fire or damage the appliance
Do not block air intakes or exhaust openings in any manner
Do not use on soft surfaces such as a bed, where openings may become blocked.
If this fire is supplied through an extension cable, please ensure that it is the only appliance plugged into
the extension and that the instructions for the extension cable / reel are followed.
CAUTION: In order to avoid a hazard due to inadvertent resetting of the thermal cut out, this appliance
must not be supplied through an external switching device, such as a timer, or connected to a circuit that is
regularly switched on and off by the utility.
This appliance must be positioned so that the plug / fused spur is accessible
In the event of a fault please disconnect the fire from the mains supply
Warning: This appliance must be earthed.
The wires in the mains lead connected to this appliance are coloured in accordance with the following code:
Green and Yellow Earth
Blue Neutral
Brown Live
As the colour of the wires in the mains lead of this appliance may not correspond with the coloured markings
identifying the terminals in your plug, proceed as follows, The wire which is coloured Green and Yellow must
be connected to the terminal in the plug which is marked with the letter E or by the earth symbol or coloured
Green or Green and Yellow. The wire which is coloured Blue must be connected to the terminal which is
marked with the letter N or coloured Black. The wire which is coloured Brown must be connected to the
terminal which is marked with letter L or coloured Red.

200673_7 Page 2
Suite Installation
Please unpack carefully ensuring that any loose parts and all packing items are removed. Read any warning labels carefully (see Maintenance Section).
Place waste packaging back into box and dispose of RESPONSIBLY.
The surround / appliance must be positioned so that plug (fused spur) is accessible. Only when you are certain that you have completed the
installation should you plug in and switch on at the wall socket.
REF.
SUPPLIED
PARTS -
DESCRIPTION
ILLUSTRATION QTY. REF.
SUPPLIED
PARTS –
DESCIPTION
ILLUSTRATION QTY.
A.
SUITE WITH
ELECTRIC FIRE
INC.
1
C.
WALL
BRACKETS
2
B.
MANTEL
BRACKETS
2
D.
16mm C/SUNK
SCREWS
4
Before You Start
The appliance Data Plate is located underneath the heater box, check and make
sure you have all the parts as listed above. If not, contact :
Be-Modern Helpline on 0191 430-0901.
Finishing Touches
Prior to installation the transit screws in the front of the fire must be removed prior to
installation so the fire can be removed if necessary.
Installing the Mantel
Place Suite (A) in the required position and remove any obstructions, i.e. cut to shape or
remove skirting to allow the Suite to butt up flush against the wall (if required). Remember
to allow enough space when cutting the skirting for the cable to exit from the desired side.
1. Trial fit the mantel in the required position. Remove any obstructions, i.e. cut to shape or
remove skirting to allow the mantel to butt up to the wall. Note: Mantel is a two adult person
lift.
2. Screw the 2 mantel brackets (B) to the inside of each leg using the 4 screws provided
(D - 16mm), making sure that the brackets are flush with the rear of the leg. See Fig.1&2.
3. With the mantel in position. Lightly scribe the wall in line with outer edges of the mantel.
Lift the mantel away from the wall. Measure inwards from the previously scribed line the
thickness of the mantel leg plus 10mm. See Fig.2.
4. Fix the wall brackets (C) in place using the appropriate fixing dependent on the type of
wall (Fixing are not supplied). Ensure mantel brackets (B) will fall halfway between the folds
on the wall brackets (C). See Fig.2.
5. IMPORTANT: If a power cable is to be routed to the rear of the mantel. Care must be
taken not to crush or damage the cable when positioning the mantel.
6. Lift the mantel onto the wall brackets (C) and confirm it is securely held in place. If any
adjustment is required take the mantel off the wall and adjust using the slots on the mantel
brackets (C).
7. NB. Should a defect be discovered and in the event of a suite being permanently fixed to
the wall the householder will be responsible for any costs incurred.
Care
• To maintain the appearance of your new suite we recommend that it is dusted
using a lint free cloth. NEVER use any form of abrasive or DAMP cloth.
10mm
100mm
Figure 1
Figure 2

200673_7 Page 3
Fire Only
Please unpack carefully ensuring that any loose parts and all packing items are removed. Read any warning labels carefully (see Maintenance Section).
Place waste packaging back into box and dispose of RESPONSIBLY. The appliance must be positioned so that the plug or fused spur is
accessible. Only when you are certain that you have completed the installation should you plug in and switch on at the wall socket.
Preparation for Use
Check that the supply voltage details on your flame effect fire are in accordance with your electrical supply. Your fire is fitted with a plug incorporating a 13
Amp fuse. In the event of replacing the fuse in the plug supplied, a 13 Amp fuse approved by ASTA to BS 1362 must be used. Before switching on, please
read the following operation instructions.
Before You Start
The appliance Data Plate is located on the underside of the Heater box and can be accessed by removing the glass. (Disconnect from the
mains supply before removing the glass as described in the maintenance section).
This fire should not be installed into an open / existing fireplace without the opening being professionally blanked off to reduce the risk of a back
draught, which could cause the safety cut-out to operate.
The fire has two spring steel brackets affixed to either side. These are used to hold the fire in the correct position when inserted into the recess /
surround as below.
Installation:
Figure 3 – Installation Recess / Surround Dimensions (All Dims are in mm)
Ensure that the installation aperture dimensions are as to the above specification.
Swing the unit into the opening and rest the bottom of the fire onto the bottom of the recess as shown in Fig.4.
Gently push the fire backwards into the recess / surround until it is flush against the wall / panel.
The spring clips will keep the fire in position.
Figure 4 – Installation Figure 5 - Removal

200673_7 Page 4
Fitting of Optional Metal Trim – 1 Piece or 3 Piece trim
1 Piece trim (3 sided)
IMPORTANT: The trim is located in the rear of the surround. Do not discard trim with
packaging.
Please use the following instructions as a guide for fitting the optional 1 piece metal trim
(only available with selected models).
Note - Remove the protective plastic film from the trims prior to fitting.
Position the magnets on the insides of the trim, 2 at the top and 2 on each side on the leg
pieces spreading them out evenly to get a strong pull on the fire metalwork. Place the three
pieces of the trim against the fire frame as shown in Fig.6. The trim installation is now
complete.
3 Piece trim (3 Sided)
IMPORTANT: The trim is located in the rear of the surround, on top of the fire. Do not
discard trim with packaging.
Please use the following instructions as a guide for fitting the optional 3 piece metal trim
(only available with selected models).
Note- remove the protective plastic film from the trims prior to the following steps.
Position the magnets on the insides of the three trim parts (left, right and top) spreading
them out evenly as to get a strong pull on the fire metalwork. Place the left hand trim
vertically against the fire frame as shown in Fig.7. Note - you should feel the magnets pulling
the trim into place. Repeat this process using the right hand side and finally the top trim
Fig.8. When locating the top trim make sure the sides sit flush with the outer edge.
The trim installation is now complete.
Figure 8
Figure 7
Figure 6

200673_7 Page 5
Thermostat
This model is fitted with a thermostat that is mounted on the left-hand side of the heater box control panel (see Fig.9).
It can be used to control the heat output to maintain a constant room temperature to suit user requirements. This will ensure that excessive heat is not
produced unnecessarily.
To set the temperature
The dial is marked with numbers to indicate the maximum and minimum temperature positions. Start with setting 9 and when the room has reached a
desired level turn the dial slowly to the left until the thermostat ‘clicks’ off. The thermostat will then maintain the room temperature at the selected level.
To increase the temperature, turn dial back to the right to a higher setting.
Note: - It is possible that if the room temperature is higher than the thermostat setting it will not come into operation and the heater will remain
off until the temperature of the room cools.
Manual 3 Switch Operation:
The Flame effect and heat controls are located under the top shelf of the fire surround on the right-hand side of the heater box as shown in Fig.9.
The first switch marked with a light bulb controls the lamp and flame effect as shown in Fig.10.
The next two switches operate the fan convector heater. To use the heater the middle of the three switches marked O/I (O is off, I is on) should
be operated first for 1 kW of heat. The right hand switch also marked O/I should be used together with the middle switch to give 2kW of heat.
Note’ lamp’ switch must be in the ‘on’ position for heater to function.
Safety Thermal Cut-out and Thermal Link:
This appliance is fitted with an Electric Safety Control (E.S.). This is a safety device, which switches off the fire if, for any reasons, the appliance
overheats. The E.S. Control can only be re-set after the appliance has cooled down.
In Order to re-set the E.S. Control, proceed as follows:
Switch off the appliance. Unplug at wall socket and leave for approximately 5-10 minutes.
Plug in switch on appliance and the E.S. Control will re-set.
Ensure that the appliance is functioning correctly. If the E.S. Control switches off again it is advisable to have the appliance checked by a competent
electrician.
Note: -This appliance also has a secondary thermal fuse link incorporated into the heating element that will break the electrical circuit in the event that the
heater fan fails to operate. Unlike the E.S. if this link breaks the fire will not be allowed to re set and the appliance should be checked by a competent
electrician and the fan / element replaced.
CAUTION: In order to avoid a hazard due to inadvertent resetting of the thermal cut out, this appliance must not be supplied through an external
switching device, such as a timer, or connected to a circuit that is regularly switched on and off by the utility.
Figure 9 Figure 10
Table of contents
Other bemodern Electric Heater manuals
bemodern
bemodern 1640 User manual
bemodern
bemodern 1434 User manual
bemodern
bemodern Elec BM06 Operating instructions
bemodern
bemodern BM06 Operating instructions
bemodern
bemodern 1471 User manual
bemodern
bemodern 1174 Installation instructions
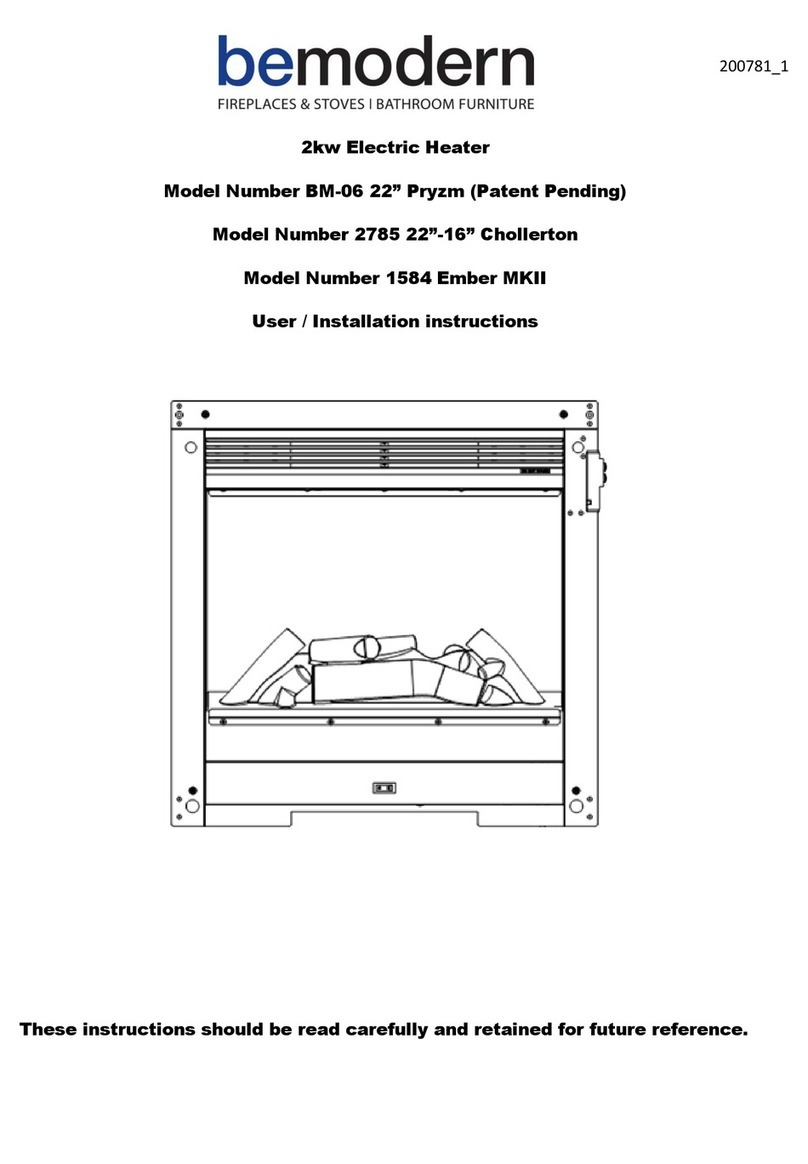
bemodern
bemodern BM06 Operating instructions
bemodern
bemodern 1122 User manual

bemodern
bemodern 1434 User manual
