BGS technic KG
Bandwirkerstr. 3
D-42929 Wermelskirchen
Tel.: 02196 720480
Fax.: 02196 7204820
mail@bgs-technic.de
www.bgstechnic.com
© BGS technic KG, Copying and further use not allowed
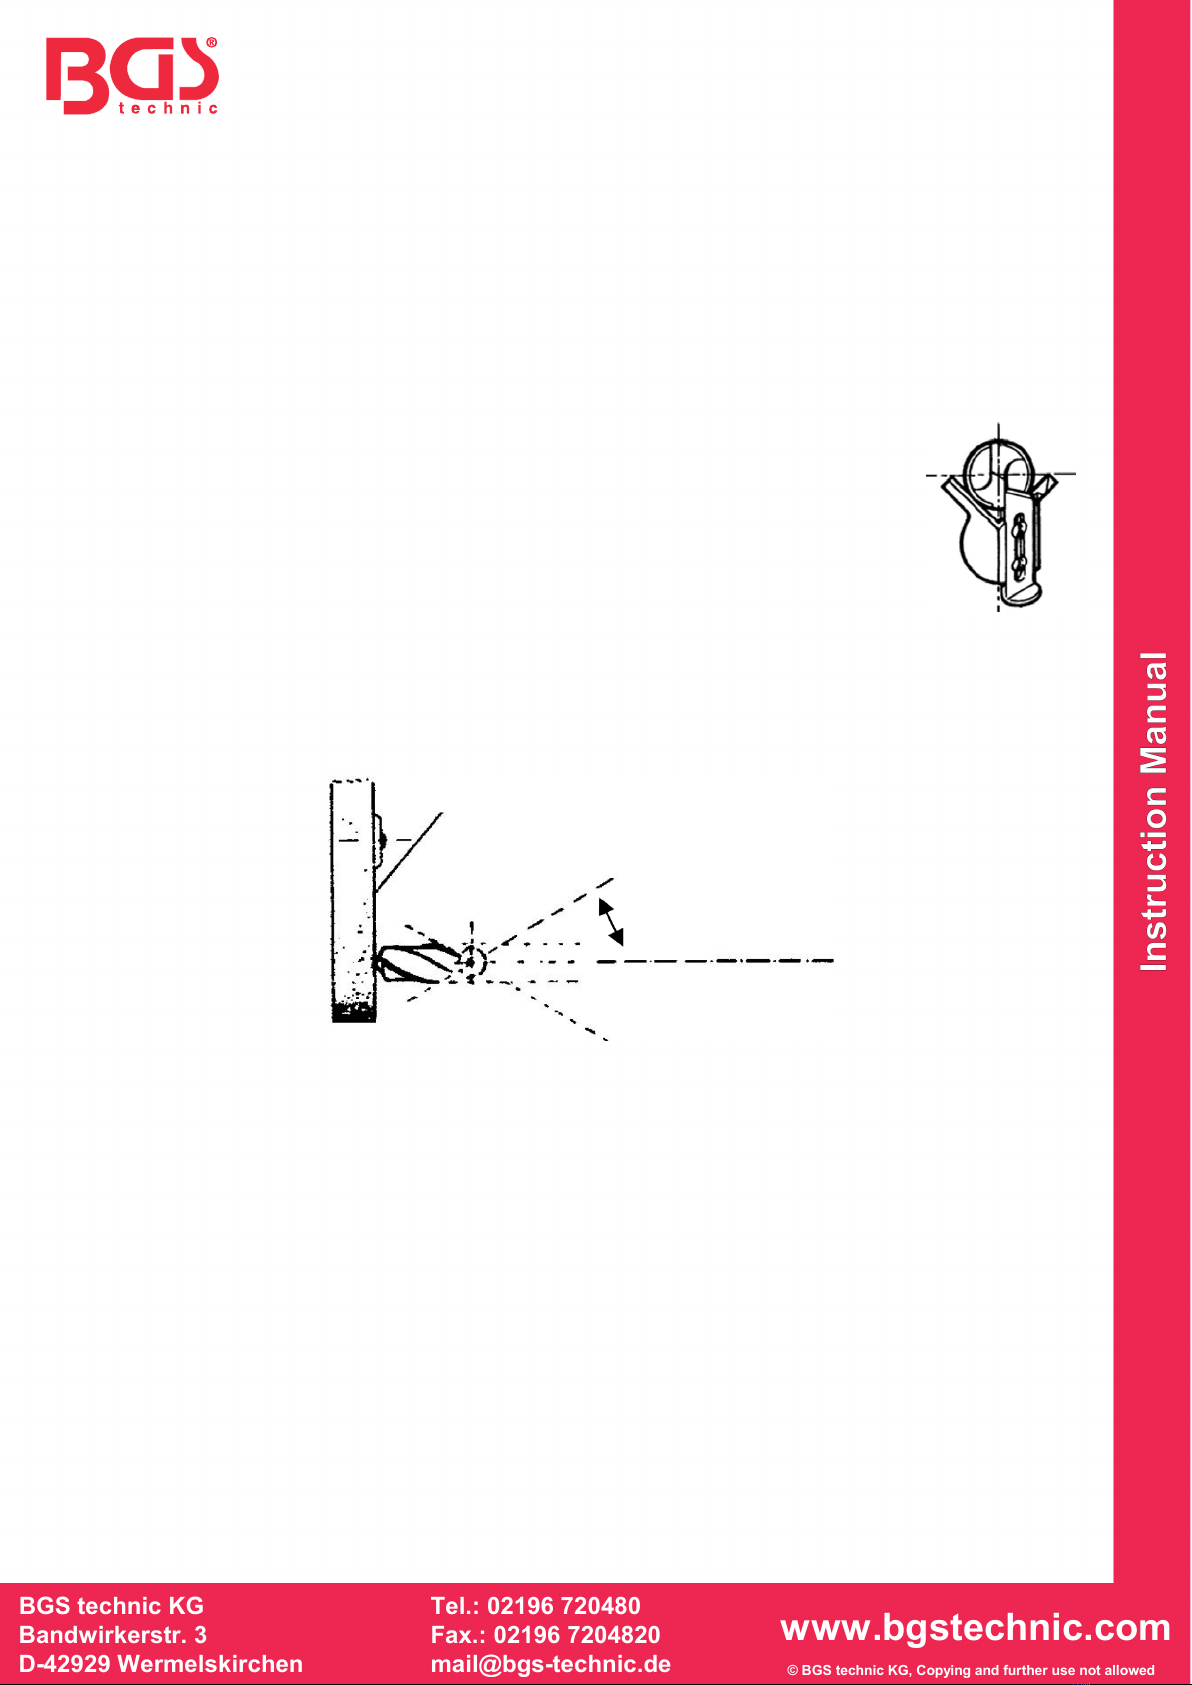
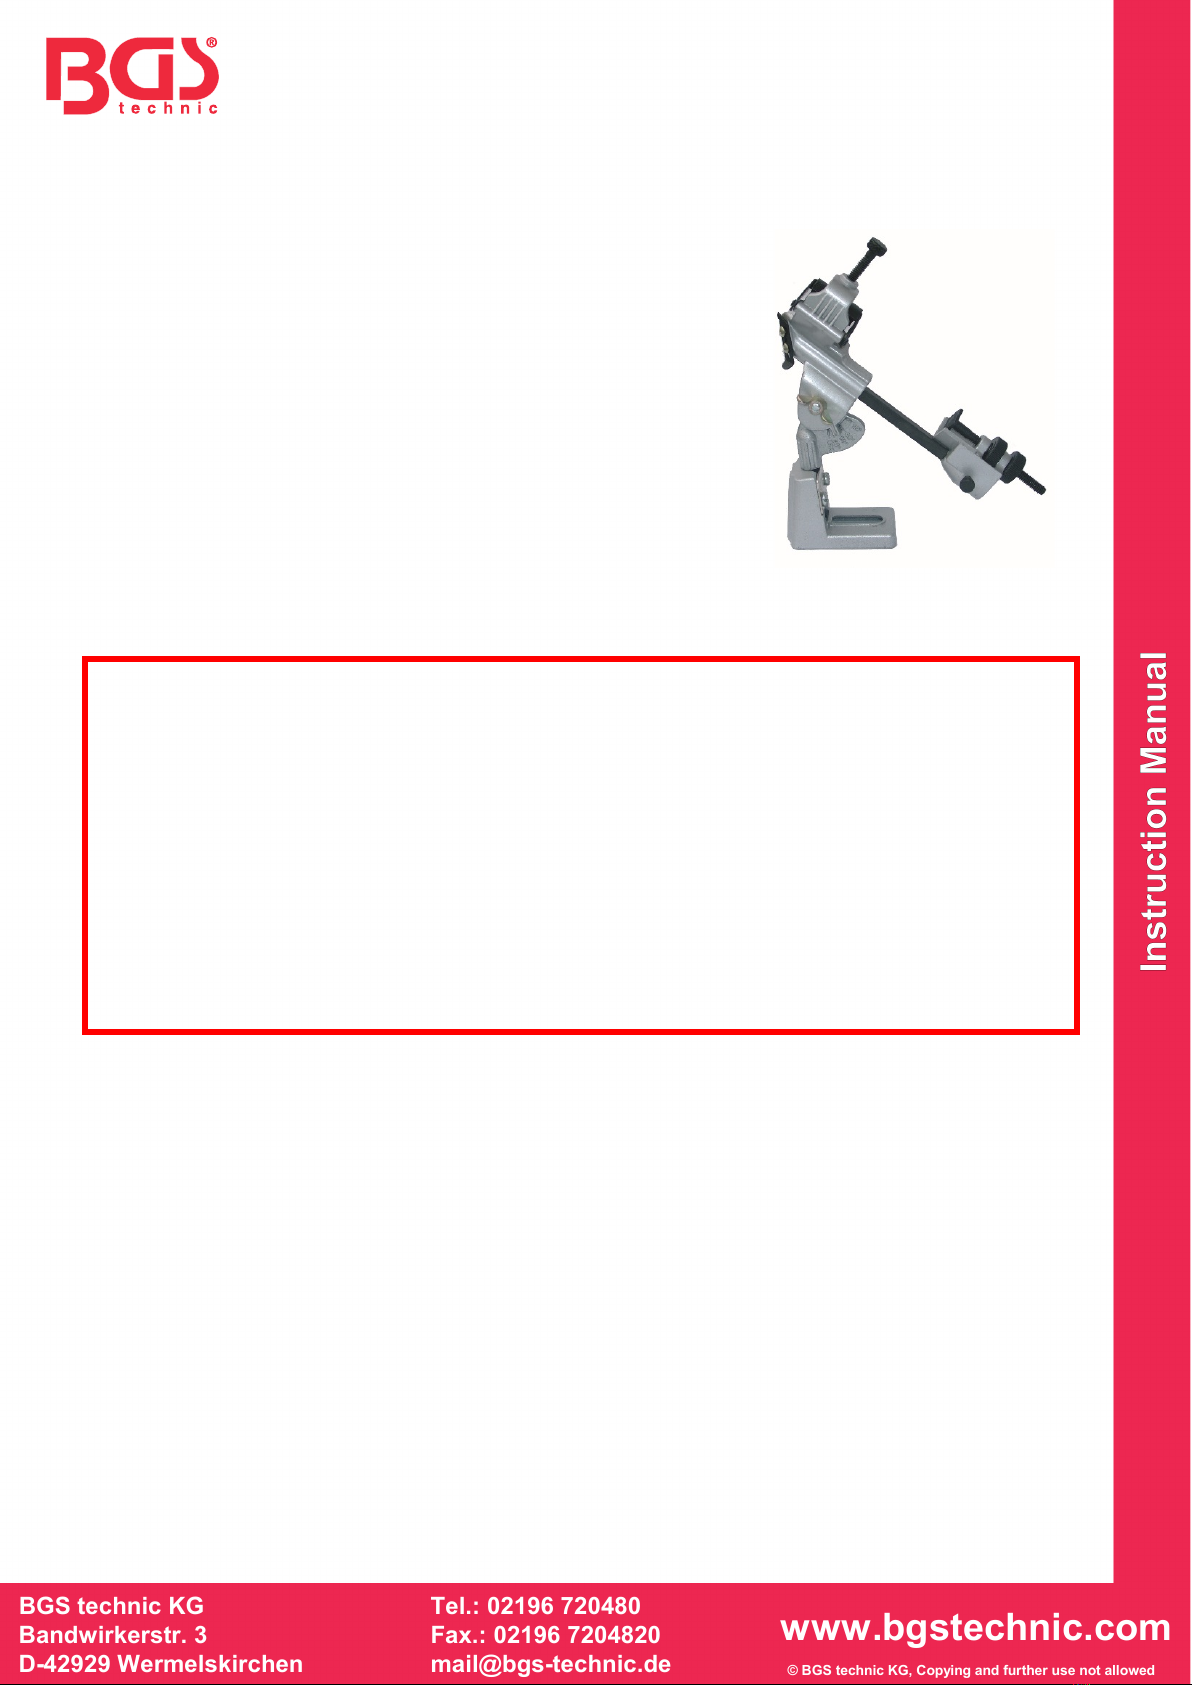
BGS 3200
Drill Grinding Attachment for Twist Drills
Dear customer,
Please familiarize yourself with the proper usage of the device by
reading and following each chapter of this manual, in the order
presented. Keep these operating instructions in a safe place for
future reference. The operating instructions contain important
information on commissioning and handling. Enclose the
instructions with the product when handing over to third-parties!
Please also read all safety instructions! These should make the
correct use easier and help you to prevent misunderstandings and
damage.
SAFETY NOTES
To avoid malfunctions, damage and health impairments, please observe the following notes:
•Persons with restricted physical, sensory, or mental capabilities may not use the device unless
they are supervised by a person who is responsible for their safety or have received instructions
from the responsible person in how the device should be used.
•Wear suitable work clothes, tie long hair together and do not wear any jewellery in order to
prevent them from getting caught by moving parts.
•Always wear safety glasses when grinding.
•Always hold the drill bit tight and wear work gloves to protect against injury.
•Check the state and fixing of the protective equipment and never remove any mechanical or
electrical protective equipment.
•Do not work with a damaged grinding stone. There is a risk of injury. Replace a damaged
grinding stone immediately.
•Also observe these safety instructions when using the grinding machine.
•Do not grind damaged or broken drill bits.
•Do not use the drill grinding attachment if it is damaged.
PREPARATION
Unpack the twist drill grinding attachment and check the parts for potential transport damage.
For the grinding itself, you need a normal firmly mounted grinding machine (e.g. double grinder). Use
a fine grinding disc or a grinding disc for carbide. Mount the drill grinding attachment in front of the
grinding stone such that the drill bit can be conveniently guided to the grinding disc.
MAINTENANCE, CLEANING AND STORAGE
Thoroughly clean the drill grinding attachment after each use, and remove the grinding dust.
For cleaning, use only a dry cloth. Do not use any cleaning agent containing solvents, industrial
alcohol or alcohol.
Do not immerse the attachment in water and never expose it to any moisture!
Keep the attachment and, in particular the adjustment screw free from oil and grease.
Change a damaged grinding stone immediately otherwise there is a high risk of injury.