BIGHORN J-626 User manual

Tabletop Gas Pizza Oven
,WHP# 65**
Model# J-626
Keep this manual for future reference
READ INSTRUCTION MANUAL BEFORE ATTEMPTING TO ASSEMBLE OR
OPERATE THIS PRODUCT.
Adult assembly required.
Keep screws and parts out of reach of children.
Warning:
R
5
Questions, problems, missing parts?
Please call our customer
service
department at 1-888-909-3888, 7:30AM - 4:30PM PST, Mon. - Fri.
ore-mail to FXVWRPHUVHUYLFH@shinerichXV

FOR YOUR SAFETY
FOR OUTDOOR USE ONLY!
Never use this appliance in a building, garage or any other enclosed area.
This appliance is not intended to be installed in or on a boat or recreational vehicle.
The appliance is not intended for commercial use.
This appliance is for use with liquid propane (LP) gas only. The conversion to or attempted
use of natural
gas in this appliance is dangerous and will void your warranty.
Clean and inspect the hose before each use of the appliance. If there is evidence of
wear, cuts, or leaks, the hose must be replaced prior to the appliance being put
assembly shall be that specified by the manufacturer.
Minimum clearance from sides and back of unit
24 inches from back.
Do not use this appliance under overhead combustible
surfaces.
Place and use the appliance at a tabletop with a
height: Min. 23.6 in (600 mm), Max
.39.3 in (1,000
mm).
Place and use max. 20 lb LP gas supply cylinder at the
side of the appliance, which neither cause high tension
to the hose, nor possible cause tripping hazard.
Caution: Keep the fuel supply hose away from any
heated surface(s).
CAUTION: The gas pressure regulator provided with this appliance must be used.
Replace only with gas pressure regulator that specified by the manufacturer.
The LP gas supply cylinder to be used must be constructed and marked in accordance with the
specifications for LP gas cylinders, U.S. Department of Transportation (DOT) or the Standard for
Cylinders, Spheres and Tubes for the Transportation of Dangerous Goods, CAN/CSA-B339.
WARNINGS
The replacement hose
2
abrasion
into operation.
and
to combustible construction, 24 inches from sides

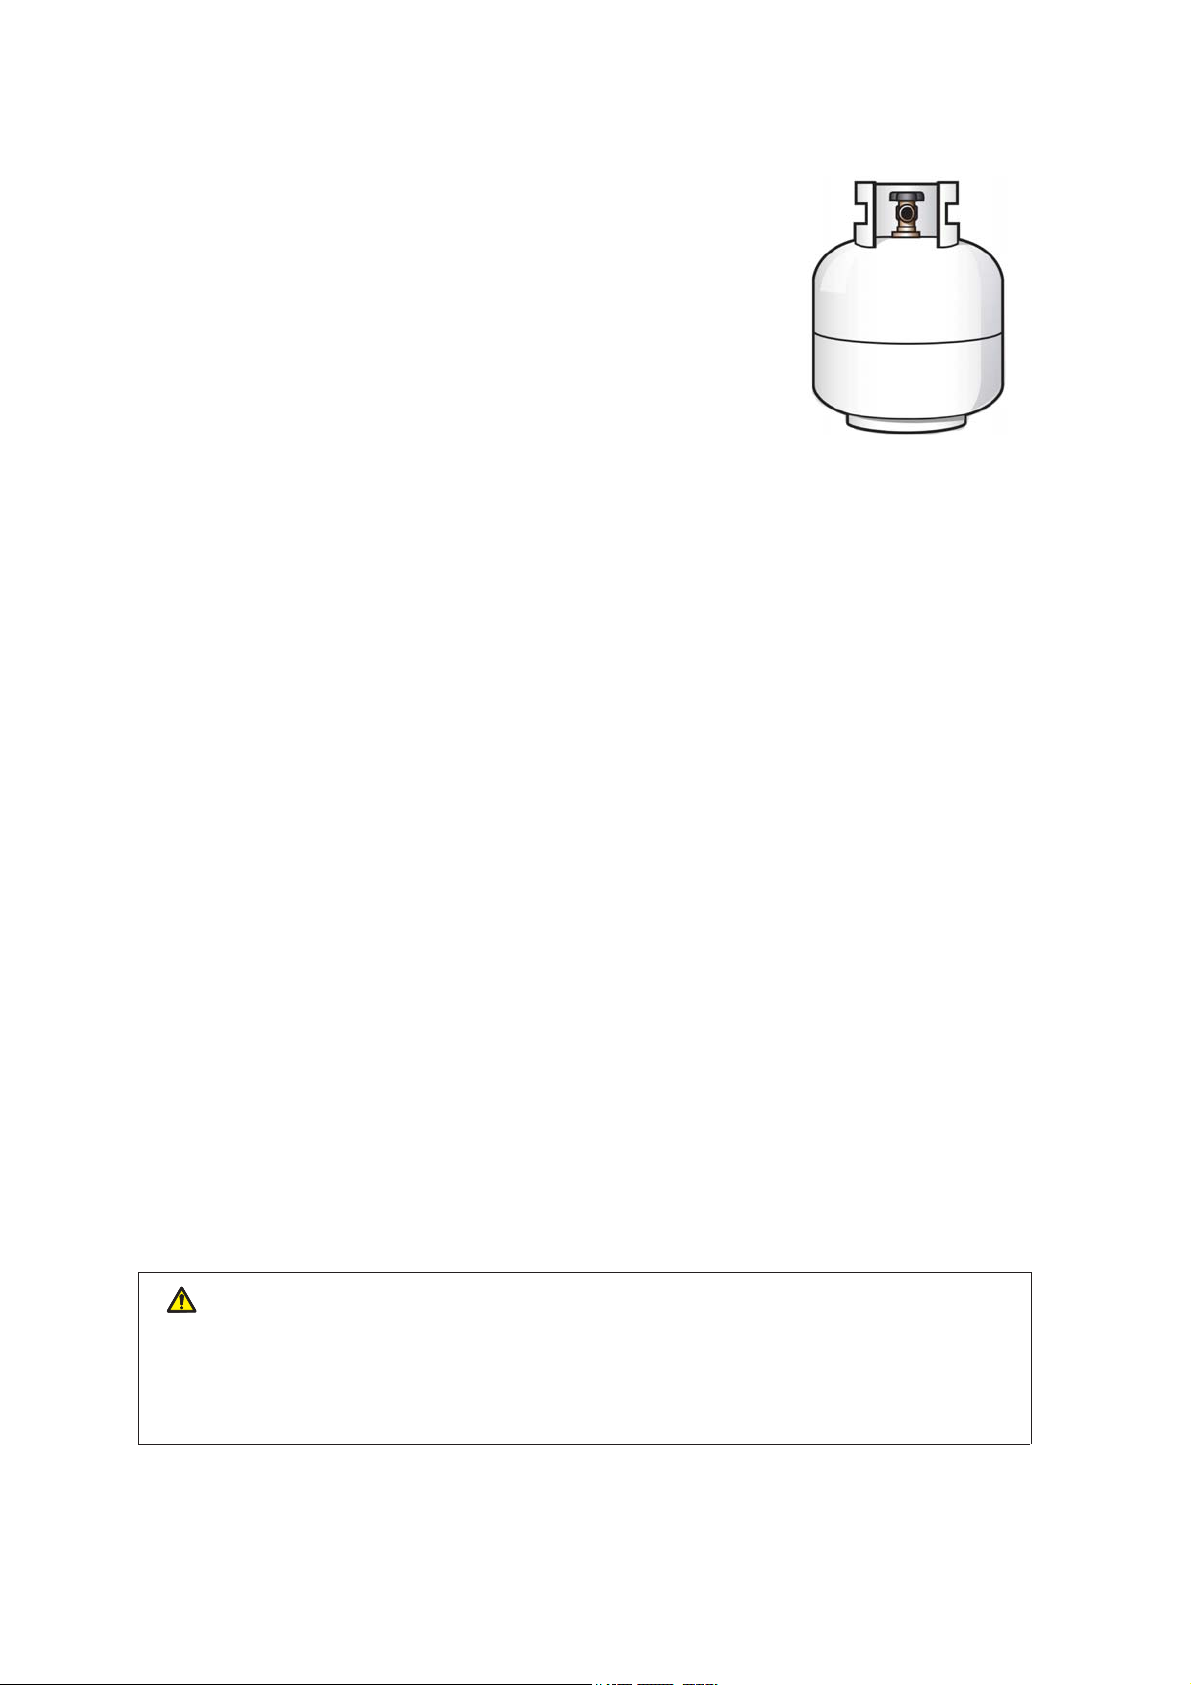
Use only max 20 lb LP gas supply cylinder.
20 lb LP gas supply cylinder:
18-1/4” (45.6 cm ) high,
LP gas supply cylinder must be placed in upright position for
vapor
A) not store a spare LP gas cylinder under or near this
B) Never fill the cylinder beyond 80 percent full.
C) If the instructions in (a) and (b) above are not followed
exactly, a fire causing death or serious injury may occur.
If the appliance is not in use, the gas must be turned off at the supply cylinder.
Storage of an appliance indoors is permissible only if the cylinder is disconnected and removed
from the appliance.
Cylinders must be stored outdoors out of the reach of children and shall not be stored in a building,
garage or any other enclosed area.
Place dust cap on cylinder valve outlet whenever the cylinder is not in use. Only install the type
of dust cap on the cylinder valve outlet that is provided with the cylinder valve. Other types of caps
or plugs may result in leakage of propane.
WARNING:
1.The use of alcohol, prescription or non-prescription drugs may impair the consumer's ability to
properly assemble or safely operate the appliance.
2.Do not leave the appliance unattended. Keep children and pets away from the appliance at all
times.
3.Do not move the appliance when in use.
4.This appliance is not intended for and should never be used as a heater.
5.This appliance will be hot during and after use. Use insulated oven mitts or gloves for
from hot surfaces or splatter from cooking liquids.
appliance.
:$51,1*
7KLVSURGXFWFDQH[SRVH\RXWRFKHPLFDOVLQFOXGLQJOHDGZKLFKLVNQRZQWRWKH
6WDWHRI&DOLIRUQLDWRFDXVHFDQFHUDQGFDUERQPRQR[LGHZKLFKLVNQRZQWRWKH
6WDWHRI&DOLIRUQLDWRFDXVHELUWKGHIHFWVRURWKHUUHSURGXFWLYHKDUP
)RUPRUHLQIRUPDWLRQJRWRZZZ3:DUQLQJVFDJRY
3
Do
12-1/4” ( 32 cm ) diameter.
withdrawal.
protection

4
TABLE OF CONTENTS
Warnings .........................................................................................2-3
Table of Contents..............................................................................4
Exploded View...................................................................................5
Parts List & Hardware........................................................................6
Assembly Instructions ........................................................................7-9
Installation Instructions.......................................................................10
Lighting Instructions............................................................................11
Maintenance Instructions....................................................................12
Trouble Shooting.................................................................................12
2QH\HDUOLPLWHG:DUUDQW\....................................................1

5
EXPLODED VIEW
AA
BB
R

6
PARTS LIST
Chimney Lid
1
2
3
4
Pizza Stone
5
6
7
8
9
10
Foot Pad
Regulator & Hose Assembly
AA M5 x 12 Bolt
BB
2
4
M4 x 25 Bolt
Parts Description Quantity Picture
Please check the contents of the packaging to ensure all parts are included.
HARDWARE
TOOLS NEEDED: (NOT INCLUDED)
Philips screwdriver
Estimated time for assembly: 10 minutes.
Pizza Peel
No. Description Quantity
1
Chimney 1
Oven Body Assembly 1
Door
Door Handle
Control Knob
1
4
1
1
1
1
2
Picture
R

The installation must conform with local codes or, in the absence of local codes, with the
National Fuel Gas Code, ANSI Z223.1/NFPA 54. Storage and Handling of Liquefied Petroleum
Gas and Propane Installation Code, CSA B149.1; Propane
Storage and Handling, CSA B149.2.
Gases, ANSI/NFPA 58; or Natural
7
ASSEMBLY INSTRUCTIONS
Step 1
Tips: About instructions, most of the parts have been pre-installed before packing.
4
BB
Install (4) foot pads (4) to the main body assembly with (4) M4 x 25 bolts (BB) as illustrated.
Hardware Used
M4 x 25 bolt 4 pcsBB

Install flue gas vent assembly (2)
to the
Remove the igniter cap by turning it counter-clockwise.
Insert one AA battery (not included) into the body with Positive (+) end facing out.
igniter cap as illustrated.
Step 2
Step 3
igniter
Then replace the
8
as illustrated.
firebox – outside shell (3) with
(2) M5 x 12 bolts (AA) AA
2
3
Hardware Used
AA M5 x 12 bolt 2 pcs
( AA battery is not included )

Place the appliance at a
Min. 23.6 in (600 mm),
Step 6
Max. 39.3 in (1,000 mm)
as illustrated.
9
Step 4
Place the pizza (6) to oven cavity
as illustrated.
Step 5
6
Tighten regulator & hose assembly (29) to main
body assembly with two wrenches (not included)
as illustrated.
29
(two wreches are not included)
tabletop with a height:
(the cylinder is not included)
stone

CONNECTING LP GAS CYLINDER
DISCONNECTING LP GAS CYLINDER
10
INSTALLATION INSTRUCTIONS
1. Turn the burner control knob to “OFF” position.
2. Remove the protective cap from LP gas cylinder valve.
3. Make sure the cylinder valve will properly and safely mate with the
pressure regulator.
4. Hold regulator and insert nipple into LP gas cylinder valve.
Be sure the nipple is centered in the valve outlet.
5. Hand-tighten the coupling nut clockwise until it comes to a full
stop. Firmly tighten by hand only. Do not use tools.
6. Place LP gas cylinder at the side of the appliance which neither
cause high tension to the hose, nor possible cause tripping
hazard. Keep the hose away from any heated surface(s).
1. Turn the burner control knob to “OFF” position.
2. Fully close the LP gas cylinder valve by turning clockwise.
3. Turning the coupling nut counterclockwise until the regulator
assembly detaches.
After completed of installation, leakage test shall be conducted before used.
CHECK FOR LEAKS
Do not smoke during leak test.
Do not use an open flame to check for gas leaks.
The appliance must be leak tested outdoors in a well-ventilated area, away from ignition
sources such as gas fired or electrical appliances. During leak test, keep the appliance away
from open flames or sparks.
TEST PROCEDURE
1. Prepare a clean paintbrush and a 50/50 mild soap and water solution.
2. Turn the burner control knobs to “OFF”.
3. Be sure the appliance regulator is connected to the LP gas cylinder tightly.
4. Open LP gas cylinder valve by turning counterclockwise.
5. Brush soapy solution onto all gas carrying connections and fittings, if there’s bubbles “growing”
or you smell or hear gas, fully close the LP gas cylinder valve by turning clockwise immediately,
retighten connections and repeat the LEAK TEST.
6. If there’s still leaks,
stop use and call for seller.

1. Read Instruction before lighting.
2. Make sure control knob is in OFF position.
3. Open the door (6) during lighting.
4. Open LP gas cylinder valve by turning counterclockwise.
5. Push and turn on control knob counterclockwise to LITE position.
6. If ignition does not occur in 5 seconds, turn the burner control(s) off, wait 5 minutes, and repeat
the lighting procedure.
7. After burner was lit, continue to push the control knob for 10~20 seconds.
8. Adjust burners to desired cooking settings via turning control knob from High to Low position.
OFF position LITE/High position Low position
1. Read instruction before lighting.
2. Make sure control knob is in “ OFF ” position.
3. Open
4. Open LP gas cylinder valve by turning counterclockwise.
5. Place a long lit grill lighter or match at least 3 inches long near burner ports through gas of
6. Push and turn on control knob counterclockwise to “ LITE ” position.
LIGHTING INSTRUCTION
7. If ignition does not occur in 5 seconds, turn the burner control(s) off, wait 5 minutes, and repeat
the lighting procedure.
8. After burner was lit, continue to push the control knob for 10~20 seconds.
9. Adjust burners to desired cooking settings via turning control knob from “ High “ to ” Low “ position.
cooking grate.
11
1. Turn control knob clockwise to “OFF” position
2. Fully turn off LP gas cylinder valve by turning cylinder counterclockwise by hand, when appliance
is not in use.
MATCH LIGHTING INSTRUCTION
SHUTDOWN INSTRUCTION
the door (6) during lighting.

Keep appliance area clear and free of any combustible materials, gasoline and other
flammable vapors and liquids.
Not obstructing the flow of combustion and ventilation air.
Checking and cleaning burner/venturi tubes for insects and insect nests. A clogged tube
can lead to a fire beneath the appliance.
To reduce the risk of grease fire, always clean the drip tray and remove any grease from
the inside of the appliance using warm soapy water. The outside of the appliances can also
be wiped down with warm soapy water.
Use a brass bristled barbecue brush to scrub the stainless steel cooking grates, not a steel
Visually checking burner flames, flame should be a blue with yellow tipping.
Have the regulator checked or
replaced
Clean burner
Clean orifice
Change electrode and wire
Change battery or igniter
Use a new LP gas cylinder
Low flame Obstructions in the burner Clean burner
Obstructions in gas orifice Clean orifice
12
bristled wire brush.
MAINTENANCE INSTRUCTION
TROUBLE SHOOTING
PROBLEM
OBSERVED POSSIBLE CAUSE CORRECTIVE MEASURES
Burner could
not light
Faulty regulator
Obstructions in the burner
Obstructions in gas orifice
Electrode is damaged/faulty
Faulty igniter
Empty LP gas cylinder
igniter

Need help?
call our toll free number at:
1-8 -or
21(<($5/,0,7(':$55$17<
1
This manual suits for next models
1
Table of contents
Other BIGHORN Kitchen Appliance manuals
Popular Kitchen Appliance manuals by other brands

Electro Depot
Electro Depot CosyLife CL-SM200XL Instructions for use

Roadstar
Roadstar ST-502 instruction manual

Excalibur
Excalibur EzDry EPD60W instruction manual

Parkinson Cowan
Parkinson Cowan R G 5 0 M Operating and installation instructions

Vitrifrigo
Vitrifrigo D20A instruction manual

Scarlett
Scarlett SC-JE50S08 instruction manual