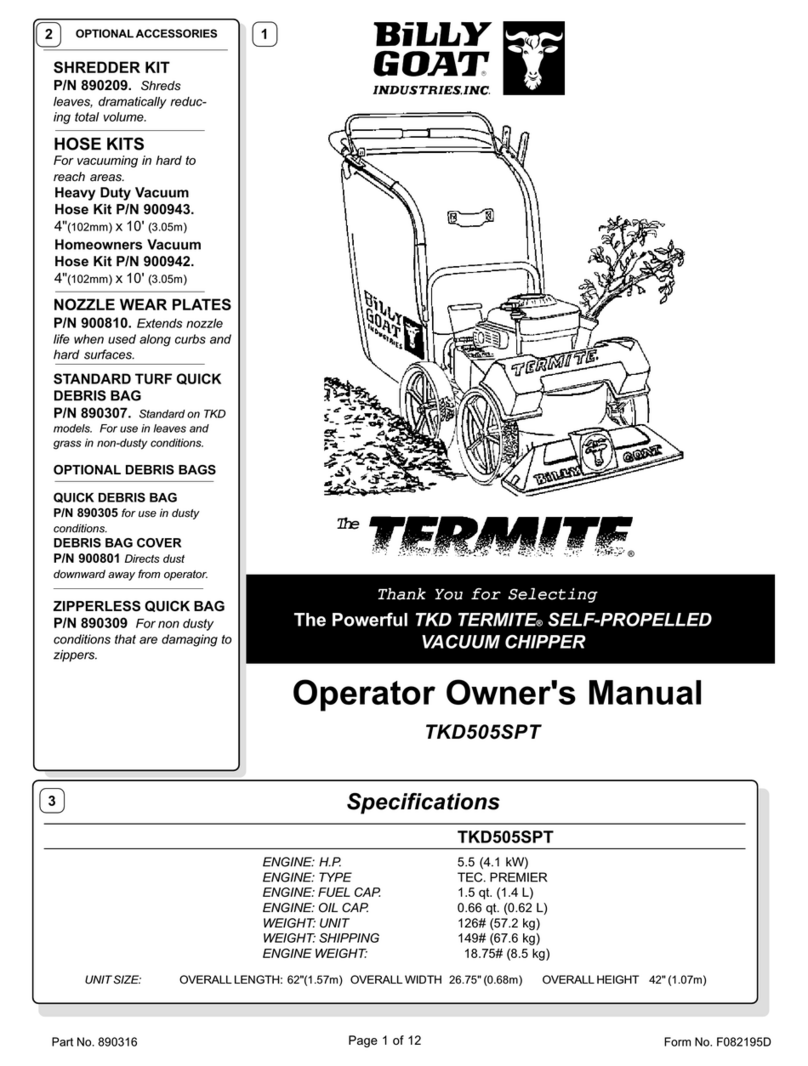
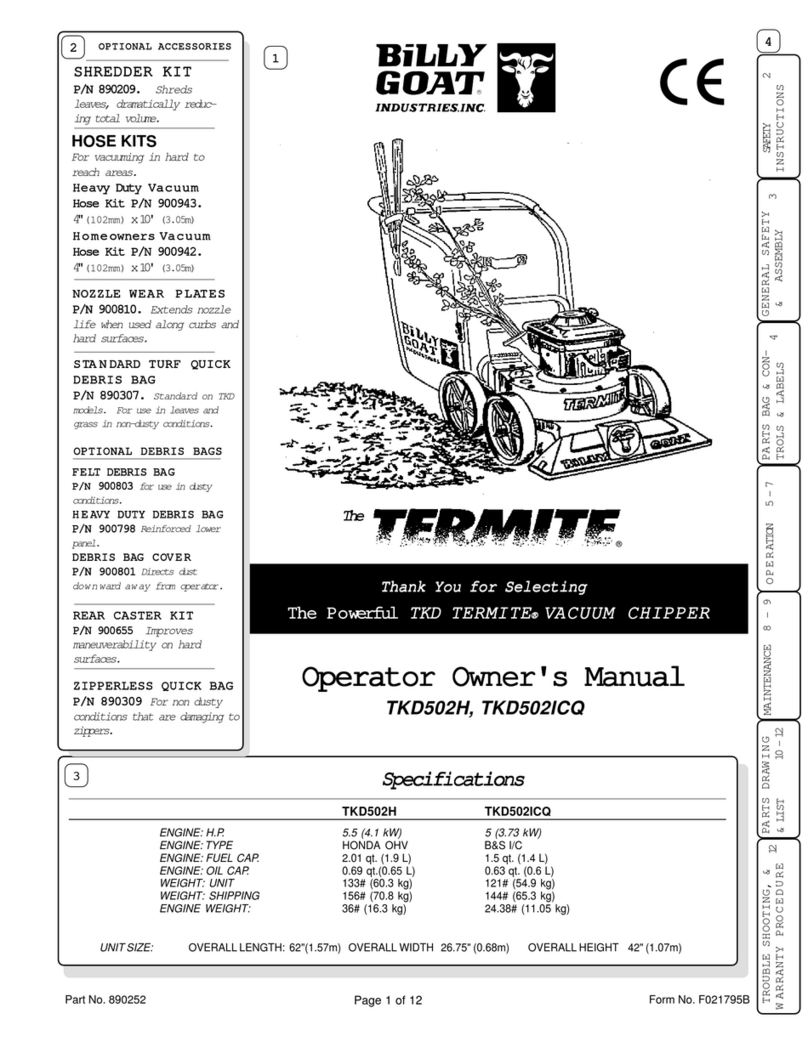
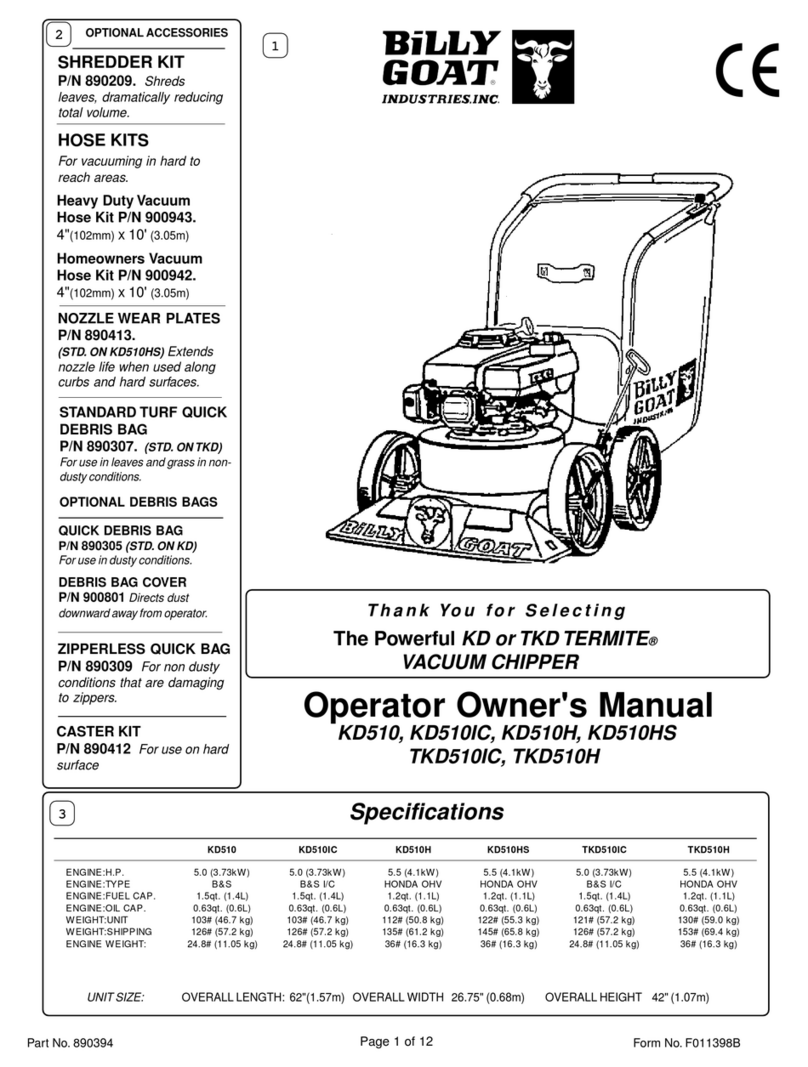
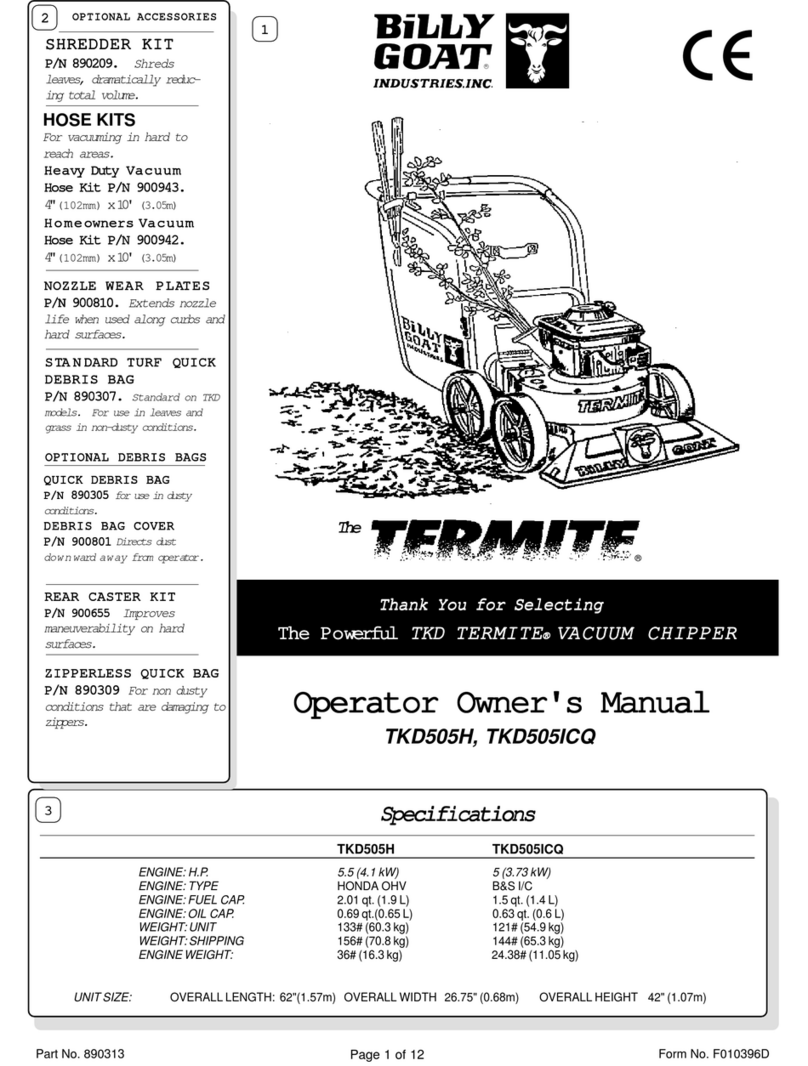
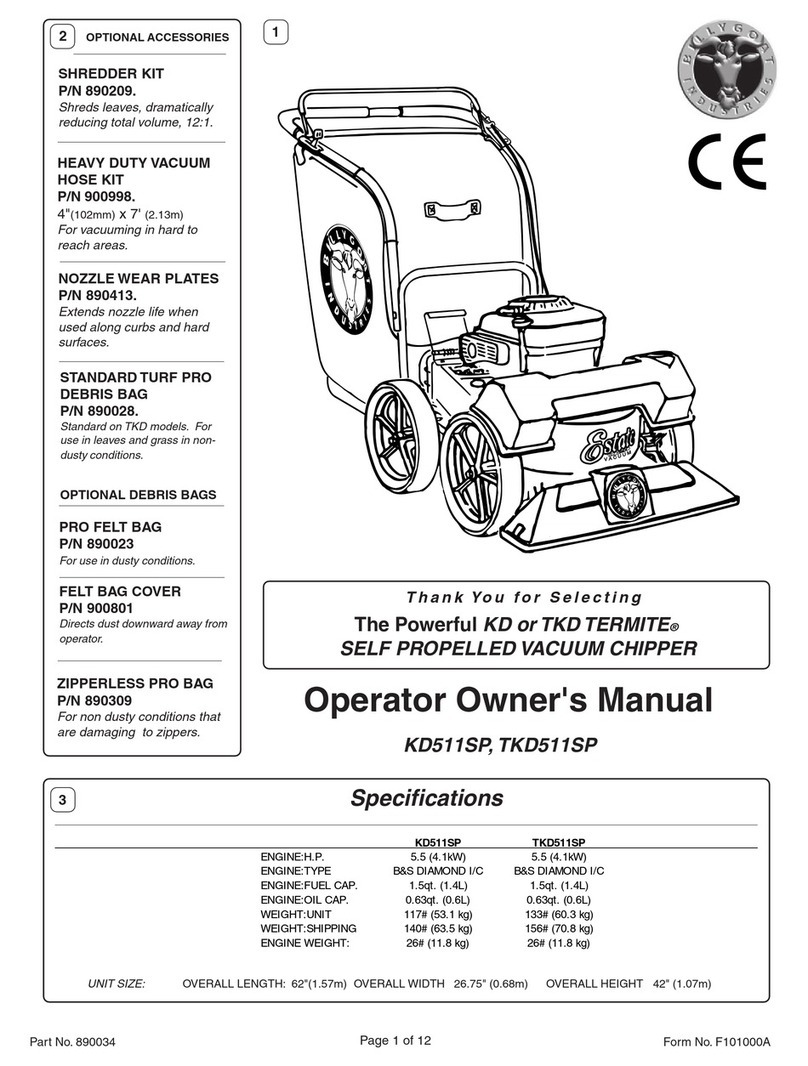
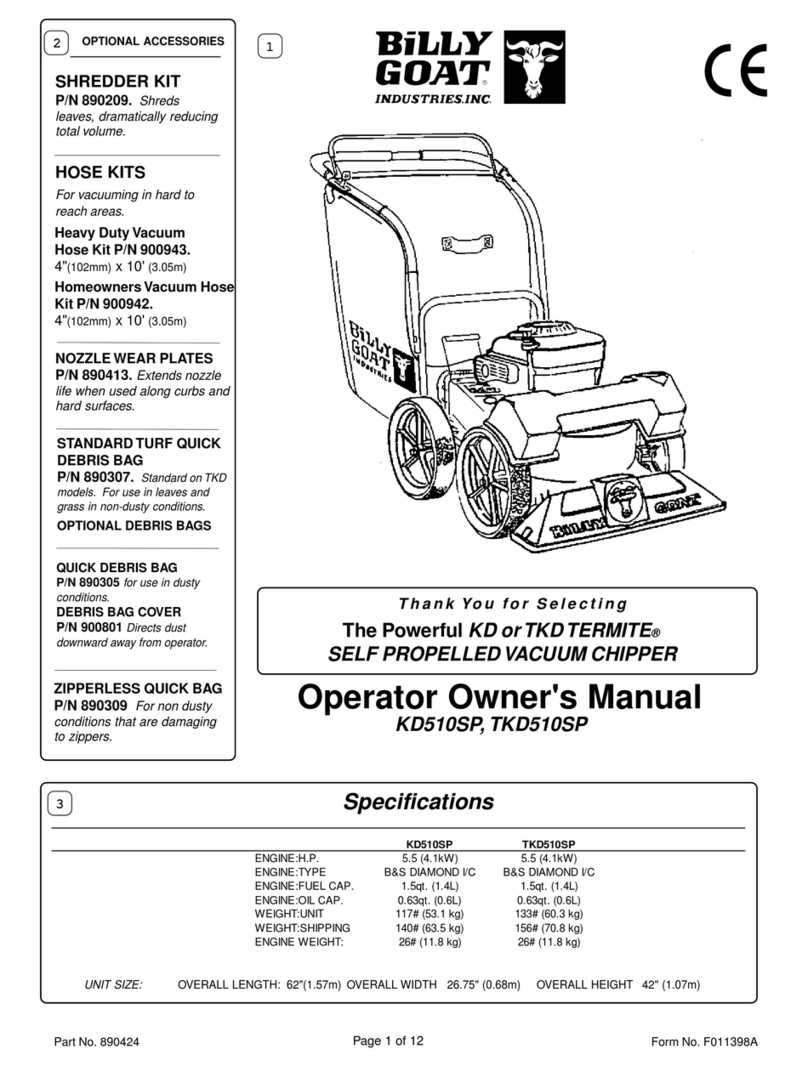
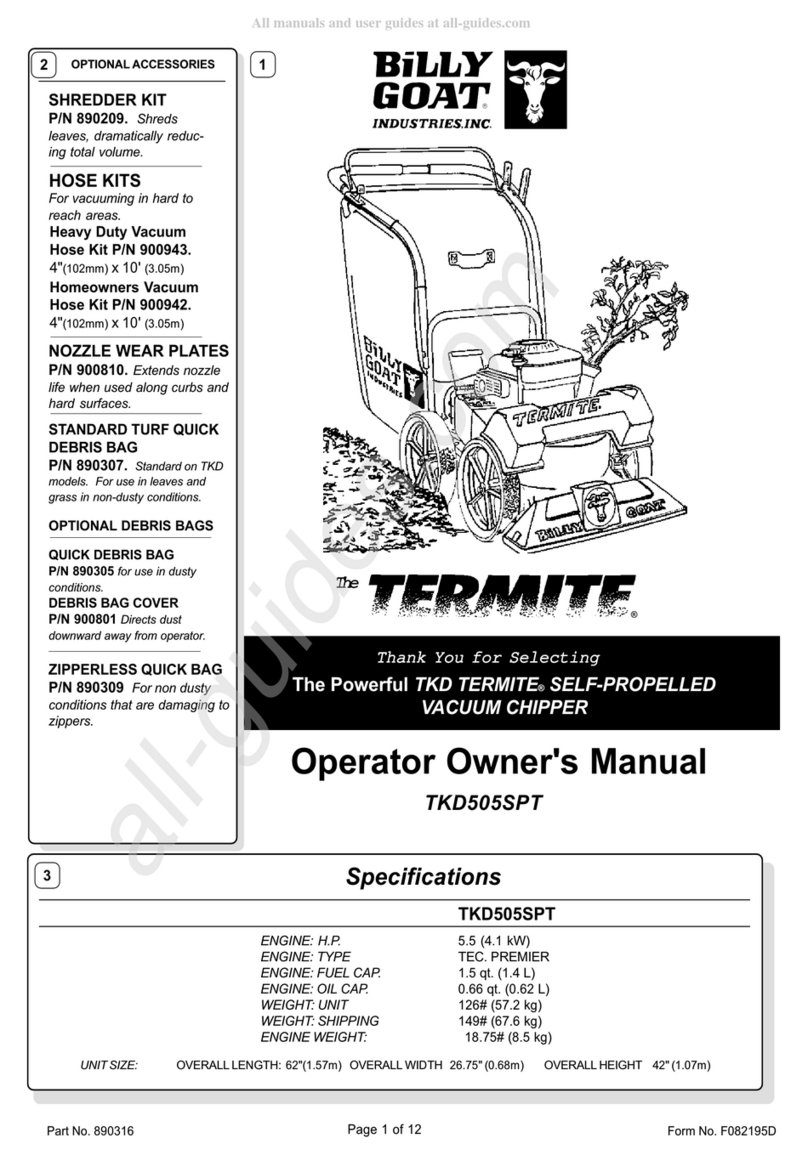
Billy Goat Termite KD512SP Installation instructions

Part No. 890604 Form No. F021602C
Page 1 of 12
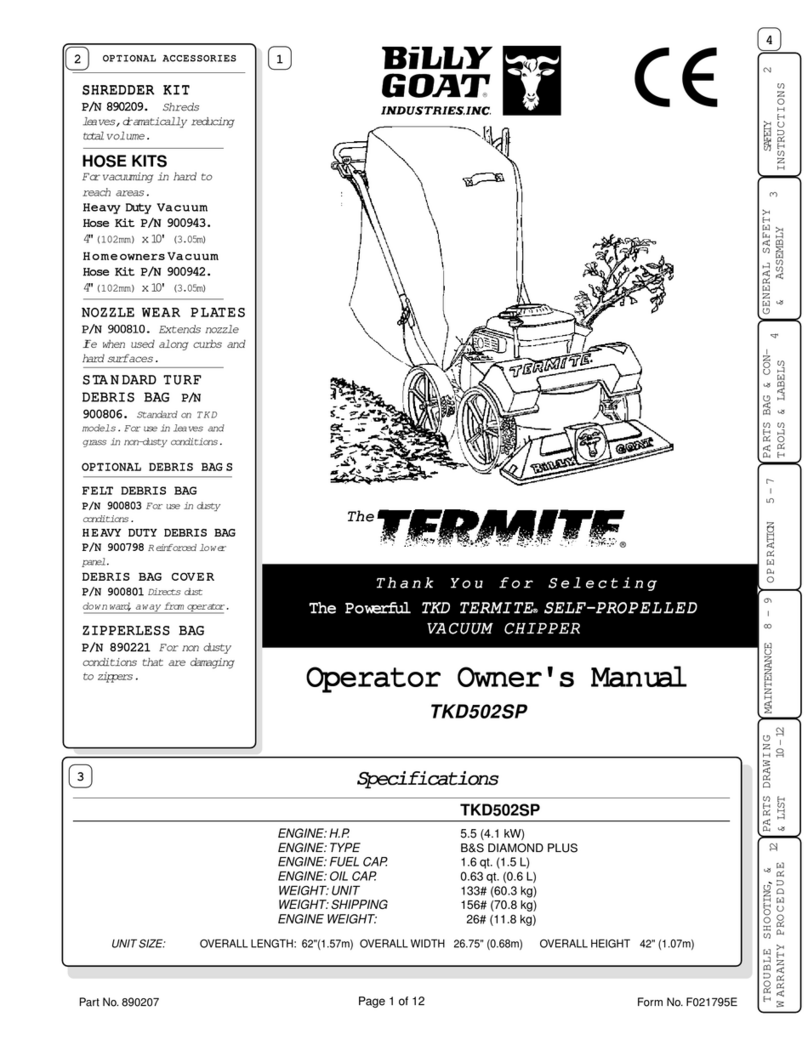
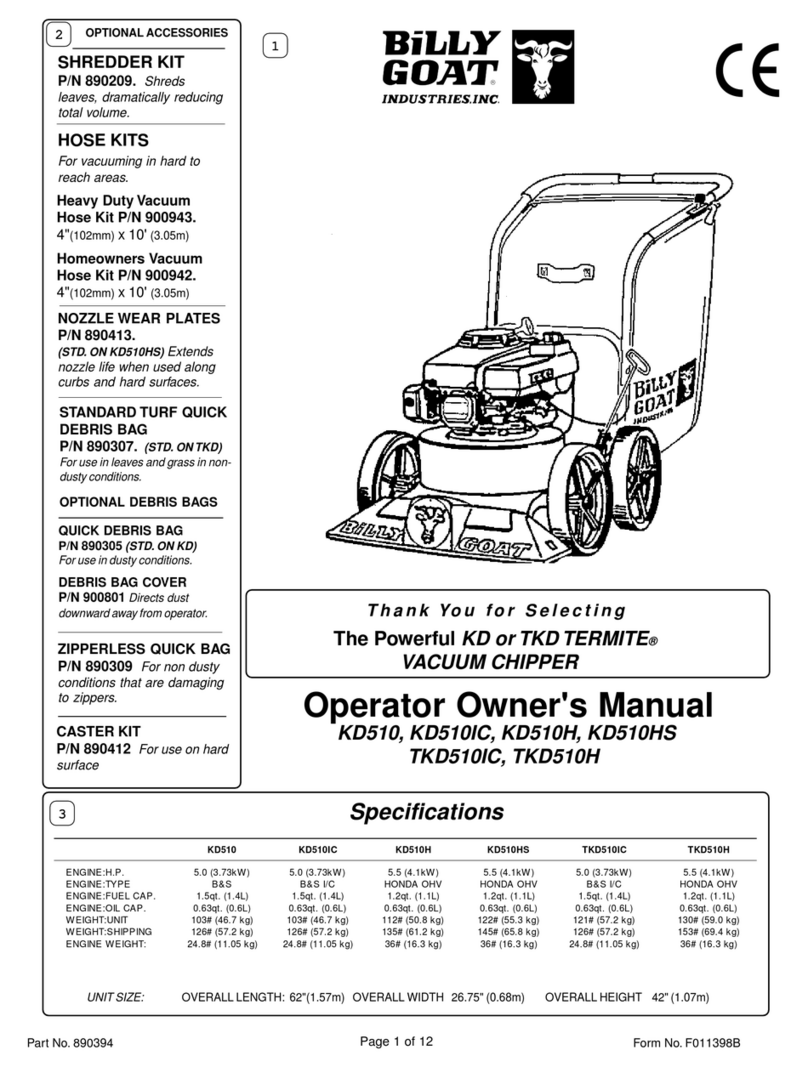
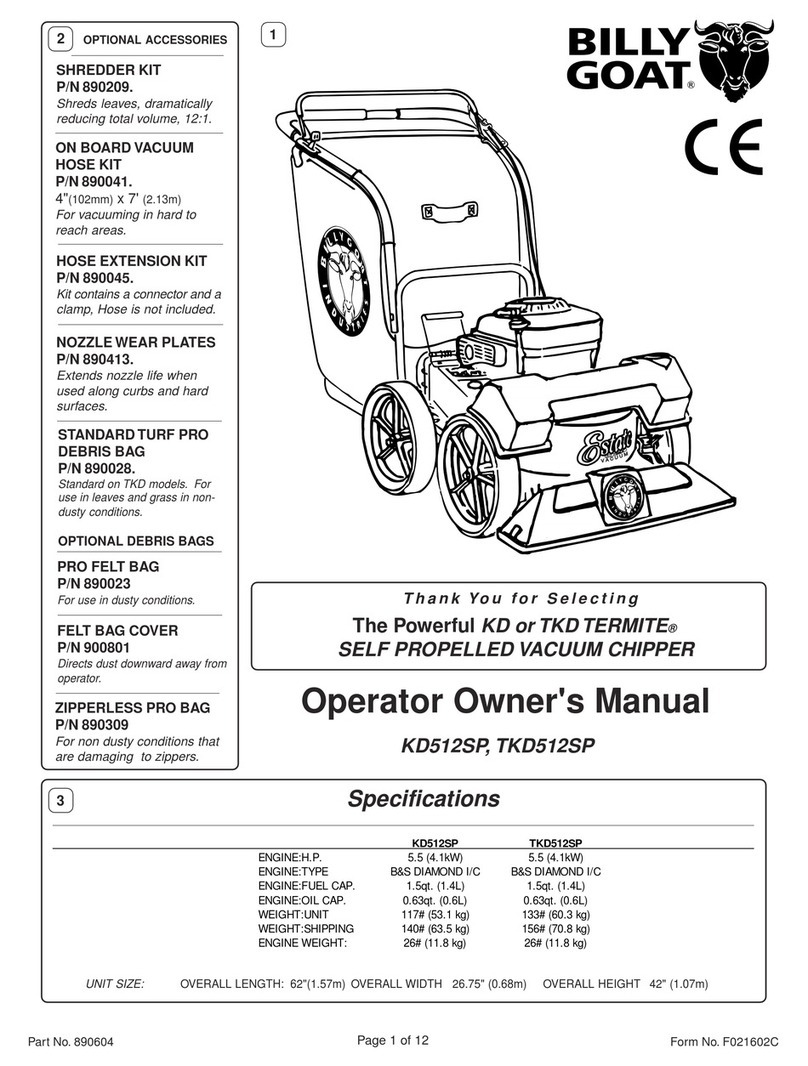
Thank You for Selecting
Operator Owner's Manual
The Powerful
KD orTKDTERMITE
®
SELF PROPELLED VACUUM CHIPPER
UNIT SIZE:
OVERALL LENGTH: 62"(1.57m) OVERALL WIDTH 26.75" (0.68m) OVERALL HEIGHT 42" (1.07m)
1
3
OPTIONAL ACCESSORIES
2
Specifications
PRO FELT BAG
P/N 890023
For use in dusty conditions.
FELT BAG COVER
P/N 900801
Directs dust downward away from
operator.
OPTIONAL DEBRIS BAGS
STANDARDTURF PRO
DEBRIS BAG
P/N 890028.
Standard on TKD models. For
use in leaves and grass in non-
dusty conditions.
NOZZLEWEAR PLATES
P/N 890413.
Extends nozzle life when
used along curbs and hard
surfaces.
ON BOARDVACUUM
HOSE KIT
P/N 890041.
4"(102mm) x 7' (2.13m)
For vacuuming in hard to
reach areas.
SHREDDER KIT
P/N 890209.
Shreds leaves, dramatically
reducing total volume, 12:1.
ZIPPERLESS PRO BAG
P/N 890309
For non dusty conditions that
are damaging to zippers.
KD512SP,TKD512SP
KD512SP TKD512SP
ENGINE:H.P. 5.5 (4.1kW) 5.5 (4.1kW)
ENGINE:TYPE B&S DIAMOND I/C B&S DIAMOND I/C
ENGINE:FUEL CAP. 1.5qt. (1.4L) 1.5qt. (1.4L)
ENGINE:OIL CAP. 0.63qt. (0.6L) 0.63qt. (0.6L)
WEIGHT:UNIT 117# (53.1 kg) 133# (60.3 kg)
WEIGHT:SHIPPING 140# (63.5 kg) 156# (70.8 kg)
ENGINE WEIGHT: 26# (11.8 kg) 26# (11.8 kg)
HOSE EXTENSION KIT
P/N 890045.
Kit contains a connector and a
clamp, Hose is not included.

Part No. 890604 Form No. F021602C
Page 10 of 12
18
PARTS DRAWING
KD512SP,TKD512SP

Part No. 890604 Form No. F021602C
Page 11 of 12
19
* Denotes
standard
hardware
item that
may be
purchased
locally.
ITEM
NO. Description KD512SP
Part No. Qty. TKD512SP
Part No. Qty.
1 Debris Bag Turf (service) 890023 1 890028 1
2 Throttle Assembly (INCL. 1 ea. 4,10) 900514-04 1 900514-04 1
3 Tamper - - 890229 1
4 Nut Lock (1/4 - 20) *8160001 10 *8160001 12
5 Screw Cap (1/4 - 20 x 1- 1/2 HEX) *8041008 4 *8041008 4
6 Handle Assy' (incl. items 4(6), 5(4), 11(2), 75(2), 76 & 99) 900057 1 900059 1
7 Axle Rear - Frame W.A. 890389 1 890389 1
8 Screw Handle 5/16 - 18 x 1-3/4 *8041031 2 *8041031 2
9 Clamp Cable Plastic 1" 900813 2 900813 2
10 Screw Cap (1/4 - 20 x 2- 1/4) *8041011 1 *8041011 1
11 Bar Support Bag 900039 2 900039 2
12 Door Exhaust Assy' (incl. item 62) 890148 1 890148 1
13 Bolt - Carriage 1/4 x 3/4 8024021 2 8024021 2
14 Screw Cap #10 - 24 x 5/8 *8059135 4
15 Nut Lock #10 NC *8164005 4
16 Washer 1/4 FC ZP *8171002 12 *8171002 12
17
18 Bracket - Height Adjustment 890021 1 890021 1
19 Plate Upper height Adjustment 890005 1 890005 1
20 Spring 900136 1 900136 1
21 Tire - Only (per assy') Treaded 900659 1 900659 1
22 Pin - Hair Cotter 900471 1 900471 1
23 Cable Height Adjustment 890019 1 890019 1
24 Bolt - Carriage 5/16 - 18 x 4-1/2 *8024054 4 *8024054 4
25 Nut Lock Flange 1/4 - 20 900453 4 900453 4
26 Nut Lock 5/16 - 18 HEX *8160002 4 *8160002 4
27 Handle Lower 890346 1 890346 1
28 Plate Handle Support 900933 1 900933 1
29 Label Danger Cut Finger 400424 2 400424 2
30 Washer Flat Cut 5/16 *8171003 2 *8171003 2
31 Screw Cap 3/8 - 16 x 2-1/2 Washer Face 900564 2 900564 2
32
33
34 Wheel Ass'y Cast (incl. items 21) treaded 900760 2 900760 2
35 Washer 0.75 "C" 900997 0-1 900997 0-1
36
37 Label Ear Eye Breathing 890254 1 890254 1
38
39
40 Screw Cap 1/4 - 20 x 1-1/4 *8041007 6 *8041007 6
41 Screw Cap 1/4 - 20 x 1-3/4 *8041009 1 *8041009 1
42 Screw Self Tapping 10 - 24 x 1/2 *8123086 1 *8123086 1
43 Nozzle Frame (incl. one of items 29,44,42) 890391 1 890391 1
44 Plug 900146 1 900146 1
45 Label Oil Chain 830502 1 830502 1
46 Blade Chipper - - 890101 1
47 Impeller Ass'y (inclitems 46, 49, 50, 51, 59, 65, 66, 67) - - 890208-S 1
Impeller Ass'y (incl items 49, 50, 51) 900342 1 - -
48 Label Chipper - - 890152 1
49 Key 3/16 Sq. x 1.25 9201080 1 9201080 1
50 Washer Lock 3/8 Twisted Tooth 400502 1 400502 1
51 Screw Cap 3/8 - 24 x 2" (Torque 50 ft.lbs (68 Nm)) - - 810962 1
Screw Cap 3/8-24 x 1 1/2" (Torque 50 ft.lbs.(68 Nm)) 900344 1 - -
52 Housing Ass'y (incl. items 12, 14, 15, 16, 37, 100) 890419-S 1 890419-S 1
53 Engine 5.5 H.P. Briggs & Stratton 900784 1 900784 1
54
55
56
57 Washer 1/2 flat KD Wheel 900230 2 900230 2
58 Washer Flat 1/2 SAE *8172011 8 *8172011 8
59 Screw Socket HD. 5/16 - 18 x 3/4 GR. 8 - - 890103 2
60 Height Adjustment Ass'y (incl18, 20, 22, 23) 890013 1 890013 1
61
62 Label Danger Flying Material 810736 1 810736 1
63 Label Hot Engine 400268 1 400268 1
64
65 Nut Keps 5/16 - 18 - - 890104 2
66 Washer Shim 0.060" (1.52mm) - - 890130 0-1
67 Washer Shim 0.020" (0.51mm) - - 890131 0-2
68 Plate Top Ass'y (incl. items 14, 15, 29, 69, 70, 71, 84) - - 890597 1
Plate Top Ass'y (incl. items 29, 71, 84) 890590 1 - 1
69 Guard Flapper - - 890119 2
70 Plate Flapper Entrance - - 890127 2
71 Screw Cap 1/4-20 x 1/2 HWH 890359 15 890359 15
72
73 Knob Wing 5/16-18 890108 2 890108 2
74 Nut Lock5/16 - 18 Thin Ht. *8161041 2 *8161041 2
75 Grip Handle 400570 2 400570 2
76 Bracket Lopper Loop 890167 1
77
78 1/2-13 Cap nut np W/patch 890530 4 890530 4
79
80
81
82
83 Connector Quick 890176 1 890176 1
84 Label - Warning
G
uards 900327 1 900327 1
85 Cable Ass'y Clutch 890588 1 890588 1
PARTS
LIST

Part No. 890604 Form No. F021602C
Page 12 of 12
Engine Service and Warranty
Contact your nearest engine manufacturer's authorized
servicing dealer.
22.1 22
BILLY GOAT INDUSTRIES INC.
1803 S.W. Jefferson Street Lee's Summit, MO 64082 / USA
PHONE: 816-524-9666 FAX: 816-524-6983 www.billygoat.com
WARRANTY PROCEDURE
Please fill in the WARRANTY CARD and send the upper part to Billy Goat.
The WARRANTY terms are stated on the lower part which remains with the
user.Whenever a Billy Goat Machine is faulty due to a defect in material
and / or workmanship, the owner should make a warranty claim as follows:
The Machine should be taken to the dealer from whom it was
purchased or to an authorized Billy Goat dealer.
The owner should present the remaining half of theWarranty
Registration Card, or, if this is not available, the invoice or receipt.
TheWarranty Claim will be filled in by the authorized Billy Goat Dealer,
who will send it with the faulty part to Billy Goat headquarters.
The Quality / Service department at Billy Goat headquarters will study
the claim and parts and will notify their conclusions.
The decision by the Quality / Service department at Billy Goat
headquarters to approve or reject aWarranty claim is final and
binding.
Note:
To process aWarranty Claim, it is necessary to quote the Model
& Serial number that are printed on the Billy Goat Serial Plate.
Purchased
from
Purchase
Date
21
Serial Plate
Record your machine model, serial number and
date-of-purchase and where purchased
min-1
1803 S.Jefferson
P.O. Box 308
Lee's Summit,
MO 64063 / USA
Tel (816) 524-9666
Fax (816) 524-6983
Model Serial No.
Unit(Weight) Engine Power
lbs. kg kW rpm
Engine stalls or labors when
chipping. Feeding branches into chipper too rapidly. Engine service may be
required. Feed branches at a slower rate. Service engine.
Poor chipping performance. Extremely hard wood. Dull or damaged chipper blade. Avoid extremely hard wood. Sharpen or replace chipper blade (see
page 8).
Will not vacuum or has poor
vacuumperformance. Clean debris bag. Shake bag clean or wash.Adjust nozzle height.
Check for hose kit cap. Unclog nozzle or exhaust (see page 5).
Allow air to feed with debris.
Solution
Problem Possible Cause
TROUBLESHOOTING
Before Requesting Service Review These Suggestions
Engine will not start. Check stop switches, throttle, and gasoline.Connect spark plug wire.
Clean or replace air cleaner.Or contact a qualified service person.
Self propelled drive will not
release. Clutch cable out of adjustment. Idler return spring disconnected or
broken.Belt is rubbing on chain guard Adjust clutch cable. Replace return spring. Remount chain guard
No self propelling. Clutch cable out of adjustment.Worn or broken belt.Worn or broken
clutchcable. Adjust clutch cable.Replace belt.Replace clutch cable.Replace any
worn or damaged or malfunctioning parts.
Throttle in off position. Out of gasoline. Bad or old gasoline. Spark
Plug wire disconnected. Dirty air cleaner.
Abnormal vibration. Loose or out of balance impeller or loose engine. Check impeller and replace if required.Check Engine.
Engine is locked, will not
pull over. Debris locked in chipper blade, hopper or inside impeller. Engine
problem. See page 5, Clearing a clogged chipper hopper. Contact an engine
servicing dealer for engine problems.
Dirty debris bag. Nozzle height set too high or too low. Hose kit cap
missing. Clogged nozzle or exhaust.Excessive quantity of debris.
20
19
( Continued from
page 11 )
PARTS LIST * Denotes
standard
hardware
item that
may be
purchased
locally.
Item
No. Description KD512SP
Part No. Qty. TKD512SP
Part No. Qty.
86 Wheel With Sprocket Ass'y Cast ( 21, 94, 95, 96) 890242 2 890242 2
87 Chain 52 Pitch 890239 2 890239 2
88 Belt 4L220 890586 1 890586 1
89 Washer Flat 5/16 (3/8 ID x 7/8 x 1 1/6) *8171003 4 *8171003 4
90 Bolt Carriage 5/16 - 18 x 3/4 *8024039 4 *8024039 4
91 Washer
S
pring Lock 5
/
16 *8177011 4 *8177011 4
92 Nut Regular 5/16 - 18 *8142002 4 *8142002 4
93 Jackshaft 900320 1 900320 1
94 Sprocket (per Assemby) (size # 65A26) 26 Teeth 890238 1 890238 1
95 Screw Self Tap 1/4-14 x 3/4 (Per Assembly) 800505 5 800505 5
96 Washer Lock ExternalTooth (Per Assembly) *8181007 5 *8181007 5
97 Jackshaft Ass'y (incl. 93, 101, 102, 107, 108, 109) 890197 1 890197 1
98 Shield Muffler TKDSP 890190 1 890190 1
99 LabelClutch 830503 1 830503 1
100
101 Bearin
g
Plate 900317 2 900317 2
102 Bearin
g
Ball
(
with
S
nap Rin
g)
900321 2 900321 2
103
104 Rod Bail Clutch 900970 1 900970 1
105
106
107 Pulley 3"OD x 5/8 Bore 890583 1 890583 1
108
S
procket - 8 Tooth 900302 2 900302 2
109 Roll Pin 3/16 Dia. x 1 1/4 L
g
. *8195166 4 *8195166 4
110 Locknut 5/16 - 18 Flan
g
e 850164 5 850164 5
111
S
crew
C
ap 1
/
4-20 x 1-1
/
2 Hex 8041008 2
112 Bracket Clutch KDSP 890580 1 890580 1
113 Sprin
g
Tension 400217 1 400217 1
114 Bolt Idler 800888 1 800888 1
115 Bolt Shoulder 3/8" x 1/2" 830528 1 830528 1
116 Screw Cap 1/4 - 20 x 1" Lg. *8041006 1 *8041006 1
117 Arm Idler Wa KDSP 890582 1 890582 1
118 Guard Chain Ass'y TKDSP 890600 1 890602 1
119 Nut Lock 5/16-18 Thin *8161041 1 *8161041 1
120 Pulley Idler 1.13"OD x 3/8" Bore 890585 1 890585 1
121
122 Nut Lock 3/8-16 Thin *8161042 1 *8161042 1
123 L
a
b
e
l
R
ea
d
O
wner
'
s
M
anua
l
890301
1
890301
1
R
112 dB

FIABA S.r.l. - Via Roma, 74 – Santa Maria Bollettino n°04
36043 Camisano Vicentino (VI) Del 26 gennaio 2006
Tel. 0444.419828 / Fax 0444.611923
# 890041 KIT TUBO ON BOARD
per KD511, KD512, KD512SP, SV50
FUNZIONE: Il Kit tubo On-board permette di
avere una capacità costante di aspirazione
sotto i cespugli e nelle altre parti che la
macchina non può raggiungere.
INSTALLAZIONE:
1. Staccare il cavo della candela.
2. Inserire l’occhiello del lato destro del
telaio di supporto del tubo (rif. 6) sul
manico superiore montato sulla
macchina. Spingere il lato sinistro
del telaio finché l’occhiello sinistro
non si incastra, a sua volta, sul
manico superiore (vedere Fig.1 pag.
2).
3. Rimuovere la vite autofilettante (rif.
42), poi rimuovere il tappo del carter
(rif. 44).Note: se la scanalatura sul
bordo superiore del foro per
l’adattatore non è presente sul
musetto dell’aspiratore (versione per
vecchio modello di adattatore), bisogna ricavarne una prima di installare l’adattatore per il tubo.
Usare la sagoma allegata alle istruzioni in inglese.
4. Inserire l’adattatore del tubo (rif. 4) sul musetto dell’aspiratore allineando il bullone sull’adattatore alla
scanalatura del musetto. Far ruotare di 180° l’adattatore per allineare l’altro bullone alla scanalatura.
5. Attaccare il tubo (rif. 1) all’adattatore (rif. 4) e fissare la fascetta (rif. 2) (vedere Fig. 2 pag. 2).
6. Attaccare il terminale (rif. 3) all’altro lato del tubo di aspirazione (rif. 1) con il manico del terminale
rivolto verso l’alto. Prima di fissare la fascetta (rif. 2), allineare il foro dell’adattatore al foro sul
musetto.
7. Allentare i due bulloni o dadi (rif. 26 per SV, rif. 57 per KD) che fissano la piastra superiore del telaio,
vicino alla marmitta, che nei motori Honda è, rispetto all’operatore, dal lato destro, mentre nei motori
Briggs & Stratton è a sinistra. (Vedere Fig. 3-6, pag. 2).
8. Posizionare il sostegno del terminale, e serrare i bulloni. Verificare attentamente che il tubo non
sia a contatto con la marmitta. Note: Nei modelli KD512SP è richiesto il taglio di una parte del
sostegno del terminale come mostrato in figura 4 (rif. 5).
9. Riconnettere il cavo candela.
Contenuto del Kit on-board 890041
Rif. Codice Descrizione Q.tà
1 890024 Tubo 4’’ x 7’’ 1
2 800896 Fascetta da 4’’ 2
3 800803 Terminale di aspirazione 1
4 890040 Adattatore 1
5 890026 Supporto del terminale 1
6 890025 Supporto del tubo 1
7 890578 Piastra di chiusura ugello principale 1
Altri riferimenti
Rif. Codice Descrizione Q.tà
44 900146 Tappo carter 1
42 8123086 Vite autofilettante 10-24 x ½’’ 2
57-KD 8160002 Dado autobloccante 5-16/18 6
26-SV 890359 Bullone ¼-20 x ½’’ 8

Figura 1. Posizione per il sostegno del tubo Figura 2. Tubo di aspirazione completo
Figura 3. Posizione supporto per KD con B&S Figura 4. Posizione supporto per KDSPcon linea
di taglio per il modello KD512SP
Figura 5. Posizione supporto per KD con Honda Figura 6. Posizione supporto per SV con Honda
PROCEDURA PER LA CREAZIONE DELLA SCANALATURA: (rif. Pag. 3 versione in inglese)
1. Seguire i punti 1 e 2 della procedura di installazione a pagina 1
2. Tagliare la parte superiore di pagina 3. Piegare a metà. Poi tagliare lungo le linee indicate dalla
forbice.
3. Piazzare la sagoma sul musetto allineando i fori. Segnare dove cade la scanalatura.
4. Ricavare la scanalatura sul musetto.
5. Andare al punto 4 della procedura di installazione di pagina 1 e continuare.
060124FDM
Other manuals for Termite KD512SP
1
This manual suits for next models
1
Table of contents
Languages:
Other Billy Goat Chipper manuals

Billy Goat
Billy Goat TERMITE TKD505SPT Installation instructions

Billy Goat
Billy Goat TERMITE KD511SP Installation instructions

Billy Goat
Billy Goat KD510 Installation instructions

Billy Goat
Billy Goat TERMITE KD510SP Installation instructions

Billy Goat
Billy Goat 890209 Installation instructions

Billy Goat
Billy Goat Termite TKD505H Installation instructions

Billy Goat
Billy Goat TERMITE TKD502H Installation instructions

Billy Goat
Billy Goat Termite KD512SP Installation instructions

Billy Goat
Billy Goat KD510IC Installation instructions

Billy Goat
Billy Goat THE TERMITE TKD502SP Installation instructions