OPERATING INSTRUCTIONS
Having familiarized yourself with the controls and features of this equipment, you are now ready to begin
your treatment according to your physician’s prescribed course of therapy.
1. Make sure that your circulator is plugged into a safe, properly secured, 110 V, AC outlet.
2. Place unit on a sturdy table or other type surface close to where you will be sitting. The unit has non-
slip-rubberized feet on the bottom, however placing paper or other items underneath may defeat that
purpose, causing unit to slide off of surface.
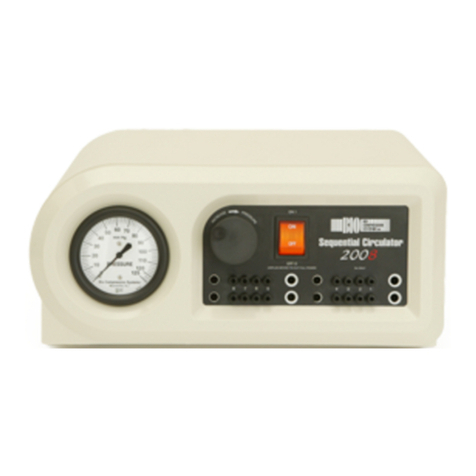
3. Press PUMP SWITCH (#1) up to “ON” position and let pump run for approximately five minutes. Af-
ter 5 minutes, place finger over Air Supply Port Number One which is located to the far right. At first,
only partially cover port until you feel it start to release air. Then, quickly occlude the port and adjust
the PRESSURE ADJUSTMENT KNOB (#2) until the PRESSURE GAUGE (#3) reaches the desired
setting.
NOTE: You may have to repeat this procedure several times, since you can only set the pressure on port number
one which is the highest pressure of the four chambers.
After you have set the desired pressure, shut the pump off until your garment is securely connected
and you are ready for your treatment.
NOTE:You should also take note that upon shutting the pump off, the Pump Switch may stay lighted
until the timer completes its cycle! Upon completion of the cycle, the Pump Switch Light
will automatically shut off. Unplugging pump at this point will cut total power to device.
SETTING THE PRESSURE
1. ARMS
a. Primary & Secondary Lymphedema = 20 to 40 mmHg
2. LEGS
a. Primary Lymphedema = 50 to 60mmHg
b. Secondary Lymphedema= 40 to 50mmHg
3. VENOUS INSUFFICIENCY
a. 50mmHg
4. Take TUBING PLUG (#8) at end of tubing on sleeve and pull back left and right LOCKING PINS (#9)
towards tubing Holding tubing plug in one hand, line up black and white locking pins with the black
and white circled outlines on the “uncapped” AIR SUPPLY PORTS (#4) on the pump. Gently push
plug onto ports. Using your thumbs, push in firmly on both the left and right LOCKING PINS (#9) The
Locking Pins will make a “click” sound when locked in place.
NOTE: Before pushing plug onto ports, make sure that both locking pins are pulled back, or an improper
connection to the pump could possibly occur!
5. If you are USING TWO GARMENTS, remove cap from AUXILIARY AIR SUPPLY PORTS (#6) and
follow steps outlined in #4.
NOTE: If NOT using two garments, the CAP (#6) MUST REMAIN COVERING AUXILIARY AIR
SUPPLY PORTS (#6).
6. Unzip sleeve gently down to bottom stop (zipper will not separate). Place garment onto arm or leg and
re-zip up to top of garment.
7. Press PUMP SWITCH (#1) up to “ON” position. Allow two to three complete inflation / resting cycles
before the garment reaches its pre-set therapeutic chamber pressures.
8. As each chamber of the garment inflates, the PRESSURE GAUGE (#3) will dip down momentarily then
return to the actual chamber pressure. This will continue each time a chamber becomes pressurized.
8


