i
Warranty
The Decloaking Chamber warranty is for one year from receipt of purchase and covers all parts and labor when performed solely by
Biocare Medical. Warranty is invalidated if equipment is abused, damaged, or improperly maintained by customer. Warranty is not
transferable to any other party should the equipment be resold or transferred by the customer to another party. To the extent permitted
by law, Biocare Medical disclaims any liability for any incidental or consequential damages related to this equipment or for any warranty
related services it performs.
Not for use with flammable solvents or gases
Overview................................................................................................................................................................................ 1
Specifications ........................................................................................................................................................................ 1
Decloaking Chamber - Intended Use................................................................................................................................ 1
Transportation, Storage and Handling ....................................................................................................................................... 2
Unpacking ............................................................................................................................................................................. 2
Parts List............................................................................................................................................................................... 2
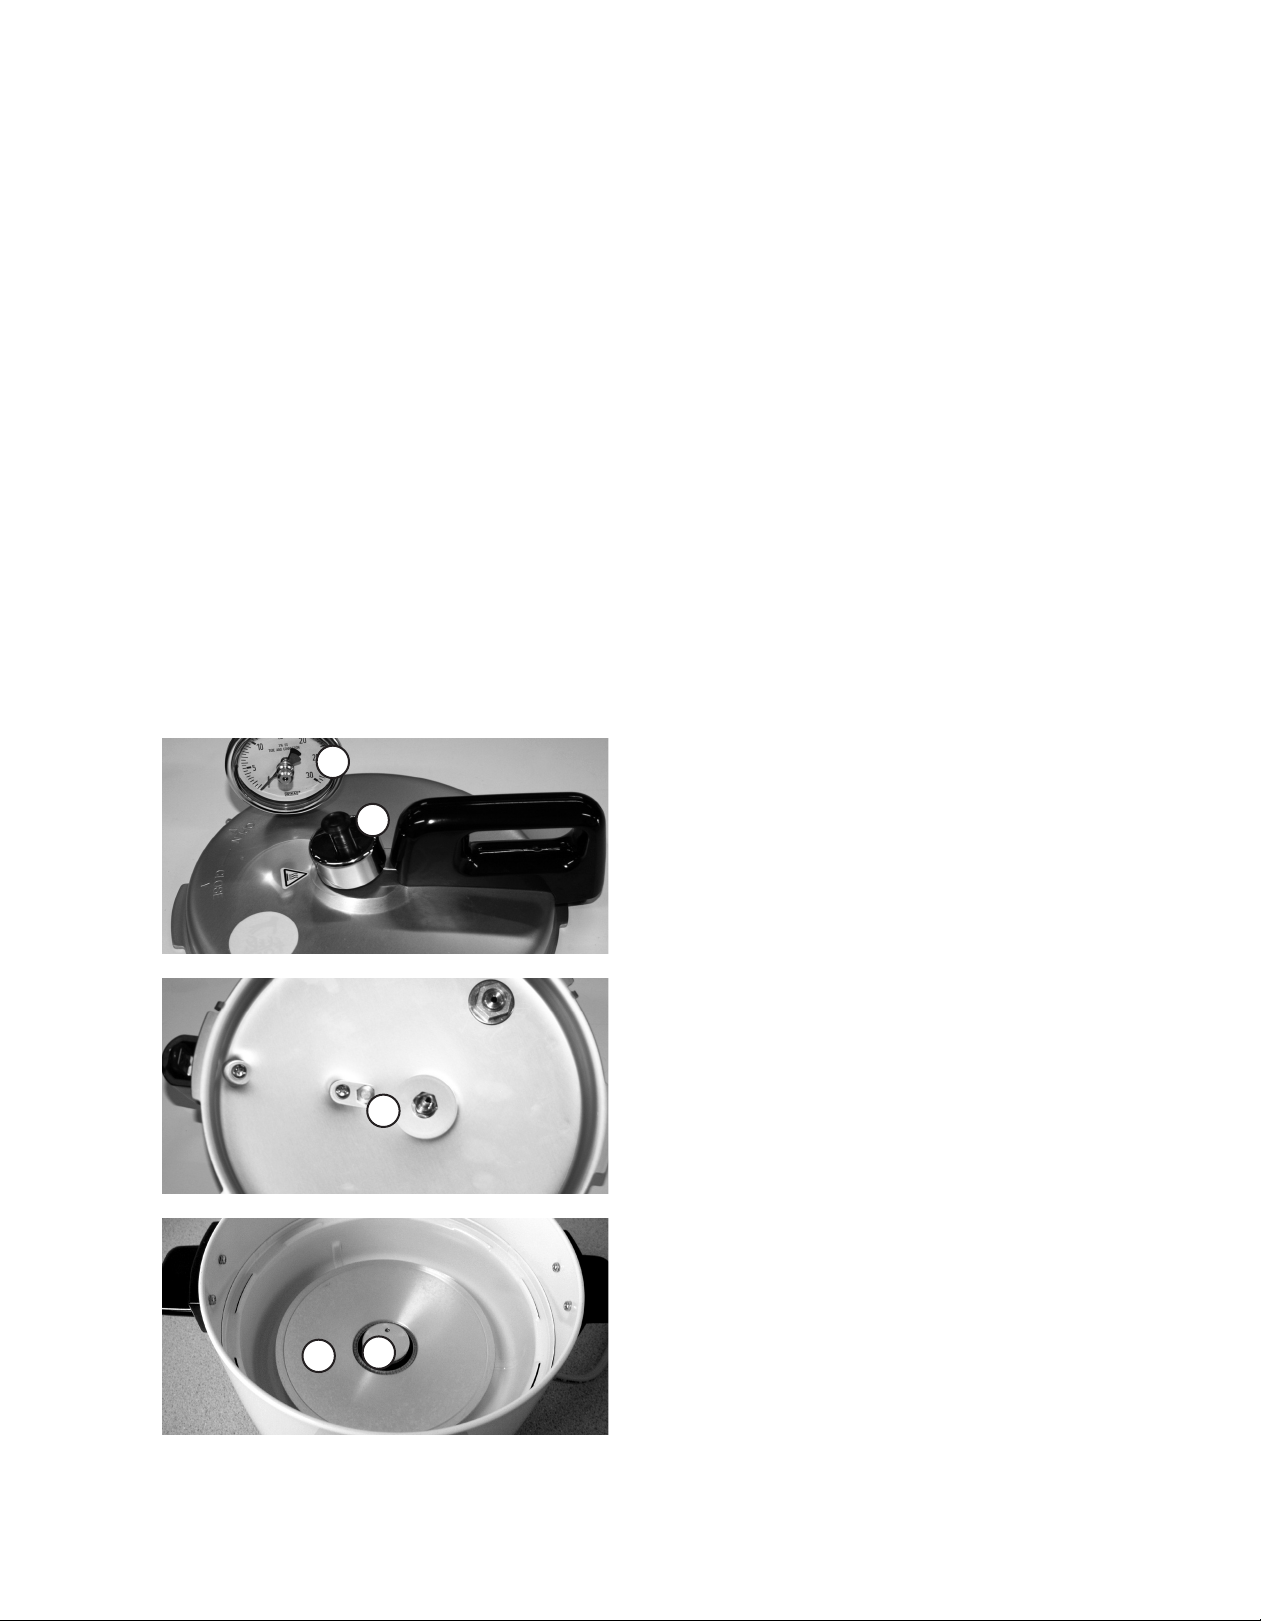
Description of Parts ................................................................................................................................................................ 3
Related Consumables.............................................................................................................................................................. 4
Important Notes ..................................................................................................................................................................... 5
Important Safety Guidelines .................................................................................................................................................... 6
Operating Instructions............................................................................................................................................................. 6
Safety First ................................................................................................................................................................... 6
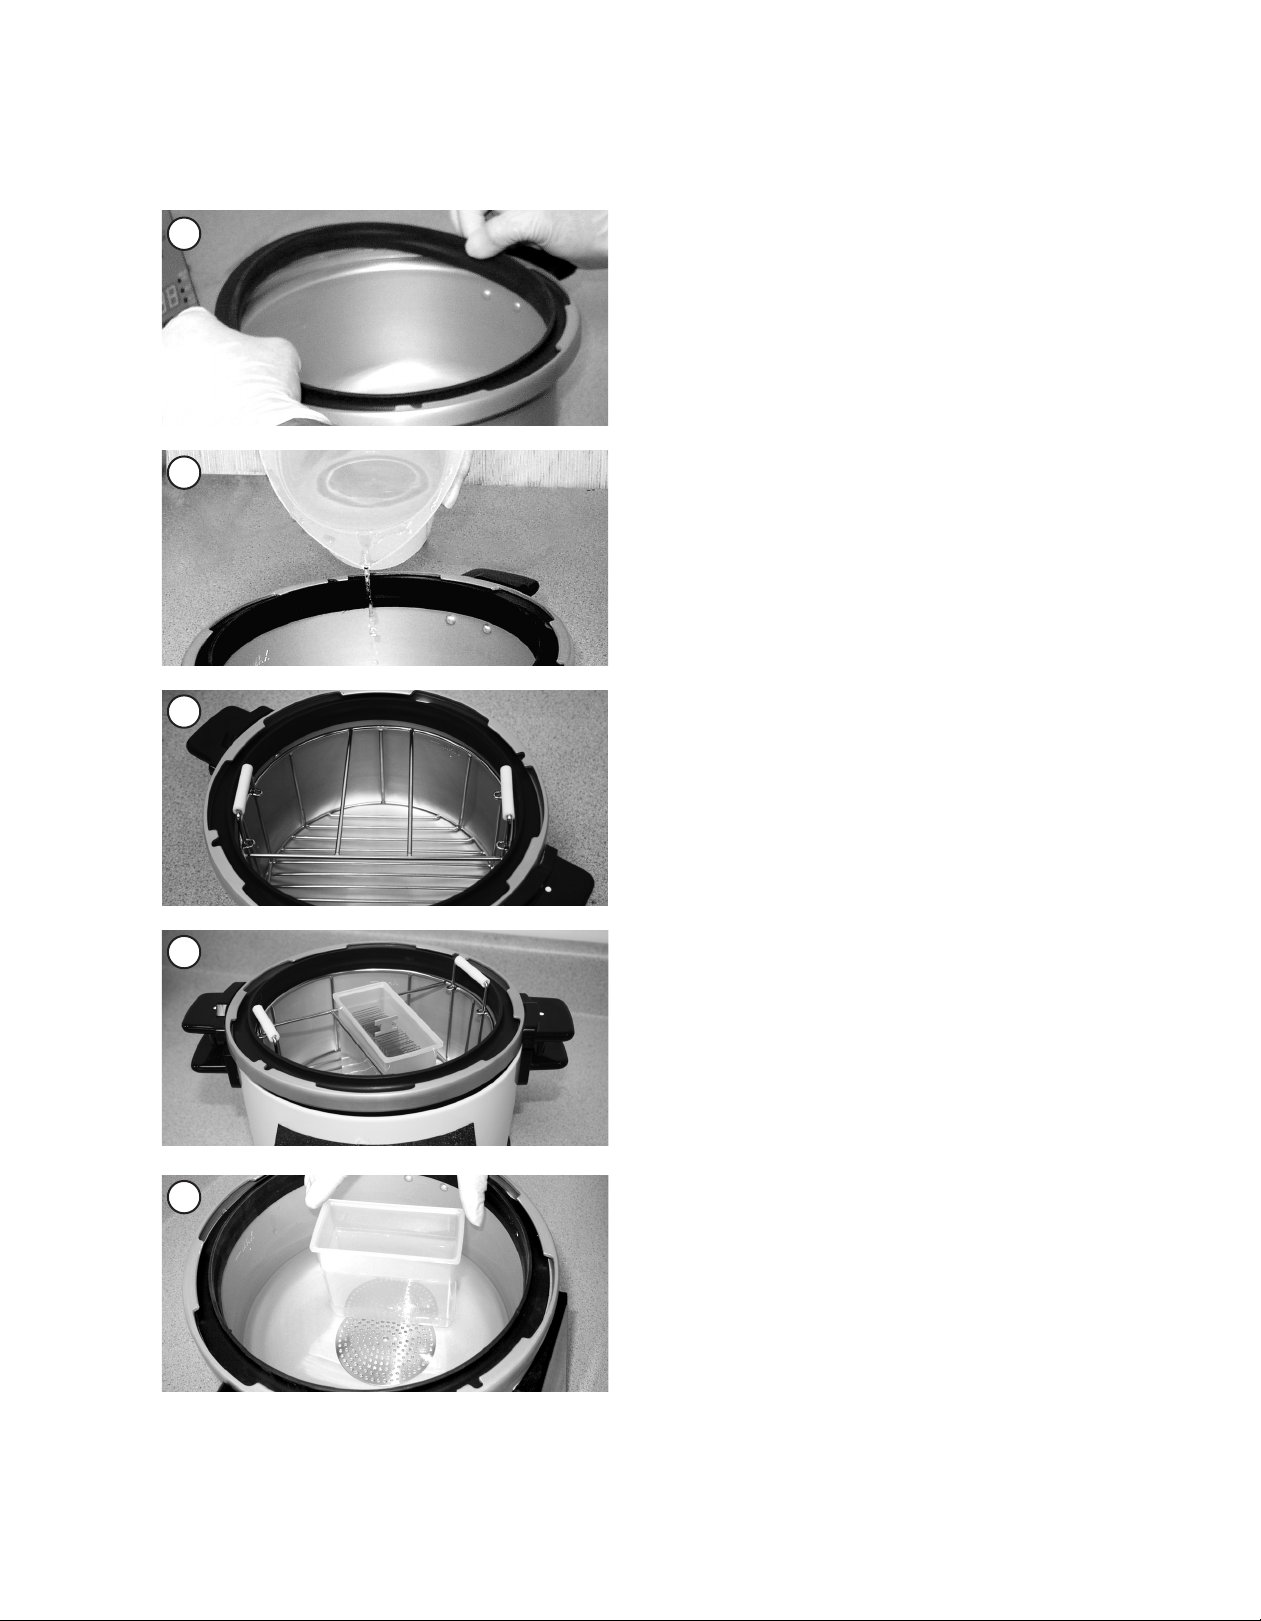
Assembly and Setup ...................................................................................................................................................... 6
Recommended Protocols ................................................................................................................................................ 7
Beginning Operation ...................................................................................................................................................... 7
Programming................................................................................................................................................................. 8
To Initiate a Run............................................................................................................................................................ 8
After Run Completion..................................................................................................................................................... 8
Positioning the Decloaking Chamber for Emergency Disconnection ................................................................................... 11
Actions In Case of a Malfunction................................................................................................................................... 11
Programming Display ............................................................................................................................................................ 12
Programmable Features................................................................................................................................................ 12
Default Settings .......................................................................................................................................................... 13
Changing the Default Settings....................................................................................................................................... 13
USB Flash Drive Feature ....................................................................................................................................................... 14
How to use the USB flash drive..................................................................................................................................... 14
Start Program.............................................................................................................................................................. 15
End Program ............................................................................................................................................................... 15
Run Report ................................................................................................................................................................. 16
Maintenance ........................................................................................................................................................................ 17
Safety and Electrical Precautions ........................................................................................................................................... 17
Quick Instructions ................................................................................................................................................................ 18
Assembly and Setup .................................................................................................................................................... 18
Programming............................................................................................................................................................... 18
To Initiate a Run.......................................................................................................................................................... 18
After Run Completion................................................................................................................................................... 19
Symbol Glossary ................................................................................................................................................................... 20
Troubleshooting and Service .................................................................................................................................................. 20
Table of Contents