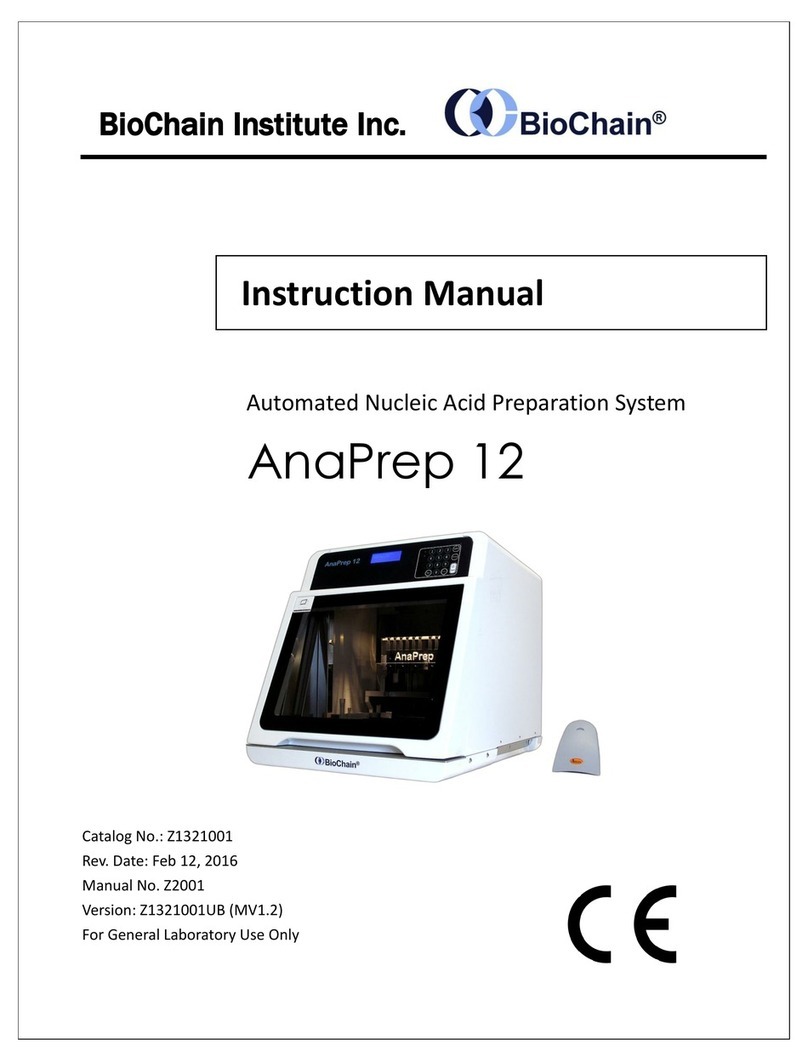
BioChain AnaPrep 12 Dx User manual

BioChain Institute Inc.
Automated Nucleic Acid Preparation System
Catalog No.: Z2111001
Rev. Date: Jan 15, 2021
Manual No. QW-IH01-06
Version: Z2111001UA
For General Laboratory Use Only
Instruction Manual

F-753-3UMRevA Z2111001UA Active Date: 01152021
Page 2
TABLE OF CONTENTS
Page #
Introduction....................................................................................................... 3
Safety Information............................................................................................. 4
1.0 Installation ................................................................................................... 8
1.1 Composition of the AnaPrep 12 Dx system ................................................... 8
1.2 Contents of Reagent Kits............................................................................... 9
1.3 Operating Environment / Condition............................................................ 10
1.4 Unpack the AnaPrep 12 Dx system.............................................................. 12
1.5 Overall View................................................................................................ 13
2.0 Getting Started............................................................................................14
2.1 Turning ON the power ................................................................................ 15
2.2 Touch Panel and User Interface .................................................................. 17
2.3 Preparation................................................................................................. 17
2.4 Function Test .............................................................................................. 17
2.5 Extraction.................................................................................................... 19
3.0 Cleaning & Maintaining the AnaPrep 12 Dx .................................................24
4.0 Troubleshooting ..........................................................................................27
5.0 Specifications ..............................................................................................29
6.0 Warranty.....................................................................................................30

F-753-3UMRevA Z2111001UA Active Date: 01152021
Page 3
Introduction
Thank you for purchasing the AnaPrep 12 Dx system which is a fully automated, standalone
robot that can purify nucleic acids within 30-45 minutes. With advanced magnetic bead
separation technology, it enables you to obtain high-quality extraction results. Moreover, the
most user-friendly interface makes users free from troublesome parameter settings and
maintenance.
This guide contains important information regarding the safe use of the AnaPrep 12 Dx system.
Please read this manual carefully before you start to run the system for the first time, especially
for Safety Information.
If there is any question about how to install or operate the system, please contact our technical
Contact Info:
Company: BioChain Institute Inc.
Address: 39600 Eureka Dr.
Newark, CA 94560, USA
Tel: 1-510-783-8588
Fax: 1-510-783-5386
Mail: inf[email protected]
AnaPrep Magnetic Bead Purification Process

F-753-3UMRevA Z2111001UA Active Date: 01152021
Page 4
Safety Information
The meaning of safety precaution marks are as follows:
WARNING:
“WARNING”indicates a dangerous condition that may lead to death or serious injury.
BIOHAZARD:
This symbol indicates that certain precautions must be taken when working with
potentially infectious material.
CAUTION:
This symbol indicates that non-compliance with instructions or procedures may lead to
physical injury or even death or could cause damage to the instrument.
Important:
“Important”points an important note for appropriate usage, as well as prohibited actions.
Note:
“Note”indicates the procedures that should be obeyed and supplementary information
for use.
HOT SURFACE:
This symbol labels potentially hot surfaces on the instrument.

F-753-3UMRevA Z2111001UA Active Date: 01152021
Page 5
About Instrument
WARNING:
◼Ignoring the following notations may lead to fire or electric shock.
- In countries other than Taiwan, US and Canada, use a power cable that meets your
country’s standard or contact your local distributor.
- Do not use the AnaPrep 12 Dx system with the voltage other than the voltage specified
on the device.
- Do not use the AnaPrep 12 Dx system with a damaged power plug or a loose socket.
- If there is dust on the prongs of the power plug or on the plug socket, remove it with a
dry cloth.
- When you disconnect the plug from the outlet, be sure to hold the power plug itself.
Do not pull the power cable.
- For maintenance, disconnect the power plug from the outlet.
- Do not touch the power plug when you hear the crash of thunder.
◼Do not pour any liquid on the AnaPrep 12 Dx system.
◼Do not place any objects containing liquid on the AnaPrep 12 Dx system. Doing so may
cause device failure, fire, or electric shock.
◼If the device starts to smoke or smells strange, immediately unplug the power cable.
CAUTION:
◼Never attempt to remodel the AnaPrep 12 Dx system without the manufacturer’s
permission. Doing so may cause fire or electric shock.
◼Do not place or drop objects on the AnaPrep 12 Dx system. Also refrain from bumping
or knocking it, as doing so may cause a failure or malfunction of the AnaPrep 12 Dx
system.
◼If any liquid materials are left inside the device, wipe it up with a soft paper tissue, etc.

F-753-3UMRevA Z2111001UA Active Date: 01152021
Page 6
Otherwise, the AnaPrep 12 Dx system may be damaged.
◼Repairs to the AnaPrep 12 Dx system should only be performed by such agencies as are
specifically authorized by the BioChain Institute Inc.
◼Only original AnaPrep 12 Dx replacement parts should be used.
If the equipment is used in a manner not specified by the manufacturer, the protection
provided by the equipment may be impaired.
About Reagent Kits
CAUTION:
◼When handling any of the kits, refer to the respective handbook.
◼Reagents in each kit should be handled by observing the safety information and
precautions regarding the kit.
◼Extraction should be performed in an appropriate laboratory or workplace.
Note:
➢The kits are not supplied with the AnaPrep 12 Dx system. Select the desired kit(s) and
order it (them) separately.

F-753-3UMRevA Z2111001UA Active Date: 01152021
Page 7
About Samples
BIOHAZARD:
◼Always wear appropriate gloves, a mask, and safety goggles, etc. when handling any
infectious samples.
About Infectious Wastes
◼When handling or disposing of infectious materials, follow the laboratory guideline or
the law regarding infectious waste to perform proper incineration, fusion, sterilization,
and/or disinfection.
◼When you use a third-party company to dispose of wastes, outsource this work to an
operator licensed to handle medical waste subject to special control, and give them the
medical waste manifest at the same time.
BioChain Service Center
◼For technical problem and instrument maintenance please contact our service center:
BioChain Institute Inc.
39600 Eureka Dr.
Newark, CA 94560, USA
1-510-783-8588
1-510-783-5386
tech[email protected]om

F-753-3UMRevA Z2111001UA Active Date: 01152021
Page 8
1.0 Installation
1.1 Composition of the AnaPrep 12 Dx system
Check that the following items are included in the package. Contact your local representative if
you notice any missing part(s).
Caution: Please note that the sample rack should only be used with this device.
Caution:
“TURN OFF POWER BEFORE PICKING UP AND INSERTING SD CARD”
To insert the Un-locked SD card in right direction
Please make sure all the components are free from damages as
soon as you get the system. If any damage is found, please contact your local representative
for instant support.
A. AnaPrep 12 Dx X 1
B. Power Cord X 1
C. Sample Rack X 1 (1.5ml)*
D. Barcode Reader X 1
E. SD card
(16GB X 1+32GB X 1 or above)
E. User Manual X 1
G. Fuse X 3 (1A,2A,4A)

F-753-3UMRevA Z2111001UA Active Date: 01152021
Page 9
Note:
➢BioChain’s global warranty does not cover damages from transportation or improper
operation.
1.2 Contents of Reagent Kits
A
B
C/D/E/F
G
H
A. Reagent Cartridge(s)
B. Reaction Chamber(s)
C. Tip Holder
D. Piercing pin
E. Small tip
F. Filter tip
G. Sample tube
H. Elution tube
Note:
➢Reagent kits are to be purchased separately. Please contact your local agents or
representatives to get further info.
➢The contents of reagent kits will vary. Refer to the handbook of kits enclosed in
reagent box for details.

F-753-3UMRevA Z2111001UA Active Date: 01152021
Page 10
1.3 Operating Environment / Condition
Use the AnaPrep 12 Dx system in a location that meets the following conditions:
◼The AnaPrep 12 Dx system must be placed at a minimum distance of 5-10 cm
from all sidewalls to allow for good air circulation. The space for the allocation of
the AnaPrep 12 Dx system must remain 5-10 cm from instrument to sidewalls.
◼A location where power supply is provided safely.
◼A location where the temperature ranges from 15 to 30°C and humidity ranges
from 30% to 80% RH. (non-condensing)
◼A location that is flat and stable, with no vibration.
◼A location away from direct sunlight. (Block the sunlight by closing curtains or
blinds as necessary)
◼A location which is well-ventilated and not dusty.
◼A location where the temperature does not go up and down suddenly. (Warming
a cold room suddenly or moving the AnaPrep 12 Dx system from a room with
low temperature to a warm room may cause condensation inside the device,
resulting in abnormal extraction)
◼A location where the temperature and humidity are kept within the specified
range (far from water taps, water heaters, humidifiers, air-conditioners, and
heaters)
◼A location far from objects that generate strong magnetic fields. (motors,

F-753-3UMRevA Z2111001UA Active Date: 01152021
Page 11
transformers, TV, audio speakers, magnets, etc.) Bringing the AnaPrep 12 Dx
system close to any type of magnetic field may cause a malfunction.
Warning:
Do not use the AnaPrep 12 Dx system in a location where it is wet or can be splashed
with water. It may cause device failure, fire, or electric shock.
When relocating the AnaPrep 12 Dx system, disconnect the plug from the outlet first. If
the power cable is damaged, this may cause device failure, fire, injury, or electric shock.
Caution:
Do not use the AnaPrep 12 Dx system in an unstable place such as a slanted surface or a
place subject to vibrations. It may cause injury or device failure.
Do not use the AnaPrep 12 Dx system under direct sunlight or close to a heating device.
It may shorten the life of the AnaPrep 12 Dx system, or cause malfunction.
Do not open the maintenance door while performing the experiment.
Do not open the front door while performing the experiment.
Operating Conditions
Items
Conditions
Temperature (°C)
During operation
15 –30
During downtime
0 –55
Humidity % (RH)
During operation
30 –80
During downtime
10 –80
Altitude, operating (m)
Less than 2000 m (1008
hPa)

F-753-3UMRevA Z2111001UA Active Date: 01152021
Page 12
1.4 Unpack the AnaPrep 12 Dx system
Open the packing box and take out the instrument and related accessories.
Important:
The AnaPrep 12 Dx system weights more than 70 kg. It should be lifted and moved
by two persons.
Hold the moving handler of the instrument from two sides to move it out from the
box. Handlers are located under the device, on the chassis’ bottom.
◼Do not hold the outer covering.
◼Do not hold the front panel.
◼Do not hold the door.
Caution:
Improper AnaPrep 12 Dx system movement handling will lead to instrument
damages.
For correct and safe use of the AnaPrep 12 Dx, install the device in a location
close to the electrical outlet and that has enough space for installation and main
switch operation.

F-753-3UMRevA Z2111001UA Active Date: 01152021
Page 13
1.5 Overall View
◼Front view with Door closed
◼Front view with Door opened
UV Lamp
Camera
Recorder
Operation Area
There is a total of 12
strips (from left to right)
Main power switch
Power Outlet
Scanner Port
Engineer Port
Smart view window
Door Handle
7” Touch Panel
Bottom lid-
rubbish Tray
Update Port (HMI)

F-753-3UMRevA Z2111001UA Active Date: 01152021
Page 14
◼Inside view
Piston
Reagent kit holder
Heating module
Tip holder plate
M module
Holder lid
Sample rack

F-753-3UMRevA Z2111001UA Active Date: 01152021
Page 15
2.0 Getting Started
Biohazard:
Always wear appropriate gloves, a mask, and safety goggles during any biohazardous
operation during the extraction process. Even when touching the device after any
operation with a biohazard risk, wear appropriate gloves and a mask since the device
may be contaminated.
Important:
Before starting extraction, put on appropriate gloves, a mask, and safety goggles if
required by the operation. During the operation, from sample preparation to extraction
completion, be careful not to expose the samples to foreign contaminants such as
sweat, saliva, etc.
2.1 Turning ON the power
Follow the steps below to release the fixed part inside the instrument
i. Plugin the power cord to the instrument and connect to the electric outlet.
ii. Connect the barcode reader to instrument. Turn the power ON and log in
with User ID ( Display will delay startup to read the SD card)
“Admin” without password.
iii. Set up the local time.

F-753-3UMRevA Z2111001UA Active Date: 01152021
Page 16
iv. System will start to do the initialization and device will release transportation
fixing parts automatically.
..
As an end user, please log in with User ID “Admin” (as end user/top authority
in the laboratory) without password. You can set your Top authority “Admin”
password to lock access to user to certain “Admin” options
v. Once logged in, you will able to set up at least 10 other users with their own
password.

F-753-3UMRevA Z2111001UA Active Date: 01152021
Page 17
Important:
Keep the shipping box and fixing block materials. They will be needed again
when transporting the AnaPrep 12 Dx system.
2.2 Touch Panel and User Interface
2.3 Preparation
The following preparations are required for extraction operation.
◼For Sample preparation, please refer to the handbook of each kit.
2.4 Function Test
Enter the settings menu➔Function Test➔MOTOR then check the position of each axis
(Y/Z/P/M). Select then system will check the position automatically.
Function Bar
Homepage
Status Bar
- Gloves
- Mask
- Safety Goggles
- AnaPrep Kit

F-753-3UMRevA Z2111001UA Active Date: 01152021
Page 18

F-753-3UMRevA Z2111001UA Active Date: 01152021
Page 19
2.5 Extraction
(1) Plastic consumable set up:
Insert the cartridges Push down each cartridge Insert Reaction Chambers Insert Tip Holder
(cartridges will “click”) (push down each well)
Close the tip holder lids Insert Piercing Pins Insert Filter tips Stick the barcode label
Insert Sample Tube Insert Elution Tube Load the sample(s)
(On Sample Rack) (On Sample Rack) (To Sample Tube)

F-753-3UMRevA Z2111001UA Active Date: 01152021
Page 20
Note:
How to pull apart reagent cartridges strips: Slash open the dotted line with a cutter.
The position of piercing pins (on the right) and filter tips (on the left). The 2nd row in the middle
should be EMPTY.
Use cutter or scissors ONLY if you are intending to separate the Tip Holder / Reaction
Chamber strips.
Important:
➢Set Cartridges respecting the numbers order from left to right.
➢Make sure that Cartridges are inserted into the Cartridge Tray tightly.
➢You can load 1-12 strips on the tray depending on the number of samples
you intend to process.
(2) Start Program:
(Please refer to System Status for operating information)
Table of contents
Other BioChain Laboratory Equipment manuals
Popular Laboratory Equipment manuals by other brands
Bel-art
Bel-art SP Scienceware Mini Light Box II instructions
Labnet
Labnet TC9600-G Operation manual
Endress+Hauser
Endress+Hauser Analytik Jena PlasmaQuant MS Series installation guide
lbx
lbx H20D Series user manual
Struers
Struers Abramin instruction manual
ChemoMetec
ChemoMetec NucleoCounter NC-202 Instrument User Guide
