BirdBike VA00037 User manual
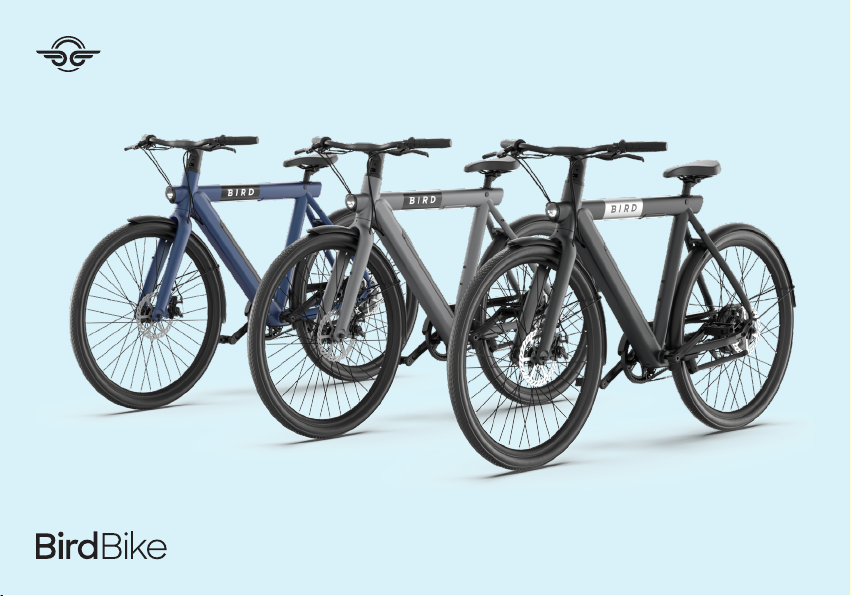
USER MANUAL
Please read this manual very carefully before using the
product. The manual contains important instructions for
the safe use and longevity of your bike.
If you need any type of support or warranty information
for your BirdBike, please contact the local dealer or
retailer where you purchased the product.
3
1
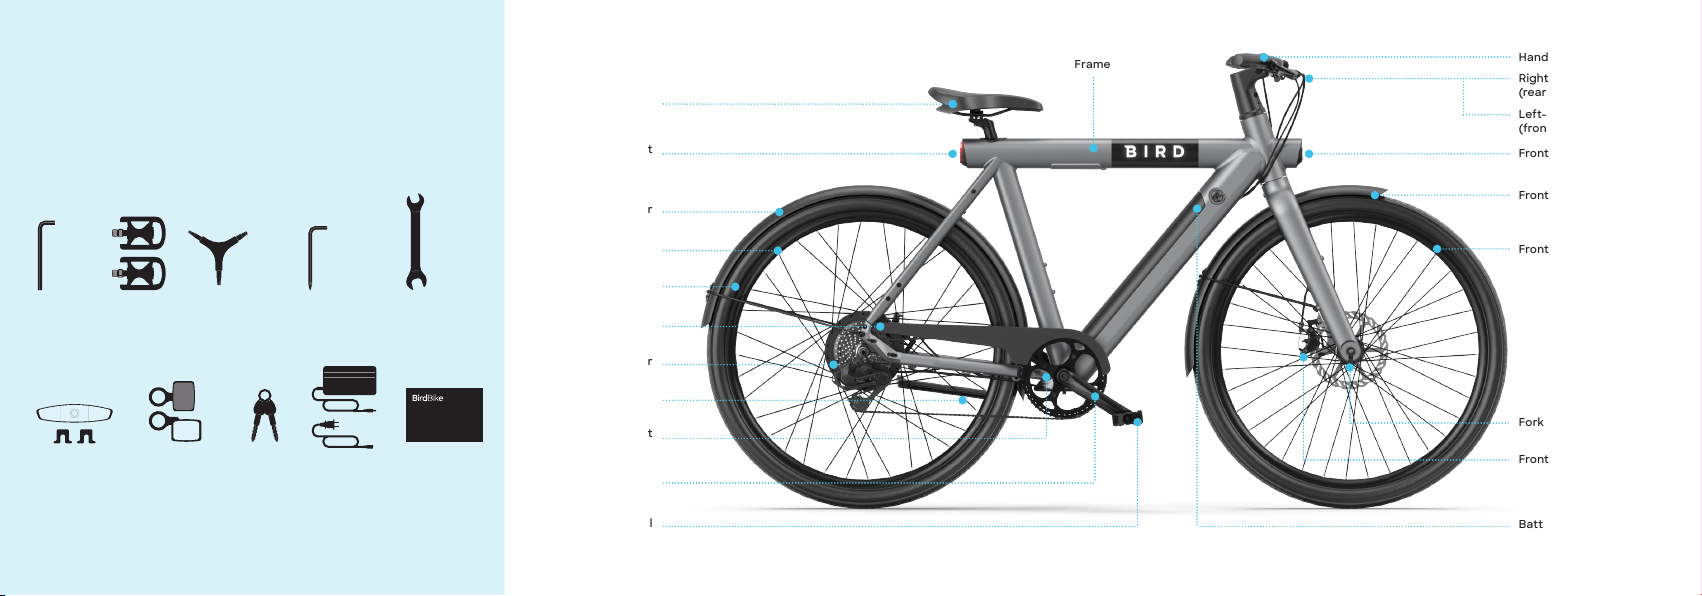
To prepare for the assembly of your BirdBike, rst take out all
pieces of the BirdBike from the box and remove all packaging.
Also, open the accessory box and remove all tools, parts and
everything else that’s inside of it.
(x2)
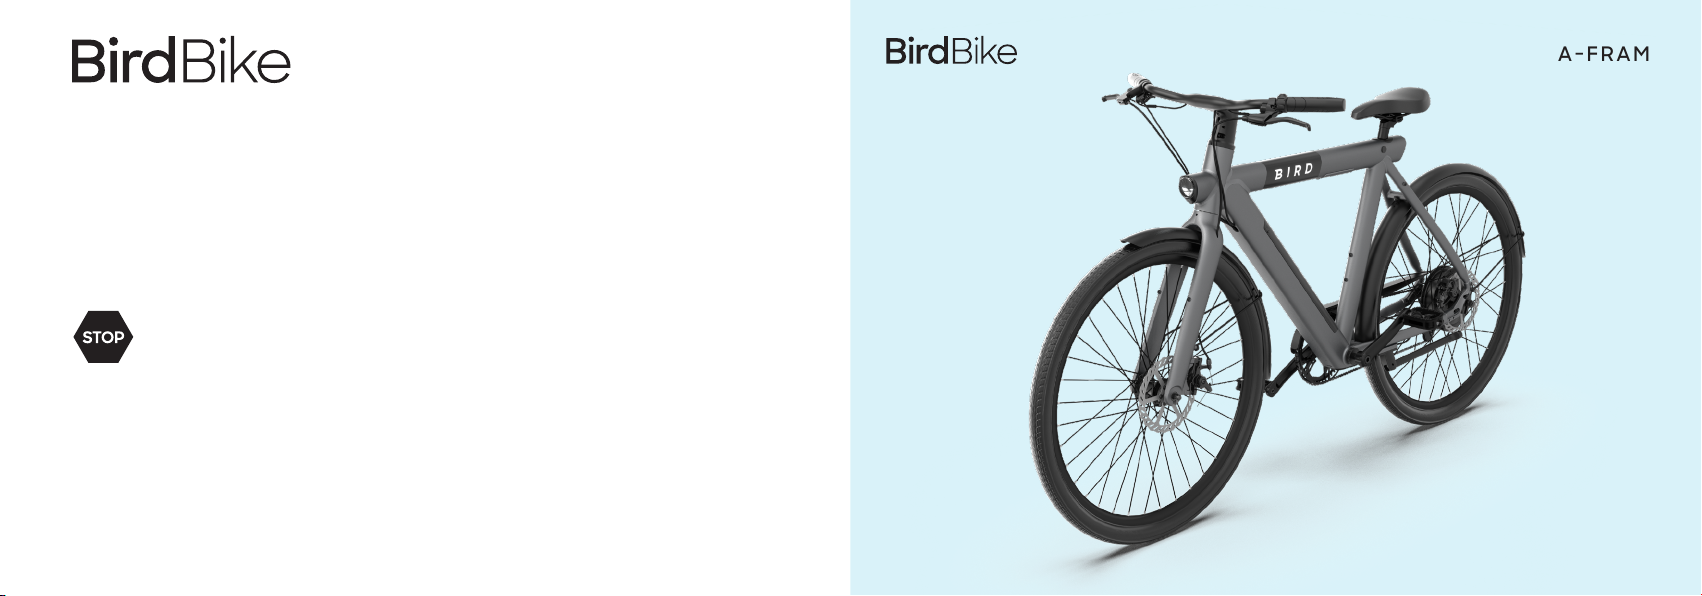
A-FRAME 5
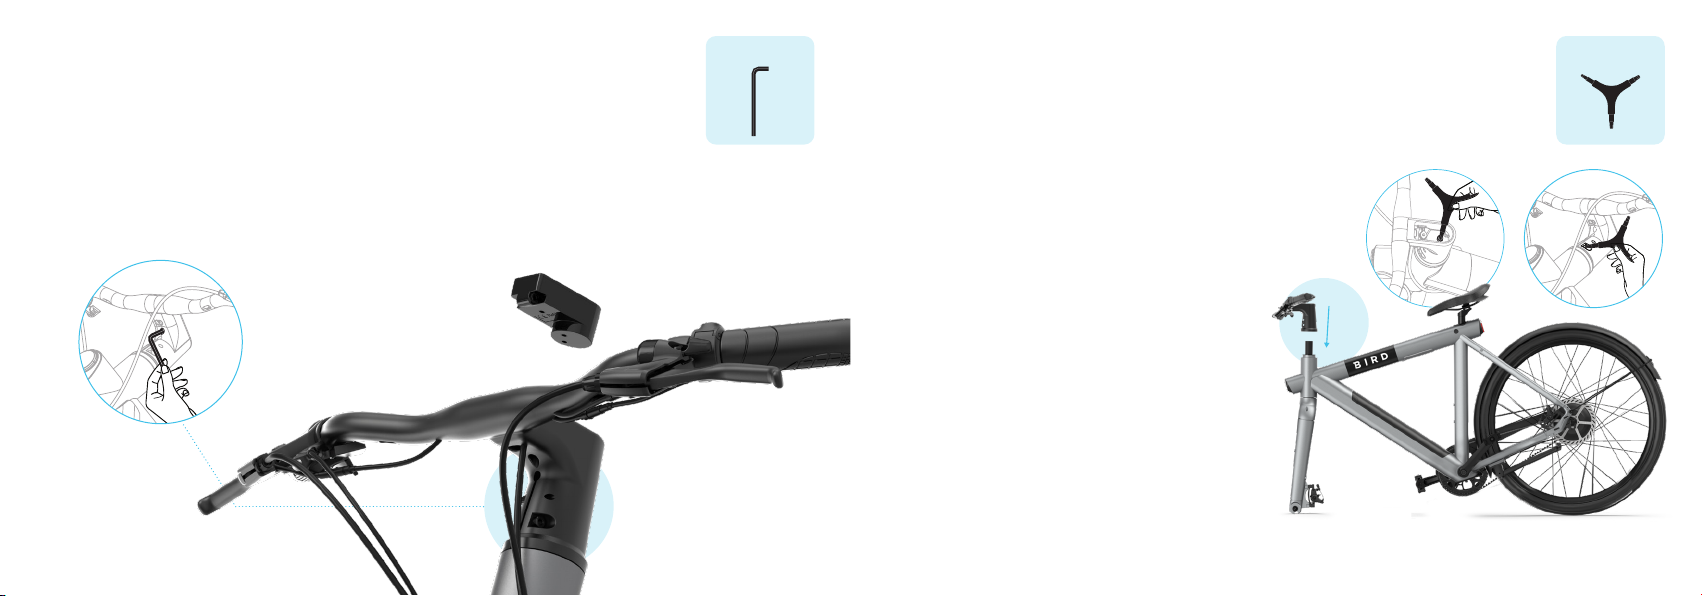
2
Remove Display from the Handlebar
Use the 2.5mm Allen Key to remove the screw that’s in the
back of the display, which will be sitting in the handlebar
cavity, but not installed.
Install the Handlebar
Use the 5mm end of the tool to remove the hex bolt
from inside the black disc top cap that's sitting on
the protective cardboard tube. The black disc top
cap and cardboard sleeve will not be used during
the assembly, so please set aside along with the box
and other packaging.
After removing the hex bolt, black disc top cap, and
protective cardboard tube, install the handlebar
on top of the steerer tube. Once the handlebar
is installed and lined up properly with the tire and
frame, re-insert the hex bolt through the handlebar
and into the steerer tube.
Use the 5mm end of the tool to gently tighten the
hex bolt into the handlebar so that there’s no play
between the fork and frame.
Finally, make sure the handlebar, frame, and front
wheel are still aligned and tighten the two steering
stem screws with the 5mm end of the tool so the
handlebar stays in place.
A-FRAME 7
4
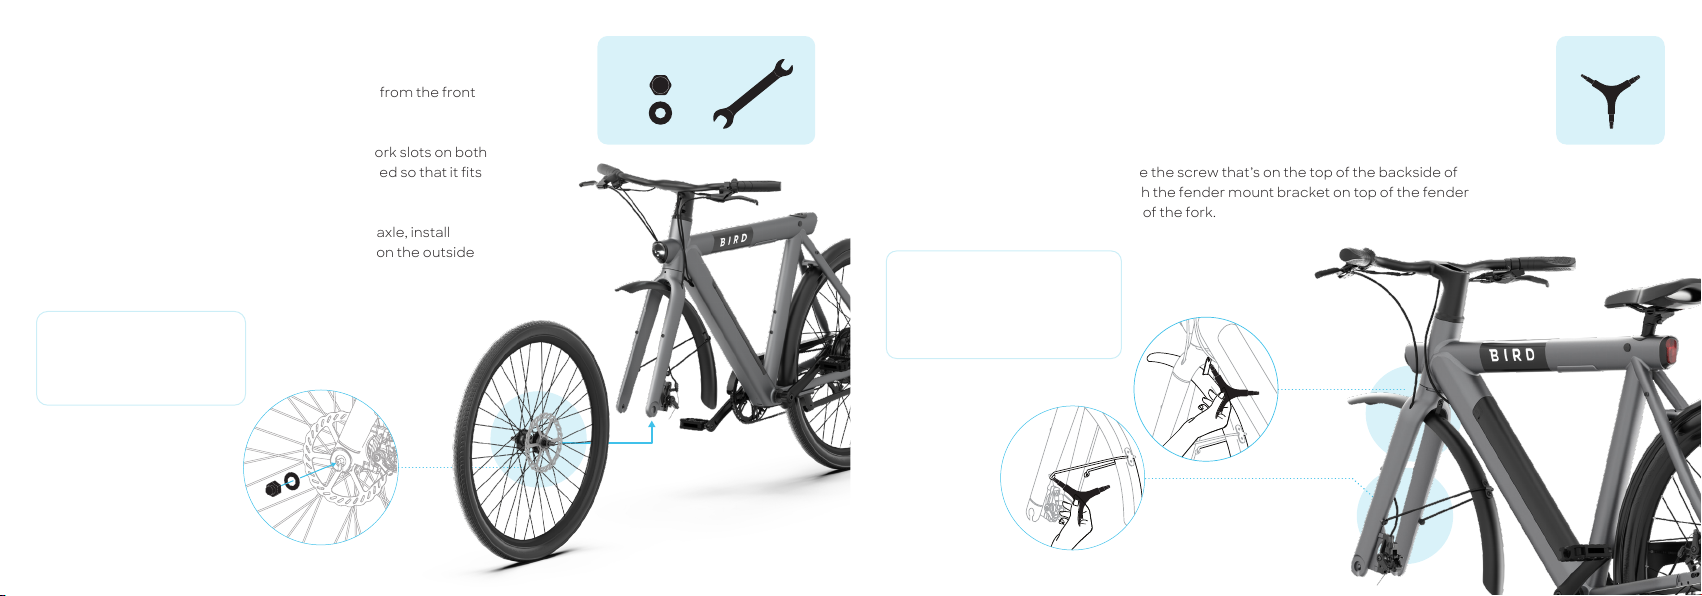
Attach the front fender to the fork by using the screws that are already in the fork legs.
Use the 4mm end of the tool to remove the two screws from the fork legs and then
tighten the screws through the holes at the end of the fender mounts.
Using the 4mm end of the tool remove the screw that’s on the top of the backside of
the fork and tighten the screw through the fender mount bracket on top of the fender
so that it’s secured tightly to the back of the fork.
When tightening the fender, avoid
rubbing the tool on the frame so
the paint doesn’t get scratched.
Also, don’t over tighten the screws
to avoid stripping the holes.
3
Be sure to remove the plastic front rotor protector from the front
wheel axle before starting this step.
Align the front wheel axle so that it’s inside of the fork slots on both
sides. The side with the brake rotor should be aligned so that it ts
inside the front disc brake.
Once the fork slots are sitting on both sides of the axle, install
washers at both ends and tighten up the cap nuts on the outside
using the 15mm end of the wrench.
After installing the front wheel,
extend the kickstand for better
stability and easier assembly
during the next steps.
A-FRAME 9
This manual suits for next models
4
Table of contents
Languages:
Other BirdBike Bicycle manuals


