BirdBike VA00038 User manual

USER MANUAL

A-Frame User Manual
Please read this manual very carefully before using the
product. The manual contains important instructions for
the safe use and longevity of your bike.
If you need any type of support or warranty information
for your BirdBike, please contact the local dealer or
retailer where you purchased the product.
Model: VA00038/VA00069 (Grey), VA00037/VA00068 (Blue), VA00056/VA00070 (Black)

3
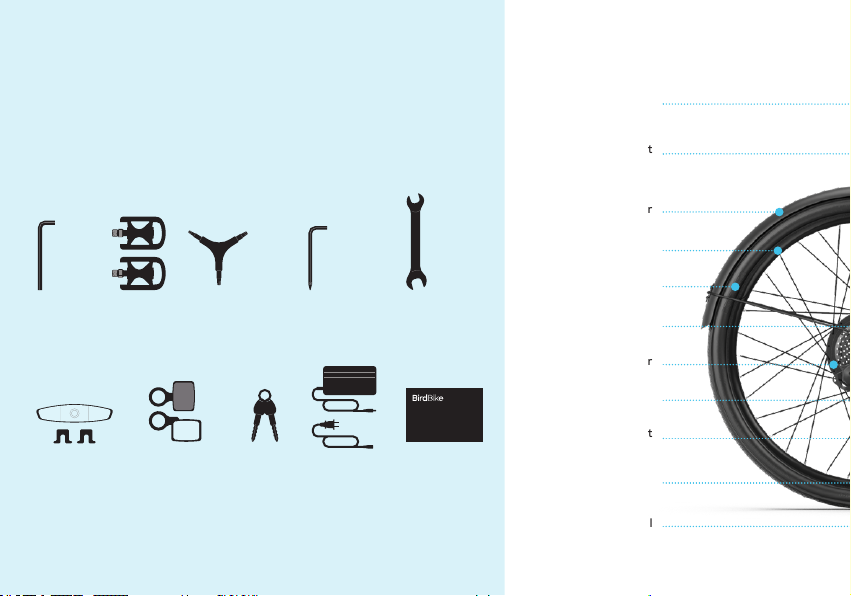
1Assembly Prep
To prepare for the assembly of your BirdBike, rst take out all
pieces of the BirdBike from the box and remove all packaging.
Also, open the accessory box and remove all tools, parts and
everything else that’s inside of it.
2.5 mm
Allen key
13mm / 15mm
Two-sided
Wrench
L-key Phillips
Screwdriver
(x 2) and
Pedals
(x2)
Keys
Power Supply
and Cable
This Manual
4mm / 5mm /
6mm Y-wrench
Saddle
Rear fender
Rear rim
Tire
Rear disc brake
Crank
Pedal
A-FRAME
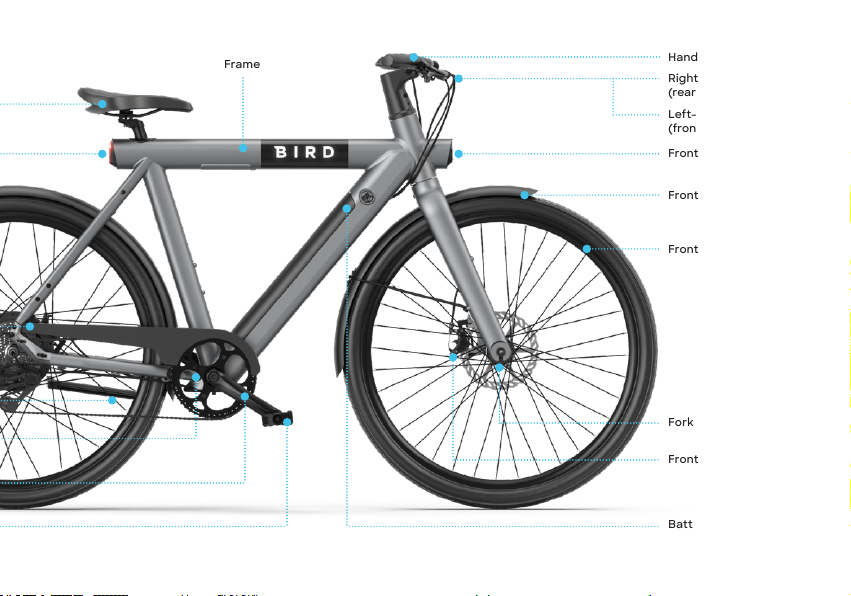
Frame Handlebar
(rear wheel)
Fork
5
This manual suits for next models
5
Table of contents
Languages:
Other BirdBike Bicycle manuals


