Text Messaging
Text messaging (SMS) allows you to receive and send short
messages to other mobile phones that support text messaging.
Compose and send
1. On Home screen, scroll to the Messages icon and
press the trackball to open the inbox.
2. Press .
3. Scroll to Compose SMS Text and press the trackball.
4. Highlight [Use Once] or a contact in the address book
and press the trackball. If you select [Use Once], then
type the phone number and press the trackball.
5. Type your message and press the trackball.
6. Select Send.
Text messages are displayed in
your phone’s inbox. To read, delete,
and reply to text messages, see
instructions in the E-mail section.
You have new text messages if you
see this icon on the Home screen.
Use Bluetooth®technology
Bluetooth technology is a wireless technology that enables data
connection between your Bluetooth-enabled phones, wireless
headsets, and other devices.
1. On Home screen, press .
2. Scroll to Set Up Bluetooth and press the trackball.
3. At OK press the trackball. Your phone will search for
available devices.
Note: Make sure the device you want to pair with is in
pairing mode.
4. Scroll to the device name and press the trackball.
5. Type the passkey for the device you want to pair with and
press the trackball.
Note: The default passkey is 0000 (four zeros).
E-mail
You have new e-mail if you see
this icon on the Home screen.
Compose and send
1. On Home screen, scroll to the
Messages icon and press
the trackball to open the inbox.
2. Press .
3. Scroll to Compose Email and
press the trackball.
4. At the To field, type an e-mail
address or type a contact name.
5. Type your subject and message.
6. Press the trackball and select Send.
Read
1. On Home screen, scroll to the
Messages icon and press the
trackball to open the inbox.
2. Scroll to the message and
press the trackball to open.
Manage
1. Scroll to the message and
press the trackball to open.
2. Press and select Mark
Unopened, Save, Reply,
Forward, Forward as, Reply
To All, and Delete.
T-Mobile Customer Care
Help is a phone call away. Call 1-
800-937-8997 or dial 611 from your
phone 24 hours a day, 7 days a week.
Help on the Web
Open your computer’s Web browser,
go to http://support.t-mobile.com
and select BlackBerry 8800 from the
drop-down box.
See T-Mobile’s Terms and Conditions (including mandatory arbitration) and other relevant pages at www.t-mobile.com for rate
and additional information on domestic and international calling and messaging (sending and receiving); ringtone, CallerTunes®,
wallpaper and game downloads; Internet access; and other services/features. myFaves Elements: myFaves plans available solely
with myFaves-enabled handset. myFaves plans not available to Take Control customers. myFaves plans allow unlimited nationwide
calling to any five U.S. phone numbers (excluding 411; voicemail; toll-free, 900, calling card, and customers’ own numbers; and single
numbers allowing access to 500 or more persons), each of which may be changed a maximum of one time per calendar month.
International calls incur separate additional charges. Messaging Plans/Features: You will be charged for all data sent by or to you
through the network, regardless of whether received. Character length/file size of messages/attachments may be limited. T-Mobile
is not liable for content of messages/attachments or for any failures, delays or errors in any T-Mobile generated alerts or notifications.
T-Mobile is a federally registered trademark, the magenta color is a trademark, and t-zones is a service mark, of Deutsche Telekom
AG. MegaTones, HiFi Ringers, and CallerTunes are federally registered trademarks and myFaves and the myFaves design are service
marks of T-Mobile USA, Inc. The RIM and BlackBerry families of related marks, images, and symbols are the exclusive properties
of and trademarks of Research In Motion Limited—used by permission. All other brand names, product names, company names,
trademarks and service marks are the property of their respective owners. © 2007 T-Mobile USA, Inc.
User Guide
See the Reference Guide and User
Guide that comes with your phone.
Help on Your Phone
At Home screen, press . Scroll
to Help and press the trackball.
Synchronize calendar, contacts, tasks, memos
You can synchronize your contacts, calendar, tasks, and memos between
your computer and your phone.
1. Install BlackBerry®Desktop Manager on your
computer from the included CD.
2. Connect your phone to your computer using the
USB cable.
3. Open BlackBerry®Desktop Manager on your
computer.
4. Double-click the Synchronize icon.
5. Click Synchronize Now.
Tip: To open the inbox via
the menu, on the Home
screen, press . Scroll
to Messages and press the
trackball.
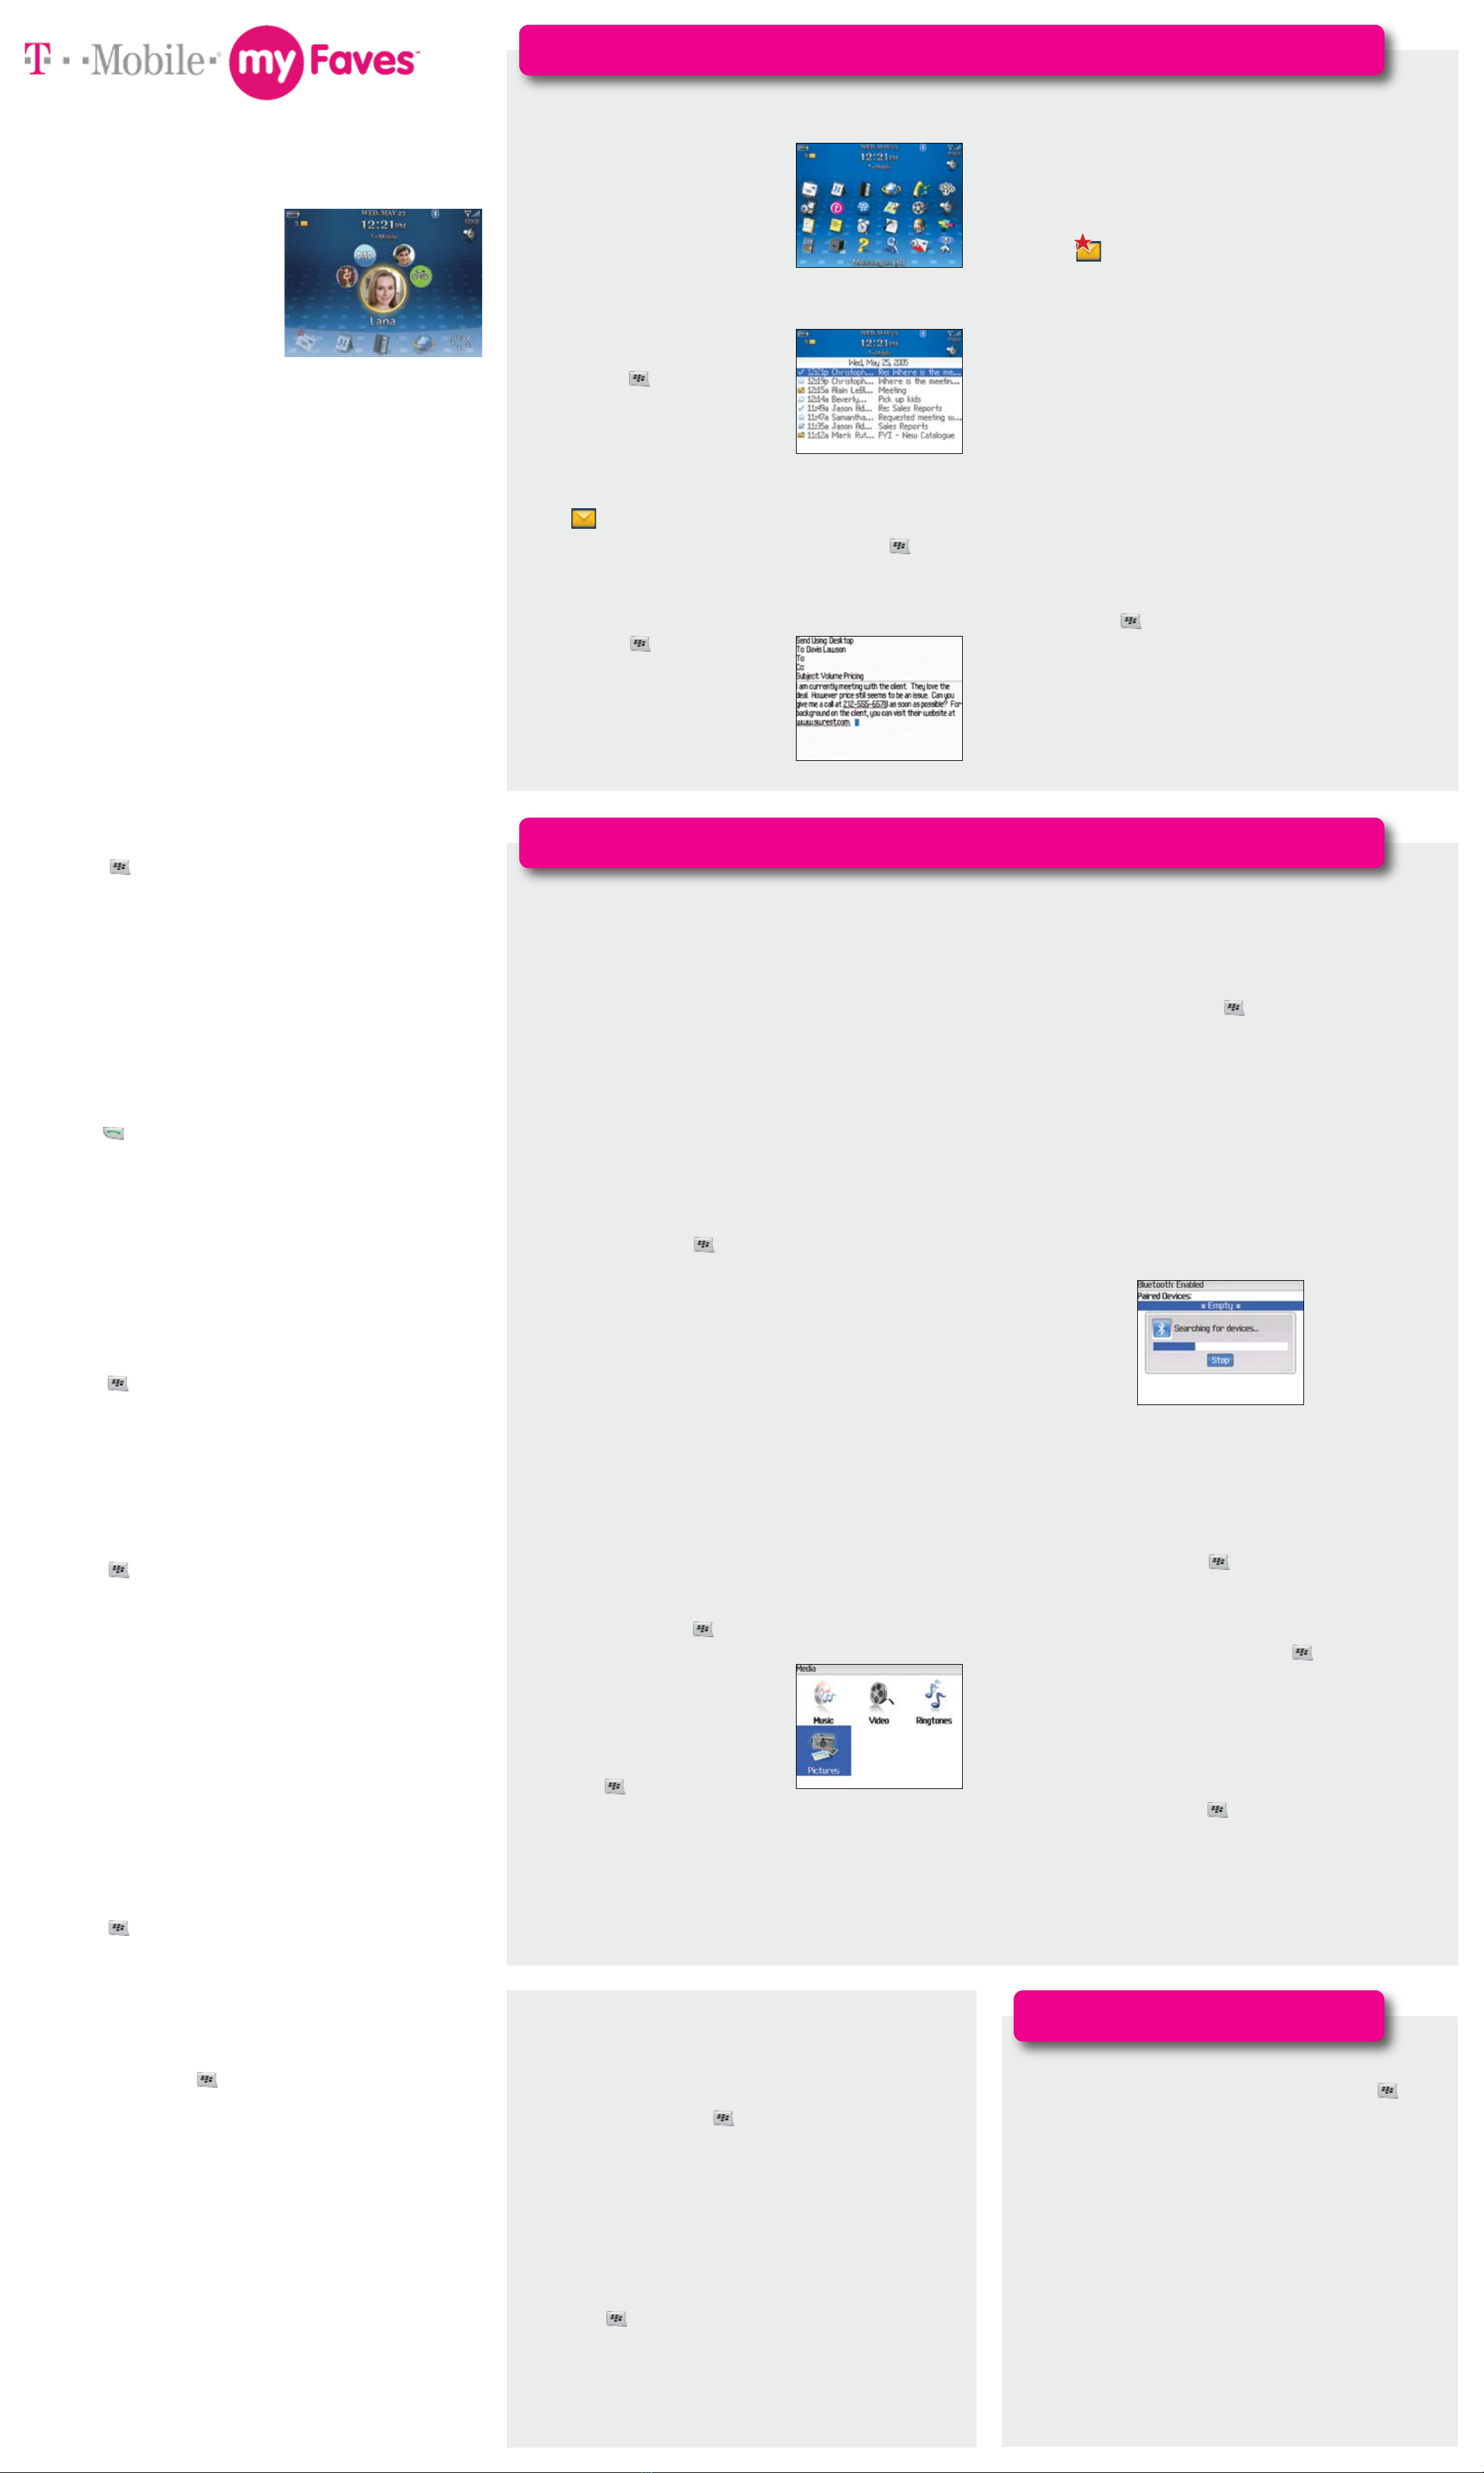
Change ringtone
1. On Home screen, press .
2. Scroll to Media and press the trackball.
3. Scroll to Music or Ringtones and press the trackball.
4. Scroll to the desired folder and press the trackball.
5. Scroll to the desired sound file and press .
6. Scroll to Set As Phone Tune and press the trackball.
7. At OK press the trackball.
What is myFaves?
myFaves is an optional calling plan.
T-Mobile®myFavesSM helps you stay
connected to the people who matter most
in your life. Simply choose any five U.S.
phone numbers* you call most often, on any
network, and have them displayed on your
Home screen.
For more information and to
subscribe go to www.t-mobile.com.
* Excluding 411; voicemail; toll-free, 900, calling
card, and customers’ own numbers; and single
numbers allowing access to 500 or more persons.
Separate purchase /download charges may
apply. Separate charges apply to send/receive
domestic/international text and picture messages.
Messaging
For More Help
Software Updates
For the latest BlackBerry®phone and BlackBerry® Desktop Software, visit
www.t-mobile.com/bbupgrade.
Add a myFaves contact
1. On Home screen, scroll to an unassigned circle and
press the trackball.
2. Scroll to Create New and press the trackball.
3. Type the name and phone number.
4. Scroll to Change Icon and press the trackball.
5. Scroll to one of the following and press the trackball:
• My Pictures to use a picture you have already
saved to your phone. Scroll to the desired picture
and press the trackball. Move the trackball to
move the circle to a desired location and press the
trackball. At Crop and Save press the trackball.
• myFaves Icons to use a preloaded icon. Scroll to
the desired icon and press the trackball.
• Get More Icons to download icons.
6. Scroll to Ringtone and press the trackball.
7. Scroll to the desired ringtone and press the trackball.
8. Press and select Save.
9. At Yes press the trackball.
The myFaves circle will display an hourglass while the contact is
being updated. Once your contact is added, you will receive a
confirmation and your contact will display on the Home screen.
Call a myFaves contact
On Home screen, scroll to the myFaves contact
and press .
Send a text message
1. Scroll to a myFaves contact and press the trackball.
2. Scroll to SMS Text and press the trackball.
3. If necessary, scroll to the desired phone number and
press the trackball.
4. Type your message.
5. Press and select Send.
Note: Separate charges apply to send/receive domestic/
international text messages.
Change ring style
1. On Home screen, press .
2. Scroll to Profiles and press the trackball.
3. Scroll to Loud, Vibrate, Quiet, Normal or
Phone Only and press the trackball.
Edit a contact
1. On Home screen, scroll to the myFaves contact and
press the trackball.
2. Press .
3. At Edit Contact press the trackball.
4. Edit the contact information.
Note: Contact names, icons, and ringtones may be changed
at any time. Each contact number may only be changed once
per calendar month.
5. Scroll to Change Icon and press the trackball.
6. Scroll to one of the following and press the trackball:
• My Pictures to use a picture you have already
saved to your phone. Scroll to the desired picture
and press the trackball. Move the trackball to
move the circle to a desired location and press the
trackball. At Crop and Save press the trackball.
• myFaves Icons to use a preloaded icon. Scroll to
the desired icon and press the trackball.
• Get More Icons to download icons.
7. Scroll to Ringtone and press the trackball.
8. Scroll to the desired ringtone and press the trackball.
9. Press and select Save.
Dowload icons
1. On Home screen, press .
2. Scroll to t-zones and press the trackball .
3. Scroll to myFaves Icons and press the trackball.
4. At myFaves Icons press the trackball.
5. Scroll to the desired category and press the trackball.
6. Scroll to the desired icon and press the trackball.
7. Scroll to ACCEPT and press the trackball.
8. At Yes press the trackball to set the icon for a myFaves
contact.
9. Scroll to the contact and press the trackball.
10. At OK press the trackball.
Other Features
Download ringtones and wallpapers
1. On Home screen, press .
2. Scroll to t-zones and press the trackball.
3. Scroll to Music & Sounds or Wallpaper and press the trackball.
4. Scroll to the desired download type and press the trackball.
4. Scroll to the desired category and press the trackball.
5. Scroll to the desired file and press the trackball.
6. Scroll to ACCEPT and press the trackball.
7. Scroll to Save and press the trackball.
Music files save to Media > Ringtones > Device Memory and image files
to Media > Pictures > Device Memory.
Enable phone lock
With phone lock enabled your phone will lock any time it is turned
off or holstered.
1. On the Home screen, press .
2. Scroll to Options and press the trackball.
3. Scroll to Security Options and press the trackball.
4. At General Settings press the trackball.
5. At Password press the trackball.
6. Scroll to Enabled and press the trackball.
7. Scroll to Lock Handheld Upon Holstering and press the
trackball.
8. Scroll to Yes and press the trackball.
9. Press and select Save.
10. Type a password and press the trackball.
11. Re-type the password and press the trackball.
Change wallpaper
1. On Home screen, press .
2. Scroll to Media and press the
trackball.
3. Scroll to Pictures and press the
trackball.
4. Scroll to the desired folder and
press the trackball.
5. Scroll to the desired image file and
press .
6. Scroll to Set As Home Screen
Image and press the trackball.
Note: Separate purchase/download charges may apply.


