manuals.online logo
Brands
  1. Home
  2. •
  3. Brands
  4. •
  5. BLACKMER
  6. •
  7. Water Pump
  8. •
  9. BLACKMER TX User manual

BLACKMER TX User manual

Other manuals for TX

1

This manual suits for next models

11

Other BLACKMER Water Pump manuals

BLACKMER EBSRAY RC20 Manual

BLACKMER

BLACKMER EBSRAY RC20 Manual

BLACKMER GDP 102 Manual

BLACKMER

BLACKMER GDP 102 Manual

BLACKMER CRL4B Manual

BLACKMER

BLACKMER CRL4B Manual

BLACKMER SMVP15B Manual

BLACKMER

BLACKMER SMVP15B Manual

BLACKMER LGRL1.25 Manual

BLACKMER

BLACKMER LGRL1.25 Manual

BLACKMER SGLD4A User manual

BLACKMER

BLACKMER SGLD4A User manual

BLACKMER LGLD2E Manual

BLACKMER

BLACKMER LGLD2E Manual

BLACKMER TXH3C User manual

BLACKMER

BLACKMER TXH3C User manual

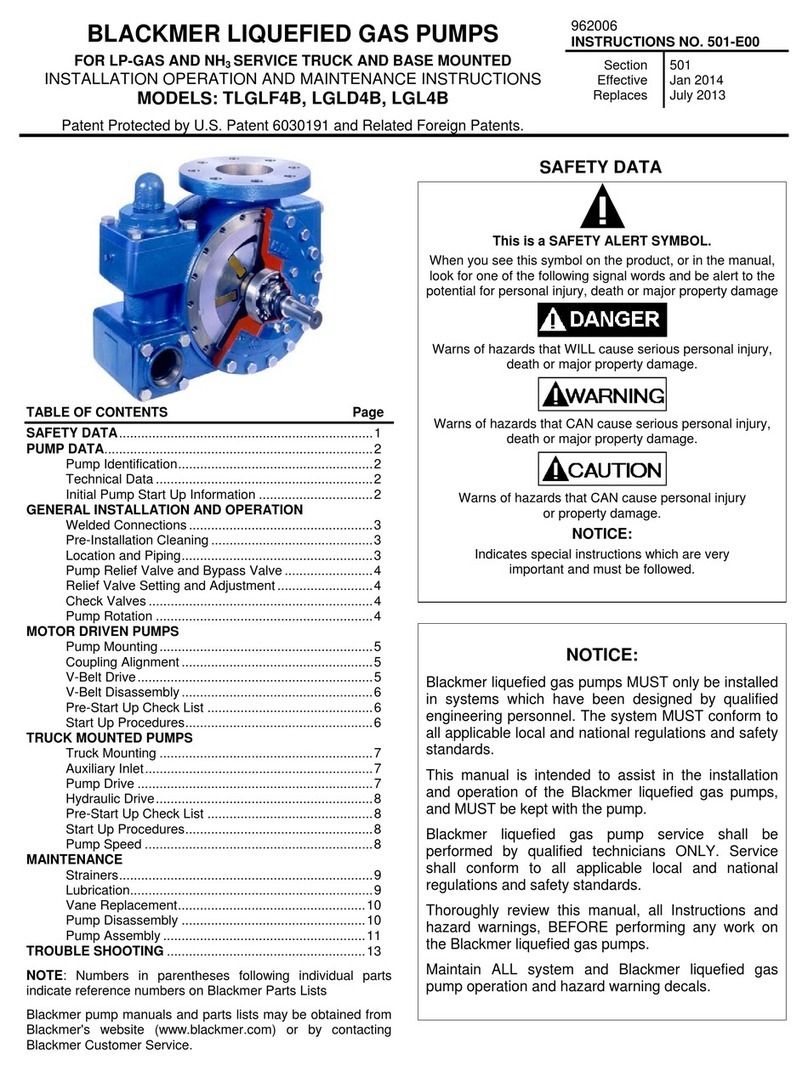
BLACKMER TLGLF4B Manual

BLACKMER

BLACKMER TLGLF4B Manual

BLACKMER TXV2.5B Manual

BLACKMER

BLACKMER TXV2.5B Manual

BLACKMER SMVP15C User manual

BLACKMER

BLACKMER SMVP15C User manual

BLACKMER CRL2 User manual

BLACKMER

BLACKMER CRL2 User manual

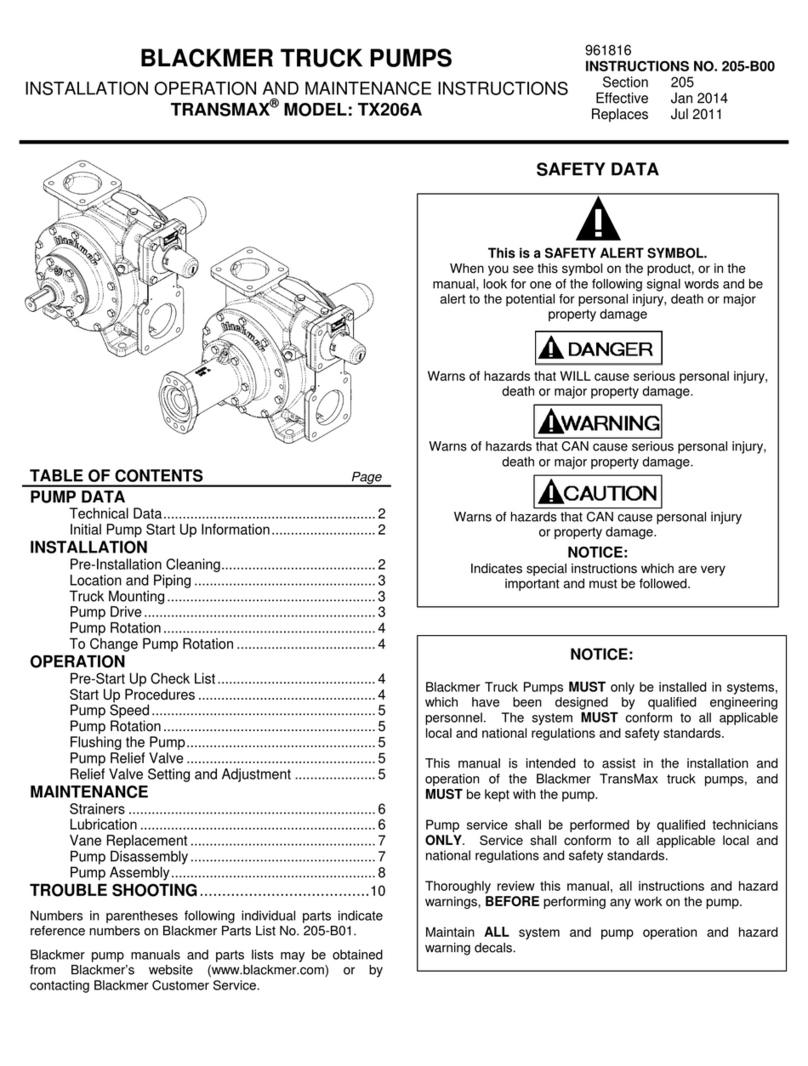
BLACKMER TRANSMAX TX206A Manual

BLACKMER

BLACKMER TRANSMAX TX206A Manual

BLACKMER TLGLF3HD Manual

BLACKMER

BLACKMER TLGLF3HD Manual

BLACKMER LGL154A Manual

BLACKMER

BLACKMER LGL154A Manual

BLACKMER V Series Manual

BLACKMER

BLACKMER V Series Manual

BLACKMER TX Manual

BLACKMER

BLACKMER TX Manual

BLACKMER TX1.5 Manual

BLACKMER

BLACKMER TX1.5 Manual

BLACKMER SGLD2 Manual

BLACKMER

BLACKMER SGLD2 Manual

BLACKMER LGLD4B User manual

BLACKMER

BLACKMER LGLD4B User manual

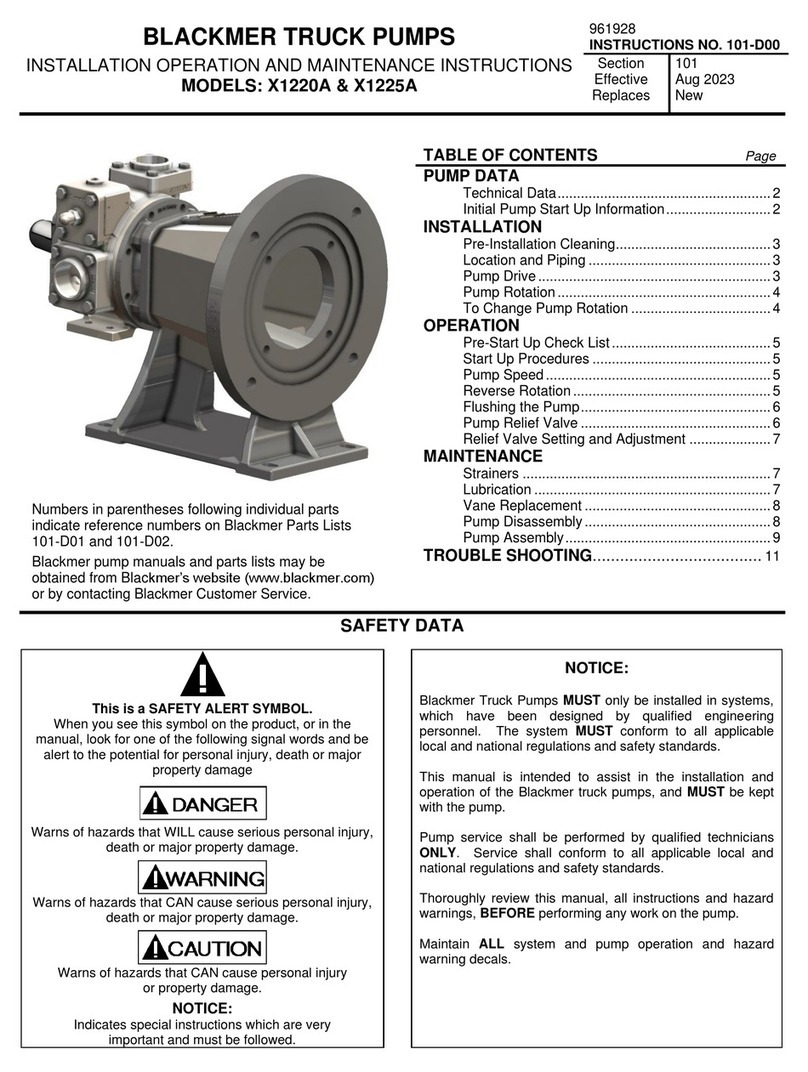
BLACKMER X1220A Manual

BLACKMER

BLACKMER X1220A Manual

BLACKMER ATX300A Manual

BLACKMER

BLACKMER ATX300A Manual

BLACKMER LGLD2E, CRL2, SGLD2 Manual

BLACKMER

BLACKMER LGLD2E, CRL2, SGLD2 Manual

BLACKMER STX3 Manual

BLACKMER

BLACKMER STX3 Manual

Popular Water Pump manuals by other brands

Watershed Innovations HYDRAPUMP SMART FLEX Instructional manual

Watershed Innovations

Watershed Innovations HYDRAPUMP SMART FLEX Instructional manual

Graco Modu-Flo AL-5M instructions

Graco

Graco Modu-Flo AL-5M instructions

Messner MultiSystem MPF 3000 operating instructions

Messner

Messner MultiSystem MPF 3000 operating instructions

Xylem Bell & Gossett WEHT0311M Installation, operation and maintenance instructions

Xylem

Xylem Bell & Gossett WEHT0311M Installation, operation and maintenance instructions

WilTec 50739 Operation manual

WilTec

WilTec 50739 Operation manual

Franklin Electric Little Giant 555702 HRK-360S instruction sheet

Franklin Electric

Franklin Electric Little Giant 555702 HRK-360S instruction sheet

Ingersoll-Rand PD02P Series Operator's manual

Ingersoll-Rand

Ingersoll-Rand PD02P Series Operator's manual

VS ZJ Series Operating	 instruction

VS

VS ZJ Series Operating instruction

Flotec FPZS50RP owner's manual

Flotec

Flotec FPZS50RP owner's manual

SKF Lincoln FlowMaster II User and maintenance instructions

SKF

SKF Lincoln FlowMaster II User and maintenance instructions

Xylem Lowara LSB Series Installation, operation and maintenance instructions

Xylem

Xylem Lowara LSB Series Installation, operation and maintenance instructions

Water Duro Pumps DCJ500 Operating & installation instructions

Water

Water Duro Pumps DCJ500 Operating & installation instructions

Action P490 Operating instructions & parts manual

Action

Action P490 Operating instructions & parts manual

Flo King Permacore Reusable Carbon Bag Disassembly. & Cleaning Instructions

Flo King

Flo King Permacore Reusable Carbon Bag Disassembly. & Cleaning Instructions

ARO ARO PD15P-X Operator's manual

ARO

ARO ARO PD15P-X Operator's manual

Pumptec 112V Series Operating instructions and parts manual

Pumptec

Pumptec 112V Series Operating instructions and parts manual

Virax 262070 user manual

Virax

Virax 262070 user manual

Neptun NPHW 5500 operating instructions

Neptun

Neptun NPHW 5500 operating instructions

manuals.online logo
manuals.online logoBrands
  • About & Mission
  • Contact us
  • Privacy Policy
  • Terms and Conditions

Copyright 2025 Manuals.Online. All Rights Reserved.

BLACKMER MECHANICAL SEAL INSTALLATION 960610
Page 1of 2FORM
522
CARTRIDGE MECHANICAL SEAL INSTRUCTIONS
MODELS: GX, X, XH, TX, TXV, TXDI, TX1200, STX2, STX3,
STX1220, TX206, TX400 Effective FEB 2017
Replaces MAR 2003
This is a SAFETY ALERT SYMBOL.
When you see this symbol on the product, or in the
manual, look for one of the following signal words and be
alert to the potential for personal injury, death or major
property damage
Warns of hazards that WILL cause serious personal injury,
death or major property damage.
Warns of hazards that CAN cause serious personal injury,
death or major property damage.
Warns of hazards that CAN cause personal injury
or property damage.
NOTICE:
Indicates special instructions which are very
important and must be followed.
NOTICE:
Blackmer pumps MUST only be installed in systems,
which have been designed by qualified engineering
personnel. The system MUST conform to all
applicable local and national regulations and safety
standards.
These instructions are intended to assist in the
installation of Blackmer cartridge mechanical seals,
and MUST be kept with the pump.
Blackmer pump service shall be performed by
qualified technicians ONLY. Service shall conform to
all applicable local and national regulations and
safety standards.
Thoroughly review the pump manual, all instructions
and hazard warnings, BEFORE performing any work
on the Blackmer pump.
Maintain ALL system and Blackmer pump operation
and hazard warning decals.
DISCONNECTING FLUID OR PRESSURE
CONTAINMENT COMPONENTS DURING
PUMP OPERATION CAN CAUSE
SERIOUS PERSONAL INJURY, DEATH
OR MAJOR PROPERTY DAMAGE
Hazardous pressure
can cause personal
injury or property
damage
FAILURE TO DISCONNECT AND
LOCKOUT ELECTRICAL POWER
BEFORE ATTEMPTING MAINTENANCE
CAN CAUSE SHOCK, BURNS OR
DEATH
Hazardous voltage.
Can shock, burn or
cause death.
FAILURE TO DISCONNECT AND
LOCKOUT ELECTRICAL POWER OR
ENGINE DRIVE BEFORE ATTEMPTING
MAINTENANCE CAN CAUSE SEVERE
PERSONAL INJURY OR DEATH
Hazardous
machinery can
cause serious
p
ersonal in
j
ur
y
.
FAILURE TO RELIEVE SYSTEM
PRESSURE PRIOR TO PERFORMING
PUMP SERVICE OR MAINTENANCE
CAN CAUSE SERIOUS PERSONAL
INJURY OR PROPERTY DAMAGE.
Hazardous pressure
can cause serious
personal injury or
property damage
FAILURE TO SET THE VEHICLE
EMERGENCY BRAKE AND CHOCK
WHEELS BEFORE PERFORMING
SERVICE CAN CAUSE SEVERE
PERSONAL INJURY OR PROPERTY
DAMAGE.
Hazardous pressure
can cause personal
injury or property
damage
IF PUMPING HAZARDOUS OR TOXIC
FLUIDS, SYSTEM MUST BE FLUSHED,
PRIOR TO PERFORMING SERVICE OR
MAINTENANCE
Hazardous or toxic
fluids can cause
serious injury.
1809 Century Avenue, Grand Rapids, Michigan 49503-1530, U.S.A.
Telephone: (616) 241-1611 / Fax: (616) 241-3752 Form 522
E-Mail: [email protected] / Internet: www.blackmer.com Page 2 of 2
NOTICE:
THE APPROPRIATE BLACKMER PUMP MANUAL AND
PARTS LIST MAY BE OBTAINED FROM THE
BLACKMER WEBSITE (WWW.BLACKMER.COM) OR BY
CONTACTING BLACKMER CUSTOMER SERVICE.
PUMP INSTRUCTION SHEETS AND PARTS LISTS
Pump
Model
Pump
Instruction
Sheet
Pump Parts Lists
1.5" 2" 2.5" 3" 4"
GX 101-B00 — 101-B01 101-B02 101-B03 101-B04
X — 101-B05 101-B06 101-B07 101-B08
XH — 101-B15 101-B16 101-B17 101-B18
TX 201-A00 201-A01 201-A02 201-A03 201-A04 201-A05
TXDI — 201-A06 201-A07 201-A08 201-A09
TXV 202-A00 — 202-A01 * 202-A02 202-A03 —
TX1200 201-D00 — 201-D02 201-D03 201-D04 —
STX2 203-A00 203-A04
STX3 203-A00 203-A01
STX1220 203-A00 203-A03
TX206 205-B00 205-B01
TX400 205-A00 205-A02
* Discontinued models
NOTICE:
MAINTENANCE AND TROUBLE SHOOTING MUST BE
DONE BY AN INDIVIDUAL EXPERIENCED WITH PUMP
MAINTENANCE AND THE TYPE OF SYSTEM INVOLVED.
NOTICE:
THE FOLLOWING INSTRUCTIONS INCLUDE ONLY THE
STEPS NECESSARY TO REMOVE AND REPLACE THE
BLACKMER CARTRIDGE MECHANICAL SEAL. BEFORE
PROCEEDING, READ AND FOLLOW ALL MECHANICAL
SEAL RELATED INSTRUCTIONS AND HAZARD
WARNINGS PROVIDED IN THE APPROPRIATE PUMP
"INSTALLATION, OPERATION AND MAINTENANCE”
MANUAL.
CARTRIDGE MECHANICAL SEAL REMOVAL
1. Before removing the head assembly, clean the pump shaft
thoroughly, making sure the shaft is free of nicks and
burrs.
2. With the head assembly removed, use two large
screwdrivers to carefully push the backside of the seal
jacket to remove the mechanical seal cartridge from the
head. DO NOT damage the head. See Figure 1.
Figure 1 – Mechanical Seal Removal
3. Discard the mechanical seal cartridge.
4. Inspect the shaft at the mechanical seal area for grooving
or pitting. Replace rotor and shaft as necessary.
CARTRIDGE MECHANICAL SEAL INSTALLATION
1. Clean the head seal recess, removing any debris, nicks or
burrs. On models with discs install the disc (71) in the
head recess before installing the mechanical seal.
2. With a small amount of quality O-ring lubricant, lubricate
the mechanical seal O-rings (Ref. Nos. 153D and 153L).
3. Position the mechanical seal jacket with the drive tangs
INWARD, and push the seal assembly into the head seal
recess. The stationary seat pin MUST be positioned
between the lugs in the back of the head recess.
REF.
NO. CARTRIDGE MECHANICAL SEAL PARTS
153 Cartridge Mechanical Seal with O-Rings
153D O-Ring - Stationary
153L O-Ring - Rotating