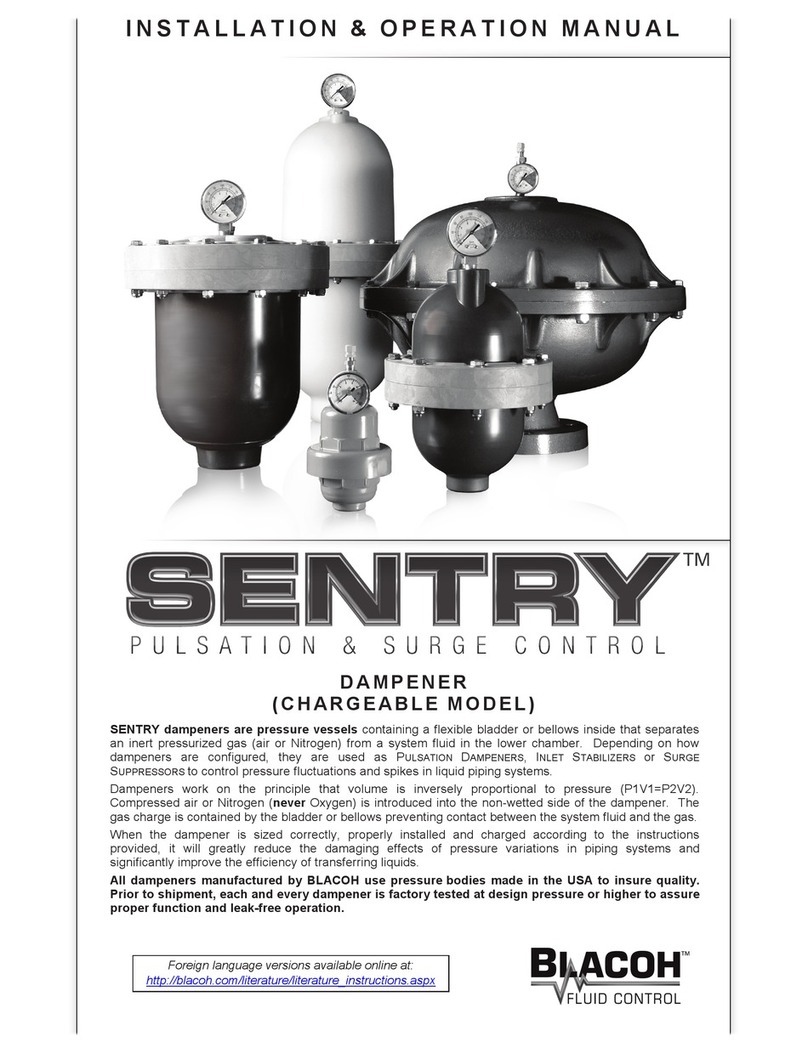
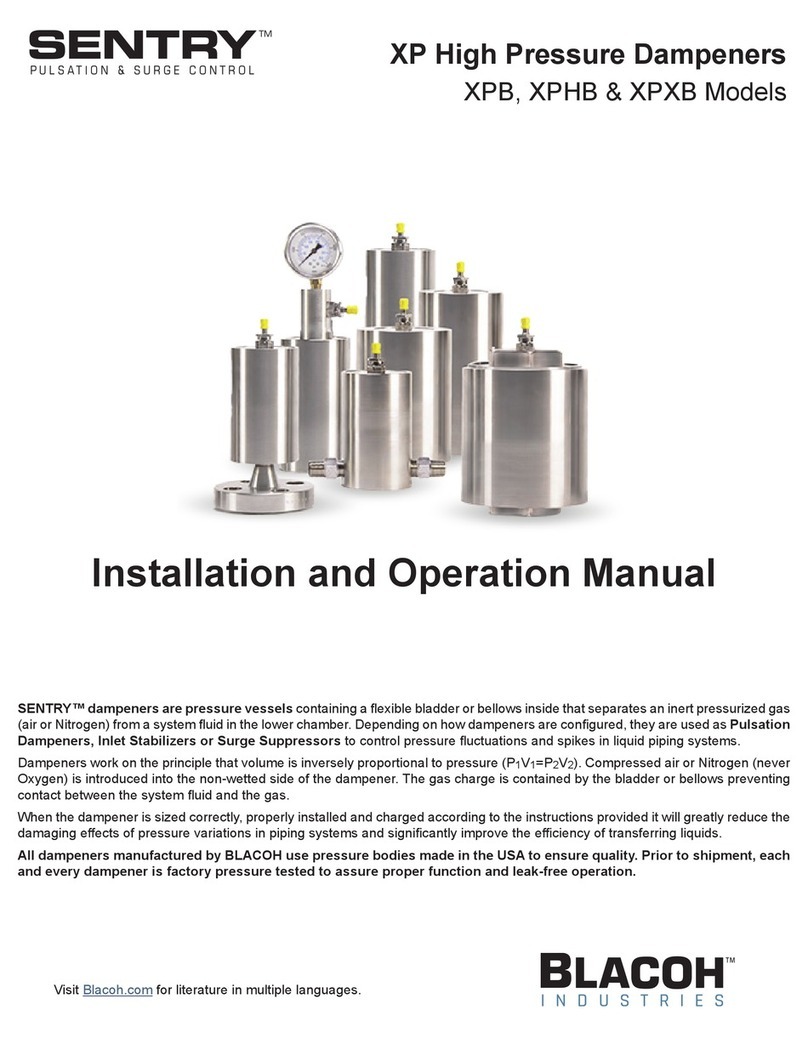
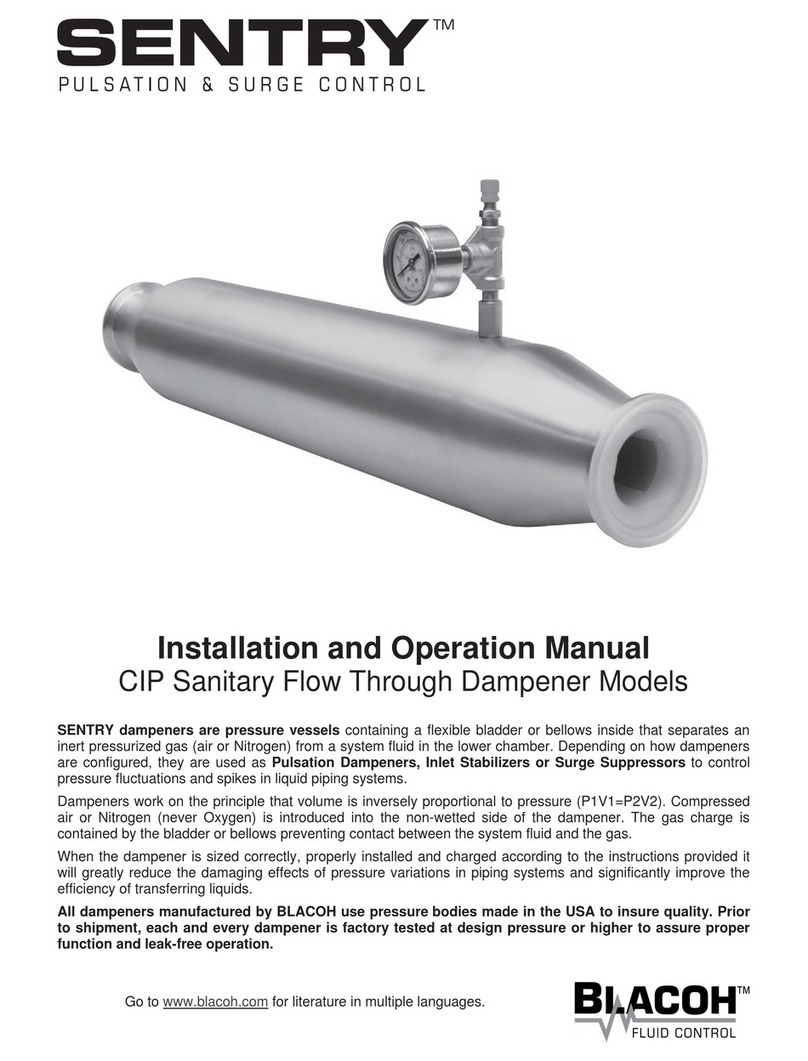
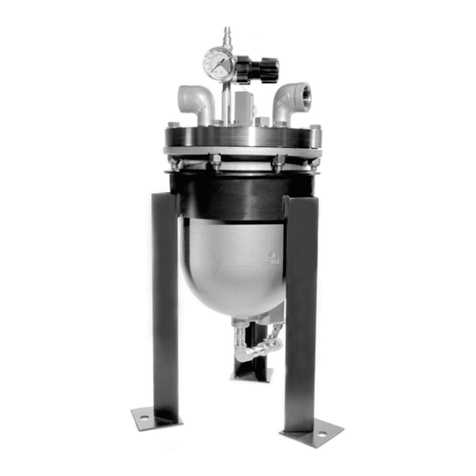
Blacoh AODDampener User manual

The AODDampener™ is designed specically to handle the large pressure pulses that air operated double diaphragm
pumps produce. The automatic valve on the AODDampener adjusts the charge in the air chamber to compensate for
varying conditions in the discharge piping system, maximizing the reduction in pulsation. When sized correctly and properly
installed the AODDampener will greatly reduce the damaging effects of pressure variations and improve the efciency of
transferring uids.
All dampeners manufactured by BLACOH use pressure bodies made in the USA to ensure quality. Prior to shipment,
each and every dampener is factory pressure tested to assure proper function and leak-free operation.
Installation and Operation Manual

1 AODDAMPENER™
Copyright © 2021 BLACOH Fluid Controls, Inc. All rights reserved.
Information in this document is subject to change without notice. No part of this publication may be reproduced, stored in a retrieval system or
transmitted in any form or by any means electronic or mechanical, including photocopying and recording for any purpose other than the purchaser’s
personal use without the express written permission of BLACOH Fluid Controls, Inc.
Model No. Serial No. Pump Area and Number
Purchased From Contact Phone Email
Installation Date
MODEL Specications & Installation Information
Table of Contents
SAFETY Warnings .......................................................................................................................................... 2
Safety Symbols ...................................................................................................................................................2
General Safety ....................................................................................................................................................2
Equipment Misuse Hazard ..................................................................................................................................2
GENERAL Information ................................................................................................................................... 3
Must Read Before Installation .............................................................................................................................3
Installation Notes.................................................................................................................................................3
ATEX Standard ...................................................................................................................................................3
Temperature Limits..............................................................................................................................................3
Maintenance........................................................................................................................................................3
Installation & Operation Instructions: AODDAMPENER™ Models........................................................... 4
Installation for Pump Discharge Pulsation ..........................................................................................................4
Maintenance and Repair .....................................................................................................................................5
Replacement Kits and Tools ..........................................................................................................................5
Diaphragm Replacement ...............................................................................................................................5
Exploded View ..................................................................................................................................................10
Manufacturer’s Limited Warranty & Return Policy.....................................................................................11

AODDAMPENER™ 2
Temperature & Pressure Hazard
Temperature and pressure reduce the strength and chemical
resistance of plastic, metal, elastomers and PTFE.
Charging / Pressurization
Charge or pressurize dampener with clean compressed air only.
DO NOT USE OXYGEN.
Dampener Diaphragm Failure
AODDampener models utilize a PTFE diaphragm to separate
system uid from the air supply. When failure occurs, system
uid may be expelled from the air valve. Always perform
preventive maintenance and replace diaphragm before excessive
wear occurs.
Maintenance Hazards
Never overtighten fasteners. This may cause leakage of system
uid and damage to dampener body. Bolts should not be
reused as re-torquing reduces bolt strength. After dampener
maintenance or disassembly, use new fasteners and
torque fasteners according to specication on dampener
tag. If missing, consult distributor or factory for torque
specications.
General Safety
DO NOT misuse dampener, including but not limited to over-
pressurization, modication of parts, using incompatible
chemicals, or operating with worn or damaged parts. DO NOT
use any gases other than compressed air to charge dampener.
DO NOT USE OXYGEN. Any misuse could result in serious
bodily injury, death, re, explosion or property damage.
Over-Pressurization
Never exceed the maximum pressure rating for the dampener
model being used. Maximum allowable working pressure
(MAWP) is specied on dampener serial tag or marked on
dampener. Maximum allowable working pressure (MAWP) is
rated at 70°F (21°C).
Temperature Limits
DO NOT exceed the operating temperature limits for the body
and/or diaphragm materials being used. Excessive temperature
will result in dampener failure. For temperature limits, refer to the
“Temperature Limits” section of this Manual. Temperature limits
are stated at zero psi/bar.
Installation and Startup Hazards
Install dampener before charging or pressurizing. DO NOT
start system or assembly without rst charging or pressurizing
dampener. Failure to charge may result in damage to the PTFE
diaphragm.
CAUTION!
Equipment Misuse Hazard
▪DO NOT operate a dampener that is leaking, damaged,
corroded or otherwise unable to contain internal uid, air or
gas pressure.
▪DO NOT pump incompatible uids through dampener. Consult
distributor or factory if you are not sure of the compatibility of
system uids with dampener materials.
▪ AODDampener models are designed to operate with
compressed air only. Other compressed gases have not been
tested and may be unsafe to use. DO NOT USE OXYGEN.
▪ Always shut off air supply, remove internal dampener
pressure and shut dampener isolation valve before performing
dampener maintenance or repair.
▪ Remove all pressure from dampener AND pumping system
before disassembly, removal or maintenance.
▪Static spark can cause an explosion resulting in severe
injury or death. Ground dampeners and pumping system
when pumping ammable uids or operating in ammable
environments.
▪ Observe all safety symbols in installation and operation
instructions.
▪ The internal dampener pressure will equal the maximum uid
pressure of the system in which it is installed.
▪DO NOT exceed maximum allowable working pressure
(MAWP) specied on dampener serial tag or marked on
dampener. If missing, DO NOT use dampener without
consulting distributor or factory for maximum pressure rating.
▪ Always make sure safety shutoff valves, regulators, pressure
relief valves, gauges, etc. are working properly before starting
system or assembly.
▪ Verify dampener model received against purchase order and
shipper.
▪ Before starting a system or assembly make certain the
discharge point of the piping system is clear and safe, and all
persons have been warned to stand clear.
▪DO NOT put your face or body near dampener when the
system or assembly is operating or dampener is pressurized.
CAUTION!
General Safety
NOTES Special instructions for safe and satisfactory installation, operation and maintenance.
CAUTIONS Equipment damage, injury or death could occur if these cautions are not observed.
WARNINGS Danger of serious injury or death could occur if these warnings are ignored.
The following symbols indicate cautions, warnings and notes that must be observed for safe and satisfactory installation, operation and
maintenance of dampener.
Safety Symbols
Dampeners should only be installed, operated and repaired by experienced and trained professional mechanics. Read and observe all
instructions and safety warnings in this Manual before installing, operating or repairing dampeners.
SAFETY Warnings

3 AODDAMPENER™
After the initial torque of fasteners, bolts may lose strength when re-torqued. Failure to replace both nuts and bolts upon each vessel
reassembly will void the product warranty given by the manufacturer and the manufacturer will have no liability whatsoever for any
vessel failure or malfunction.
CAUTION! Replace nut and bolt fasteners at each reassembly with fasteners of equal grade/strength value. DO NOT
reuse old nuts and bolts.
Dampeners require very little maintenance.
PTFE diaphragm replacement should be part of a preventive maintenance program. As with any pumping system, wear is dependent
on many factors including material, temperature, chemicals, uid abrasiveness and system design. This suggested maintenance
program may need to be adjusted according to specic applications.
Periodic inspection of the dampener and fasteners should be conducted to visually check for signs of over-pressurization, fatigue,
stress or corrosion. Body housings and fasteners must be replaced at rst indication of deterioration.
Remove all pressure from dampener AND pumping system before disassembly, removal or maintenance.
Maintenance
Material Temperature Limit
PTFE Diaphragm +40°F to +220°F (+4°C to +104°C)
Buna-N +10°F to +180°F (-12°C to +82°C)
Operating temperatures are based on the maximum temperature
of the wetted dampener components only. Non-wetted dampener
components may have a lower temperature limit. Temperature
and certain chemicals may reduce the maximum allowable
working pressure (MAWP) of the dampener.
Temperature Limits
Certain models made for the European market are intended for use in potentially explosive atmospheres and meet the
requirements of ATEX directive 2014/34/EU. These models have the AT designation at the end of the part number, comply with
ISO 80079-36, and have an ATEX rating of II 2GD Ex h IIB T4 Gb Db. AT models have a grounding lug and must be grounded
(earthed) before operation.
ATEX Standard
Dampening of ow pulsations can only be effective if a minimum of 5 to 10 psi (0.4 to 0.7 bar) back pressure downstream of
dampener is available. A Blacoh back pressure valve may be required downstream of dampener, except when dampener is
used as an inlet stabilizer for the inlet side of the pump.
It is recommended that a Blacoh pressure relief valve be installed in all pump systems to ensure compliance with pressure
limits on system equipment.
To avoid possible damage to diaphragm from a system pressure test, prior to test dampener must be equipped with a constant
source of compressed air with pressure equal to or greater than system test pressure.
Install dampener inline as close to the pump discharge/inlet or quick closing valve as possible. Dampener installation should
be no more than ten pipe diameters from pump discharge/inlet or quick closing valve.
It is recommended that an isolation valve be installed between the dampener and system piping.
Installation Notes
DO NOT use Oxygen to charge dampener. Use clean
compressed air only.
DO NOT exceed maximum allowable working pressure
(MAWP) specied on dampener serial tag or marked on
dampener.
Turn pump off and remove all pressure from system prior
to dampener installation.
Always wear safety glasses and other appropriate
safety equipment when installing, charging or repairing
dampener.
Danger of static spark! Grounding precautions must
be considered when dampener is used in ammable or
explosive environments.
ATEX models must be grounded (earthed) before
operation.
DO NOT operate a dampener that is leaking, damaged,
corroded or otherwise unable to contain internal uid, air
or gas pressure.
Temperature, pressure and chemicals affect the strength
of plastic, elastomer and metal components.
Due to the nature of the material, PTFE diaphragm will
cold ow. Prior to installation, tighten bolts to torque
specication on dampener tag.
Must Read Before Installation
For safe and satisfactory operation of dampener read all safety warnings, caution statements and this complete Manual before
installation, startup, operation or maintenance.
GENERAL Information

AODDAMPENER™ 4
AODDampener automatic dampener models are designed specically for use with air operated diaphragm pumps,
and are not recommended for use as Inlet Stabilizers at pump inlets or as Surge Suppressors at quick closing valves.
Use Inlet Stabilizer models on the inlet side of pumps and metal Surge Suppressors for water hammer or quick
closing valve applications. Consult factory for options.
ATEX models must be grounded (earthed) before operation.
Turn pump off and remove all pressure from system prior to dampener installation.
Remove all pressure from dampener AND pumping system before disassembly, removal or maintenance.
Equip dampener with constant source of clean compressed air. DO NOT USE OXYGEN.
DO NOT exceed 150 psi (10.3 bar) maximum allowable working pressure (MAWP). Check maximum pressure rating
specied on dampener. If missing, consult distributor or factory for specications.
Always wear safety glasses and other appropriate safety equipment when installing, charging or repairing dampener.
Read and observe all safety warnings and instructions in this Manual before installation, operation or repair.
IMPORTANT! After maintenance or disassembly, use new fasteners and torque fasteners according to specication
on dampener tag. If missing, consult distributor or factory for specications.
Before performing a system pressure test, an air line with a constant source of compressed air must be attached to dampener
to avoid possible damage to diaphragms. Compressed air pressure must be equal to or greater than system test pressure.
Installation & Operation Instructions: AODDAMPENER™ Models
DO NOT use dampener if the fasteners (nuts and bolts) are corroded. Check for fastener corrosion frequently, especially in
atmospheres containing salt or corrosive chemicals, or if dampener leakage has occurred.
IMPORTANT! After maintenance or disassembly, use new fasteners and torque fasteners according to specication on
dampener tag. If missing, consult distributor or factory for specications.
Where dampeners are used in corrosive environments, nut and bolt fasteners should be regularly inspected and replaced with nut and
bolt fasteners of equal grade/strength value if corrosion is observed. Failure to conduct such regular inspections and replacement will
void the product warranty given by the manufacturer and the manufacturer will have no liability whatsoever for any vessel failure or
malfunction.
Step 1 — Installation Position
Install the dampener inline as close to the pump discharge as possible to absorb the pulse at its source and before any downstream
equipment such as risers, valves, elbows, meters or lters. Dampener installation should be no more than ten pipe diameters from
pump discharge. If using a exible connector on the discharge side of the pump between the pump and system piping, the dampener
should be installed at the pump discharge manifold. The exible connector should be attached to the dampener’s tee and system piping
(Figure 1). Since pressure is equal in all directions, the dampener can be installed in a vertical, horizontal or upside-down position. A
vertical installation is recommended for better drainage of the dampener. Limitations for horizontal and upside-down mounting include
high specic gravity, high viscosity, settling of solid material or possible air entrapment which could result in shortened diaphragm life
and/or reduced dampening performance. An isolation valve installed at the dampener inlet is suggested to assist in removal for repairs
(Figure 1).
Due to the nature of the material, PTFE diaphragm will cold ow. Prior to installation, tighten bolts to torque specication on
dampener tag.
Read Before Installation
Installation for Pump Discharge Pulsation
Step 2 — Air Line Connection
AODDampener models have an automatic valve with two NPT ports tted in the non-wetted housing.
Supply compressed air to the dampener using a 1/4” or larger air line to ensure adequate air supply
to the dampener. Using a suitable adapter, connect the air line to the NPT inlet connection indicated
by the arrow. Attach the air line to the existing pump air supply line before any regulator used at
the pump’s air valve (Figure 1). The compressed air pressure to the dampener must be equal to or
greater than the air pressure supplied to the pump.
Compressed air should be applied to the dampener charge port at all times for proper operation. In
case the compressed air supply to the dampener is interrupted, it is recommended that a check valve
be added to the compressed air supply line to prevent the charge from escaping through the air inlet
while the dampener is depressurized.
Table of contents
Other Blacoh Industrial Equipment manuals


