Blancett 1100 Series Service manual

8635 Washington Avenue
Racine, Wisconsin 53406
Toll Free: 800.235.1638
Phone: 262.639.6770 •Fax: 262.417.1155
www.blancett.com
Model 1100
Turbine Flow Meter
INSTALLATION & INSTRUCTION
MANUAL


Form No. B110-001 08/10 3
TABLE OF CONTENTS
Introduction ................................................................................................4
Operating Principle..................................................................................4
Specications..............................................................................................6
Installation...................................................................................................7
Operational Start-up............................................................................10
Troubleshooting.....................................................................................11
Part Number Information..................................................................12
Repair Kit Information.........................................................................13
Statement of Warranty........................................................................14
NOTE: Blancett reserves the right to make any changes or improvements
to the product described in this manual at any time without notice.

4 Form No. B110-001 08/10
INTRODUCTION
The Model 1100 Turbine Flow Meter is designed to withstand the demands
of the most rigorous ow measurement applications. Originally developed
for the secondary oil recovery market, the Model 1100 is an ideal meter for
liquid ow measurement on or o the oil eld.
The meter features a rugged 316 stainless steel housing and rotor
support assemblies, CD4MCU stainless steel rotor, and abrasive-resistant
tungsten carbide rotor shaft and journal bearings. Model 1100 maintains
measurement accuracy and mechanical integrity in the corrosive and
abrasive uids commonly found in oil eld water ood projects and many
industrial applications.
OPERATING PRINCIPLE
Fluid entering the meter passes through the inlet ow straightener which
reduces its turbulent ow pattern and improves the uid’s velocity prole.
Fluid then passes through the turbine, causing it to rotate at a speed
proportional to the uid velocity. As each turbine blade passes through
the magnetic eld at the base of the transducer, an AC voltage pulse is
generated in the pick-up coil. See Figure 1. These pulses produce an
output frequency proportional to the volumetric ow through the meter.
The output frequency is used to represent ow rate and/or totalization of
uid passing through the turbine ow meter.
Figure 1
Schematic illustration of electric signal
generated by rotor movement

Form No. B110-001 08/10 5
Figure 2
Typical cross-section of B110-375 through
B111-121 turbine ow meter
MAGNETIC PICK-UP
RETAINING RING
GROOVE
METER BODY
RETAINER PINS
CONDUIT ADAPTOR
* RETAINING
RING
* UPSTREAM
ROTOR SUPPORT
* DOWNSTREAM
ROTOR SUPPORT
* BEARING
* THRUST BALL
NOTE: * INDICATES PARTS CONTAINED IN REPAIR KITS
* ROTOR AND
ROTOR SHAFT

6 Form No. B110-001 08/10
SPECIFICATIONS
MATERIALS of CONSTRUCTION:
Body: 316 Stainless Steel
Rotor: CD4MCU Stainless Steel
Rotor Support: 316 Stainless Steel
Rotor Shaft and Bearings: Tungsten Carbide
OPERATING LIMITATIONS:
Temperature: -150 °F to +350 °F (-101 °C to +177 °C)
The meter should not be subjected to temperatures
above +350 °F (+177 °C), or below -150 °F (-101 °C)
or the freezing point of the metered liquid. High
temperatures will damage the magnetic pick-up, while
lower temperatures will limit the rotation of the rotor.
Pressure: Maximum pressure ratings as follows:
5,000 psi − all NPT meters up to 2”
2,000 psi − 3” male NPT
1,500 psi − 4” male NPT
1,000 psi − 6” male NPT
800 psi − all grooved end meters
Note: Consult factory for pressure ratings for anged
meters.
Accuracy: ±1.0% of reading for ¾”and larger meters
±1.0% of reading over the upper 70% of the measuring
range for ” and ½” meters
Repeatability: ±0.1%
Calibration: Water (NIST Traceable Calibration)
Corrosion: All Blancett Model 1100 turbine meters are constructed
of stainless steel and tungsten carbide. The operator must
ensure that the operating uid is compatible with these
materials. Incompatible uids can cause deterioration
of internal components and cause a reduction in meter
accuracy.
WARNING: Pressure in excess of allowable rating may cause the housing to
burst and cause serious personal injury.
AVERTISSEMENT: La pression au-dessus de l’estimation permise peut faire
éclater et causer le logement le dommage corporel sérieux.

Form No. B110-001 08/10 7
Pulsation and
Vibration: Severe pulsation and mechanical vibration will aect
accuracy and shorten the life of the meter.
Filtration: If small particles are present in the uid, Blancett
recommends that strainer be installed upstream
of the meter (see Table 1 on page 8 for ltration
recommendations).
REPAIR KIT:
The Model 1100 Turbine Flow Meter Repair Kit is designed for easy eld
service of a damaged ow meter, rather than replacing the entire ow
meter. See Appendix C on page 13 for repair kit information. Repair
parts are constructed of stainless steel alloy and tungsten carbide and
are factory calibrated to ensure accuracy throughout the entire ow
range. Each kit is complete and includes the calibrated K-factor which
is used to recalibrate the ow monitor or other electronics to provide
accurate output data.
INSTALLATION INSTRUCTIONS
Prior to installation, the ow meter should be checked internally for foreign
material and to ensure the turbine rotor spins freely. Fluid lines should also
be checked and cleared of all debris.
The ow meter must be installed with the ow arrow, etched on the exterior
of the meter body, pointing in the direction of uid ow. Though the meter
is designed to function in any position it is recommended, where possible,
to install horizontally with the magnetic pick-up facing upward.
The liquid being measured should be free of any large particles that may
obstruct rotation of the rotor. If particles are present, a mesh strainer
should be installed upstream before operation of the ow meter. See
Table 1 on page 8.

8 Form No. B110-001 08/10
Part Number Strainer Mesh Clearance Filter Size
B110-375 60 × 60 .0092 260 Micron
B110-500 60 × 60 .0092 260 Micron
B110-750 60 × 60 .0092 260 Micron
B110-875 60 × 60 .0092 260 Micron
B111-110 60 × 60 .0092 260 Micron
B111-115 20 × 20 .0340 .86mm
B111-120 10 × 10 .0650 1.6mm
B111-121 20 × 20 .0340 .86mm
B111-130, B311-004 8 × 8 .0900 2.3mm
B111-140, B311-084 10 × 10 .0650 1.6mm
B111-160, B311-085 4 × 4 .1875 4.8mm
B111-180 8 × 8 .0900 2.3mm
B111-200 4 × 4 .1875 4.8mm
Table 1
Filtration recommendations
The preferred plumbing setup is one containing a by-pass line that
allows meter inspection and repair without interrupting flow. If a by-
pass line is not utilized, it is important that all control valves be located
downstream of the flow meter. See Figures 3 and 4 on page 9.
This is true with any restriction in the ow line that may cause the liquid
to ash. If necessary, air eliminators should be installed to ensure that the
meter is not incorrectly measuring entrained air or gas.
It is recommended that a minimum length of straight pipe, equal to ten
(10) pipe diameters, be installed on the upstream side and ve (5) pipe
diameters on the downstream side of the ow meter. Otherwise, meter
accuracy may be aected. Piping should be the same size as the meter bore
or threaded port size.
CAUTION: Damage can be caused by striking an empty meter with a high
velocity ow stream.
ATTENTION: Des dommages peuvent être provoqués en frappant un mètre
vide avec un jet d’écoulement de vitesse élevée.

Form No. B110-001 08/10 9
Do not locate the ow meter or connection cable close to electric motors,
transformers, sparking devices, high voltage lines, or place connecting
cable in conduit with wires furnishing power for such devices. These devices
can induce false signals in the ow meter coil or cable, causing the meter
to read inaccurately.
If problems arise with the ow meter and monitor, consult Appendix A
(Troubleshooting Guide) on page 11. If further problems arise, consult the
factory.
If the internal components of the turbine ow meter are damaged beyond
repair, turbine meter repair kits are available. Information pertaining to the
turbine meter repair kits is referenced in Appendix C on page 13.
Figure 3
Meter installation utilizing a by-pass line
Figure 4
Meter installation without utilizing a by-pass line

10 Form No. B110-001 08/10
OPERATIONAL START-UP
The following steps should be followed when installing and starting the
meter.
1. After meter installation, close the isolation valves and open the by-
pass valve. Flow liquid through the by-pass valve for sucient time to
eliminate any air or gas in the ow line.
2. Open upstream isolating valve slowly to eliminate hydraulic shock
while charging the meter with the liquid. Open the valve to full open.
3. Open downstream isolating valve to permit meter to operate.
4. Close the by-pass valve to a full closed position.
5. Adjust the downstream valve to provide the required ow rate through
the meter.
NOTE: The downstream valve may be used as a control valve.
WARNING: Make sure that uid ow has been shut o and pressure in the
line released before attempting to install the meter in an existing system.
CAUTION: High velocity air or gas may damage the internal components
of the meter.
AVERTISSEMENT: Assurez-vous que le ux de uide a été coupé et de la
pression dans la ligne a été libérée avant d’essayer d’installer le mètre dans
un système actuel.
ATTENTION: L’air ou le gaz de vitesse élevée peut endommager les
composants internes du mètre.

Form No. B110-001 08/10 11
APPENDIX A
TROUBLESHOOTING GUIDE
Trouble Possible Cause Remedy
Meter indicates higher
than actual ow rate
•Cavitation
•Debris on rotor support
•Build up of foreign material
on meter bore
•Gas in liquid
•Increase back pressure
•Clean meter
•Clean meter
•Install gas eliminator ahead
of meter
Meter indicates lower
than actual ow rate
•Debris on rotor
•Worn bearing
•Viscosity higher than
calibrated
•Clean meter and add lter
•Install new repair kit
•Recalibrate monitor
Erratic system
indication, meter alone
works well (remote
monitor application
only)
Ground loop in shielding Ground shield one place
only. Look for internal
electronic instrument
ground. Reroute cables away
from electrical noise.
Indicator shows ow
when shut o
•Mechanical vibration causes
rotor to oscillate without
turning
•Electrical noise
•Isolate meter
•Install a 2.2K , ¼W leaded
resistor across output of
magnetic pick-up
No ow indication,
full or partial open
position
Fluid shock, full ow into
dry meter or impact caused
bearing separation or broken
rotor shaft
Rebuild meter with repair
kit and recalibrate monitor.
Move to location where
meter is full on start-up
or add downstream ow
control valve.
Erratic indication at low
ow, good
indication at high ow
Rotor has foreign material
wrapped around it
Clean meter and add lter
No ow indication Faulty pick-up Replace pick-up
System works perfect,
except indicates lower
ow over entire range
By-pass ow, leak Repair or replace by-pass
valves, or faulty solenoid
valves
Meter indicating high
ow, upstream piping
at meter smaller than
meter bore
Fluid jet impingement on
rotor
Change piping
Opposite eects of
above
Viscosity lower than
calibrated
Change temperature, change
uid or recalibrate meter

12 Form No. B110-001 08/10
APPENDIX B
PART NUMBER INFORMATION
Part
Number
Meter
Size
Flow Ranges
GPM BPD M³/D
B110-375-1/2 ” 0.6 - 3 20 - 100 3.3 - 16
B110-500-1/2 ½” 0.75 - 7.5 25 - 250 4.1 - 41
B110-750-1/2 ¾” 2 - 15 68 - 515 10.9 - 81.75
B110-375 ” 0.6 - 3 20 - 100 3.3 - 16
B110-500 ½” 0.75 - 7.5 25 - 250 4.1 - 41
B110-750 ¾” 2 - 15 68 - 515 10.9 - 81.75
B110-875 ” 3 - 30 100 - 1,000 16 - 160
B111-110 1” 5 - 50 170 - 1,700 27.25 - 272.5
B111-115 1-½” 15 - 180 515 - 6,000 82 - 981
B111-121 2” Low 15 - 180 515 - 6,000 82 - 981
B111-120 2” 40 - 400 1,300 - 13,000 218 - 2,180
B111-130 3” 60 - 600 2,100 - 21,000 327 - 3,270
B111-140 4” 100 - 1,200 3,400 - 41,000 545 - 6,540
B311-004 4” NPT 100 - 1,200 3,400 - 41,000 545 - 6,540
B110-160 6” 200 - 2,500 6,800 - 86,000 1,090 - 13,626
B311-084 6” NPT 200 - 2,500 6,800 - 86,000 1,090 - 13,626
B110-180 8” 250 - 3,500 12,000 - 120,000 1,363 - 19,076
B311-085 8” NPT 250 - 3,500 12,000 - 120,000 1,363 - 19,076
B110-200 10” 500 - 5,000 17,000 - 171,000 2,725 - 27,252

Form No. B110-001 08/10 13
APPENDIX C
REPAIR KIT INFORMATION
Flow Meter Size Repair Kit Fits
Meter Part Number
Repair Kit
Part Number
” B110-375, B110-375-1/2 B251-102
½” B110-500, B110-500-1/2 B251-105
¾” B110-750, B110-750-1/2 B251-108
” B110-875 B251-109
1” B111-110 B251-112
1-½” B111-115 B251-116
2” Low B111-121 B251-116
2” B111-120 B251-120
3” B111-130, B311-004 B251-131
4” B111-140, B311-084 B251-141
6” B111-160, B311-085 B251-161
8” B111-180 B251-181
10” B111-200 B251-200
Standard Magnetic Pick-up All Meter Sizes B111109
Figure 5
Typical turbine meter component directory
FLOW
FLOW DIRECTION
ARROW
ROTOR
ASSEMBLY
UPSTREAM
ROTOR SUPPORT
RETAINING
RING
MAGNETIC
PICK-UP
RETAINING RING
GROOVE
FLOW DIRECTION
ARROW
FLOW DIRECTION
ARROW
FLOW METER
BODY
RETAINING
RING
RETAINING RING
GROOVE
FLOW DIRECTION
ARROW
DOWNSTREAM
ROTOR SUPPORT

14 Form No. B110-001 08/10
STATEMENT OF WARRANTY
Blancett Flow Meters, Division of Racine Federated Inc. warrants to the
end purchaser, for a period of one year from the date of shipment from
the factory, that all ow meters manufactured by it are free from defects
in materials and workmanship. This warranty does not cover products
that have been damaged due to defects caused by misapplication,
abuse, lack of maintenance, modied or improper installation. Blancett’s
obligation under this warranty is limited to the repair or replacement of
a defective product, at no charge to the end purchaser, if the product is
inspected by Blancett and found to be defective. Repair or replacement
is at Blancett’s discretion. A return goods authorization (RGA) number
must be obtained from Blancett before any product may be returned
for warranty repair or replacement. The product must be thoroughly
cleaned and any process chemicals removed before it will be accepted
for return.
The purchaser must determine the applicability of the product for its
desired use and assumes all risks in connection therewith. Blancett
assumes no responsibility or liability for any omissions or errors
in connection with the use of its products. Blancett will under no
circumstances be liable for any incidental, consequential, contingent or
special damages or loss to any person or property arising out of the
failure of any product, component or accessory.
All expressed or implied warranties, including the implied warranty of
merchantability and the implied warranty of tness for a particular
purpose or application are expressly disclaimed and shall not apply
to any products sold or services rendered by Blancett.
The above warranty supersedes and is in lieu of all other warranties,
either expressed or implied and all other obligations or liabilities. No
agent or representative has any authority to alter the terms of this
warranty in any way.


8635 Washington Avenue • Racine, Wisconsin 53406
Toll Free: 800.235.1638
Phone: 262.639.6770 •Fax: 262.417.1155
www.blancett.com •info@blancett.com
BLANCETT is a registered trademark of Racine Federated Inc.
UL is a registered trademark of Underwriters Laboratories.
© 2010 Racine Federated Inc.
Printed in USA
Form No. B110-001 08/10
Other manuals for 1100 Series
2
Table of contents
Other Blancett Measuring Instrument manuals
Blancett
Blancett B2800 Standard User manual
Blancett
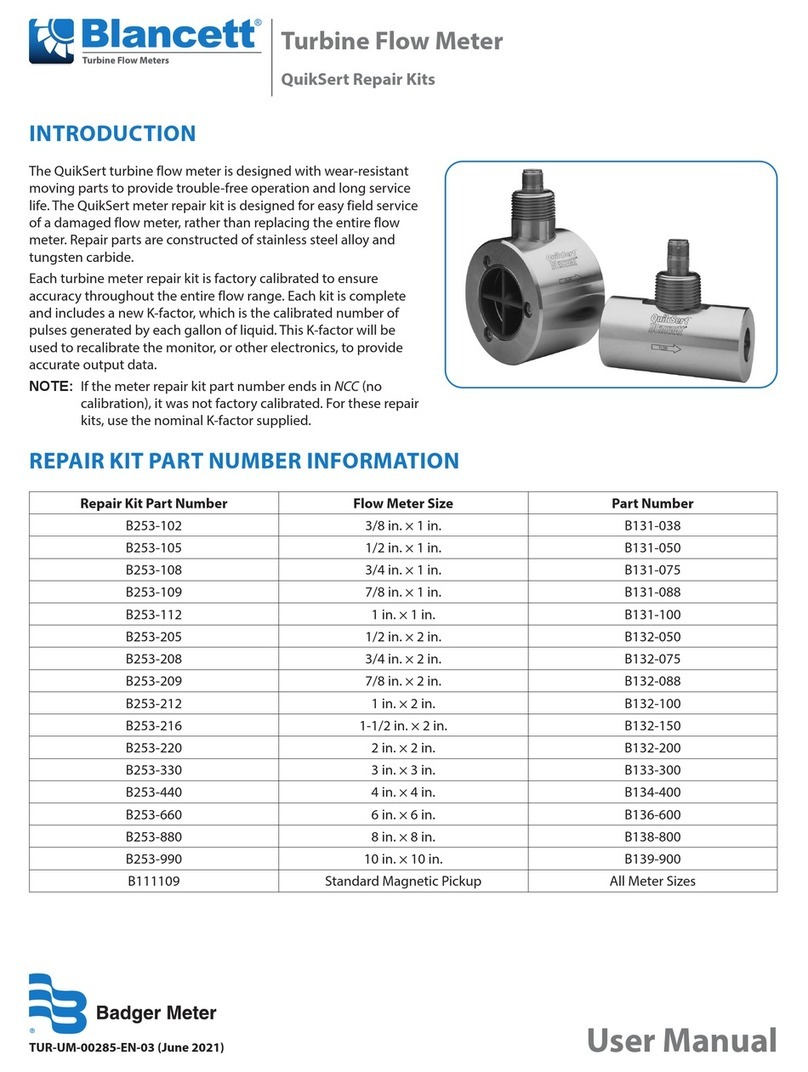
Blancett QuikSert B131-038 User manual
Blancett
Blancett 1100 Series User manual
Blancett
Blancett B253-102 User manual
Blancett
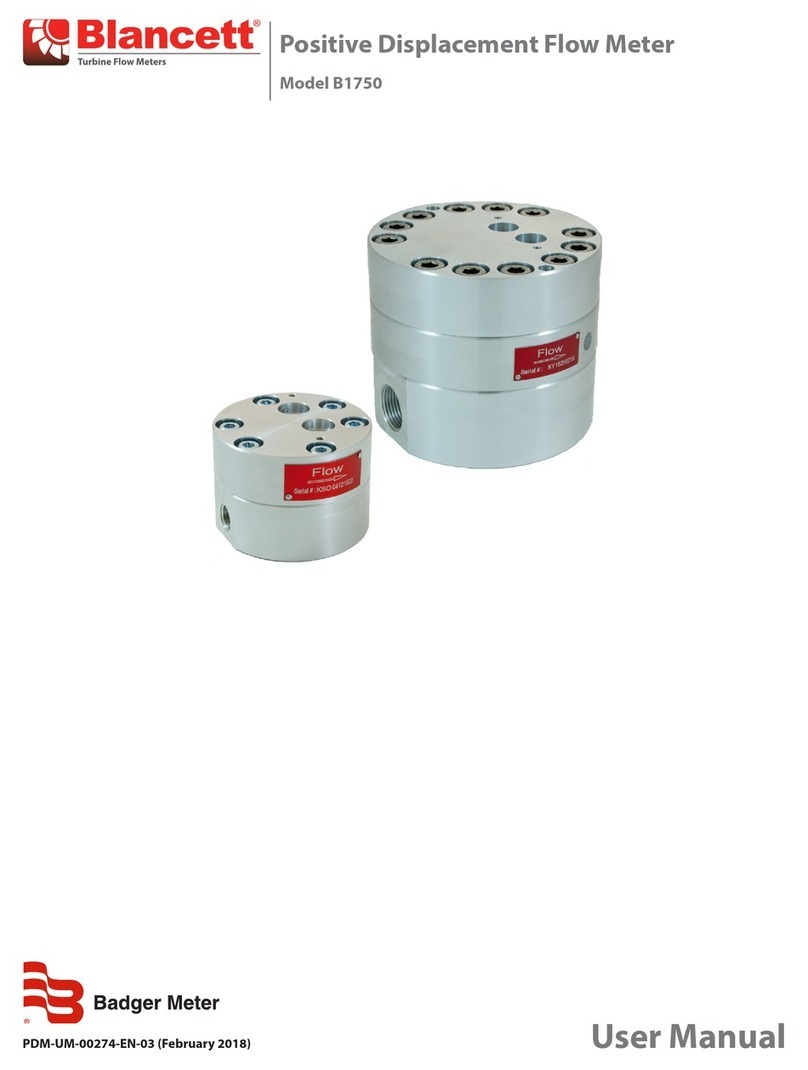
Blancett B1750 User manual

Blancett
Blancett B1750 Service manual
Blancett
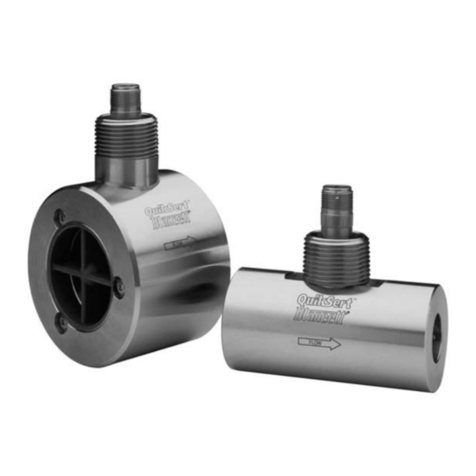
Blancett QUIKSERT User manual

Blancett
Blancett B2800 Standard User manual

Blancett
Blancett FloClean Service manual

Blancett
Blancett B1500 User manual
