manuals.online logo
Brands
  1. Home
  2. •
  3. Brands
  4. •
  5. Blizzard
  6. •
  7. Control Unit
  8. •
  9. Blizzard 96555 User manual

Blizzard 96555 User manual

Other Blizzard Control Unit manuals

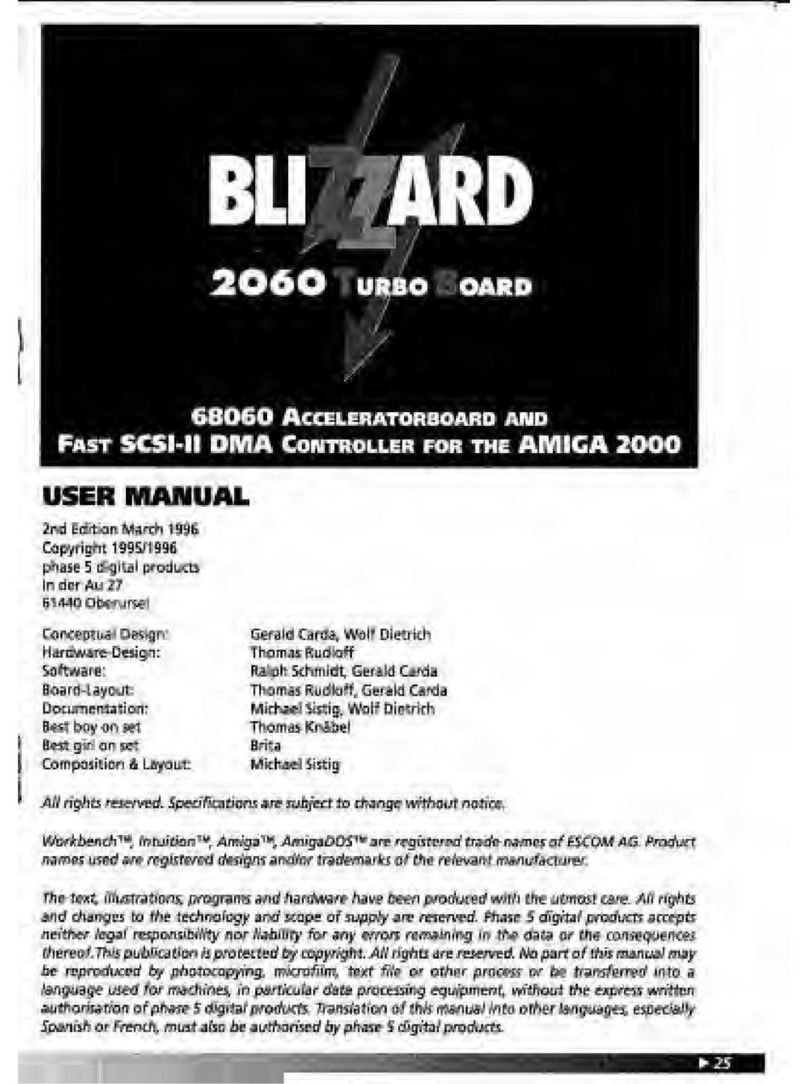
Blizzard 2060 Turbo Board User manual

Blizzard

Blizzard 2060 Turbo Board User manual

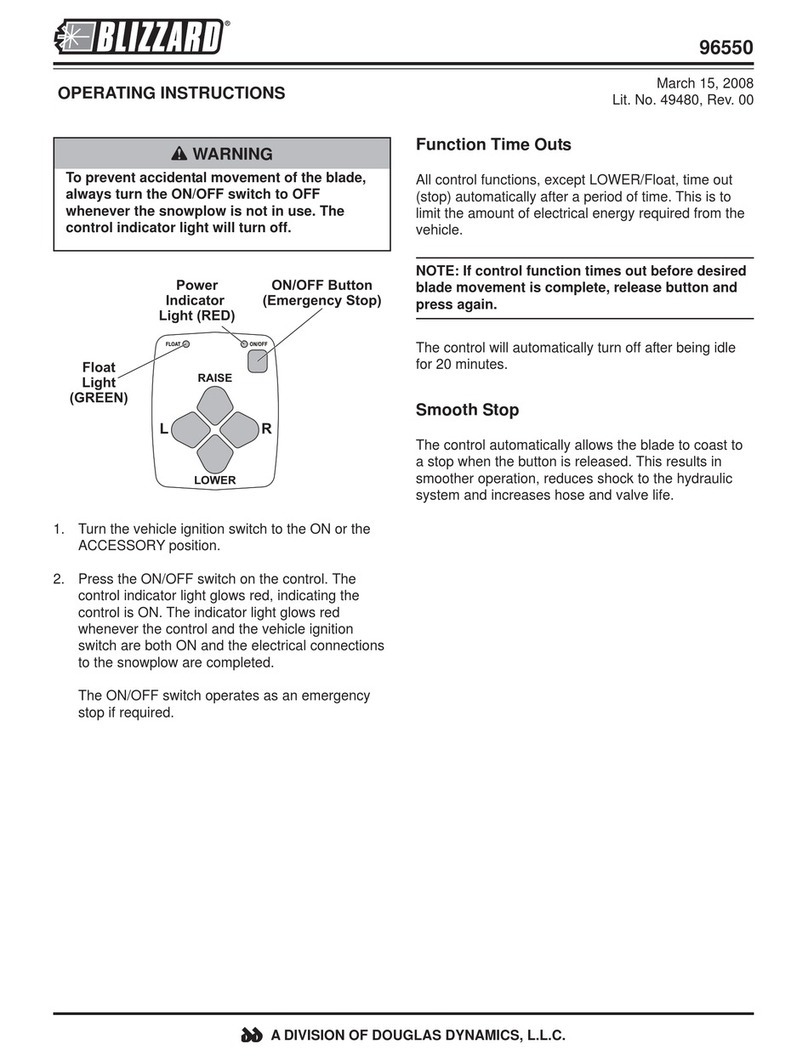
Blizzard 96550 User manual

Blizzard

Blizzard 96550 User manual

Popular Control Unit manuals by other brands

Seitz 14A80 user manual

Seitz

Seitz 14A80 user manual

Wilo RS485 Installation and operating instructions

Wilo

Wilo RS485 Installation and operating instructions

Becker CentralControl CC41 Commissioning Instruction

Becker

Becker CentralControl CC41 Commissioning Instruction

SICK CDB650 operating instructions

SICK

SICK CDB650 operating instructions

Panduit NetKey NKP5E88M Series installation instructions

Panduit

Panduit NetKey NKP5E88M Series installation instructions

MX Options Concentric Petite Fitting instructions

MX

MX Options Concentric Petite Fitting instructions

Clean Water Systems Fleck 2510 Installation & start?up guide

Clean Water Systems

Clean Water Systems Fleck 2510 Installation & start?up guide

Fairchild FSB44104A user guide

Fairchild

Fairchild FSB44104A user guide

LEGRAND Wattstopper LMIN-104 installation instructions

LEGRAND

LEGRAND Wattstopper LMIN-104 installation instructions

PMK ATT10BNCS instruction manual

PMK

PMK ATT10BNCS instruction manual

Tektronix TDS3FFT user manual

Tektronix

Tektronix TDS3FFT user manual

Woodward easYgen Technical manual

Woodward

Woodward easYgen Technical manual

Balluff BNI EIP-502-105-R015 user guide

Balluff

Balluff BNI EIP-502-105-R015 user guide

NXP Semiconductors TWR-LS1021A Getting started

NXP Semiconductors

NXP Semiconductors TWR-LS1021A Getting started

Advantech PCM-3117 Startup manual

Advantech

Advantech PCM-3117 Startup manual

Danfoss MCO 101 manual

Danfoss

Danfoss MCO 101 manual

Moons' Lin Engineering R701P user manual

Moons'

Moons' Lin Engineering R701P user manual

Aventics RV1 operating instructions

Aventics

Aventics RV1 operating instructions

manuals.online logo
manuals.online logoBrands
  • About & Mission
  • Contact us
  • Privacy Policy
  • Terms and Conditions

Copyright 2025 Manuals.Online. All Rights Reserved.

96555
March 15, 2008
Lit. No. 49482, Rev. 00
OPERATING INSTRUCTIONS
A DIVISION OF DOUGLAS DYNAMICS, L.L.C.
WARNING
To prevent accidental movement of the blade,
always turn the ON/OFF switch to OFF
whenever the snowplow is not in use. The
control indicator light will turn off.
1. Turn the vehicle ignition switch to the ON or the
ACCESSORY position.
2. Move the slide switch on the side of the control to
the "ON" position. The control ON/OFF indicator
light glows red, indicating the control is on. The
indicator light glows red whenever the control and
the vehicle ignition switch are both ON and the
electrical connections to the snowplow are
completed.
The ON/OFF switch operates as an emergency
stop if required.
Function Time Outs
All control functions, except LOWER/Float, time out
(stop) automatically after a period of time. This is to
limit the amount of electrical energy required from the
vehicle.
The control's time out period for the RAISE and angle
functions are 3.5 seconds.
NOTE: If control function times out before desired
blade movement is complete, release the lever to
the center position, then move back into the
desired function.
The control will automatically turn OFF after being idle
for 20 minutes. To reactivate the control after a shut
down, move the ON/OFF switch to OFF, then back to
ON.
LOWER
RAISE
FLOATON / OFF
R
L
Power Indicator
Light (RED)
ON/OFF
Switch
(Emergency
Stop)
Float
Light
(GREEN)
Smooth Stop
The control automatically allows the blade to coast to
a stop when the lever returns to center position. This
results in smoother operation, reduces shock to the
hydraulic system and increases hose and valve life.
Control Lever Movement
From the center position, the control lever can be
moved in one of eight (8) directions to control various
movements of the snowplow blade. To change from
one movement of the blade to another, the control
lever must be moved back to the center position
before selecting the desired function. Whenever the
lever is released, it should spring back into the center
position to stop any blade movement.
96555
Lit. No. 49482, Rev. 00 2 March 15, 2008
Copyright © 2008 Douglas Dynamics, L.L.C.All rights reserved. This material may not be reproduced or copied, in whole or in part, in any printed,
mechanical, electronic, film or other distribution and storage media, without the written consent of Blizzard. Authorization to photocopy items for
internal or personal use by the Blizzard outlets or snowplow owner is granted.
Blizzard reserves the right under its product improvement policy to change construction or design details and furnish equipment when so altered
without reference to illustrations or specifications used. Blizzard or the vehicle manufacturer may require or recommend optional equipment for
snowremoval.Donotexceedvehicleratingswithasnowplow.Blizzard offersalimitedwarrantyforallsnowplowsandaccessories. See separately
printedpageforthis importantinformation.Thefollowingare registered (®) orunregistered(™)trademarks of DouglasDynamics,L.L.C.:BLIZZARD®.
Printed in U.S.A.
Control Functions
LOWER
RAISE
FLOATON / OFF
R
L
Float Light
(GREEN)
Raise, Lower, Float, Angle
Movement of the control lever in straight lines up and
down or from side to side on the control body will
result in the following blade movements:
Function Description of Operation
RAISE Move control lever toward top of control body to
raise snowplow and cancel FLOAT mode.
Function times out after 3.5 seconds.
LOWER Move control lever toward bottom of control body
to lower snowplow. Release lever to stop blade
at desired height.
FLOAT
Move control lever to LOWER position and hold
for 3/4 second to activate this mode. FLOAT
indicator light in upper right corner of control face
will illuminate. Blade will lower to ground surface
and follow contour of surface as it dips or raises.
Function does not time out; however, control will
shut down after 20 minutes of nonuse.
Move lever to RAISE position momentarily to
cancel FLOAT. FLOAT will continue during
Angle Left and Angle Right functions if not
interrupted by Raise function.
L
(Angle
Left)
Move the control lever left to angle left position.
Function times out after 3.5 seconds.
R
(Angle
Right)
Move the control lever right to angle right
position. Function times out after 3.5 seconds.
NOTE: If control function times out before desired
blade movement is complete, release the lever to
the center position, then move back into the
desired function.