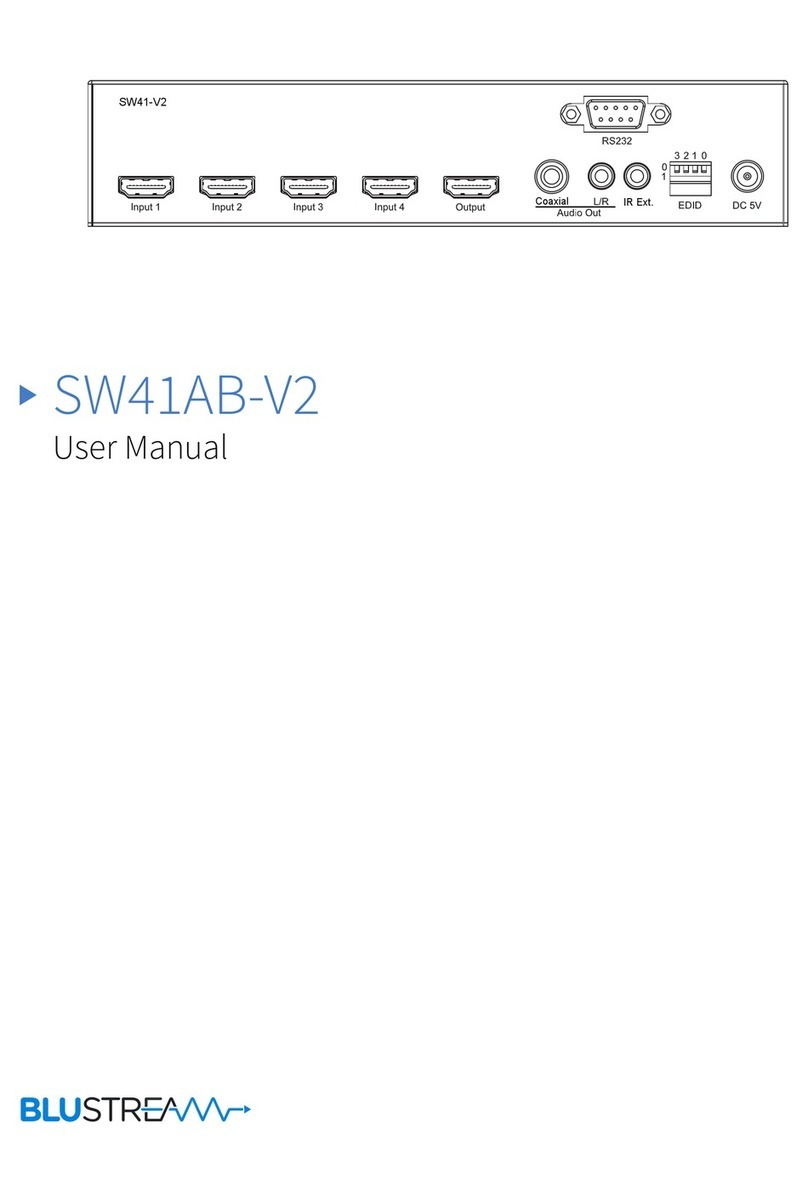
Rear Panel
MX44AB
21 3 4 4 4 45 5 5 5 6
7 8 9 10
1 IR inputs 1 to 4 – Zone specific
3.5mm stereo phone-jack IR inputs
2 IR outputs 1 to 4 – Source spe-
cific 3.5mm IR jacks which provide
routed IR from the zone IR inputs.
Routing is determined by which
source is selected in a zone.
3 IR extension receiver input –
3.5mm stereo phone-jack enabling
the use of an external IR sensor for
control of the matrix.
4 Coaxial output – RCA (S/PDIF)
output from HDMI output (Zone
specific)
5 L/R output – 3.5mm stereo phone-
jack, audio from HDMI output (Only
supports stereo PCM digital audio
feeds)
6 Power switcher – Press to power
matrix on/o
7 HDMI inputs 1 to 4 – Connect HDMI
sources
8 HDMI outputs 1 to 4 – Output for
displays, AVR etc.
9 RS232 female port – RS232 connec-
tion enabling external third party
setup and control of the matrix.
q Power port – Use included 12V/2A
DC adaptor to power the matrix
switcher.
Remote Control Description
OUTPUT AND INPUT SELECTION
A Selects the zone OUTPUT you wish to
change the source on (Numbers 1 - 4
correspond to the zone outputs 1 - 4)
B Selects the source INPUT you wish to
change on the selected zone
(Numbers 1 - 4 correspond to the
source inputs 1 - 4)
EXAMPLE
To switch source 2 to zone 4 you would
press 4 in the output section (A) followed
by pressing 2 in the Input section (B).
ALL button: The all button selects all the
inputs or outputs in its corresponding box.
Example: (The “All” button in the Output
box selects all the zones so all zones will
change to what source input is selected
next)
PTP: This button will align all the zone
outputs with the like numbered source
inputs. Example: Input 1 to output 1, input
2 to output 2, etc
EDID SET UP
The MX44AB provides a comprehensive
range of EDID settings. Below are three ex-
amples of how to deploy the desired EDID
setting when using the supplied remote.
A. Fix EDID to an INPUT or ALL inpus:
Press the desired video resolution
button (1080I / 1080P / 3D / 4K),
then select the desired audio format
(2.0CH / 5.1CH / 7.1CH), then select
the source input you want this EDID
information allocated to by pressing
the INPUT 1 – 4 or the ALL button
B. Copy EDID of OUTPUT-X to an
INPUT or ALL: Press the COPY but-
ton then select the OUTPUT you wish
to copy the EDID information from,
then select the source input you want
to copy this EDID to by selecting the
INPUT 1-4 or the ALL button.
C. User defined EDID to an INPUT or
ALL inputs: Press USER1 / USER2
button then select the source you
wish to assign this EDID to by select-
ing INPUT 1-4 or the ALL button
NOTE: The button press sequence should
be finished in 5 seconds, otherwise the
operation is discarded.
A
B
EDID
