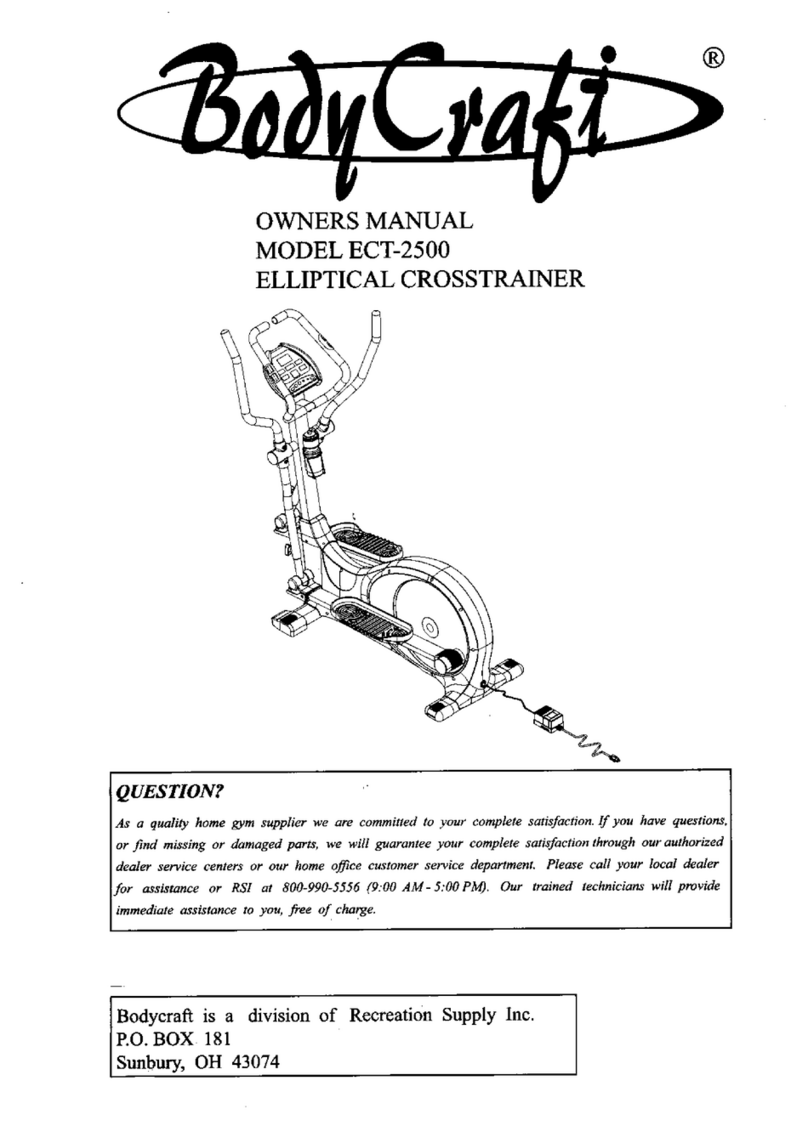
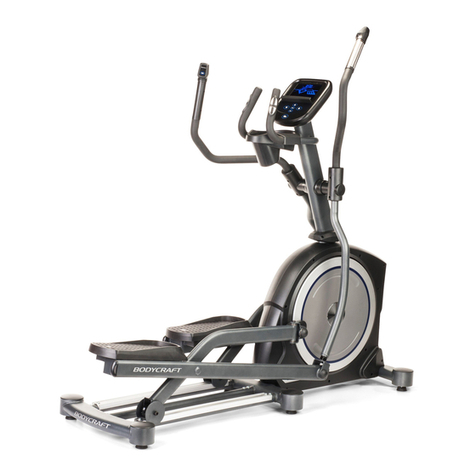
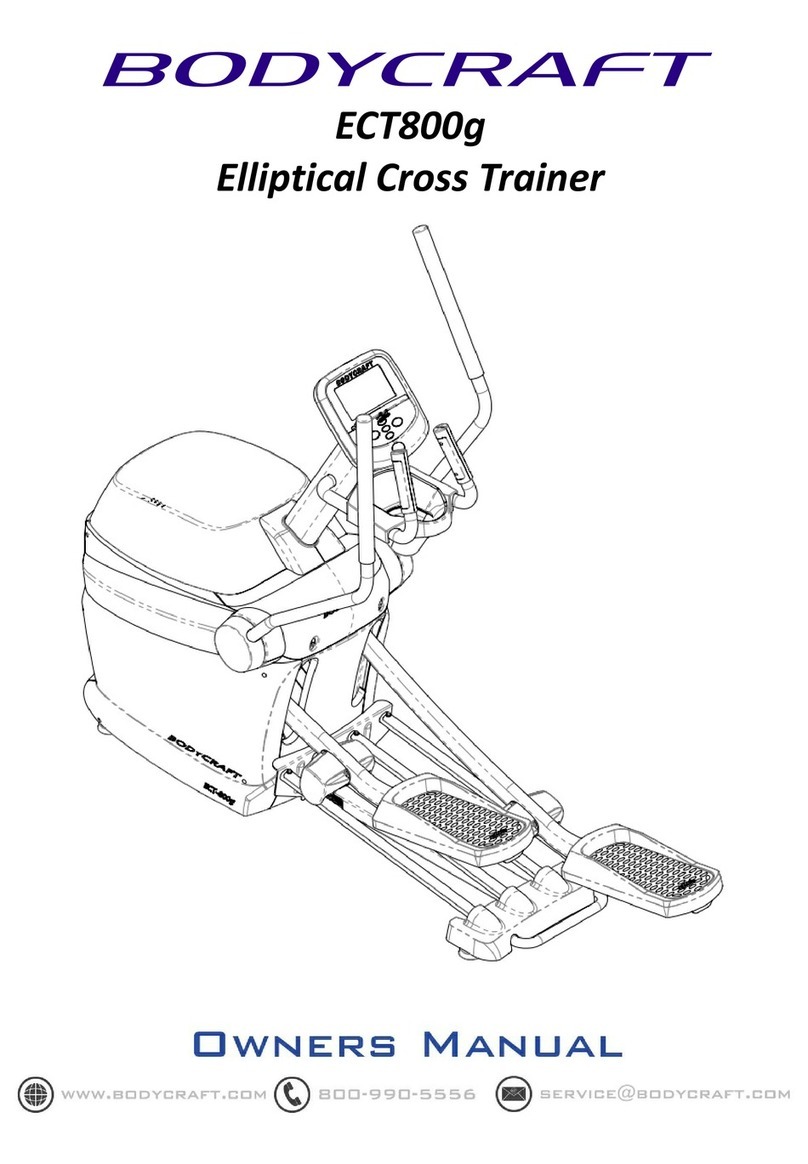
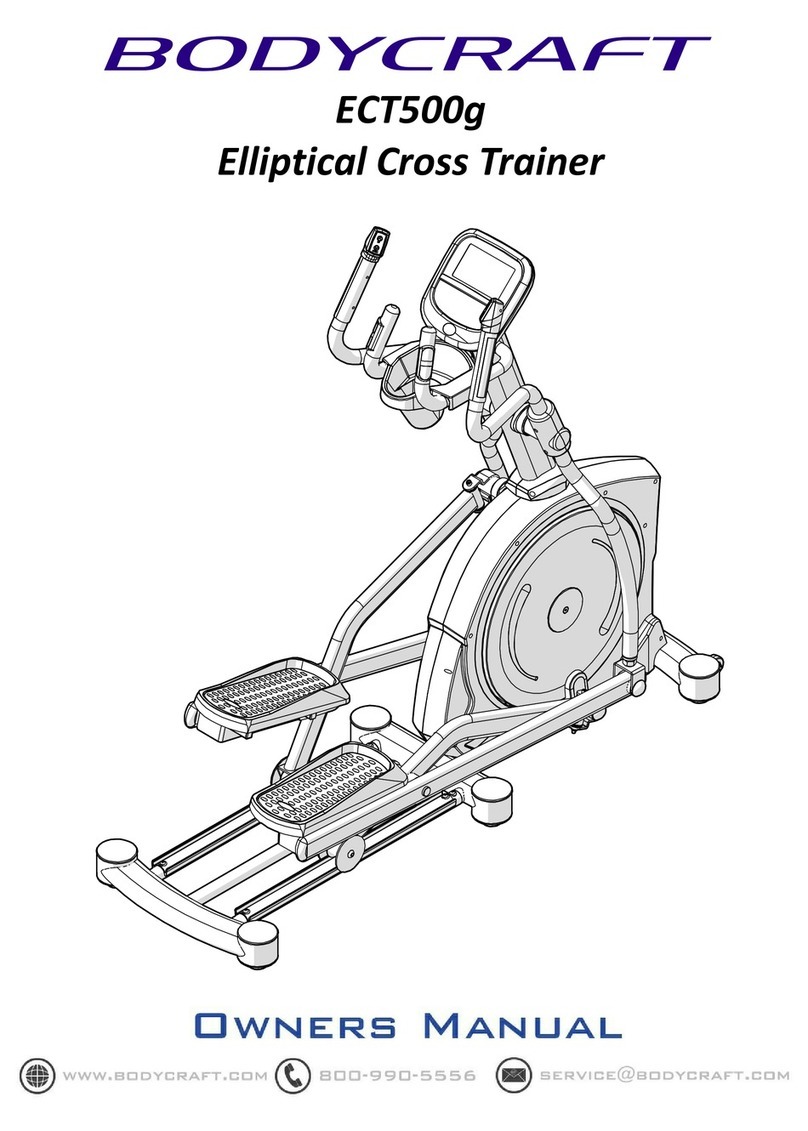
Body Craft ECT-2100 User manual

OWNERSMANUAL
MODELECT.2IOO
ELLIPTICAL
CROS
STRAINER
QUESTTOTV?
Astrclualin,home.fitttesssupplierv'c
ctre
contmitted
to
-t'our
completesati.s.fbction.
lf'),ouhuve
questions,or
/ind ntissingports,
v,ewillguarantee
),our
completesatisJactionthrough
ow'cuthorizecl
clealerservice
centers
ot'tntrhonra
office
custonrer
service
clepttrtment.Pleasecsll.t,our
lot'oldealer.forassistemce
or BodvCra.ft
at
800-990-5556(9:00.-lLl
- 5:00P,l4
Eastern).Our tained tec'hnicians
willprot'ide
inrtneeliate
assistance.to
.t,ou,fiee o/ charge.
lIe stttndl>eltindour
prctltrct.s.
The./rante
andv,eldsare
guoranteed
uguins!
dc/'ect.s.loraslongas
youou'nit.
Even'other
part ol tltisnachineisgrrttranteed.for
3
years. Wealso
provide
upreletermined
labor
reimhursenent.lbrone
.t'eurJi'om
ptrrt'hase
date.
Bodycraftis a divisionof Recreation
Supply
Inc.
P.O.
BOX 181
Sunbtrry,OH 43014 ECT-2100

BEFOREYOU BEGIN
Congratulationsl
Andthank
youforselecting
the
BodyCraftF.CT-2100Elliptical
Crosstrainer.
Webelieve
you
have
made
awiseinvestrnent.TheBodyCraftECT-2100
E,llipticalCrosstrainer
can
provide
anefficient,low impact
cardiovascularworkout.We
welcome
your
comments
and
questions.
For
your
safbty
andbenefit,readthis
manualandthe
accompanying
literaturebefore
using
theBodyCraft
ECT-2100
Elliptical
Crosstrainer.Itprovidesyou
safetyrules,
assemblyinstrLrctions,
androutineinspection
and
maintenanceinformation.Please
keep
this
manual
forfuturereference.
IMPORTANTSAFETYNOTES
Thereis
ariskassumedbyindividuals
whousethistypeofequipment.
Beforebeginning
thisor
anyother
exercise
program
consult
yourphysician.
Thisis
especially
importantforindividuals
overtheageof35,or persons
lvith
pre-eristing
health
problems.
Injuries
toyour health
may
resultfiom incorrect
or excessive
training. If, atanytimewhileexercising,
you
experience
faintness,
shortnessof breath,
dizziness,or anytypeof unusual
pain,
stop
immediately.
Recreation
Supply,Inc.assumes
no
responsibility
for personal
injury or property
damage
sustainedbyor throughuseofthis product.
l. Read
and
fbllow
allinstrLrctions
inthis
manual
andanyaccompanying
literature.
Additional
copies
arc'available.Do not
use
this
product
until
you
havebecomecompletelyfamiliar
withitssafe
operation.
2.This
product
nrustbe
examined
regularly
fordamageandwear. DONOT use
this
productif you
suspectanydefects.Payspecial
attention
tomoving
par-ts
and
pivot
points.
Call
your
localdealer
or
BodyCraft
immediatelyif serviceorparts
areneeded.
3.
Do
notallow
your.lg
children
toLrseorplay
withoraround
thismachine.
Allowolderchildren
touse
the
product
onlywithclose
adultsupervision.
4.PIug
thisproduct
into
a
grounded
outletonly.
5.
Never
operate
aBodyCraft
ploduct
if it hasa
damaged
power
cord,
orif the
cord
iswet. Keep
the
power
cordarvayfrom
heatsources.Donot
run
the
cordalong
side,
orunderthis
product.
Donot
usethe
power
cordas
ameanstomovethis
product.
6.Becertain
pins
arefullyinserted
andscrewstightenedwhenmakingadjustments.
Failure
to do
socancausedamagethatis
costlyandnotcoveredunderwarranty.
7.Keephair,
shoelaces,
towels,
and
clothingawayfrom
ntoving
parts
atalltimes.
Keepbodyaway
fi'om
moving
parts
except
fordesignated
pedals
andhandles.
8.
Wearproper
clothing.Donot
rvear
loose
clothing.
Donotwearshoeswithleathersloes
orhigh
heels.
9.
This
product
rnust
beassembledandkeptonaflat,levelsurface
toensureits
properfunction.
10.Maintain
a
rninimum
of 8inches
clearance
on
three
sides.Keepat
least
one
footof clearance
frorn
the
fiont.
11.This
prodr-rct
must
beusedinacool,lowhumidity
environment
toensure
its
proper
function.
12.Keepthernachine
clean.
Werecommend
soapy
water.Do not
use
harshchemicals
orabrasive
materials.
Alwaysunplugthis
product
before
perfonning
anycleaningormaintenance.
13.Exercise
withextremecaretoavoidinjury.
14.This
prodLrct
isbuiltforhomc
use
only. It isnotwarrantedforinstitutional
use.
15.MaximumLrserweightis300Pounds
(136
Kg.).
16.if unsure
about
the
proper
use
oftheBodyCraftElliptical
Crosstrainer
call
yourlocal
dealer
orour
customerservice
deoartmentat800-990-5556.
OVERVIEW
,r'q
-^ -Q3
?0@, :
(N"!"\ qi
\{u/ ;>,
vo,
lr
\\
,;^
pvf-
a? qe
!@
A ^ ,r3)
it
(-' @\\.- \- \ o
,4iF \>- .L
- ,,^\ -rp \ Jo3)
tav/--* v
c
f\
)t q8)
J nor)
fe0-
?4

PARTSLIST
QTY.
NO. DESCRIPTION m,
\ff$.
,r
t f'ii --
'*P
'-:<?,\
5
16'-:r.
\YN
v
C\
\J]
15
%
19
-$*'""'K
1
I
A
t5
otL
6L
7
B
I
10
11
12
IJ
14
15
16
17
1B
19
20
21
22
ZJ
^A
z+
25
26
27
2B
29
30
JI
JZ
JJ
34
35
Jb
5l
37A
3B
39
40
41
42
43
43A
44
46
AA
+T
4B
49
50
\'.t
21
,€rr
,:.Lr
26
%
20
,e)
'e'/
25
0
\J'
'
31
MAIN FRAME
FRONTSTABILIZER
BELTTENSIONBRACKET
FRONT
UPRIGHT
ASSEMBLY
HANDLEBAR
RIGHT
FOOT PEDAL
FRAME
LEFT FOOTPEDAL
FRAME
RIGHT
DUAL
ACTIONARM
LEFT DUALACTIONARM
ELECTROMAGNET
RIGHT
WHEELCOVERSUPPORT
LEFT
WHEELCOVERSUPPORT
ANGLE
ADJUSTMENT
TUBE
REAR STABILIZER
BELT
SHAFT
WHEEL
HUB
LEFTSHROUD
RIGHTSHROUD
WHEELCOVER
LEFT FOOTPEDAL
RIGHT
FOOTPEUAL
PLASTICAXLE COVER
45X75mm HOLLOWCOVER
COMPUTERCOVER
(MONITOR)
COMPUTERCOVERBASE
(MONTTOR)
50X 100mm
END CAP
50
X 100mm
LEFTWHEELCAP
50
X 100mm
RIGHT
WHEELCAP
ADJ.LEVERKNOB
PLASTICSLEEVEINSIDEDUAL
ACTIONARM
7/16"TRIANGLE
KNOB
FOR
DUALACTIONARM
HAND PULSE
SENSOR
PLATE
AXLE SPACER
HINGEFASTENER
(LARGER)
HINGEFASTENER
(SMALLER)
BELT1651mm
1.1/8"
HANDSUPPORT
PLUG
1-114"
DAULACTION
ARM PLUG
CABLEPIUG
1-118"
HAND
SUPPORTGRIP
1-114"
AUALACTIONARM GRIP
BmmTENSIONKNOBFOR
FOOT PEDALPLACEMENT
POWERCORD
CONTROL
BOARD
CABLEFOR SPEEDSENSOR
SPEED
MAGNETIC
WATERBOTTLEHOLDER
WATERBOTTLE
LOWER
COMPUTERCABLE
UPPERCOMPUTERCABLE
TENSION
CABLE
HAND
PULSE
CABLE
COMPUTER
BOARD
.'')-*l
;,-
-,'*'
)".:'\..'.
$, / )s v
34 'V 30 3T
\'-';..--. N...
-.:::.... .r.,:-"
39 -.-:._. 40
__.)
^dq\- d' I
,tr"!l"lrtt \\ l*-,t V
:-N.6zl, ) t!{ i
\I - z \{!
42 43A 44 45
:!}.. i
5U
W
18
N
:1
4
2
E
14
fl
ti
12
(+)
28
's,
22
p
27 L'
29
if''.
lin r.'.i
\(h\,
\24*'
s
30
l*,1
ll $t,
??
1
2
2
2
2
2
32
\-
.e
37A. 3B
41
l,r I rlr-l rLr lrlr,l-rr lr lrl-r lrl
0 u 112
3u 1" ttq112
3tn
2" 'tn 1t2
r/a3" it4112zu 4" tt+112
glc
5" tt+
1t2
g/+
6"
.+
1
1
1
1
I
1 q- =d 43
inch

NO. DESCRIPTION QTY.
51 PULSE
CHIP 1
52 ,1"
X 3'' PEDAL
ARM TUBE PLUG 2
53 MAGNETIC
FASTENER 2
54 FASTENER
OF BELTAXLE 1
55 "U" SHAPEDMAGNETICDIVIDER 1
56 M5X45mm HEXBOLT 2
57 M6X 16mm
MACHINE
BOLT 1
58 M5 WASHER 8
59 M5 NYLONNUT 4
60 STRAIGHTMAGNETICDIVIDER 4
61 6004BEARING 4
6,14 6004Z8BEARING 2
62 6203BEARING 3
63 6005
BEARING 1
64 6200BEARING 4
65 PULSE
CONNECTING
CABLE 1
66 PULSE
CHIPCABLE 1
67 COMPUTER
CONNECTIN]GCABLE 1
68 3/B"
X 2-114"
HEXCARRIAGEBOLT 4
69 3/B''X 2-114"HEX THREADEDBOLT 5
70 3/8"
X 19mm
HEX BOLT 2
71 M10
X
90mmHEX
BOLT 2
72 M5X60mm HEXBOLT 2
73 MBX50mmCARRIAGE
HEX BOLT 4
74 5/16"
X3/4" HEX BOLT 2
75 MBX 16mm
ALLEN
PANBOLT 1
76 3IB"X1-114"DOMEHEADALLENBOLT 2
77 M6X 16mm
ALLENBOLT 2
78 M6X 12mm
ALLEN
BOLT 2
79 M6X 10mmDOMEBOLT 1
80 M4X 10mm
DOMEBOLT 4
81 3/16"
X
l8mm SETSCREW 16
82 M5Xl8mm SHEET
METAL
SCREW 18
83 M4X25mmSHEET
METAL
SCREW 2
84 SPRINGRING 3
85 SPRINGRETAINERCLIP 1
86 MB WASHER 1
87 3/B''
WASHER 9
88 M6 WASHER 4
89 I\110
NYLON
NUT 2
90 3/B''
NYLONNUT 6
91 3/8"NUT 1
92 SPRING
CLIP 1
93 M5X 10mm
DOMEBOLT 7
94 1/2"NUT
20 UNF 1
95 M5 NUT 1
96 EARTH
WIRE 1
97 BEARINGHOUSING 2
98 2204KBEARING 2
99 5/16"X
3mmOD.27WASHER 2
100 20mm
SPRINGCLIP 1
101 47mm
SPRINGCLIP 2
102 PLASTIC
INNERCAP 2
103 PLASTIC
CAP 2
'\\
65\ 66
\-"^
'6*
G -rerere @r
68 75
F@
70
# - -mnrmn
d+ 71
F-r'
72
G-__m
-73
LM-74
tm
76
%
77
%
78
%
79
@
95
F''
\il
\!F/
100 101 102 103
I i I r I r I r I r I r 1r l,r I r I r I r I r I
0 tn 'ltTtt+
1" tn 1t2
sta
2" tu 1123/a3" 'tn 1t23A
4" tta
112
3/a5" tn 1t23/+6"
PARTSLIST
I
k'N
51 52
t=7
61A Y
63
I
53
a)
58
e
62
,%
57
€1.-.
.\
56
@
61
\
(-
54
sa-l
rrl
59
'i<.
v 'ii'
'-|
55
\60
@
64
,i6i
,.=;
94
r,\,
\.:)
99
e
89
g
90
@
91
R'
\r/
92
,)
c.f
93
(h\
82
a\
83
r---*
L:I
B4
ft
V
B5
(A
\:l
86
fi\
\_,
87
q
BB
(9.l
9B
4
BO
ryh,
B1
n
97
oo

Step
1
Note: Saveoneof the packaging
Styrofoamblocksto aid assembly.
Opencarton
and
unpackall
parts.
Check
to
ensure
you
havethefollowing
1.
Mainframe
with
plastic
shrouds
and
pedal
framesattached
2.FrontStabilizer
3.
RearStabilizer
4.FrontUpright
Assembly
5.Monitor
6.Leftand
RightFoot
Pedals
7.AssemblyKit
withnuts,
bolts,endcaps,
etc.
All
other
parts
listed
are
pre-assembled.
Place
aStyrofoamblockfrom
the
box
undertherearoftheMain
Frame
(1).Removethe
protective
cover
from
the
rear
oftheMainFrame
(1
).Attach
theRearStabilizer
(13)
to
theMain
Frame
usingthe
pre-
assembled
Washers
(87)
andBolts
(68).
Repeat
the
procedure
fortheFrontStabilizer
(2).
Step
2
Note:
This
step
couldrequiretwo people.
Slidethe
HollowCover
(22)
ontotheFrontUprightAssembly
(4)
asshown
in
figure81. Connect
the
Upper
(47)
andLower
(46)
ComputerCables.
Makesurethe
plugs
are
fully
seated.Do
not
push
too
hard.SlidetheFrontUprightAssembly
(4)
onto
theMainFrame
(1),
and
thenattach
using
four318"
X2-
114"
HexThreadedBolts
(69)
and
four
3/8"
NylonNuts
(90).
Cut
theretaining
ties
onthe
DualAction
Arms.
Do
notfullytighten
the
bolts
(69)
untilafterStep3,
andafterthecomputer
isattached
andworking
properly.
I
N
)\D
87+
l
I rB7
!,
68u
87
2 il
69 \i
\F.. ll
6s+N
\
-l'F
\1
eJ
5

Step3
Insert
theAngleAdjustmentTube
(12)
intothe
Right
Dual
ActionArm
(7)
and
chooseaheight,
then
tightentheTriangleKnob
(30).
Repeatthe
procedure(and
sameheight)
fortheLeft
DualAction
Arm
(8). Youwillwanttoexperimentwithheight
adjustment
tofindthemost
comfortable
stride.
Step
4
Fi
in
'th
th
U
H
F;
1t
ind
theHandlebar
(5). Insert
theHand
Pulse
Cable
(49)
into
theslot
rthe
frontof
the
FrontUpright
(4),
andoutofthetop.Whileholding
reHand
PulseCable
(49)
andtheUpperComputerCable
(47)with
reoppositehand,slide
theHandlebar
(5)
intotheslot
intheFront
lpright
(a). Becarefulto routethecables
throughtheslotinthe
land
Support
(5)! Donotpinch,
orcrimpthe
wiresinany
way!
astenthe
Handlebarusingtwo3/8"
Washers
(87)and
two3/8"
X 1-
/4"Dome
HeadAllenBolts
(76).
D1
F
!
!
o

Step
5
Connect
the
wiresasshownin
FigureE1. Connectthe
Upper
ComputerCable
(47)
totheComputer
Connecting
Cable
(67).
ConnecttheHandPulseCables
(a9)
tothe
Pulse
Connecting
Cables
(65).
Push
thecablesdown
into
the
Uprightas
you
bringtheComputerdowntoattach
it.Attach
the
Computer
(23)
tothetop
oftheUpright
(4),
using
four
M5X 1Omm
DomeBolts
(93).
Step
6
Attachthe
Pedalsto
thePedal
Framesusing
twoM8X50mm,
CarriageBolts
(73)and
Tension
Knobs
(40). Select
the
same
holes
ontheR
& LFoot
Pedal
Frames
(6R
&
6L)toensure
equal
distancefrom
the
pedals
tothe
DualActionArms.You
willwantto
expenmentwith
pedalplacement
tofindthe
mostcomfortablestride.

Step
7
AttachtheBottleHolder
(aa)to
theFrontUpright
(4)
using
twoM5
X 1Omm
Dome
Bolts
(93).
StepI
lnsertthePowerCord
(41)
into
the
barrel
plug
ontheback
sideof
Elliptical
Crosstrainer.
Then
insertthePlug
endintothewalloutlet.
Theconsole
shouldlight
up.lfnot,
re-check
plug
and
wall
connections
and
makesurethewalloutlet
has
power.
/ \\ \ \\ 44
B

rratner
lt
t{
ooo
tl
tl
oo
Calonet u nan(e
tr@T-Zfl@@ rttipticatcrossr
l-------l
rrrl
o *","o""..
o o ,9. o
tttl
"9"oo'9",o
@oc@
Resistance
Thereadoutdisplaysresistarrce
level,nreasuredinWatts.
Time
The
readout
displays
elapsedtimeif
you
startwithout
firstsettingatime
goal
remainingtoreach
goal. Or,if
you
inputa
time
goal
beforebeginning,
the
readoutdisplays
time
RPM
Thereadoutdisplaystherevolutions
per
minuteoftherear
wheel.ltcanbethoughtof
as
ameasureofspeed.
Pulse
Thereadoutdisplaysthe
pulse
rate
as
read
by
the
Pulse
SensorsmountedtotheHandlebar.
Simply
grab
thesensorsand
waitforareadout.
NOTE:
Whileusuallycorrect,pulsereadingsbythismethodcanbeaffectedbyanumberoffactorsandarenotnecessarilyECGaccurate.
lf needed,thebest
way
to
determine
an
accurate
heart
rate
readingisthrough
useofatelemetryheartratecheststrap
andaccompanying
readoutdevice
(sold
separatelyby
your
localspecialtyfitness
dealer).
Strides
Thereadoutdisplaysthecumulativenumberofstridecyclestakenduringtheexercisesession.
lnotherwords,thesensoronlytracksonepedal.
Each
increase
in
the
number
displayed
equals
bothaleftandarightfoot
stride.
Calories
/ Distance
The
readout
toggles
between
displayingtheapproximatecalories
burnedduring
the
exercise
session,and
thedistance
traveled.The
distance
traveledapproxinratesthe
distancetraveledasif
you
were
exercisingonthe
ground.
Theunitofmeasure
is
miles
in
US,
Kilometersinother
countne5.
Set
Pushthisbuttonto
gointothe
Set
mode.
The
set
mode
allows
you
to plug
in
goals
before
you
begintheexercise
session.The
second
successive
push
of the
Set
buttonlights
uptheDistance
window.Adistance
goal
can
be
inputusingthe
"pluss"
or
"minust"
buttons.The
distance
goal
will
thenbe
set,
in
miles,
andwillcountdown
until
you
reach
your
distance
goal.
A
"beep"
willsoundwhen
yourgoal
isreached.lf
you
continue
to
exercise,thedistancewill
start
toaccumulate,
takingintoaccount
the
distance
already
"traveled".
AsubsequentpushoftheSetButtonlightstheResistancewindow.Aresistancelevel
canbeinputusingthe"pluss"or"minust"buttons.
Youcan
change
your
resistancelevelat
anytimeduringthe
exercise
session.
The
next
push
oftheSetButtonlightsthePulse
window.A
pulsegoal
can
be
inputusingthe
"pluss"
or
"minust"
buttons.lf
you
usethe
pulse
sensors
on
the
Handlebar,
abeepwill
soundwhen
you
havereached
your
target
heartrate.
Thenext
push
of
the5etButtonlightstheTime
window.Atime
goal
can
be
inputusingthe
"pluss"
or
"minust"
buttons.
Thetime
wiilcount
down
fronr
timesetto "0"
during
theexercise
session.
Abeep
willsoundwhen
you
havereached
your
time
goal.
lf
you
continuetoexercise,
thetimewill
beginrocountup,
taking
inro
account
thetin'realreadyspent.
lf
you
have
set
in
multiple
goals
for
a
given
exercise
session
(e.9...
30minutes,and2.5miles),abeepwillsound
aftereach
goal
isreached.
Reset
Depress
thrs
buttontoclearthememory
andtoresetthedisplay
todefault
settings.
9

Leveland Stabilize
your BodyCraft Elliptical Crosstrainer
VERY IMPORTANT! Afier final placement,
ensure
your
EllipticalCrosstrainerislevelanclstable
by
adjusting
thelevelers
onthe
underside
of the
End
Capson
theRear
Stabilizer. The
levelers
areretracted,or
extended
byscrewing
clockwise,
orcounter-clockwise.
Spend
ample
timeadjusting
thelevelers
toensure
your
Elliptical
Crosstrainer
isstable
and
does
notrock
fromside-to-side.
Instabilitycan
damagethemachine
overaperiod
of time.
Periodic InspectionandRoutineMaintenance
o Periodically
check
tomake
sure
allbolts
aretightened.
o Alwaysbe
certain
that
theTriangle
Knobsin the
DualActionArmsare
fully insertedand
fully
tightened. Failure to dosocandamage
adjustmentholes,
requiring expensive
replacement
of
parts not covered
by warranty.
! ' After
each
exercise
session
clean
the
machinewithasoftabsorbent
cloth,
lightly
moistened
withwater
andamildcleaning
solutior:. Donot
useharsh
chemicals,including
ammoniaoracid
based
cleaners.
Applythe
cleaning
solution
only
tothe
softcloth,
not
directly
tothemachine. Do notuseabrasive
materials,
including
paper
towels
as
they
mayscratch
thesurfaces. Clean
sweatoff the
Display.
o Always
unplug
themachine
when
performing
anymaintenance
orwhenmoving.
o If your
Elliptical
Crosstrainer
goes
unused
foralongperiod
of time,thedrivebelt
canbecome
tentporarily
distorted.
This
canlead
toanuneven
"bumping"
sensation.Thisshould
disappear
aftera
f-ewminutes
of use
as
the
beltloosens
up.
o Always
keep
thepedals
clean
andfree
of debris. KeeptheHandles
clean.
Usingyour BodyCrat'tElliptical Crosstrainer
' Theeasiest
waytouse
the
product
istosimply,
carefully
mountthefbotpedals
andstartmoving
forward. The
display
will come
onautomatically
andstart
todisplaythe
pertinent
information.
\ otherwise,you
can
input
goals
into
the
computer
before
you
start.
o Thisproduct
canbe
usedineither
"single
action",
or"dual
action"mode. Singleaction
refersto
exercising
thelower
body
only
while
holding
ontothe
stationaryhandlebars.
Dual
action
refers
to
using
themoving
arms
simultaneously
withlower
bodyexercise. Dualaction
is
generally
preferential
because
it provides
amore
efficient
cardiovascular
workout
andbecause
theupperbody
muscles
areexercised.
r Adjustthe
height
of the
pedals,
and
pedal
placement
alongthepedal
frame,
todetermine
thestride
pattern
you
likebest.
r The
exercise
motions
can
beperformed
forward,
or"backward". "Backward"
issimplyreversingthe
motion
while
stillfircing
forward. Donotattempt
tostandon
themachine
facing
backwards.
o Be
careful
when
dismounting
the
machine. Wait
untilallmotion
has
stopped
as
inertia
can
be
strong
and
the
pedals
will continue
rotnove
forashorttime.
o The
Monitor
will turn
off automatically
after
5idle
minutes.
10

Dpm
200
180
16CI
140
tlu
100
ttu
This
prodLrct
isgenerally
intended
forpromoting
cardiovascular
health. Experts
generally
agreethat
carcliovascular
improvementisbest
achievedby attaining,
and
maintaining,
a
heartrate
of 807o
of your
theoreticalmaximum
heartrate. Thechartbelowserves
as
ageneral
reference
of target
heart
rates,
separiiteclbyage.
Cardiovascular
Perlormance
lntermediale
Aerobic
Eff*clivg
Ftl Eur,ing
Age 25 30
r--l
il 55oi,
-6sYs
EI 6s%
-85%
Efr 85eo
-
Max
70
5055
5045
upto559i,
Table of contents
Other Body Craft Elliptical Trainer manuals