manuals.online logo
Brands
  1. Home
  2. •
  3. Brands
  4. •
  5. Bosch
  6. •
  7. Controllers
  8. •
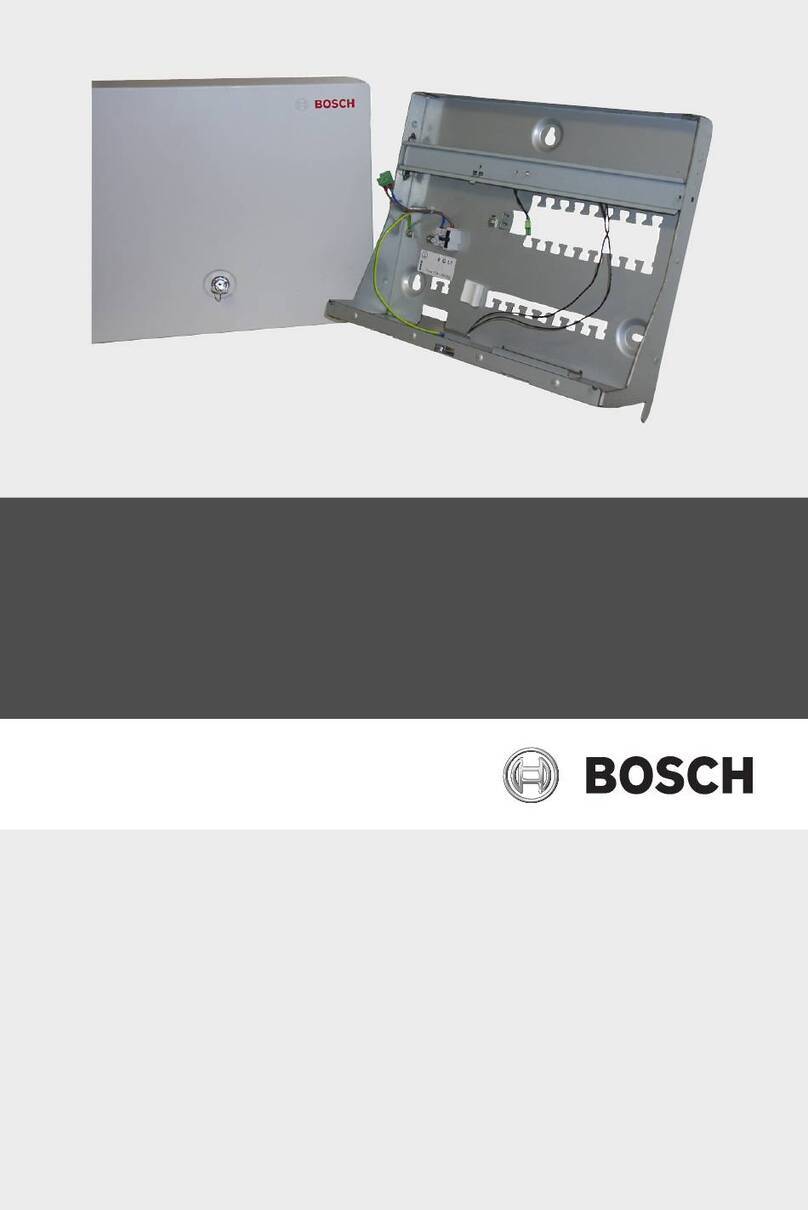
  9. Bosch MAP User guide

Bosch MAP User guide

Safety
Danger!
Electricity
Injuries due to electricity are possible if
the system is not operated correctly or
if the system is opened or modified.
– Never open or modify the system.
– Please contact your installer if you want to
get your system modified.
!
Caution!
Sensitive components
Damage of sensitive components is
possible if the system is not handled
carefully or if the system is opened or
modified.
– Always handle the system carefully.
– Never open or modify the system.
– Please contact your installer if you want to
get your system modified.
Old electrical and electronic appliances
Electrical or electronic devices that are no
longer serviceable must be collected separately
and sent for environmentally compatible recyc-
ling (in accordance with the European Waste
Electrical and Electronic Equipment Directive).
To dispose of old electrical or electronic
devices, you should use the return and collec-
tion systems put in place in the country con-
cerned.
Short information
This manual describes the most important oper-
ations of the MAP 5000 system. It does not re-
place the MAP 5000 Operation Manual.
For detailed information and instructions on op-
eration, refer to the MAP 5000 Operation
Manual.
System overview
Three light-emitting diodes (LEDs) are located
on the left edge of the MAP control center hous-
ing:
Ele-
ment
Compon-
ent
Description
1 Green
LED
Indicates that the control cen-
ter is in normal condition.
2 Yellow
LED
Indicates that there is a trouble
condition, that devices are
covered, or that devices of the
system are bypassed or dis-
abled.
3 Red LED The default behavior indicates
that an alarm condition exists
in the security system.
Operation
Logging in
How to log in
1. To view the login screen, tap the screen.
2. In the passcode field, enter your
passcode.
The user passcode is a combination of
the 3-digit user ID and a 6-digit password
(e.g. 004123456).
ðIf the passcode is correct, the Main
Menu is displayed.
Invalid passcode
If the passcode is not correct, an error message
is displayed.
1. To empty the passcode field, press
.
When an incorrect passcode has been entered
ten times, the control center is locked for two
minutes per default. These values can be con-
figured by the installer.
Silencing alarms
How to silence the acoustic alarm of the local
control center
1. Touch the screen of the local control
center.
ðThe login screen is displayed and the
acoustic alarm on the local control cen-
ter is silenced.
How to silence all acoustic alarms of remote
devices
1. Log in to display all acoustic alarms.
Refer to How to log in, 1.
ðThe first and last alarms are dis-
played immediately.
2. To silence the alarms of all remote
acoustic devices and control centers,
press .
ðThe alarms of all remote acoustic devices
and control centers are silenced.
Arming areas
How to open the Arm menu
1. To open the Arm menu, press and
.
ðThe Arm menu with three menu options
is displayed.
How to arm
1. Select one of the three menu options to
proceed.
ðThe area and their current arming
possibility are displayed.
– An area is ready to arm, if the icon is
displayed.
– An area is not ready to arm, if the icon
is displayed.
How to arm, if area is ready to arm
üAn area is ready to arm, if the icon
is displayed. All devices in this area are
in normal state.
1. To arm an area that is ready to arm,
press the desired option or area.
2. Press .
ðA countdown starts, indicating the
remaining time to exit the location.
3. Exit the area within the remaining time of
the countdown.
ðThe area is armed.
How to make an area ready to arm
üAn area is not ready to arm, if the
icon is displayed. There are active or faul-
ted devices in the area.
1. To arm an area that is not ready to arm,
press the desired option or area.
1 | 2 | 3 | 4 |
5 | 6 | 7 | 8 |
2. Press .
ðAll active or faulted devices, that
either can be bypassed or cannot be
bypassed, are displayed.
3. Resolve the issues of the listed devices
to make this area ready to arm.
How to force arm
1. If you want to arm the area without the
devices listed and if the preconditions
are fulfilled, press Force Arm.
Disarming areas
How to open the Disarm menu
1. To open the Disarm menu, press
and .
ðThe Disarm menu with three menu op-
tions is displayed.
How to disarm
1. Select one of the three menu options to
proceed.
ðThe area and their current arming
status are displayed. An area is
armed and can be disarmed if the
icon is displayed.
2. To disarm an area, press the desired op-
tion or area.
3. Press .
ðThe area is disarmed.
Viewing area status
How to open the Status menu
1. To open the Status menu, press
and .
2. The Status menu with four menu options
is displayed.
How to view the area status
1. Press View Area Status.
ðA list with all areas and their status
is displayed. The symbol in-
dicates that there is detailed inform-
ation to be displayed for an area.
You can also search for areas by
name or filter areas according to
their arming or disarming status.
2. To view details on the area status, press
the symbol.
ðDetails on the area status are displayed.
Bypassing
How to open the Status menu
1. To open the Status menu, press
and .
2. The Status menu with four menu options
is displayed.
How to bypass or unbypass a device
1. Press Bypass/Unbypass Device.
ðA list with all devices that can be by-
passed or unbypassed are displayed.
You can also search for devices by
name or filter devices according to
their fault and bypass status.
2. To change the status of a device, press
the button of the device.
ðThe icon indicates that the device is
unbypassed. The icon and the yellow
LED on the control panel indicate that
the device is bypassed.
Logging off
How to log off
1. To log off, press .
Troubleshooting
Please contact your installer in case of problems
or any unexpected behavior of the system.
For detailed information and instructions on op-
eration, refer to the MAP 5000 Operation
Manual.
9 | 10 | 11 |
12 | 13 | 14 |
MAP Control Center
en Quick Operation Guide
| 2016.10 | 01 | F.01U.330.487

Other Bosch Controllers manuals

Bosch LSU4 User manual

Bosch

Bosch LSU4 User manual

Bosch REXROTH IndraDrive User manual

Bosch

Bosch REXROTH IndraDrive User manual

Bosch rexroth ctrlX CORE User manual

Bosch

Bosch rexroth ctrlX CORE User manual

Bosch Smart Home controller II Operator's manual

Bosch

Bosch Smart Home controller II Operator's manual

Bosch Rexroth Diax 04 User manual

Bosch

Bosch Rexroth Diax 04 User manual

Bosch BRC3100 User manual

Bosch

Bosch BRC3100 User manual

Bosch DSA E Series User manual

Bosch

Bosch DSA E Series User manual

Bosch Rexroth  VT-HNC100 3X/S Series User manual

Bosch

Bosch Rexroth VT-HNC100 3X/S Series User manual

Bosch Access Easy Controller 2.1 Assembly instructions

Bosch

Bosch Access Easy Controller 2.1 Assembly instructions

Bosch Lambdatronic LT4 ADV Instruction manual

Bosch

Bosch Lambdatronic LT4 ADV Instruction manual

Bosch CR 400 User manual

Bosch

Bosch CR 400 User manual

Bosch rexroth CytroForce-M User manual

Bosch

Bosch rexroth CytroForce-M User manual

Bosch G100 User manual

Bosch

Bosch G100 User manual

Bosch READYKEY PRO LNL-500 User manual

Bosch

Bosch READYKEY PRO LNL-500 User manual

Bosch AMC2 Series User manual

Bosch

Bosch AMC2 Series User manual

Bosch Junkers TR 100 User manual

Bosch

Bosch Junkers TR 100 User manual

Bosch rexroth CHC User manual

Bosch

Bosch rexroth CHC User manual

Bosch Plena LBB1990/00 Mounting instructions

Bosch

Bosch Plena LBB1990/00 Mounting instructions

Bosch FW 100 Assembly Instructions

Bosch

Bosch FW 100 Assembly Instructions

Bosch FMR-7033 User manual

Bosch

Bosch FMR-7033 User manual

Bosch Rexroth IndraDrive MPH-02 Operating and installation instructions

Bosch

Bosch Rexroth IndraDrive MPH-02 Operating and installation instructions

Bosch AMC2 Series User manual

Bosch

Bosch AMC2 Series User manual

Bosch BRC3100 User manual

Bosch

Bosch BRC3100 User manual

Bosch FW 200 Instruction Manual

Bosch

Bosch FW 200 Instruction Manual

Popular Controllers manuals by other brands

YASKAWA yasnac lx3 Maintenance manual

YASKAWA

YASKAWA yasnac lx3 Maintenance manual

Nice MG3000 Complete manual

Nice

Nice MG3000 Complete manual

Herz clever&smart Room Controller Installation and operating instruction

Herz

Herz clever&smart Room Controller Installation and operating instruction

Philco WFN-02-01 Wi-Fi manual

Philco

Philco WFN-02-01 Wi-Fi manual

Doli EDC222 Assembly instruction

Doli

Doli EDC222 Assembly instruction

Honeywell SUPER TRADELINE S8610U installation instructions

Honeywell

Honeywell SUPER TRADELINE S8610U installation instructions

SI Solo 3 installation instructions

SI

SI Solo 3 installation instructions

SpeedFun Ribelle instructions

SpeedFun

SpeedFun Ribelle instructions

SnapAV WPS-ACC-PTZ-CTRL user manual

SnapAV

SnapAV WPS-ACC-PTZ-CTRL user manual

Granville-Phillips 270001 004 instruction manual

Granville-Phillips

Granville-Phillips 270001 004 instruction manual

Cypress CapSense CY8CMBR2044 Design guide

Cypress

Cypress CapSense CY8CMBR2044 Design guide

Texas Instruments TPS53681EVM-002 manual

Texas Instruments

Texas Instruments TPS53681EVM-002 manual

Fisher 92S instruction manual

Fisher

Fisher 92S instruction manual

Omron SYSMAC CS Series Programming manual

Omron

Omron SYSMAC CS Series Programming manual

SMC Networks VBA10A Maintenance manual

SMC Networks

SMC Networks VBA10A Maintenance manual

Siemens SITOP UPS1600 under STEP 7 V12 Getting started

Siemens

Siemens SITOP UPS1600 under STEP 7 V12 Getting started

Val Controls IDC24-A user manual

Val Controls

Val Controls IDC24-A user manual

BIFFI ALGA - EAC Installation, operation and maintenance manual

BIFFI

BIFFI ALGA - EAC Installation, operation and maintenance manual

manuals.online logo
manuals.online logoBrands
  • About & Mission
  • Contact us
  • Privacy Policy
  • Terms and Conditions

Copyright 2025 Manuals.Online. All Rights Reserved.