manuals.online logo
Brands
  1. Home
  2. •
  3. Brands
  4. •
  5. BOSSCO
  6. •
  7. Recording Equipment
  8. •
  9. BOSSCO LS-2 User manual

BOSSCO LS-2 User manual

UBOSS
Instructions
Thank
you
for
purchasing
the
BOSS
LS-2
Line
Selector.
To
make
the
best
use
of
the
unit,
please
read
the
instructions
carefully.
@The
LS-2
provides
two
separate
line-loop
out-
puts.
@lhe
LS-2
features
6
different
modes
(including
effect
loop
selector
and
line
selector)
that
enhance
its
versatility.
@The
LS-2
provides
individual
contro!
over
the
Output
level
of
each
line.
@Each
line
has
an
indicator,
allowing
you
to
easily
determine
the
current
state
of
the
unit.
@An
AC
Adaptor
Output
Jack
is
provided
to
supply
power
to
an
external
effect
unit
when
an
AC
adaptor
is
being
used
to
supply
power
to
the
LS-2.
A—O
B—O
vi
MODE
LEVEL
—
Aa
aveass,
“8
BHBYPASS
a
e
C)
ees
e
as8
Mix
toy
ale
Soc
+20
Soe
eX
OUTPUT
SELECT®
cw
£3
—RETURNGe
E)—
RETURN@
INPUT
€
Line
Selector’
LS-2
-
POWERED
ay’:
Line
Selector
MSPECIFICATIONS
Controls
co.cc
ecccecccccssesesseesecees
Pedal
Switch,
Mode
Selector
Switch,
Level
Control
Knobs
A
/B
INCH
CALOES
janie
a
Sspn
sidered
Abas
Line
Indicators
A/B
(serves
also
as
battery
check
indicator)
JACKSON
2h)
oie
ice
hire,
hted
hs
5
are
Input,
Output,
AC
Adaptor
In/Out,
Send
A/B,
Return
A/B
Input
Impedanee..........
1MQ
Output
Impedance
1kQ
Recommended
Load
Impedance...
10
kQ
or
greater
Residual
Noise
-85
dBu
or
less
(IHF-A,
Typ.)
Power
Supply
...........
...
DC
9
V;
Dry
battery
(6F22/9V),
AC
Adaptor
(PSA-series:
Option)
Current
Draw
.....0.0.....
.
25
mA
(DC
9V)
Dimensions
...0.ccc
eee
ee:
73
(W)
x
129
(D)
x
59
(H)
mm
2-7/8
(W)
x
5-1/8
(D)
x
2-3/8
(H)
inches
VA
CRIM
Riad
Matec
clare
neat
410
2
/
14
oz
(including
battery)
ACCOSSOPIOS
:
iisheGe
Se
Seen
cecdeteiies
Instructions,
Dry
Battery;
6F22/9V
(Carbon),
Rubber
Feet
x2
(For
BCB-6),
Leaflet
(“USING
THE
UNIT
SAFELY,”
“IMPORTANT
NOTES,”
and
“Information”)
CU
OUGIIS
4
spade
pect
eet
auld!
AC
Adaptor
PSA-Series,
DC
cord
PCS-20A
*
OdBu
=
0.775
Vrms
*
In
the
itterest
of
product
unprovement,
the
specifications
and/or
appearance
of
this
unit
are
subject
to
change
without
prior
notice.
Copyright
©
BOSS
CORPORATION
All
rights
reserved.
No
part
of
this
publication
may
be
®
reproduced
in
any
form
without
the
written
permis-
sion
of
BOSS
CORPORATION.
Printed
in
Taiwan
2003-3-B3-3C
2604781202
BOSS
Corporation
MIPANEL
DESCRIPTION
rT)
@AC
Adaptor
In
Jack
240
:option)
to
this
jack.
battery.
BM
BYPASS
¢
-B™..
‘
a.
tt»
+448
\
)
{
)
Cayeasse
®
(
)
a
ei
ArB
MIE
%
NM
_
Coveassd?
SS
o
920
OUTPUT
SELECT
adaptor
may
damage
the
unit.
@AC
Adaptor
Out
Jack
Connect
an
AC
adaptor
(
BOSS
PSA-120,
220
or
*
Use
of
an
AC
adaptor
eliminates
the
need
for
*Be
sure
to
use
the
specified
AC
adaptor
(PSA-120,
220
or
240).
Using
any
other
UBOSS
Instructions
Thank
you
for
purchasing
the
BOSS
LS-2
Line
Selector.
To
make
the
best
use
of
the
unit,
please
read
the
instructions
caretully.
@The
LS-2
provides
two
separate
line-loop
oul-
puts.
@The
LS-2
features
6
different
modes
(including
effect
loop
selector
and
line
selector)
that
enhance
its
versatility.
@The
LS-2
provides
individual
contro!
over
the
output
level
of
each
line.
@£Each
line
has
an
indicator,
allowing
you
to
easily
determine
the
current
state of
the
unit.
@An
AC
Adaptor
Output
Jack
is
provided
to
supply
power
to
an
external
effect
unit
when
an
AC
adaptor
is
being
used
to
supply
power
to
the
LS-2.
*
These
indicators
also
serve
as
a
battery
check.
When
they
become
dim
(or
do
not
light
at
all),
replace
the
battery
immediately.
@Level
Contro!
Knobs
A/B
Each
knob
controls
the
output
level
of
the
corre-
sponding
line
(
A/B
).
The
output
level
is
variable
from
—co(
muted
)
to
+20qB.
%*
When
a
knob
is
set
to
the
center
position,
the
input
and
output
levels
are
equal.
When
an
AC
adaptor
is
being
used
to
power
the
LS-2,
power
can
also
be
supplied
to
another
compact
effect
unit
by
connecting
a
paralleled
DC
cord
(
PCS-20A
:
option
)
to
this
jack.
*When
you
are
using
battery
power,
the
AC
Adaptor
Out
Jack
does
not
function.
*
When
using
the
PSA-120,
220
or
240,
be
sure
that
the
total
current
draw
of
the
LS-2
and
any
external
effect
unit
does
not
exceed
200mA.
©
output
Line
Selector
@Line
Indicators
A/B
The
appropriate
indicator
lights
when
the
corre-
8
sponding
line
(
A/B
)
is
selected.
@Send
Jacks
(
A/B
)
These
jacks
send
the
signals
received
by
the
Input
Jack
when
the
corresponding
line
(
A/B
)
is
in
use.
@oOutput
Jack
Connect
an
amplifier
or
other
effect
unit
to
this
jack.
@Pedal
Switch
This
switch
selects
the
line
to
be
used.
LS-2
ane
Amurbassg
©
7
“oN
kee
OE
Pine
®
Bet
cae
soordrecie
©
SEND
—
E)-
RETURNE-
~
B-
RETURNG
|F
€
output
INPUT
€
Line
Selector
LS-2
nc
8
barren
wd
POWERED
@Thumb
Screw
Loosen
this
screw
to
open
the
pedal
for
battery
replacement.
For
a
detailed
explanation,
see
"Battery
Replacement”.
@Mode
Selector
Switch
This
switch
selects
the
operating
mode.
For
a
detailed
explanation,
see
"MODE
DESCRIPTION’,
@Return
Jacks
A/B
These
jacks
feed
the
signal
from
the
correspond-
ing
line
(
A/B
)
into
the
unit.
@input
Jack
Connect
an
electric/electronic
musical
instrument
(such
as
an
electric
guitar)
to
this
jack.
*
Connecting
a
plug
to
the
input
Jack
automati-
cally
turns
the
unit
on.
Disconnect
the
plug
from
the
Input
Jack
when
the
unit
is
not
in
use.
Line
Selector
HIOPERATION
(DSelect
the
desired
mode.
*
Be
sure
to
select
an
appropriate
mode
referring
to
"Mode
Description”
and
“LS-2
Sample
Settings”.
@Connect
the
relevant
units
depending
on
the
mode
you
have
selected.
*
Before
connecting
or
disconnecting
cords,
be
sure
to
turn
down
the
volume
on
the
amplifier.
(3)Select
the
desired
line
by
pressing
the
pedal.
Then
adjust
the
output
level
of
each
line
with
the
Level
Control
Knobs.
*
The
Level
Control
Knobs
may
not
work
depending
on
how
the
units
are
set
up.
A—O
B—
O
MODE
,5.
r
LEVEL
—
A@BYPASS,
@
Be
BYPASS
(ee
ByPaSsSe
@
A+B
eal
e
e
e e e e
BYPASS
~CO
+20
~CO
+20
OUTPUT
SELECT
€
SEND
—
EJ—
RETURNG@
M@
BATTERY
REPLACEMENT
@Loosen
the
thumb
screw
on
the
pedal
Use
one
9-volt
battery
to
open
It.
(Take
out
the
battery
from
the
battery
housing
and
disconnect
the
battery
snap.
(3)Connect
a
new
battery
to
the
battery
snap,
then
replace
the
battery
in
to
the
battery
housing.
*
Make
sure
that
the
polarity
of
the
battery
is
correct.
()Push
the
coil
spring
into
the
spring
base
on
the
rear
of
the
pedal,then
close
the
pedal.
*
Make
sure
that
the
snap
cord
is
not
caught
in
the
pedal
or
coil
spring.
Battery
Snap
(Insert
the
thumb
screw
into
the
guide
bush
hole
and
firmly
tighten”
the
screw.
Battery
Snap
Cord
Pedal
_—
Thumb
Screw
A—O
B—O
rLEVEL
—
MODE
ju,
Ae
BYPASS,
e
B«
BYPASS
»
eke:
BYPASS¢
®
A+B
ee
e
+ .
‘ ‘
BYPASS
é
-0O
+20
OUTPUT
SELECT
~cCO
+20
€
SEND
—
ZY-
RETURN@
@
IMPORTANT
NOTES
@
To
place
the
LS-2
in
the
BOSS
Carrying
Box
BCB-6,
you
need
to
attach
the
supplied
rubber
feet
to
the
BCB-6
shown
below.
Supplied
Rubber
Foot
Coil
Spring
BCB-6——
—
Guide
Bush
Hole
@Remove
the
battery
whenever
the
unit
Battery
is
not
going
to
be
used
for
an
Housing
extended
period
of
time.
@When
operating
solely
on
a
battery,
the
unit's
indicator
becomes
dim
when
the
battery
is
depleted.
Replace
the
battery
immediately.
@if
there
is
a
battery
in
the
unit
while
an
AC
adaptor
ts
being
used,
normal
operation
will
continue
should
the
fine
voltage
be
interrupted
(power
black-
out)
or
the
power
cord
become
dis-
connected.
@Should
a
maltunction
occur
{or
if
you
suspect
there
is
a
problem)
dis-
continue
use
immediately.
Contact
qualified
service
personnel
as
soon
as
possible.
@OUT:9VDC
200mA
MIMODE
DESCRIPTION
The
following
describes
the
LS-2’s
six
operation
modes:
*
When
you
change
modes,
be
sure
to
determine
the
currently
selected
line
using
the
Line
Indicators.
A@B
Pressing
the
pedal
alternately
selects
Line
A
or
Line
B.
This
is
an
ideal
setting
for
using
only
the
line
loop
function
(when
bypass
output
is
not
required)
INPUT-SEND
A—
RETURN
A—-OUTPUT
INPUT->SEND
B->RETURN
B->OUTPUT
B&
BYPASS
Pressing
the
pedal
alternately
selects
Line
B
or
Bypass.
INPUT--SEND
B->RETURN
B--OUTPUT
INPUT
—
OUTPUT
A®
BYPASS
Pressing
the
pedal
alternately
selects
Line
A
or
Bypass.
BYPASS
|
INPUT--SEND
A--RETURN
A—OUTPUT
INPUT-OUTPUT
Bee
BYPASS
Pressing
the
pedal
repeatedly
selects
(in
sequence)
Line
A,
Line
B
or
Bypass.
INPUT—-SEND
A-—->RETURN
A—OUTPUT
INPUT—SEND
B--RETURN
B--OUTPUT
BYPASS
INPUT-OUTPUT
A+B
MIX
BYPASS
OUTPUT
SELECT
Pressing
the
pedal
alternately
selects
Line
A
+
Line
B
(mixed)
or
Bypass.
Pressing
the
peda!
repeatedly
selects
(in
sequence)
Send
A,
Send
B
or
Output.
JUNE
A+B
MIX
BYPASS
~SEND
A—RETURN
A>
INPUT-OUTPUT
INPUT--SEND
A
INPUT--SEND
B
INPUT
SEND
B--RETURN
B->
+
OUTPUT
For
EU
Countries
C
€
This
product
complies
with
the
requirements
of
European
Directive
89/336/EEC.
MIBLOCK
DIAGRAM
INPUT
--OUTPUT
LEVEL
A
RETURN
A
SEND
A
OUTPUT
INPUT
:
<1
0
Roland”
2604781202
UPC
2604781202
1
ll
|
{|
| |
10981
oBoss

Other BOSSCO Recording Equipment manuals
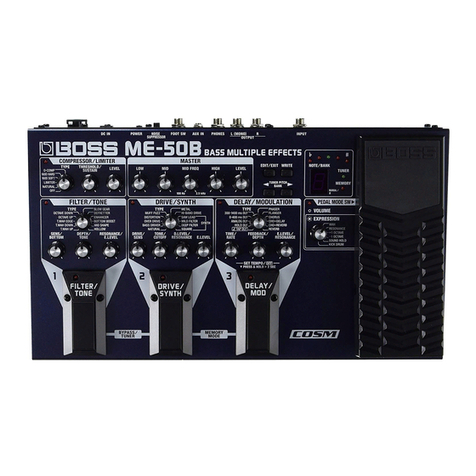
BOSSCO rv-6 User manual

BOSSCO

BOSSCO rv-6 User manual

BOSSCO GT-1 User manual

BOSSCO

BOSSCO GT-1 User manual

BOSSCO SX-700 User manual

BOSSCO

BOSSCO SX-700 User manual

BOSSCO Dr.Sample SP-202 User manual

BOSSCO

BOSSCO Dr.Sample SP-202 User manual

BOSSCO ME-6B User manual

BOSSCO

BOSSCO ME-6B User manual

BOSSCO RSD-10 User manual

BOSSCO

BOSSCO RSD-10 User manual

BOSSCO Dr.Rhythm DR-110 User manual

BOSSCO

BOSSCO Dr.Rhythm DR-110 User manual

BOSSCO BR-864 User manual

BOSSCO

BOSSCO BR-864 User manual

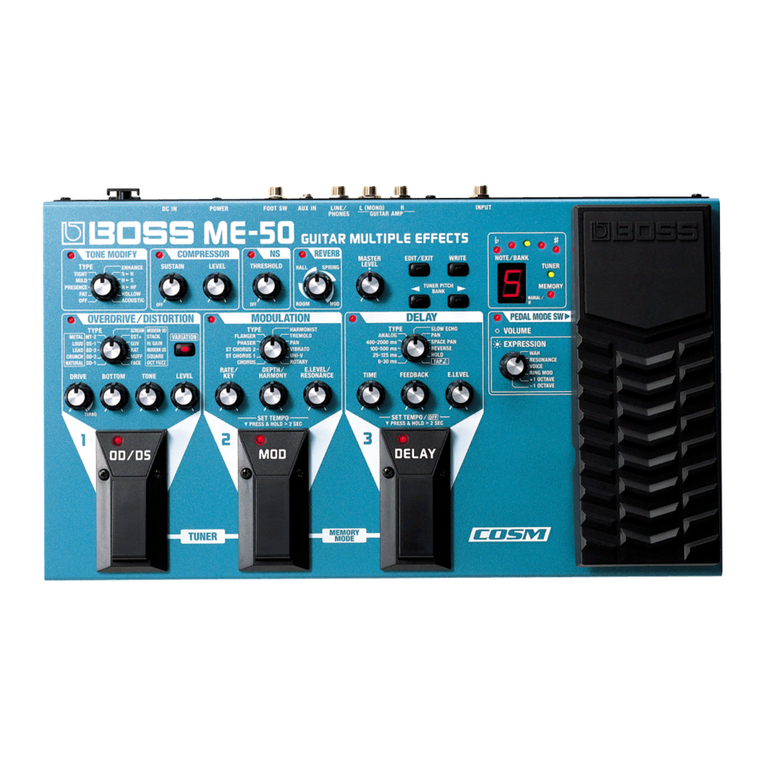
BOSSCO ME-50 User manual

BOSSCO

BOSSCO ME-50 User manual

BOSSCO GT-5 User manual

BOSSCO

BOSSCO GT-5 User manual

BOSSCO TurboStart BR-800 Setup guide

BOSSCO

BOSSCO TurboStart BR-800 Setup guide

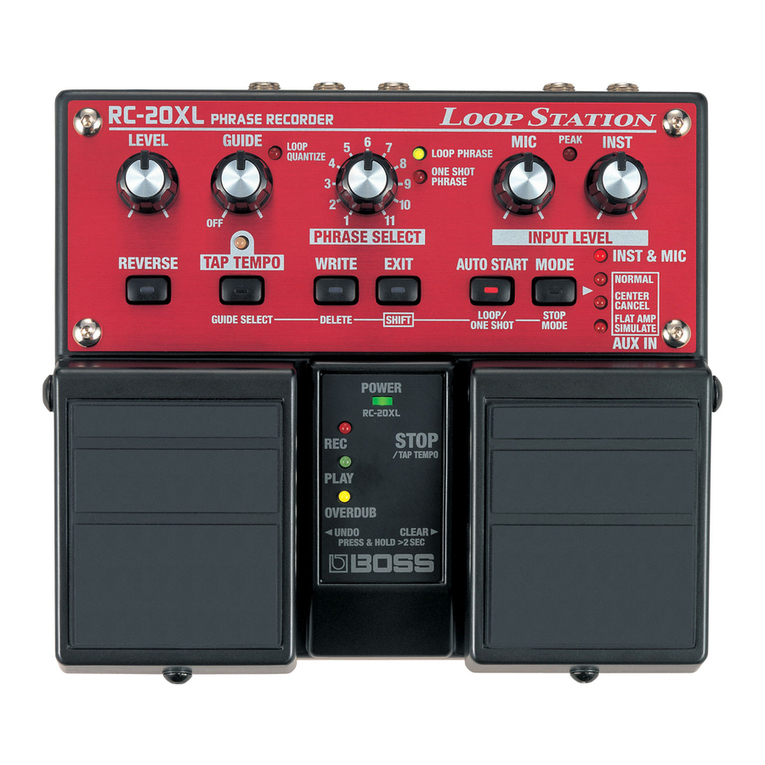
BOSSCO Loop Station RC-20 User manual

BOSSCO

BOSSCO Loop Station RC-20 User manual
BOSSCO RPS-10 User manual

BOSSCO

BOSSCO RPS-10 User manual

BOSSCO RC-505 User manual

BOSSCO

BOSSCO RC-505 User manual
BOSSCO BR-1600CD Manual

BOSSCO

BOSSCO BR-1600CD Manual

BOSSCO ME-90 User manual

BOSSCO

BOSSCO ME-90 User manual

BOSSCO GT-10B User manual

BOSSCO

BOSSCO GT-10B User manual

BOSSCO RC-505 User manual

BOSSCO

BOSSCO RC-505 User manual

BOSSCO BR-1180 User manual

BOSSCO

BOSSCO BR-1180 User manual

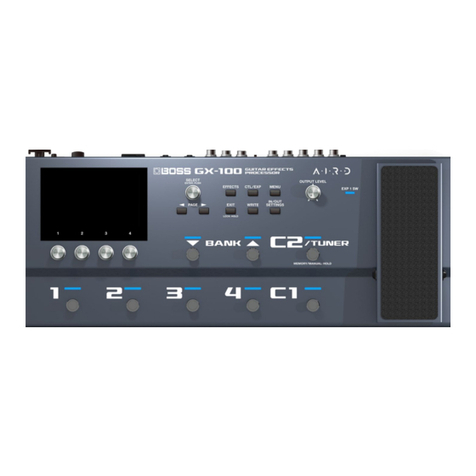
BOSSCO GT-100 Operating and maintenance manual

BOSSCO

BOSSCO GT-100 Operating and maintenance manual

BOSSCO RV-100 User manual

BOSSCO

BOSSCO RV-100 User manual

BOSSCO JamStation JS-5 Operating and maintenance manual

BOSSCO

BOSSCO JamStation JS-5 Operating and maintenance manual

BOSSCO RRV-10 User manual

BOSSCO

BOSSCO RRV-10 User manual

BOSSCO GT-X User manual
BOSSCO

BOSSCO GT-X User manual

Popular Recording Equipment manuals by other brands

Omega Engineering DAQ-16 user manual

Omega Engineering

Omega Engineering DAQ-16 user manual

Toa IP-3001AF instruction manual

Toa

Toa IP-3001AF instruction manual

Stanton smx 201 user guide

Stanton

Stanton smx 201 user guide

Sony ICD-CX50 - Visual Voice Recorder Service manual

Sony

Sony ICD-CX50 - Visual Voice Recorder Service manual

Fostex FD-4 owner's manual

Fostex

Fostex FD-4 owner's manual

Hioki 3909 instruction manual

Hioki

Hioki 3909 instruction manual

dbx 166 Service manual

dbx

dbx 166 Service manual

Mooer GE300 owner's manual

Mooer

Mooer GE300 owner's manual

HBM MP55 operating manual

HBM

HBM MP55 operating manual

Sony PWSK-4504 installation guide

Sony

Sony PWSK-4504 installation guide

Viking PB-100 Technical practice

Viking

Viking PB-100 Technical practice

Ampex MR-70 user manual

Ampex

Ampex MR-70 user manual

Behringer Autocom Pro MDX1400 user manual

Behringer

Behringer Autocom Pro MDX1400 user manual

Alesis ADAT-M20 owner's manual

Alesis

Alesis ADAT-M20 owner's manual

Yamaha SPX90 operating manual

Yamaha

Yamaha SPX90 operating manual

Bastl Propust user guide

Bastl

Bastl Propust user guide

Behringer Multicom Pro MDX4400 user manual

Behringer

Behringer Multicom Pro MDX4400 user manual

Euphonix MC Control user guide

Euphonix

Euphonix MC Control user guide

manuals.online logo
manuals.online logoBrands
  • About & Mission
  • Contact us
  • Privacy Policy
  • Terms and Conditions

Copyright 2025 Manuals.Online. All Rights Reserved.