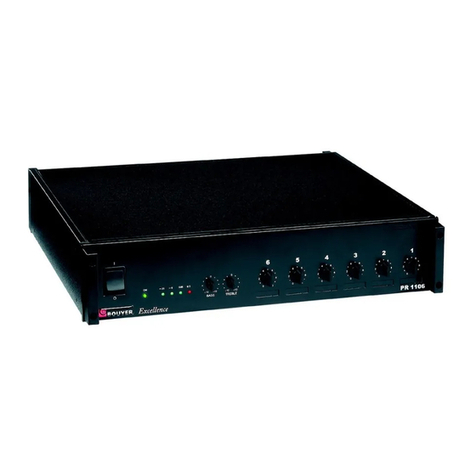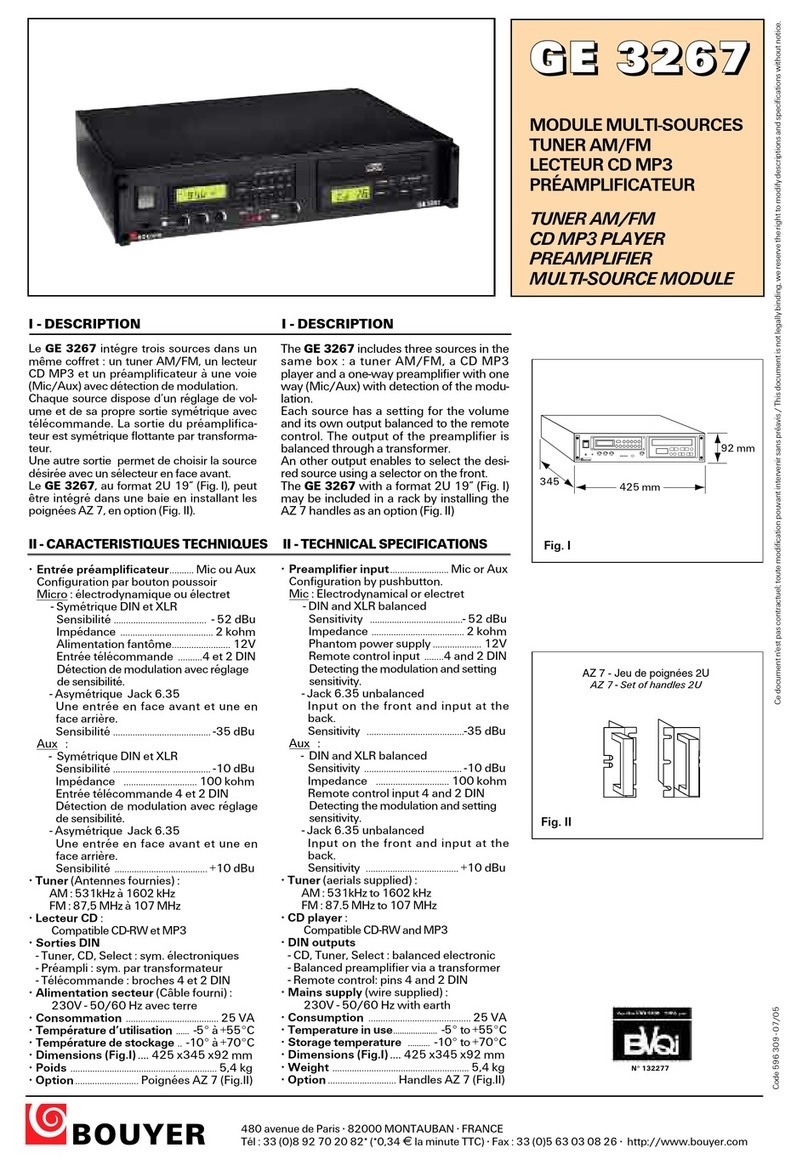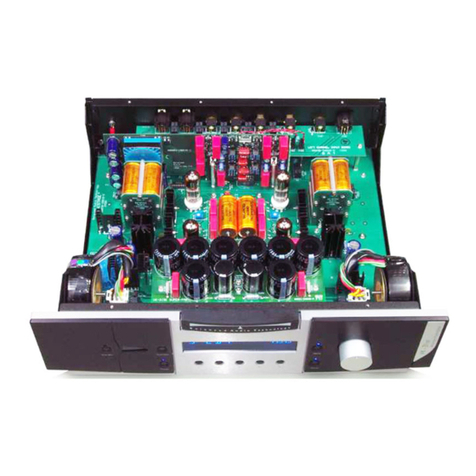
A l’avant (Fig. I)
1 - Interrupteur marche/arrêt
2 - Prise DIN microphone
3 - Volume microphone
4 - Volume musique
5 - Témoin de marche
6 - Témoin de défilement sens
arrière
7 - Témoin de défilement sens
avant
8 - Touche éjection
9 - Logement cassette
10 - Retour rapide arrière
11 - Avance rapide avant
12 - Fourche de fixation
A l’arrière (Fig. II)
13 - Connecteur de raccordement
6 contacts
14 - Entrée DIN Aux
15 - Fusible 4 A
Front panel (Fig. I)
1 - On/Off switch
2 - Microphone DIN plug
3 - Microphone volume control
4 - Music volume control
5 - Power indicator
6 - Backward indicator
7 - Forward indicator
8 - Cassette ejection
9 - Cassette location
10 - Rewind control
1
1 - Fast forward control
12 - Fixation bracket
Rear panel (Fig. II)
13 - 6 contacts connector
14 - Aux. DIN input
15 - T 4 A fuse
2EB 134
III - PRESENTATION III - PRESENTATION
Fig. I
Fig. II
•HAUT-PARLEURS
Raccorder les haut-parleurs ou chambres de compression sur la
sortie d’impédance adaptée 8 ou 16 W(30 W).
•ALIMENTATION
Alimenter l’appareil avec une batterie 12V continu. Le fil bleu
relié au pôle négatif et le fil rouge au pôle positif. Il est protégé
contre les inversions de polarité par diode et fusible (4A).
•AUXILIAIRE
Raccorder l’entrée auxiliaire à une source extérieure avec un
cordon GZ 33.
•TÉLÉCOMMANDE
Raccorder un interrupter entre la masse et la télécommande (fil
blanc du connecteur).
•MICROPHONE
Brancher le microphone à la prise DIN de la face avant EB 134.
ATTENTION - Installer l’appareil dans un endroit aéré.
L’EB 134 doit fonctionner en position horizontale. Ne jamais
utiliser l’EB 134 sans haut-parleurs.
Appuyer sur le bouton marche 1 et s’assurer que le voyant 5
est allumé.
• LECTEUR DE CASSETTE
Introduire la cassette dans le logement 9 , régler la puissance
avec le bouton volume “MUSIQUE” 4 . Pour changer la cas-
sette, appuyer sur la touche “EJECT” 8 . Pour un rembobinage
rapide avant, appuyer sur la touche 11 . Pour un rembobinage
rapide arrière, appuyer sur la touche 10 . Pour changer le
sens, appuyer simultanément sur les touches 10 et 11 .
N.B. : Il est inutile d’éjecter la cassette à l’arrêt de l’appareil. Les
galets presseurs étant automatiquemenet dégagés.
•ENTRÉE AUX
Ejecter la cassette, l’appareil est en fonction Aux. Régler la puis-
sance avec le bouton 4 .
•ENTRÉE MICROPHONE
Appuyer sur le bouton du microphone pour faire une annonce
prioritaire sur la musique. Régler la puissance avec le bouton 3
•TÉLÉCOMMANDE
Fermer le circuit de la télécommande à l’aide d’un interrupteur :
la diffusion de la cassette s’arrête. A l’ouverture du circuit la
diffusion reprend.
IV - INSTALLATION IV - INSTALLATION
•LOUDSPEAKERS
Connect the loudspeakers on the output respecting correct
impedance 8 or 16 W(30 W).
•POWER SUPPLY
Connect the unit to a 12V DC battery, blue wire must be connec-
ted on (-) and the red to the (+). Unit is protected against polarity
inversions by diode and fuse (4A).
•AUXILIARY
Connect the Aux. input to an exterior source with a GZ 33 cord.
•REMOTE CONTROL
Connect a switch between ground and remote control input
(white wire of the 6 c. connector).
•MICROPHONE
Connect the microphone to the DIn plug on front panel.
CAUTION - The EB 134 should be installed in a ventilated
area. It must be operated in horizontal position. Never use
this unit without loudspeakers.
Press the On/Off swith 1 and check that the indicator 5 is lit
on.
• CASSETTE PLAYER
Insert the cassette in its location 9 , adjust the power with the
“MUSIC” control 4 . To change the cassette, press the button
“EJECT” 8 . For fast forward, use the button 11 . For fast
rewind, use the button 10 . To change track, press the buttons
10 and 11 at the same time.
N.B. : It is not necessary to eject the cassette when unit is
stopped : pinch rollers being automatically disengaged.
•AUXILIARY INPUT
Eject the cassette, the Aux input is switched on. Adjust the
power with the music volume control 4 .
•MICROPHONE INPUT
Press the microphone button for an announcement overriding
music. Adjust the power with the microphone volume control 3
•REMOTE CONTROL
Switch on remote control : the cassette stops.
Switch off : the music cassette starts again.
V - UTILISATION V - USE

