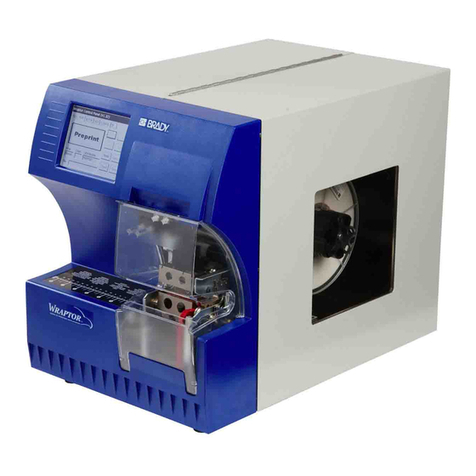
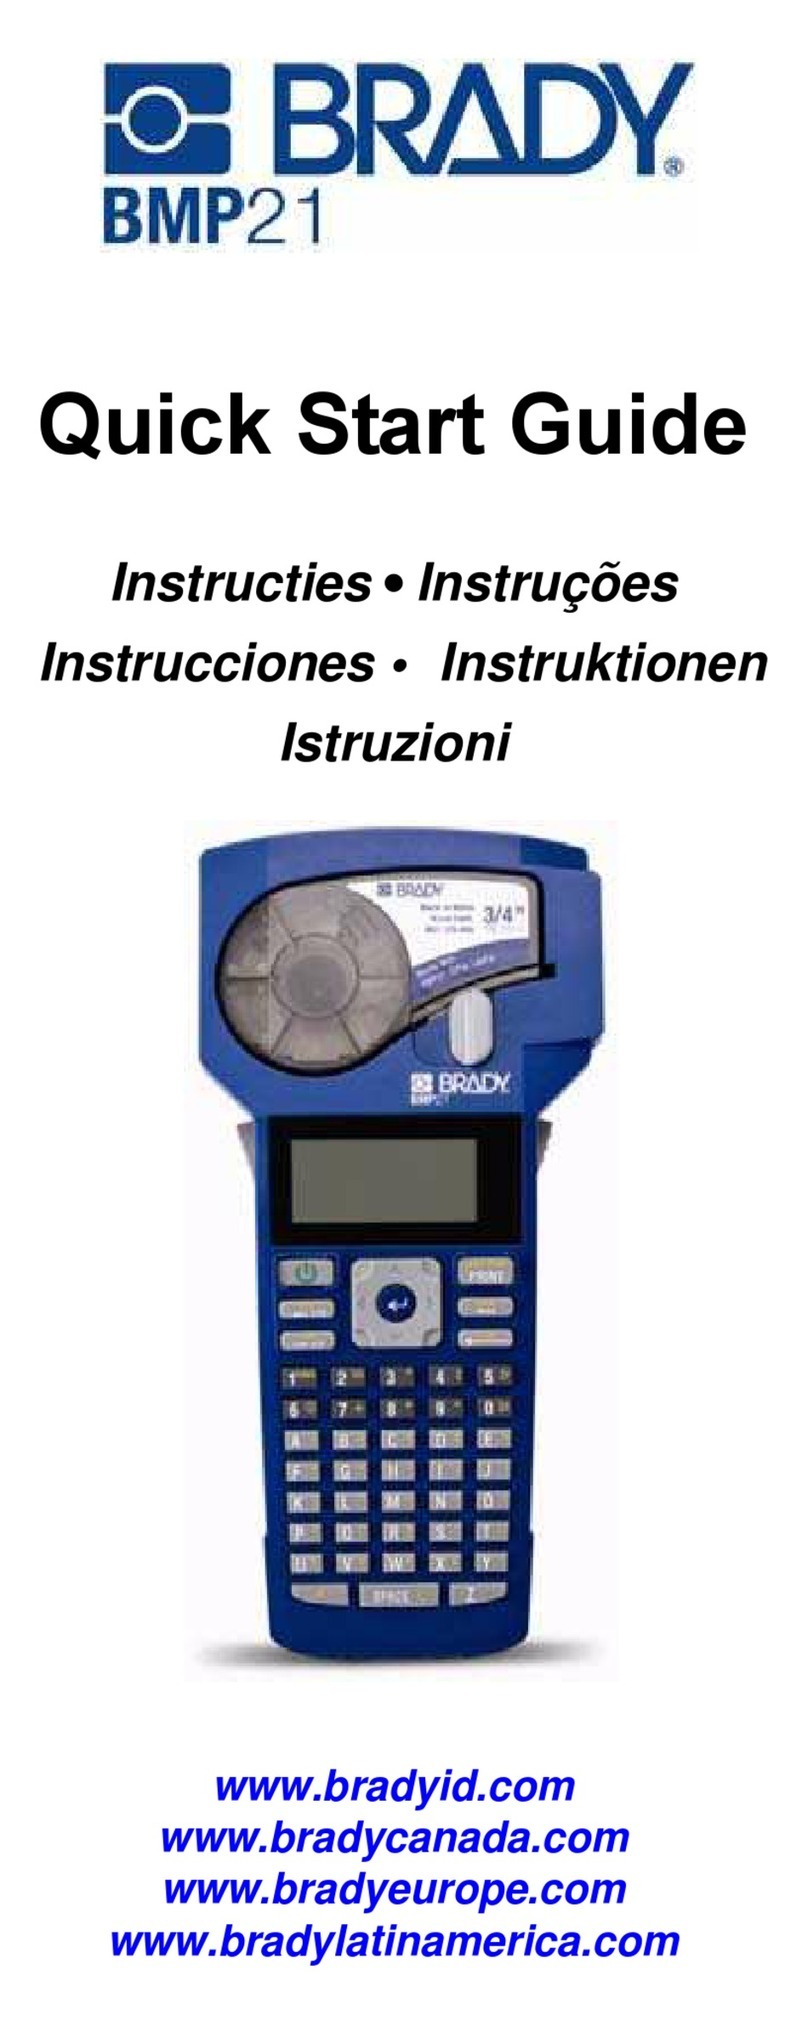
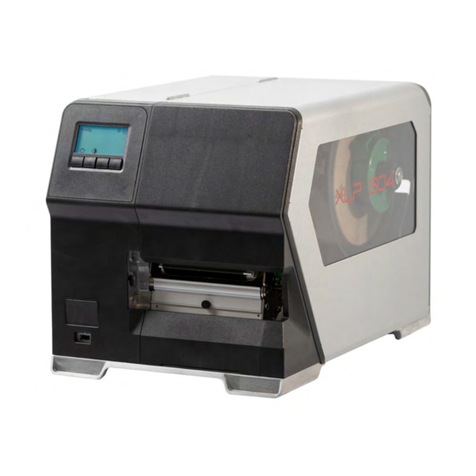
Brady Wraptor A6200 User manual

User Manual

Wraptor A6200 User Manual ii
Copyright and Trademarks
Disclaimer
This manual is proprietary to Brady Worldwide, Inc. (hereafter "Brady"), and may be revised from time
to time without notice. Brady disclaims any understanding to provide you with such revisions, if any.
This manual is copyrighted with all rights reserved. No portion of this manual may be copied or
reproduced by any means without the prior written consent of Brady.
While every precaution has been taken in the preparation of this document, Brady assumes no liability
to any party for any loss or damage caused by errors or omissions or by statements resulting from
negligence, accident, or any other cause. Brady further assumes no liability arising out of the
application or use of any product or system described, herein; nor any liability for incidental or
consequential damages arising from the use of this document. Brady disclaims all warranties of
merchantability of fitness for a particular purpose.
Brady reserves the right to make changes without further notice to any product or system described
herein to improve reliability, function, or design.
Trademarks
Wraptor A6200 is a trademark of Brady Worldwide, Inc.
Microsoft and Windows are registered trademarks of Microsoft Corporation.
All brand or product names referenced in this manual are trademarks (™) or registered trademarks (®)
of their respective companies or organizations.
© 2020 Brady Worldwide, Inc. All Rights Reserved.
Y4875106
Revision A
Brady Worldwide, Inc.
6555 West Good Hope Road
P.O. Box 2131
Milwaukee, WI 53201-2131
www.bradyid.com
Sales/Customer Support:(888) 250-3082

Wraptor A6200 User Manual iii
Brady Warranty
Our products are sold with the understanding that the buyer will test them in actual use and determine
for him or herself their adaptability to his/her intended uses. Brady warrants to the buyer that its
products are free from defects in material and workmanship, but limits its obligation under this
warranty to replacement of the product shown to Brady’s satisfaction to have been defective at the
time Brady sold it. This warranty does not extend to any persons obtaining the product from the buyer.
THIS WARRANTY IS IN LIEU OF ANY OTHER WARRANTY, EXPRESS OR IMPLIED, INCLUDING,
BUT NOT LIMITED TO, ANY IMPLIED WARRANTY OF MERCHANTABILITY OR FITNESS FOR A
PARTICULAR PURPOSE, AND OF ANY OTHER OBLIGATIONS OR LIABILITY ON BRADY’S PART.
UNDER NO CIRCUMSTANCES WILL BRADY BE LIABLE FOR ANY LOSS, DAMAGE, EXPENSE
OR CONSEQUENTIAL DAMAGES OF ANY KIND ARISING IN CONNECTION WITH THE USE, OR
INABILITY TO USE, BRADY’S PRODUCTS.
Safety and Environment
Please read and understand this manual before using the Wraptor A6200 printer for the first time. This
manual describes all of the main functions of the Wraptor A6200 printer.
Precautions
Before using the
Wraptor A6200 printer
, please note the following precautions:
• Read all instructions carefully before operating the printer and prior to performing any procedure.
• Do not place the unit on an unstable surface or stand.
• Do not place anything on top of the unit.
• Keep the top clear of obstructions.
• Always use the printer in a well ventilated area. Do not block the slots and opening on the unit, which
are provided for ventilation.
• Only use the power source indicated on the rating label.
• Use only the power cord that comes with the unit.
• Do not place anything on the power cord.
• Keep the area around the fan inlet clear to avoid overheating.

Wraptor A6200 User Manual iv
Technical Support and Registration
Contact Information
For repair or technical assistance, locate your regional Brady Technical Support office by going to:
•
United States
:
www.bradyid.com/techsupport
•
Europe
:
www.bradyeurope.com/services
•
Asia Pacific
:
www.brady.co.uk/landing-pages/global-landing-page
•
Australia:
www.bradyid.com.au/en-au/supportlanding
•Canada: www.bradycanada.ca
•Latin America: www.bradylatinamerica.com
Registration Information
To register your printer go to:
• www.bradycorp.com/register
Repair and Return
If for any reason you need to return the product for repair, please contact Brady Technical Support for
repair and replacement information.
Document Conventions
When using this document, it is important that you understand the conventions used throughout the
manual.
• All user actions are indicated by
Bold
text.
• References to menus, dialog boxes, buttons and screens are indicated by
Italicized
text.

Wraptor A6200 User Manual v
Contents
1 • Introduction
System Specifications............................................................................................... 1
Physical Dimensions .............................................................................................1
Environmental Ranges ..........................................................................................2
Materials Storage Specifications ...........................................................................2
Electrical Specifications ........................................................................................2
System Requirements ............................................................................................... 2
Safety .......................................................................................................................... 2
Automatic Stops ....................................................................................................3
Wrapper Module ............................................................................................3
Top Cover ....................................................................................................4
Electrical Safety ....................................................................................................4
2 • Setup
Unpacking the Printer ............................................................................................... 5
What’s in the Box ..................................................................................................5
Registration ...........................................................................................................5
Printer Components .................................................................................................. 6
Power .......................................................................................................................... 7
Printer Settings .......................................................................................................... 7
Advance to Next Label ..........................................................................................8
Wire or Cable Tension ..........................................................................................8
File Location ..........................................................................................................8
Keyboards .............................................................................................................9
Language ..............................................................................................................9
Units of Measure .................................................................................................10
Date and Time ....................................................................................................10
Printer Name .......................................................................................................10
Software for Creating Labels.................................................................................. 11
Connecting the Printer ............................................................................................ 12
USB .....................................................................................................................12
Wi-Fi ....................................................................................................................12
Search to Connect .......................................................................................12
Manually Enter Settings ...............................................................................13
Ethernet Network ................................................................................................13
Installing the Windows Driver (Optional) .............................................................. 14
Loading Ribbon ....................................................................................................... 15
Loading Label Supply ............................................................................................. 17
Rewinder Accessory ............................................................................................... 21
Installing the Rewinder ........................................................................................21
Starting a New Roll .............................................................................................23
Removing Spent Label Backing ..........................................................................24

Wraptor A6200 User Manual vi
3 • General Operation
Using the Touch Screen.......................................................................................... 25
Navigation and Status Bar .................................................................................26
Material Details ...................................................................................................26
Creating Labels........................................................................................................ 26
Printing: Quick Start................................................................................................ 27
Printing and Wrapping ........................................................................................27
Wrap Quality ................................................................................................28
Printing Without Wrapping (Print Only) ...............................................................28
Wrapping Without Printing (Apply Only) .............................................................29
Printing: Details ....................................................................................................... 29
Managing Print Jobs ...........................................................................................29
Finding a Print Job .......................................................................................30
Adding a Job to the Queue ..........................................................................31
Deleting a Job ..............................................................................................31
Managing the Print Queue ..................................................................................32
Running Jobs ......................................................................................................33
Settings ...............................................................................................................34
Print Adjustments .........................................................................................34
Print Queue ..................................................................................................35
Transferring Print Jobs Between Printers............................................................. 35
Import Print Jobs .................................................................................................36
Running a File Using a Barcode Scanner ............................................................. 36
Set Up the Scanner .............................................................................................37
Set Up the Label Files and Barcodes .................................................................37
Print from a Barcode ...........................................................................................37
4 • Maintenance
Displaying System Information .............................................................................. 38
Installing an Upgrade .............................................................................................. 38
Updating Y and B Values ........................................................................................ 39
Cleaning.................................................................................................................... 39
Cleaning the Tarp ...............................................................................................39
Cleaning the Print Head ......................................................................................40
Cleaning the Rollers and Peel Plate ...................................................................41
Cleaning the Sensors ..........................................................................................43
Cleaning the Fan Filter ........................................................................................46
5 • Troubleshooting
Wrap is not applied correctly ................................................................................. 47
Labels jam on the tarp............................................................................................. 49
Label material jams within the printer ................................................................... 49
Label material feeds incorrectly............................................................................. 49
Print quality is poor ................................................................................................. 50
Print is too light ....................................................................................................... 50

Wraptor A6200 User Manual vii
Nothing happens when I place a wire in the jaws ................................................ 51
No print jobs are in the printer ............................................................................... 51
A • Regulatory Compliance
Agency Compliance and Approvals ...................................................................... 52
United States ......................................................................................................52
FCC Notice ...................................................................................................52
Canada ...............................................................................................................52
Mexico .................................................................................................................52
Europe ..............................................................................................................53
RoHS Directive 2011/65/EU, 2015/863/EU ..................................................53
Batteries Directive 2006/66/EC ....................................................................53
Turkey .................................................................................................................53
China ...................................................................................................................54
Wireless Regulatory Information ........................................................................... 54
United States ......................................................................................................54
Canada ...............................................................................................................55
Mexico .................................................................................................................55
European Union ..................................................................................................55
International ........................................................................................................56
Japan ..................................................................................................................56
B • Licensing
End User License Agreement for Microsoft Windows CE© ................................ 57

Wraptor A6200 User Manual 1
1 Introduction
The Wraptor™ A6200 Wrap Printer Applicator prints and wraps labels on wires and cables from 0.06
to 0.25 inches in diameter, including any casing around the wire or cable. Design labels on your
computer using Brady Workstation software. Transfer the labels to the printer for printing and
wrapping.
System Specifications
The Wraptor A6200 printer has the following specifications:
• 300 dots per inch (11.8 dots per mm) print resolution
• 1.5 inches per second (38.1 mm per second) print speed
• Wrap speed 7 seconds or less to print and apply)
• Accommodates wires between 0.06” (1.524 mm) and 0.25” (6.35 mm) in diameter
• Supports label widths of 1" (25.4 mm) or 0.5" (12.7 mm)
• Supports labels from 0.75” (19.05 mm) to 1.25” (31.75 mm) high
(1.25” maximum printable height)
• One-year warranty
• Accepts USB drives for added storage capability and standalone operation. USB drives must be
formatted with FAT, FAT32, or exFAT file systems. The
Wraptor A6200
printer does not support
NTFS.
Physical Dimensions
Physical U.S. Units Metric Units
Dimensions with touch screen
folded flat (width, height, depth)
8.8 x 8.3 x 11.7 in 22.4 x 21.1 x 29.7 cm
Weight 8.7 lbs 3.9 kg

Wraptor A6200 User Manual 2
Introduction
System Requirements
Environmental Ranges
Exposing the printer to direct sunlight is not recommended.
Materials Storage Specifications
Label supplies and ribbon for use with this unit must be stored in its original packaging in an
environment in which the temperature is below 80°F and 60% relative humidity.
Electrical Specifications
System Requirements
Following are the recommended requirements for the computer on which you install the Wraptor
A6200 Printer Driver:
• Operating system:
• Microsoft® Windows® 7
• Microsoft Windows 8
• Microsoft Windows 10
Safety
The following information is necessary for the safe operation of the Wraptor A6200 printer. Be sure to
read this section prior to setting up or operating the printer.
Environmental Operation Storage
Temperature* 50 to 105°F (10 to 40.6°C) 0 to 140°F (-18 to 60°C)
Relative Humidity 20 to 80% non-condensing 10 to 95% non-condensing
* Performance decreases for B427 labels above 80°F (26.7°C). (B427 labels
are self-laminating translucent vinyl labels.)
Input Voltage to Adapter 100 - 240 V~
Current to Adapter 1.5 A
Frequency to Adapter 50/60 Hz
Input Voltage to Printer 18 V DC

Wraptor A6200 User Manual 3
Introduction
Safety
Always be sure to adhere to the safety standards regulating your operating environment. Also adhere
to the following safety rules in addition to your specific standards:
Automatic Stops
For safe operation, moving parts in the printer automatically stop when the top cover is open. Moving
parts in the wrapper mechanism stop when the wrapper module is open.
Wrapper Module
WARNING! Do not wear loose clothing—such as long sleeves or scarves—that
could become caught in the unit.
CAUTION! Keep areas around the unit clean at all times.
CAUTION! The tear blade in the bottom front of the printer has a sharp edge.
When the wrapper module is
opened, the wrapping
mechanism stops. With the
wrapper module open you can
print and peel labels as well
as feed labels.

Wraptor A6200 User Manual 4
Introduction
Safety
Top Cover
Electrical Safety
Printing and wrapping stops
when the top cover is opened.
The top cover must be closed
to feed labels.
WARNING! Do not disable the automatic stop mechanisms. Doing so may
cause injury.
CAUTION! Make sure the power outlet is grounded.
WARNING! Turn off power and unplug unit before performing any service or
maintenance on the Wraptor A6200 printer.

Wraptor A6200 User Manual 5
2 Setup
Unpacking the Printer
Save all packaging material in case you have to ship the printer back to the supplier.
What’s in the Box
• Wraptor™ A6200 Wrap Printer Applicator.
• USB drive containing the following:
• Wraptor A6200 User’s Manual
• Wraptor A6200 Quick Start Guide
• Print Driver
•
Driver Installation Guide
• Printed Quick Start Guide
•
Brady Workstation Product & Wire Identification Software Suite
with download instructions and
license key.
• Power cord and AC adapter.
• USB cable
• Label supply: A62-3-427 die cut 1" x 1.25"
• Ribbon: M71-R4300 black
Registration
Register your printer online at www.bradycorp.com/register and receive free product support and
updates!
CAUTION! The tear blade in the bottom front of the printer has a sharp edge.

Wraptor A6200 User Manual 6
Setup
Printer Components
Printer Components
1. Touch screen: Tap with your finger to operate the menus. See “Using the Touch Screen” on
page 25.
2. Cover latch: Lift up to open the top cover.
3. Wrapper module: The clear enclosure and everything within it. The module attaches to the
printer with a hinge and can fold open for loading labels and cleaning. The wrapper
automatically stops when the wrapper module is open.
4. Wrapper: Mechanism that wraps a label around the wire.
5. Tear blade: Use to tear spent liner off the printer.
6. Power button: Push to turn the printer on or off.
7. Trigger bar: One on each side. The trigger bars initiate wrapping. See “Printing and
Wrapping” on page 27.
8. Wrapper module release: Push to release the wrapper module to open it for loading labels or
cleaning.
9. Jaws: Hold the wire in place as the label is applied.
1
2
4
6
8
10
11
12
13
14
9
7
10
3
5

Wraptor A6200 User Manual 7
Setup
Power
10. USB port (type A): Connect a USB drive. The USB drive must be formatted with FAT, FAT32,
or exFAT file systems. NTFS is not compatible with the Wraptor A6200 printer. The printer has
two type A USB ports, one on the back and one on the side.
11. USB device port (type B): Connect the printer to a computer’s USB port so that you can send
labels created with Brady Workstation software directly to the printer.
12. Ethernet connection: Connect the printer to a Local Area Network (LAN).
13. Power: Connect the power supply to the printer.
14. Rewinder port: Connect the optional accessory for rewinding used label backing. See
“Rewinder Accessory” on page 21.
Power
The printer is powered through a Brady supplied AC/DC power adapter.
To connect power and turn on the printer:
1. If outside of North America or Europe, use a safety certified power cord with the Brady-
provided18 V adapter.
2. Connect the power cord to the power supply provided and to an electrical outlet.
3. Connect the power supply to the printer.
4. Press the power button on the front of the printer. The first time you turn on the printer it walks
you through configuring the settings. Follow the instructions on the touch screen.
Printer Settings
The first time you turn on the printer, instructions on the touch screen walk you through the settings
that must be configured the first time you use the printer. The following sections detail these settings
should you need to change them in the future, and provide instruction on a few additional settings to
consider when setting up the printer.
For an introduction to using the touch screen, see “Using the Touch Screen” on page 25. For print
settings see “Settings” on page 34.
CAUTION! Use only the 18 V Brady adapter and power cord provided with the
printer.
CAUTION! Make sure the outlet is grounded.

Wraptor A6200 User Manual 8
Setup
Printer Settings
Advance to Next Label
Choose how you want the printer to advance to the next label in a file.
To set how labels advance:
1. From the home screen, tap Settings.
2. Tap System Configuration, then Advance to Next Label.
3. Tap the desired value.
• In
Auto
mode, the printer automatically advances to the next label after a print and wrap. This
is the typical mode of operation.
• In
Manual
mode, you must advance the printer to the next label using the navigation buttons
on the Printing (run) screen. See
“Running Jobs” on page 33
.
4. Tap to go back to the previous screen.
Wire or Cable Tension
When wrapping a label on a wire, the wrapper jaws clamp on the wire and hold it taught for wrapping.
To turn tension on or off:
1. From the home screen, tap Settings.
2. Tap System Configuration,
3. Tap Apply Tension, and then tap one of the following.
•
Off
: When off, the jaws on the printer clamp the wire, but do not apply tension. This can be useful
for cables sensitive to tension, such as fiber optic cables, but can decrease the quality of the
wrap.
•
On
: Recommended for normal operation. When on, the jaws on the printer clamp onto the wire
and apply tension to achieve a smooth wrap.
4. Tap to go back to the previous screen.
File Location
Choose whether the printer accesses files from memory or from a USB drive.
To set the file location:
1. From the home screen, tap Settings.
2. Tap System Configuration, then File Location.
3. Tap the desired value.

Wraptor A6200 User Manual 9
Setup
Printer Settings
•
Internal Memory:
Choose this option if the printer is directly connected to the computer with a
USB cable or on a network. When you print a label from Brady Workstation software, the print
file is sent to the printer’s internal memory. When you tap
Print Jobs
on the home screen, the
printer accesses the list of files from internal memory.
•
External USB:
Choose this option when transferring files from one Wraptor A6200 printer to
another. Insert a USB drive into the USB port on the printer. When you print a label from Brady
Workstation software, the print file is sent to the USB drive. When you tap
Print Jobs
on the
home screen, the printer accesses the list of files from the USB drive. For details see
“Transferring Print Jobs Between Printers” on page 35
.
4. Tap to go back to the previous screen.
Keyboards
The printer displays a keyboard on the screen when you have to type data, such as when you name
the printer. Because different languages use different sets of characters, you may need keyboards
with different character sets. By default the printer uses the appropriate keyboard for the language
setting. For example, if the printer language is set to Simplified Chinese, the printer will automatically
display a keyboard with Simplified Chinese characters. If you only want to use the default keyboard,
you do not need to change any keyboard settings.
To select keyboards:
1. From the home screen, tap Settings.
2. Tap System Configuration, then Virtual Keyboard. A list of supported keyboards is
displayed.
3. Tap the check box for each keyboard that you want to have available when using the printer.
You can select multiple keyboards. The default keyboard (that for the printer language) is
shown at the top of the list and cannot be deselected.
When you use the keyboard later, the default keyboard is shown. Tap the globe icon to
switch to a different enabled keyboard. Each time you tap the globe icon, the display
switches to another enabled keyboard.
Language
To set the language for text on the touch screen:
1. With the printer turned on, tap Settings.
2. Tap System Configuration, then Language.
3. Tap the desired language. You may need to scroll to see all available languages. Touch the
screen and drag your finger up or down to scroll.
4. Tap to go back to the previous screen.

Wraptor A6200 User Manual 10
Setup
Printer Settings
Units of Measure
Set the unit of measure to inches or millimeters.
To set the unit of measure:
1. From the home screen, tap Settings.
2. Tap System Configuration, then Measurement Units.
3. Tap either Inches or Millimeters.
4. Tap to go back to the previous screen.
Date and Time
Set the printer’s clock to the current date and time.
To set the date and time:
1. From the home screen, tap Settings.
2. Tap System Configuration, then Date and Time. The left side of the screen displays the
current settings.
3. To change the settings, tap the controls on the right.
•
Use 24-hour format:
Tap the switch to change between 24-hour format and 12-hour format
with AM and PM. When the switch is red, the printer uses 12-hour format. When the switch is
green, the printer uses 24-hour format.
•
Set date:
Tap to display date controls. To change the date, either tap on an elements and select
a new value, or tap the arrows above or below an element.
•
Set time:
Tap to display time controls. To change the time, either tap on an elements and select
a new value, or tap the arrows above or below an element.
4. Tap to go back to the previous screen.
Printer Name
The printer name is displayed when a computer searches for the printer on a Wi-Fi connection.
To change the printer name:
1. With the printer turned on, tap Settings.
2. Tap Connection, and then tap Printer Name. The printer displays a keyboard.
The printer name can only contain the characters A-Z, a-z, 0-9, and -. Regardless of the
keyboards you have enabled for your printer, the printer displays a keyboard with the allowed
characters.

Wraptor A6200 User Manual 11
Setup
Software for Creating Labels
3. Use the keyboard on the touch screen to type a name for the printer.
4. When finished
tap .
When using Brady Workstation software on Wi-Fi, this name is shown when selecting a printer. See
“Software for Creating Labels” on page 11 and “Connecting the Printer” on page 12.
Software for Creating Labels
Install labeling software on your computer, set up the connection to the printer, then use the software
to design labels and send them to the printer.
Brady Workstation software provides a variety of apps to simplify label creation for specific purposes. It
also provides easy-to-use apps for custom label design. The printer comes with a license for the Brady
Workstation
Product & Wire Identification Suite.
To install the Product & Wire Identification Suite:
1. Make sure your computer is connected to the internet.
2. Go to workstation.bradyid.com/PWID.
3. Follow the instructions on the screen to download and install the software.
4. When you run the software and open an app that requires activation, follow the instructions on
the screen to activate the software. Use the license ID and password on the printed insert that
came with the printer.
For other Brady Workstation software or additional licenses, go to www.workstation.bradyid.com or
contact your Brady representative.

Wraptor A6200 User Manual 12
Setup
Connecting the Printer
Connect to the labeling software using a Wi-Fi® wireless network, Ethernet network, or a USB cable.
USB
To connect to a computer via USB 2.0, plug the provided USB cable into the printer and the computer.
Brady Workstation software automatically detects the printer when connected via USB cable.
Note: If you are not using Brady Workstation software, you need to install the printer driver. See the
Driver Installation Guide PDF file on the USB drive that came with the printer.
Wi-Fi
Connect to a Wi-Fi network either by searching for and selecting a network, or by manually entering
the network settings. Once connected, the printer can communicate with devices on that network.
Note: The on-screen keyboard for entering passwords and user names contains only the
characters allowed for network user names and passwords. Thus, you may see a keyboard
that differs from those you have enabled in Settings.
If you are not using Brady Workstation software, you need to install the printer driver. See the Driver
Installation Guide PDF file on the USB drive that came with the printer.
Search to Connect
This is the easiest and most common method for connecting.
To connect to a Wi-Fi wireless network:
1. Make sure the printer is turned on.
2. Tap Settings.
3. Tap Connection.
4. Tap Wi-Fi Network to turn on Wi-Fi. The printer searches for Wi-Fi networks and displays a
list of networks found. Touch and drag to scroll the list. (If you need to identify the network by
static IP address or DHCP, see “Manually Enter Settings” on page 13.)
Tap the network that you want to use.

Wraptor A6200 User Manual 13
Setup
Connecting the Printer
• If the network is not locked, simply tap it and the printer connects to it.
• If the network is locked, as indicated by a lock symbol, tap the network and a key pad opens.
Enter the password and tap .
Note: If your network uses WEP authentication, a menu displays instead so that you can
enter both the password and the WEP index (key).
• If the network you need is not in the list, it may not be discoverable. Scroll to the bottom of the
list and tap
Other
. Choose either
Personal Network
or
Enterprise Network
. The system
displays settings appropriate to your selection. You may need information from your IT
department to complete the settings.
Manually Enter Settings
Use this method if you need to identify the network by static IP or DHCP. Contact your network
administrator for assistance.
To connect to a Wi-Fi wireless network:
1. Make sure the printer is turned on.
2. Tap Settings.
3. Tap Connection.
4. Tap Advanced Network Settings.
5. Tap Wi-Fi.
6. Tap IP Settings and then tap one of the following.
•
DHCP:
DHCP addressing is dynamic and the system uses a DNS server to obtain the printer
IP address for you.
•
Static:
Select static addressing to manually enter the printer’s IP address.
7.
Tap the back button to return to the
Wi-Fi
screen.
8. Fill in the remaining available settings with help from your network administrator.
9. Tap to return to the home screen.
Ethernet Network
This section describes how to configure the printer to communicate via an Ethernet (TCP/IP)
connection.
Note: If using a Windows driver (see “Installing the Windows Driver (Optional)” on page 14) it is best
to configure the Ethernet connection before installing the driver. If the driver is already
installed before configuring the Ethernet connection, you may need to edit the port settings
for the printer in Windows to update the IP address.
To configure network settings on the printer:
1. Make sure the printer is turned on.
Table of contents
Other Brady Label Maker manuals

Brady
Brady BBP31 User manual

Brady
Brady BMP 91 User manual

Brady
Brady BBP 85 Operation instructions

Brady
Brady IDXPERT User manual

Brady
Brady BSP31 User manual

Brady
Brady BMP 21-PLUS User manual

Brady
Brady BMP 41 User manual

Brady
Brady Wraptor User manual

Brady
Brady BMP71 Operation instructions

Brady
Brady BMP 41 User manual