manuals.online logo
Brands
  1. Home
  2. •
  3. Brands
  4. •
  5. BrandMotion
  6. •
  7. Dashcam
  8. •
  9. BrandMotion 9002-2906v2 User manual

BrandMotion 9002-2906v2 User manual

! INSTALLATION!INSTRUCTIONS!
9002-2906v2 Instructions 12-5-17 Page 1 of 3 JM
Dual Camera Blind Spot Monitoring System
W/7.3 Display Mirror
(Kit # 9002-2906v2)
Please read thoroughly before starting installation and check that kit contents are complete.
Items Included in the Kit:
Tools & Supplies Needed:
2 Adjustable angle camera pods
2 Chassis harness
2 Double sided tape/gaskets
Mounting screws
4 Screw hole caps
2 Angle adjustment tools
7.3” display mirror w/harness
Mirror remote
These instructions
Wire strippers
Wire cutters
Electrical tape
Zip ties
Plastic panel removal tools
Digital Volt Meter / BCM safe test light
Screwdriver
Socket set
Wrench
Safety Precautions:
•Work in well ventilated area that is clear of obstructions.
•Secure vehicle with tire chucks in both front and rear of tires.
•Turn vehicle accessories OFF and ensure ignition key is in OFF position.
•Wear safety goggles and snug fitting clothes.
•Use tools only for their intended purpose and which are in good repair.
•Only perform this task if confidence, skill, and physical ability permit.
NOTE: We strive to provide accurate and up-to-date installation instructions. For the latest full color
instructions, as well as an installation video, please visit www.brandmotion.com
! INSTALLATION!INSTRUCTIONS!
9002-2906v2 Instructions 12-5-17 Page 2 of 3 JM
1. Remove the inter door panel to gain access to
the wiring and side view mirror mounting bolts.
2. Carefully remove the mirror glass from the
mirror. Each vehicle is different; consult the
vehicles service guide for how to steps.
3. Clean the bottom of the mirror then attach the
3m double-sided tape to the bottom of the
mirror where the camera should be mounted.
4. Remove the mirror from the vehicle and
housing from the vehicle.
5. Drill 2 pilot holes for the mounting screws and
drill a hole in the center of the double-sided
tape for the harness to be ran through.
6. Run the camera harness into the mirror and
through the arm of the mirror, into the door.
7. Attach the camera to the mirror with the
double-sided tape.
8. Screw in the 2 mounting screws into the holes
in the camera.
9. Snap in the two-screw hole mounting covers.
10. Run the camera harness into the vehicle
through the door boot.
11. Connect the camera to the harness with the
power and RCA connection.
12. Repeat for the other the door.
13. Connect the Yellow video RCA form the camera
to the correct RCA input. Input 1 is for the left
side camera or 2 is for the right side camera.
14. Connect the red wire from the cameras to 12-
volt accessory and ground the black wires.
15. Connect the red wire from the mirror to 12-volt
accessory and ground the black wire.
16. Connect the trigger wires from the video mirror
to the positive turn signal wires. Left input
! INSTALLATION!INSTRUCTIONS!
9002-2906v2 Instructions 12-5-17 Page 3 of 3 JM
trigger wire is purple; the right input trigger
wire is white.
17. Check the angle and view, if the angle needs to
be changed use supplied tool to adjust the
angle of the camera.
Note: To use the mirror for a rear camera.
Connect the Green (reverse trigger) wire
from the video mirror to the +12 volt wire
in the vehicle and connect a video RCA
into the rear camera input from the rear
camera.
18. Reassemble the vehicle in the reverse order.
See FLTW-7692 instructions for more
info on mirror settings.

Other BrandMotion Dashcam manuals

BrandMotion 9002-8808 User manual

BrandMotion

BrandMotion 9002-8808 User manual

BrandMotion SUTV-1010V2 User manual

BrandMotion

BrandMotion SUTV-1010V2 User manual

BrandMotion AHDS-7812 User manual

BrandMotion

BrandMotion AHDS-7812 User manual

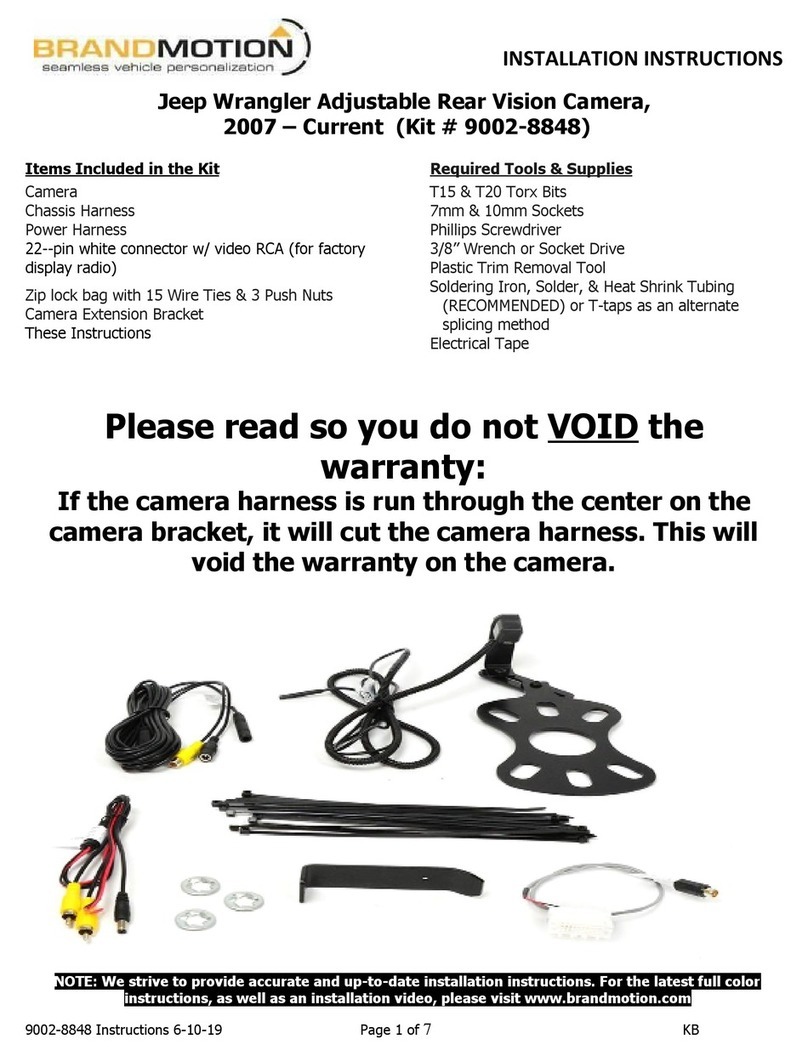
BrandMotion 9002-8848 User manual

BrandMotion

BrandMotion 9002-8848 User manual

BrandMotion 9002-7802 User manual

BrandMotion

BrandMotion 9002-7802 User manual

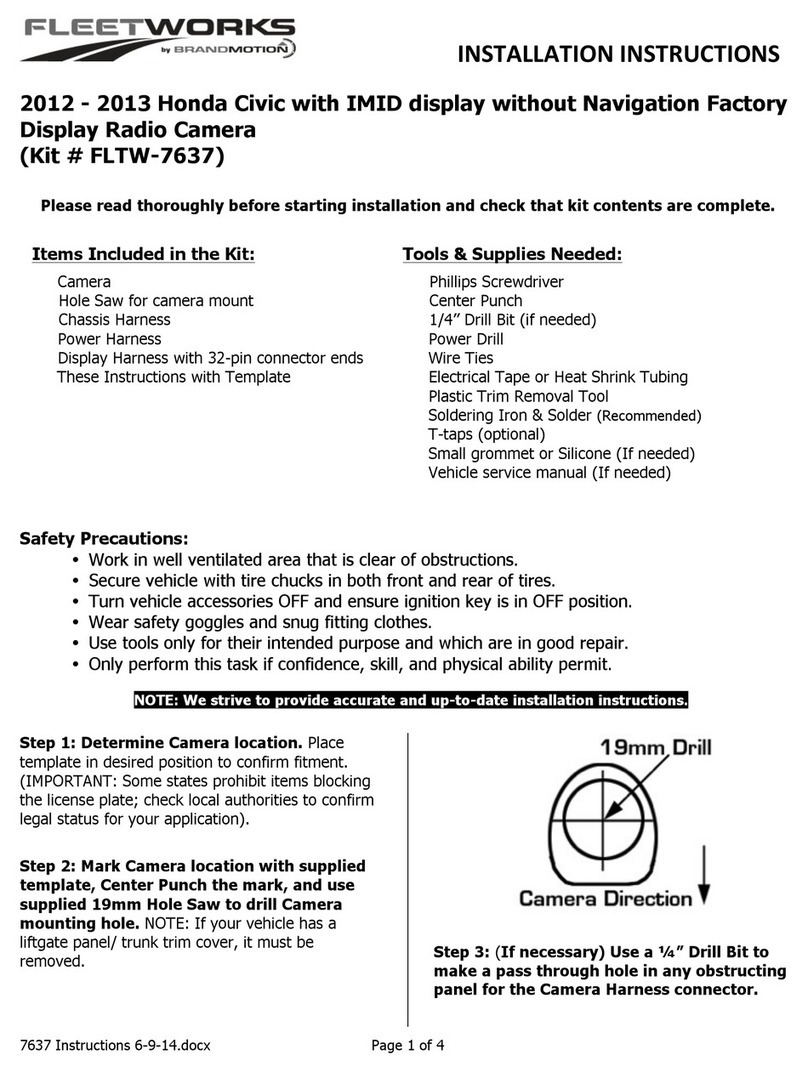
BrandMotion FleetWorks FLTW-7637 User manual

BrandMotion

BrandMotion FleetWorks FLTW-7637 User manual

BrandMotion 9002-8858 User manual

BrandMotion

BrandMotion 9002-8858 User manual

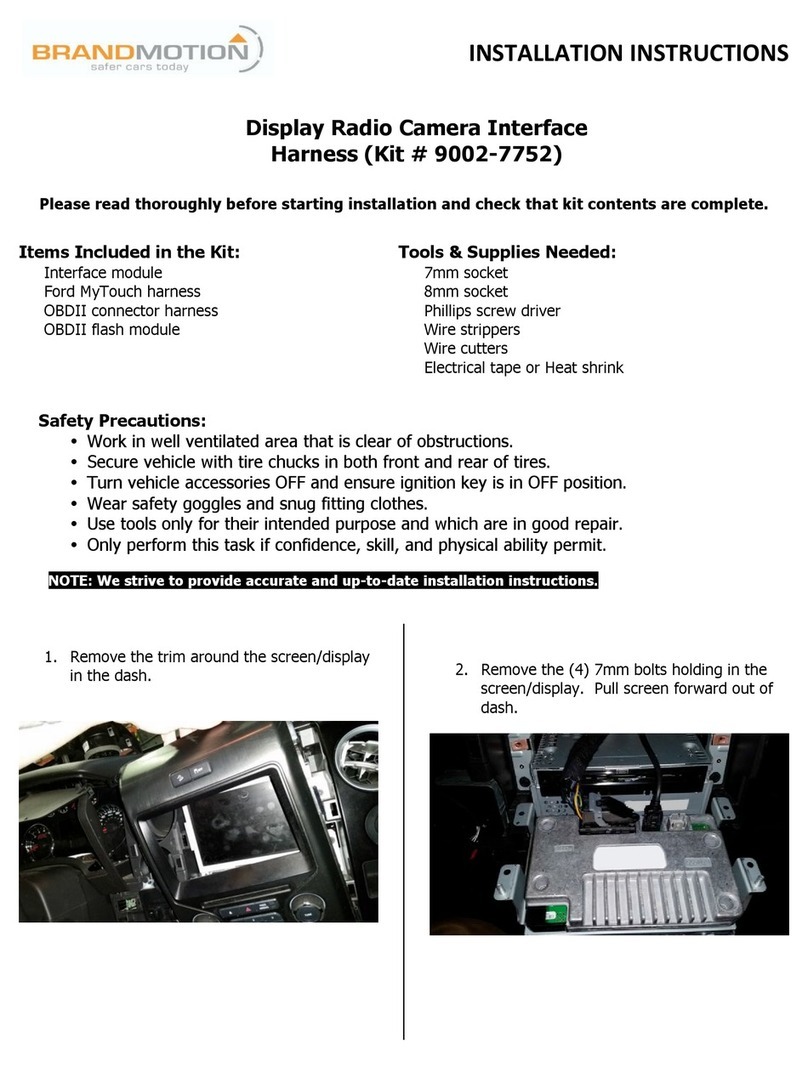
BrandMotion 9002-7752 User manual

BrandMotion

BrandMotion 9002-7752 User manual

BrandMotion 9002-8848 User manual

BrandMotion

BrandMotion 9002-8848 User manual

BrandMotion 9002-8722 User manual

BrandMotion

BrandMotion 9002-8722 User manual

BrandMotion FLEETWORKS FLTW-7603 User manual

BrandMotion

BrandMotion FLEETWORKS FLTW-7603 User manual

BrandMotion ADAS+ ADAS-1100 User manual

BrandMotion

BrandMotion ADAS+ ADAS-1100 User manual

Popular Dashcam manuals by other brands

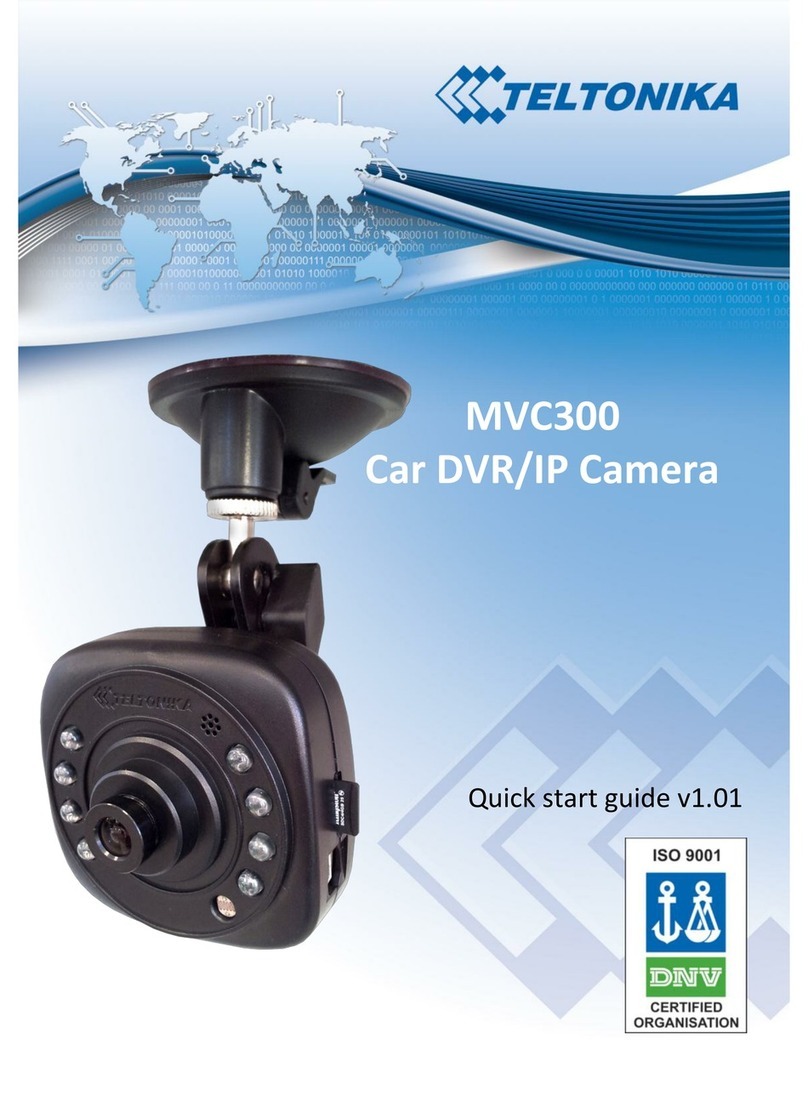
Teltonica MVC300 quick start guide

Teltonica

Teltonica MVC300 quick start guide

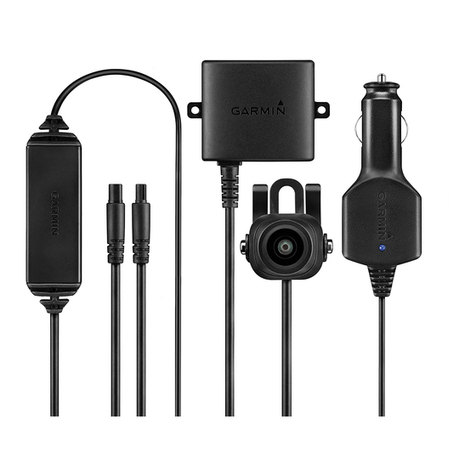
Garmin BC 30 owner's manual

Garmin

Garmin BC 30 owner's manual

Abee V31 manual

Abee

Abee V31 manual

Uniden CAM 650 manual

Uniden

Uniden CAM 650 manual

Caidrox Y6T owner's manual

Caidrox

Caidrox Y6T owner's manual

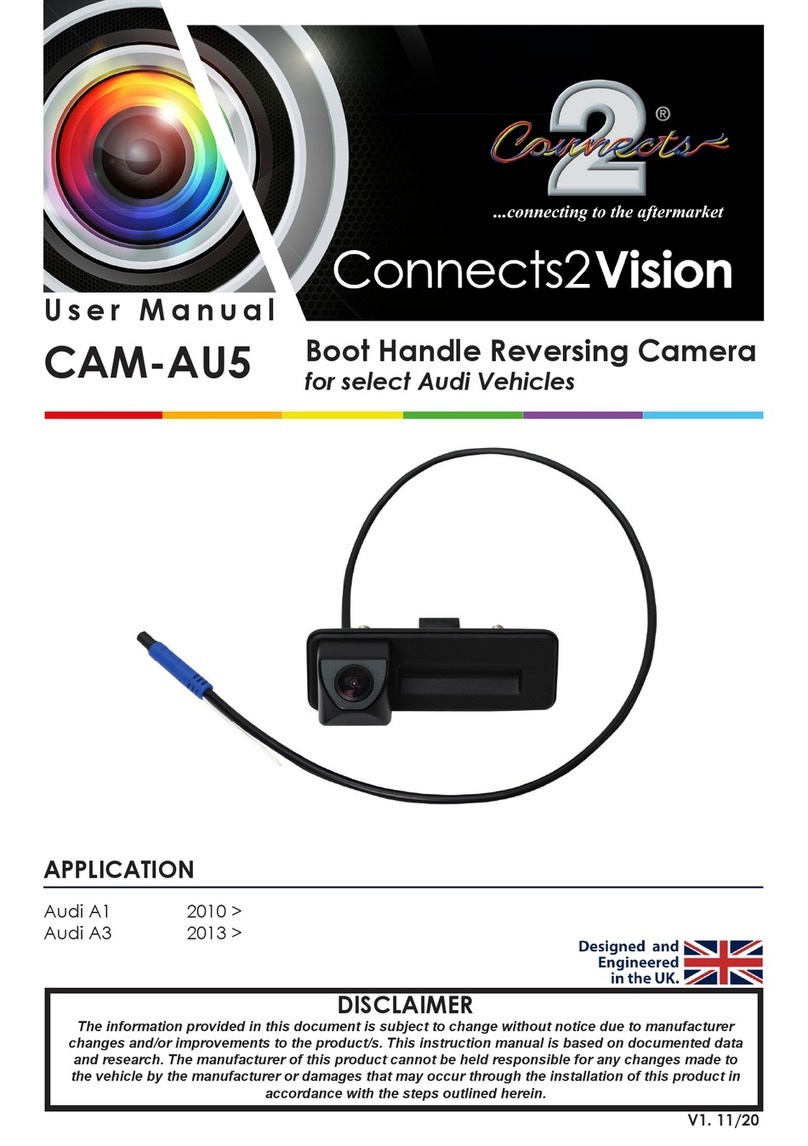
Connects2 CAM-AU5 user manual

Connects2

Connects2 CAM-AU5 user manual

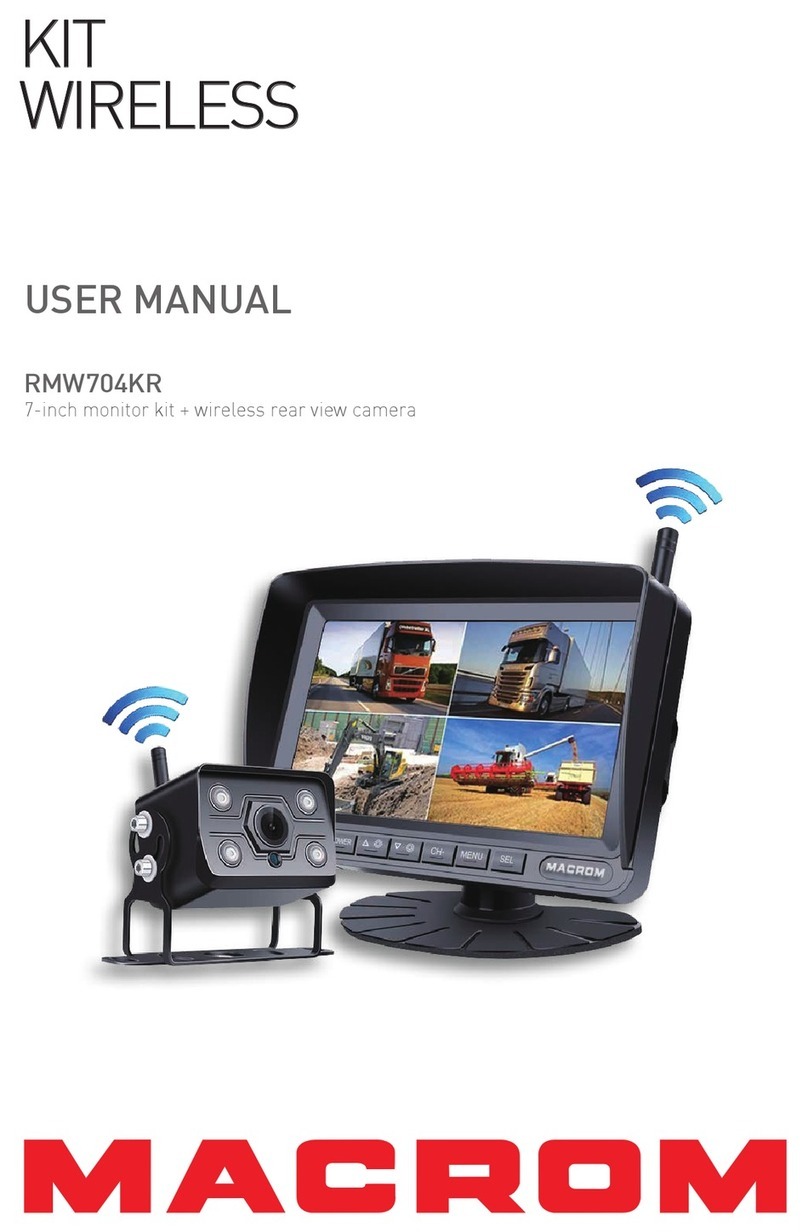
Macrom RMW704KR user manual

Macrom

Macrom RMW704KR user manual

BlackVue DR750S-1CH manual

BlackVue

BlackVue DR750S-1CH manual

Azdome M63 user manual

Azdome

Azdome M63 user manual

Axxera ARC600 quick start guide

Axxera

Axxera ARC600 quick start guide

Papago GoSafe 110 quick start guide

Papago

Papago GoSafe 110 quick start guide

Boss Audio Systems LPC35 user manual

Boss Audio Systems

Boss Audio Systems LPC35 user manual

Isotronic 62256 Instructions for use

Isotronic

Isotronic 62256 Instructions for use

Thinkware QA100 user guide

Thinkware

Thinkware QA100 user guide

Top Dawg TDGPSCAM01 quick start guide

Top Dawg

Top Dawg TDGPSCAM01 quick start guide

ZENEC ZE-RCE3702 Mounting instructions

ZENEC

ZENEC ZE-RCE3702 Mounting instructions

Pruveeo F5 user manual

Pruveeo

Pruveeo F5 user manual

Tibet System HD user manual

Tibet System

Tibet System HD user manual

manuals.online logo
manuals.online logoBrands
  • About & Mission
  • Contact us
  • Privacy Policy
  • Terms and Conditions

Copyright 2025 Manuals.Online. All Rights Reserved.