Brava GARNET DM-976 User manual
1
GARNET DM-976 from Brava
User Manual
www.bravatechno.com

2
Statement
Thank you for choosing GARNET DM-976 from Brava, your best partner for wireless
communication.
The contents of this manual maybe different with the cell phone, when there is please
according the cell phone.
Brava reserves the right to revise this document or withdraw it at any time without
prior notice.
Copyright©2011 Brava Techno Corporation Ltd.
All Rights Reserved
No part of this manual is allowed to be reproduced or forwarded in any form or by any
means without prior written consent of Brava.

3
Contents
1 Getting to Know Your Phone........................................................................... 6
2 Getting Started ........................................................................................... 10
3 Basic Functions ........................................................................................... 14
4 Input modes ............................................................................................... 17
5 Phone Book ................................................................................................ 19
6 Messages.................................................................................................... 21
7 Call history.................................................................................................. 26
8 File Manager ............................................................................................... 28
9 Multimedia.................................................................................................. 29
10 Profiles....................................................................................................... 33
11 Tools .......................................................................................................... 35
12 Network Services......................................................................................... 38
13 Camera ...................................................................................................... 41
14 Entertainment ............................................................................................. 44
15 Connections................................................................................................ 45
16 Settings...................................................................................................... 47
17 Other Functions .......................................................................................... 55
18 Maintenance Guideline................................................................................. 56

4
Safety Precautions
Please read these simple guidelines. Not following them may be dangerous or illegal.
For further information, see the section of “Safety information”.
Do not switch the phone when the use of mobile phone is prohibited or
may cause interference or danger.
Do not place your phone and its accessories in containers with strong
electromagnetic field.
Obey all local laws. Always keep your hands free to operate the vehicle
while driving. Your first consideration while driving should be road
safety.
Hospitals or health care facilities may be using equipment that could be
sensitive to external radio frequency energy. Follow any regulations or
rules in force.
Do not use the phone at a refueling point. Do not use near fuel or
chemicals.
5
Follow any restrictions. Wireless devices can cause interference in
aircraft.
Keep the phone and all its parts, including accessories, out of the reach
of small children.
Use only Brava approved batteries and chargers. Disconnect the
charger from the power source when it is not in use. Do not leave the
battery connected to a charger for more than a week, since
overcharging may shorten its Life
Please remove the battery only after the phone is switched off
normally, otherwise it could cause unpredictable damage for the
phone.

6
1Getting to Know Your Phone
Package list
Your phone package box contains the following items:
One GARNET DM-976 mobile phone
One battery
One charger
One Mini-USB data cable
One 3.5mm Headset
One user manual
One warranty card

7
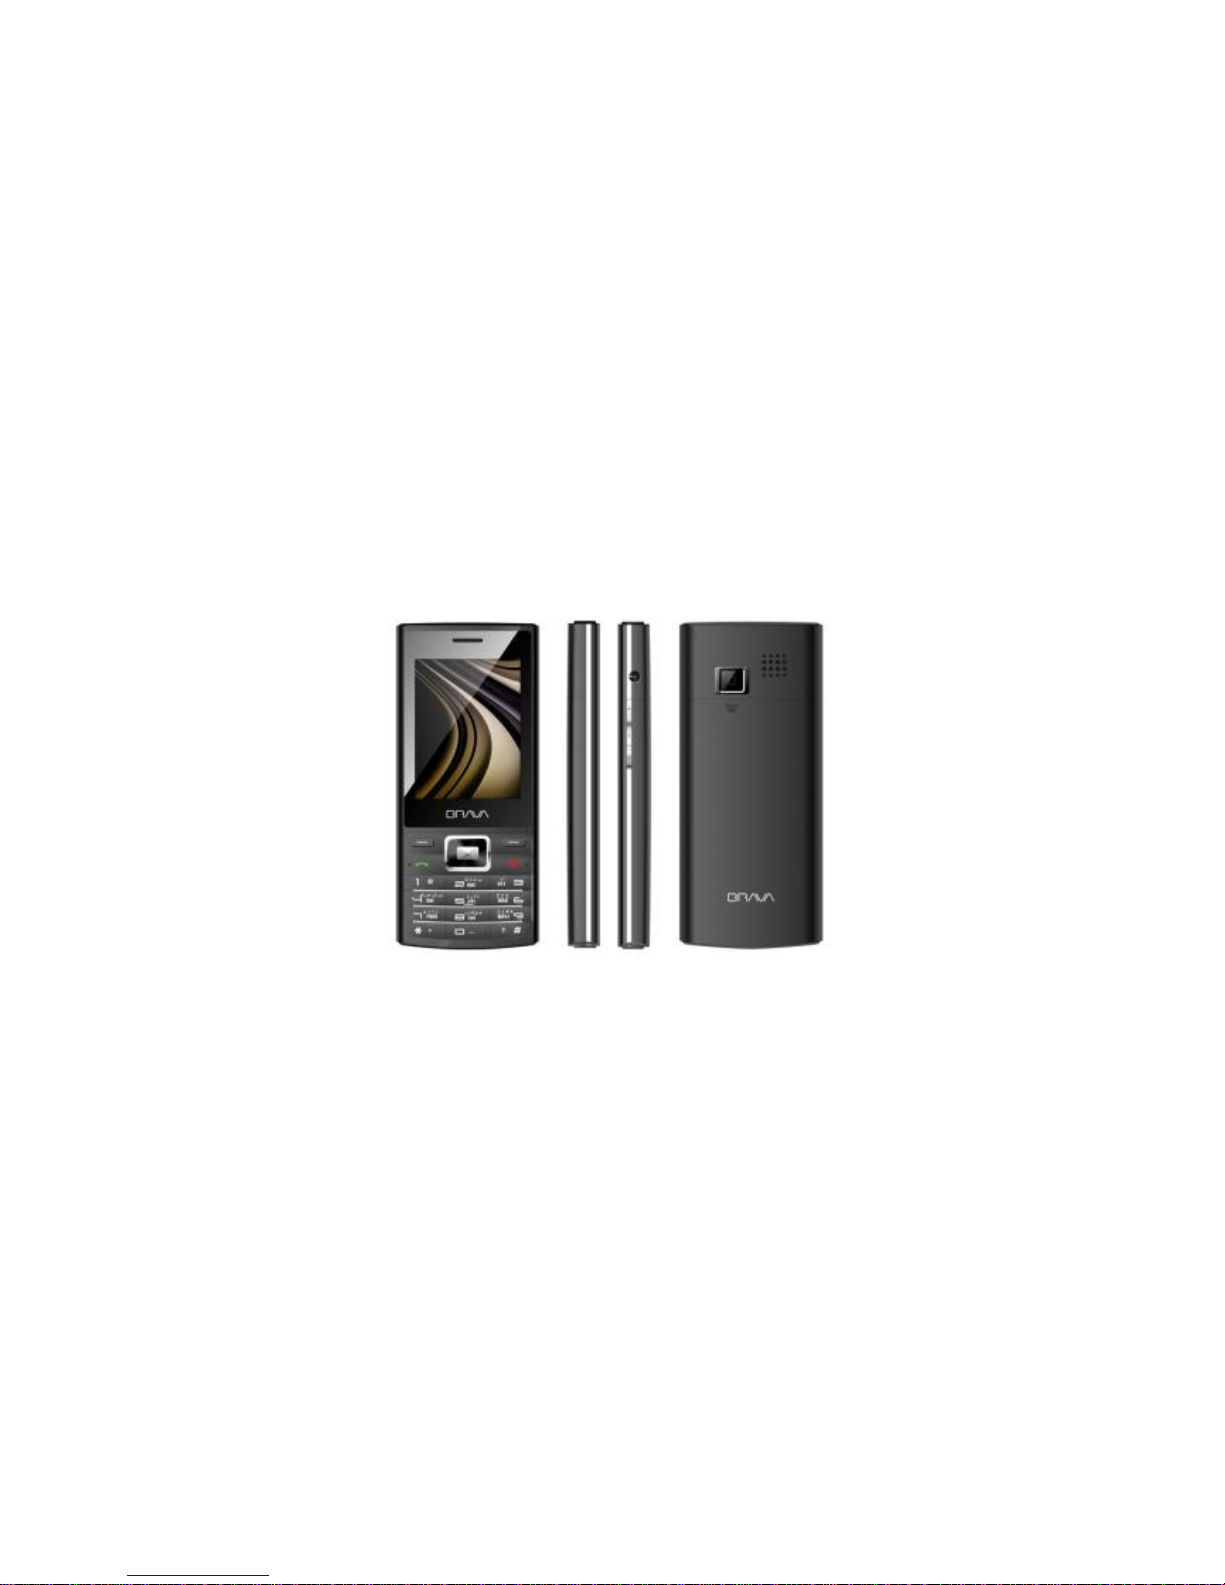
Mobile phone appearance

8
Name
Description
Left soft key
Press to activate the option shown above the key.
Right soft key
In standby mode, press right soft key to access
Shortcuts.
Up key
In standby mode, press up key to access the Music
Player.
Down key
In standby mode, press down key to access Contacts list.
Left key
In standby mode, press left key to access File Manager.
Right key
In standby mode, press right key to access Messages.
Select key
Confirm the selection.
In standby mode, press select key to access Main menu.
Send key
Making or answering a call.
In standby mode, press this key to access Calls History.

9
Name
Description
End key
Press and hold to tu
rn the phone on/off.
Press to end your calls, or exit to the standby mode.
In standby mode, press End key to turn on/off LCD light.
Camera key
Press to open the camera. In the camera mode, press to
capture the photo.
Number keys
Enter numbers, letters, and some special characters.
In standby mode, press and hold [#] key to enable silent
mode.

10
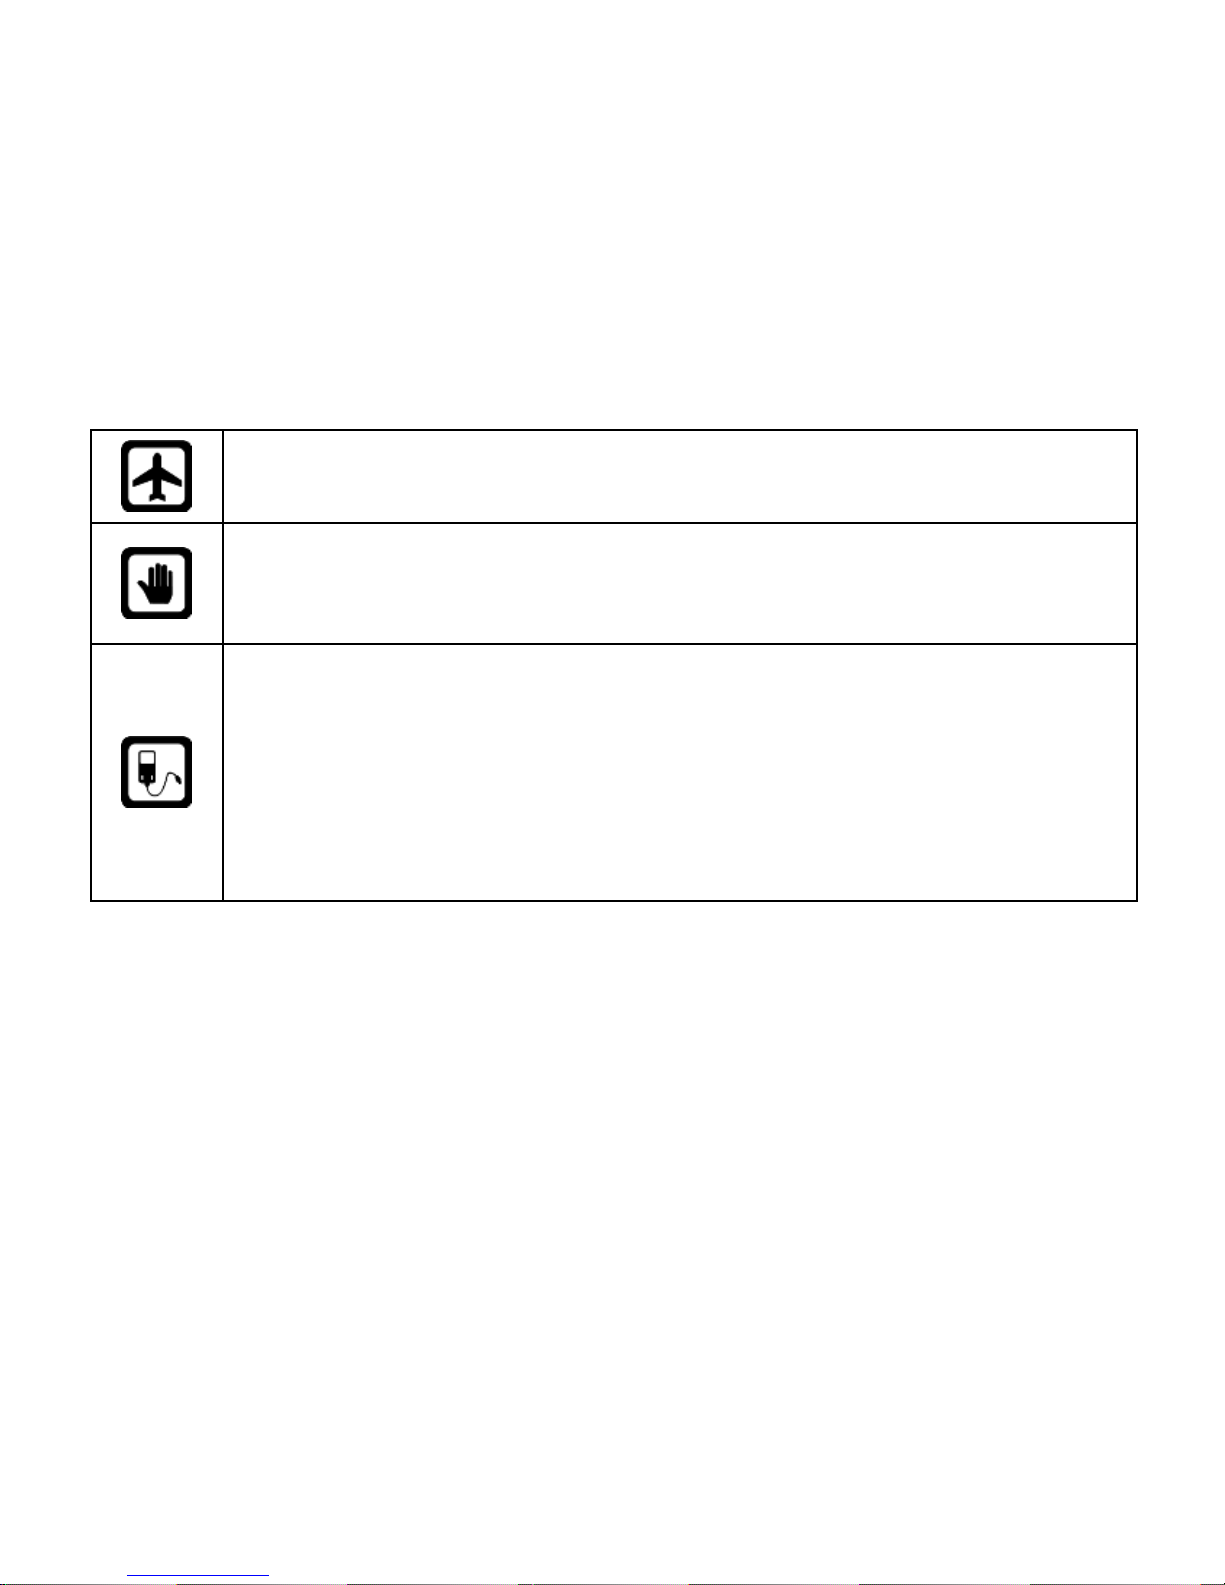
Icon bar
Icon
Description
The signal strength of the network.
The phone is in call status.
No network.
The Phone is closed (network is disabled)
You have one or more missed call.
The phone is in data connection mode (GPRS).
The keypad is locked.
A headset is connected to the phone.
You have one or more unread massages in the inbox.
The alarm clock is set to on.
The Bluetooth is activated.
Meeting mode is activated.
The music playback is in progress.
Battery power level.

11
Icon
Description
You have one or more unread multimedia massages.
One of the ringing modes is activated (not silent
mode).

12
2Getting Started
Insert the battery
Before battery replacement, please confirm you have switched off the phone.
Insert SIM/UIM cards:
1. Before SIM/UIM card installation or replacement, please make sure you have
switched off your phone and taken the battery out.
2. Make the metal magnetic strip of the SIM/UIM card contact with the metal strip,
and place it in the slot.
Charger the battery
1. Before charging, please confirm you have correctly installed the battery into the
phone.
2. Plug the charger port into the jack and then connect the charger with AC power.
3. If the phone is off during charging, the screen will display the charging animation.
When the phone is on, the user may use the phone during charging. When the
charging is completed, the charging animation on the screen will stop in
full-capacity state of the battery. Please use the phone when the battery is fully

13
charged after the power is completely used up for the first time; charge it after the
power is completely used up for the second time, as a result, the battery will reach
the best state after three consecutive cycles.
4. If the battery voltage is too low due to long-term non-use and other reasons, the
screen will be blank when charging and will display the charging animation after
several minutes.
Warning: please do not move or remove the battery during charging to avoid severe
burning of the phone circuit.

14
3Basic Functions
Lock/Unlock keypad
Lock: Press LSK key and then press “*” key in standby mode.
Unlock: firstly press unlock key and then press “*” key.
Make a phone call
Making phone call using the keypad
1. In the standby mode, enter the phone number you want to dial, and press the
Send Key to make the call, then select through SIM1 or UIM.
To delete a number on the left of the cursor, press <Delete>.
2. To end the call, press the End Key.
Making phone call using contacts
1. In the standby mode, press down key to open contacts list or press Select Key to
access the Main menu > Phone book.
2. Select the contact you want to call.
3. To make the phone call, press the Send Key then select through SIM1 or UIM.

15
Making phone call using last Call History
1. In the standby mode, press the Send Key to display the call history, then select
SIM1 or UIM all calls, dialed, answered, and missed calls.
2. Scroll to the number or name you wish to redial, and press the Send Key, then
select to call via SIM1 or UIM.
Making phone call using speed dial
In standby mode, long press a number key to make phone call. Make sure the speed
dial option is enabled in the Phonebook settings.
Making a conference call
Conference call is a network service that allows you to make a call with more than one
person in the same time.
1. Make a call to the first person.
2. Enter the phone number of the second person or retrieve a number from the Phone
book.
3. Press the Send Key, the first person is put on hold.
4. When the second call is answered, press the Options and select “Conference”
options to make the conference call.
5. To end the conference call, press the End Key.

16
Answer a call
Press the Send Key for answering a call, press Silent to mute the ringing before
answering, or press End Key to reject the call. Press Options to perform
corresponding operations during the call. If you want to end a call, press the End
Key.
17
4Input modes
Your Brava DM-976 mobile phone provides the following text input methods:
English input method: To input English characters;
Arabic input method: To input Arabic characters;
Numeric input method: To input Numeric characters;
Input method
Icon
Letter case
Traditional (Arabic)
AR
-
Smart (Arabic)
eZi AR
-
Smart (English)
eZi ABC
Upper case
eZi abc
Lower case
Traditional (English)
ABC
Upper case
abc
Lower case
Numeric
123
-
Arabic numbers
AR321
-

18
Changing the input modes
Press # Key for switching between the different input modes in the text editing mode.
(Click the icon of the input mode on the screen to switch the input mode if there is no
keyboard on the phone).
To enter the symbols list, press * Key.
Notice:
Press [1] Key to insert common symbols.
Press [0] Key to insert “space, 0”.

19
5Phone Book
You can save names, phone numbers, emails, and other details in your phone book.
You can also save names with phone numbers in SIM card 1 or SIM card 2.
Add new
1. In the standby mode, press Select Key to access the Main menu > Phone
book > Add new contact;
2. Choose storing phone numbers in your phone memory, in SIM1, or in UIM memory.
3. Input information about the contact.
View a contact
1. In the standby mode, press Down Key or press Select Key to access the Main
menu >Phone book;
2. Press Select Key to view the details of the contact.
3. Highlight a contact; press <Options> to have the following options:
View: View the details of the contact.
Send text message:Send a message to the contact.
Send multimedia message:Send a multimedia message to the contact.

20
Call:Make a phone call with the contact (via SIM1 or UIM).
IP call: Insert the IP number in front of the number then dial out.
Edit: Edit the details of the contact.
Delete: Delete the contact.
Copy: Copy the contact between phone memory and SIM1/UIM memories.
Move: Move the contact between phone memory and SIM1/SIM2 memories.
Export: Export the contact to the memory.
Send contact: Send the business card via SMS, MMS or via Bluetooth.
Add to blacklist: Add the selected number in the contact to the blacklist.
Mark: Select contacts for applying events to the selected contacts.
Settings: change the phone book settings which include: Storage, Speed
dial, My number, Import/Export all, …etc.
Groups
1. In the standby mode, press Select Key to access the Main menu >Phone book;
2. Press the left/right navigation key to switch to Groups.
3. Highlight Add new group to add new group.
4. Highlight a group; press <Options>to have the following options:
View members: to view the contacts inside the group.
Settings: to change the settings of the group.
Table of contents
Other Brava Cell Phone manuals

Brava
Brava VEGA II DM-992 User manual

Brava
Brava SOLO CS-570 User manual

Brava
Brava Win-Duo DM-985 User manual

Brava
Brava DM-994 User manual

Brava
Brava E-SOLO CS-585 User manual

Brava
Brava DM-993 User manual

Brava
Brava Cube1 User manual

Brava
Brava SLIK DS-197 User manual

Brava
Brava DM-270 User manual

Brava
Brava Win-Duo DM-985 User manual


