10
Quick Start Guide
This guide is designed to get you up and running in a matter of moments.
To get the most out of this Observation camera, please read the manual thorough-
ly before operating. If you would like to modify any of the factory default settings,
except for the time & date, please see manual for instructions.
Factory Default Settings:
Time Out: 30 Sec Burst Mode: 3 Still Images
Resolution: 3 MP Operation Mode: PIR
Video Mode: 10 Seconds (VGA Resolution)
Timelapse setting: 19:00-7:00 (Next day)
Initial Camera Set-up:
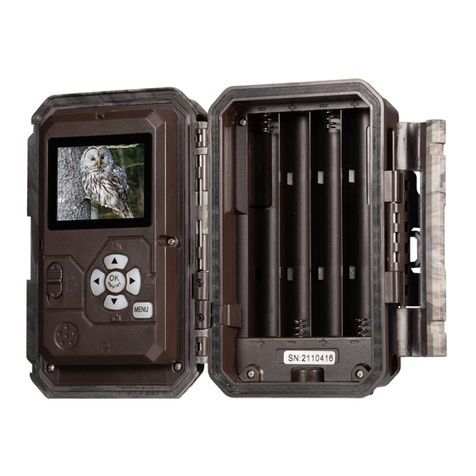
1. Install 4 ‘C’ cell batteries in correct polarity (+/-) as indicated in battery com-
partment.
2. Insert SD card into the camera.
3. Turn switch to CAM to adjust the time and date.
4. The internal LCD screen displays Tblinking.
5. Press the [OK] button to start the time settings.
6. Press the [UP] or [DOWN] button to adjust the minute setting and press
[OK] to confirm and move to the hour setting.
7. Repeat to set the hour and then press [OK] to confirm and move to date.
8. Adjust the month, day, and year by using [UP] or [DOWN] button. Each time
you finish an adjustment you MUST press the [OK] button to confirm and
move to the next field for adjustment.
9. Once done, the word ‘dEL’ will be blinking, this stands for delete menu and
will allow you to format your SD Card. (This will delete ALL images). Press the
[M] button to exit.
Battery and memory installation
¾WARNING: Do not use different voltage lead acid battery other than the one
specified in this section. Doing so will damage the camera and will void the
warranty.
¾WARNING: ALWAYS have the camera in the OFF position when installing or re-
moving batteries and memory card. Removing batteries or memory card while
the camera is ON may damage the camera.
