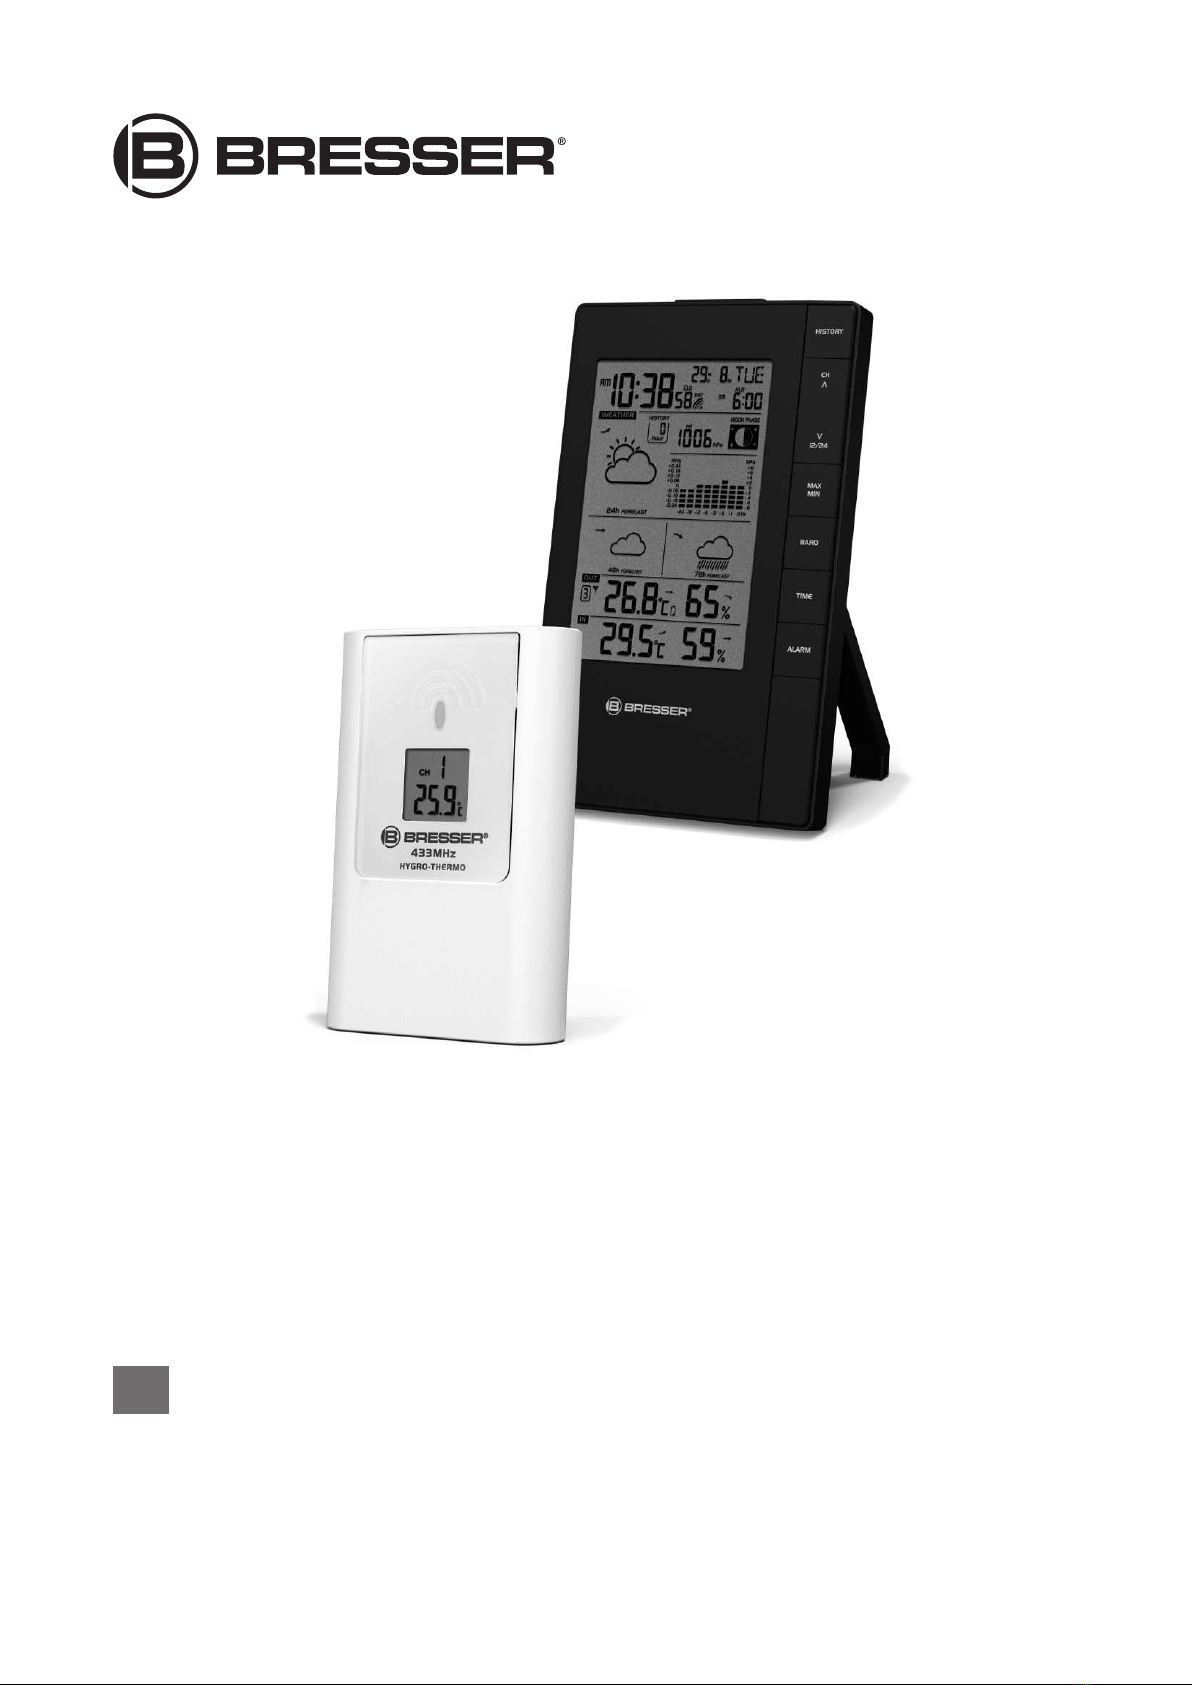
9 / 16
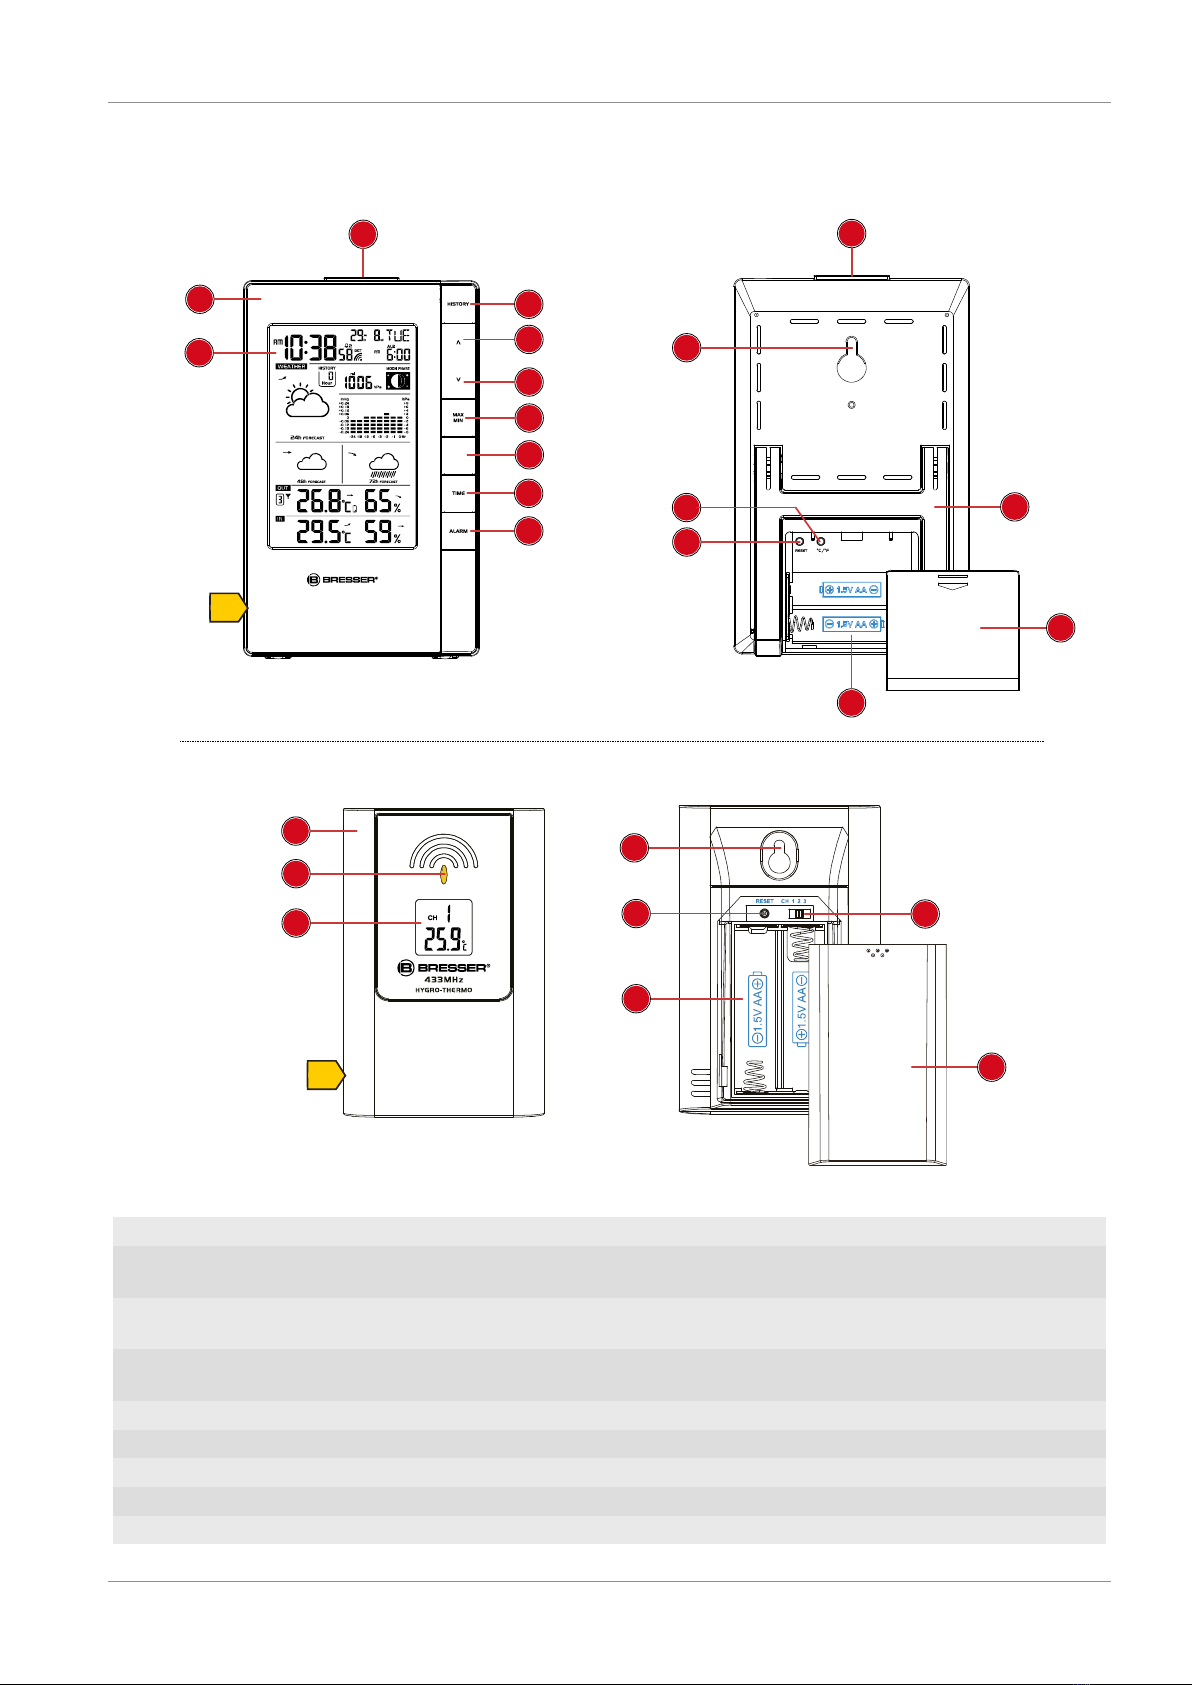
8 Battery level indicator
1. When the level of the batteries in the base station or in the wireless sensor reaches a critical level,
the battery level symbol appears in the appropriate area on the display.
2. When replacing one set of batteries, always remove the batteries from the other part of the unit
and reinsert them in the correct order (see chapter "Setting up power supply"). Replace the batter-
ies to be changed in the corresponding part of the device with a completely new set with full capa-
city. This ensures that the connection between the devices will be reestablished again correctly.
9 Automatic time setting
After the power supply was established, the clock will automatically search for the radio signal. This
will take approximately 3 to 8 minutes to finish this process.
If the radio signal is received correctly, the date and time will be set automatically and the radio control
signal icon turns on.
If the clock fails to receive the time signal, go ahead with the following steps:
1. Press °C/°F button on the base station for approx. 3 seconds to initate RC signal reception again.
2. If the device is still not receiving the signal, the time must be set manually.
10 Manual time setting and other user defined
settings
1. Press the SNOOZE/LIGHT button for about 8 seconds to deactivate the automatic time setting.
The reception symbol for the radio-controlled watch disappears from the display.
2. In normal display mode, press the TIME SET button for about 2 seconds to enter the settings
mode.
3. Digits to be set are flashing.
4. Press CH/UP or 12/24/DOWN button to change the value.
5. Press the TIME button to confirm and switch to the next setting.
6. Sequence of the settings: Year > Change day/month display > Month > Day > Daylight saving time
(DST) AUTO/OFF (off) > Hours > Minutes > Seconds > Language > Time zone (-23 to +23 hours)
7. Finally press the MODE/SET button to save the settings and exit the settings mode.
8. NOTICE!To restore the automatic time setting, press the SNOOZE/LIGHT button again for 8
seconds. The reception symbol for the radio-controlled watch reappears in the display.
11 Alarm settings
1. In normal display mode, press the TIME button several times to display the Alarm time AL1 or
AL2.
2. Press ALARM button for approx. 3 seconds to enter the alarm time setting mode.
3. Digits to be set are flashing.
4. Press CH/UP or 12/24/DOWN button to change the value.
5. Press ALARM button to confirm and continue to the next setting.
6. Settings order: hours > minutes > ice alert on/off
NOTICE!If ice alert is enabled (on), the alarm will sound 30 seconds before the set alarm time if
the temperature is -3° or below.
7. Finally press the ALARM button to save the settings and exit the setting mode. Alarm will be activ-
ated automatically. The symbol will be displayed.