BriskHeat BriskONE User manual
Read and understand this material before operating or
servicing these heating tapes. Failure to understand
how to safely operate these heaters could result in an
accident causing serious injury or death. These heaters
should only be operated by qualified personnel.
BriskONE
Temperature Controller
Instruction Manual

BriskHeat® Corporation. All rights reserved
2
BriskONE Temperature Controller Instructions
Table of Contents
Introduction.............................................................................................3
Operation.................................................................................................4
Controller Key Functions .....................................................................6
Key Combinations ...............................................................................7
Programming Instructions....................................................................8
Security ...............................................................................................9
Temperature Unit.................................................................................10
Setpoint Range....................................................................................10
Setpoint ...............................................................................................10
Method of Control ................................................................................11
Setting the Alarm .................................................................................11
Sensor Break Alarm Action..................................................................14
Loop Break Protection .........................................................................14
Tuning .................................................................................................15
Input Calibration ..................................................................................16
Ramp / Soak Feature ..........................................................................16
Setting Fuzzy Logic Parameters..........................................................19
Installation...............................................................................................20
How to Mount the Temperature Controller ..........................................20
Connecting the Heater’s Wire to the Pins............................................22
Inserting the Pins into the Plug ............................................................23
Connecting/Disconnecting the Plug and Receptacle ...........................23
Troubleshooting .....................................................................................24
Parts List .................................................................................................25
Programming: Quick Reference Table..................................................26

BriskHeat® Corporation. All rights reserved
3
BriskONE Temperature Controller Instructions
INTRODUCTION
BriskONE is a compact one zone controller which provides excellent
temperature control in areas with limited space.
Features:
Compact size: 7.6” x 5.0” x 2.5” [194mm x 127mm x 64mm]
Provides 15A@120V or 10A@240V output power.
Output power protected with fuse.
Dual display allows user to view both the process and setpoint
temperature simultaneously.
Displays either oC or oF.
Additional Features:
Fuzzy Logic
Self Tuning
Heater Break Protection
Sensor Break Protection
Auto/Manual Control Capability
16 segment Ramp and Soak with adjustable time base
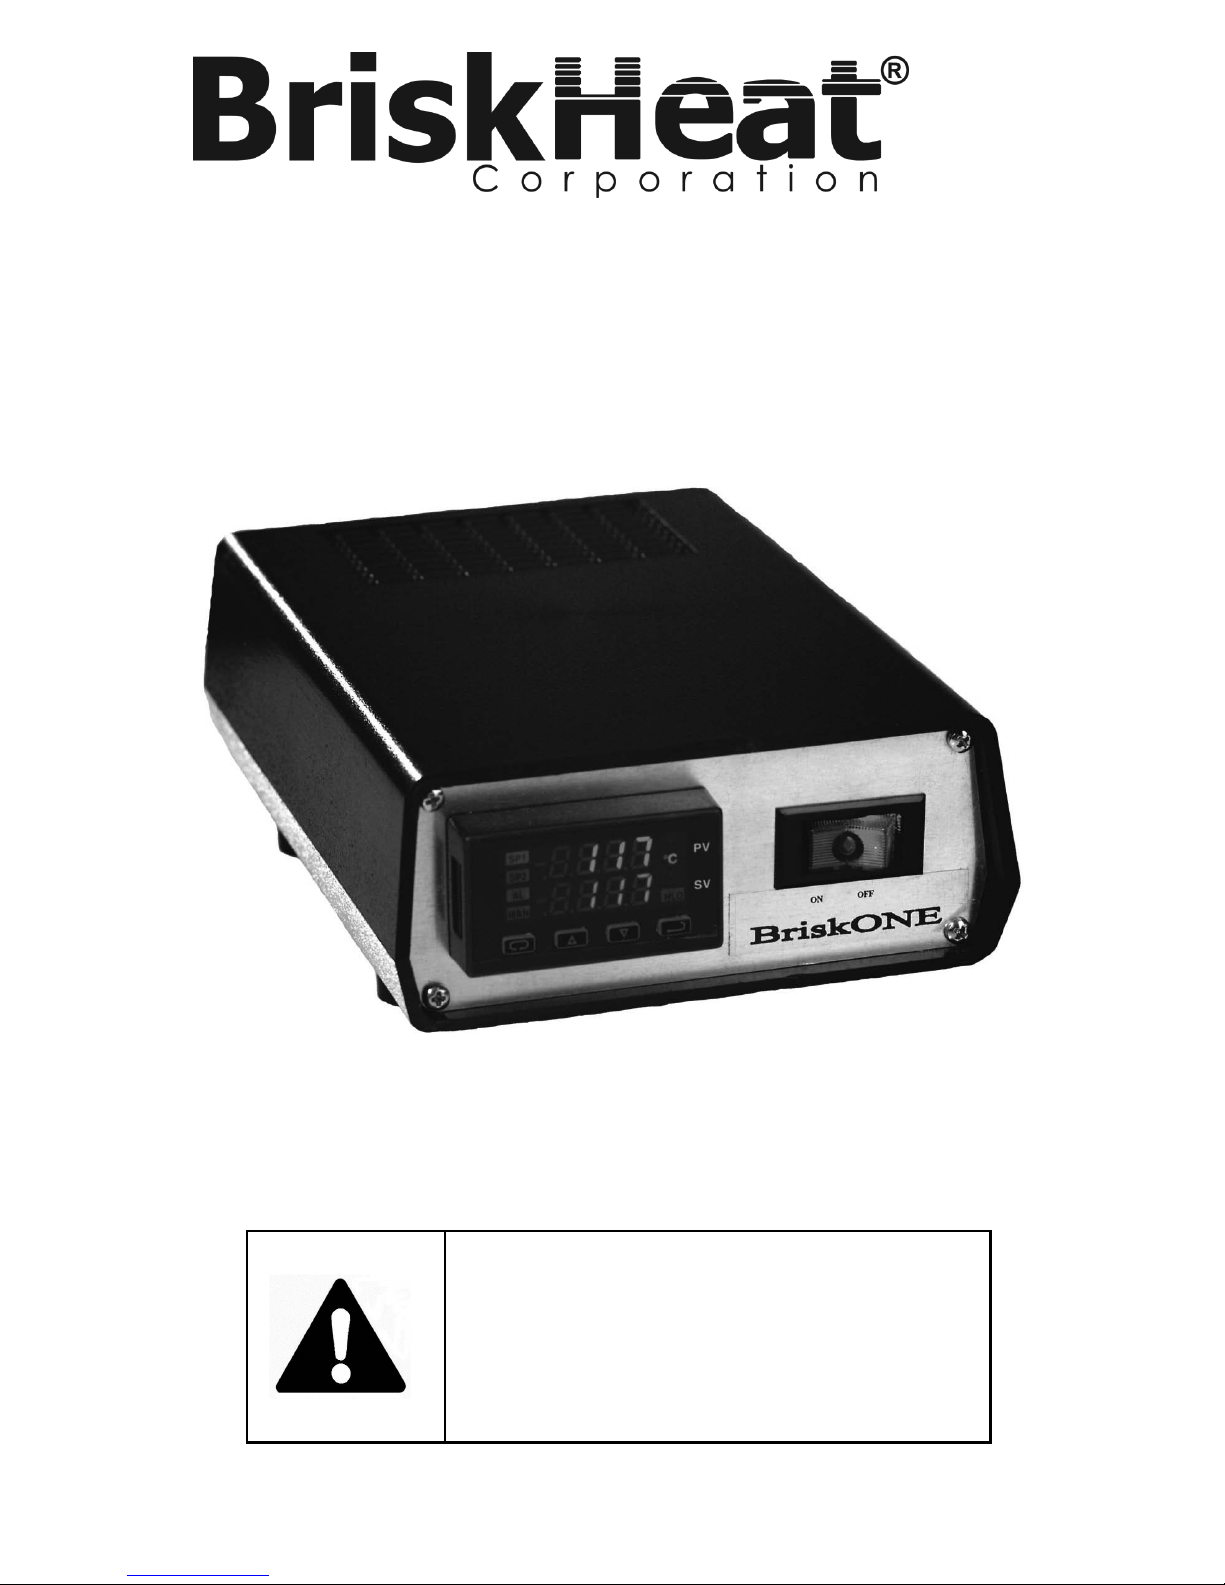
Figure 1: Pictorial of Controller (Front)
Figure 2: Pictorial of Controller (Back)

BriskHeat® Corporation. All rights reserved
4
BriskONE Temperature Controller Instructions
OPERATION
To begin operation of the BriskOne Controller, Follow these steps:
1. Plug the input power cord into the controller (see Figure 2 for input
power receptacle location). Then connect the other end of power
cord into a properly grounded 120VAC or 240VAC outlet.
A BriskONE controller purchased for 120VAC operations can
easily be changed for 240VAC operation and vice versa. A
120VAC controller comes equipped with a 120VAC input
power cord and a 15Amp fuse. To change the operations to
240VAC, a 240VAC input power cord and 10Amp fuse is
required (see page 26 for ordering information).
Note: Before operating the controller, see the “Installation” section for proper
location of the controller.
2. Turn the red on/off rocker switch to the “ON” position. Rocker
switch will light up.
3. Program the controller with the values needed to properly control
the heater (see programming instructions - pages 9-20).
4. Place the thermocouple tip in a location which best reflects the
heater’s temperature. Depending on the object’s shape, during
heating there may be spots which are warmer or colder.
If all areas of the object must reach a minimum temperature, then place
the thermocouple tip on the coldest spot.
If the temperature of any area of the object cannot go above the
temperature setpoint, then place the thermocouple tip on the hottest
spot.
If a temperature differential is allowable, then place the thermocouple tip on an
area where the temperature is between the hottest and coldest.

BriskHeat® Corporation. All rights reserved
5
BriskONE Temperature Controller Instructions
5. Plug thermocouple into the controller. Verify that the temperature
displayed on the upper display is the actual temperature of the
heating system. If not, check to ensure the thermocouple plug
was correctly wired and connected to the controller.
6. Plug the power cord for the heater into the controller (see
“Installation” section for instructions on how to assemble the plug
to the heater cord).
FIGURE 3: LAYOUT OF INTERNAL COMPONENTS

BriskHeat® Corporation. All rights reserved
6
BriskONE Temperature Controller Instructions
Controller Key Functions
FIGURE 4: DUAL DISPLAY CONTROLLER
1. Setpoint Display: Displays the SV (setpoint value). The SV is the
setpoint entered by the operator.
2. Process Display: Displays the PV (process value). The PV is the
actual temperature of the system being controlled.
3. oF Lamp: Lit when the temperatures displayed are in degrees
Fahrenheit.
4. oC Lamp: Lit when the temperatures displayed are in degrees
Celsius.
5. Percent Lamp: Lit when controller is programmed to display per-
centage of output power.
6. Hold Lamp: Lit when Ramp/Soak program functions are
suspended.
7. ENTER: Pressing ENTER stores the value or the item changes. If
not pressed, the previously stored value or item will be retained.
The display will flash once when ENTER is pressed.

BriskHeat® Corporation. All rights reserved
7
BriskONE Temperature Controller Instructions
8. This decimal point flashes when SELF-TUNE is operating.
9. ARROW: Decrements a value, changes a menu item, or selects
the item to OFF. The minimum value obtainable is -1999
regardless of the decimal point placement.
10. UP ARROW: Increments a value, changes a menu item, or
selects the item to ON. Maximum value attainable is 9999
regardless of the decimal point placement.
11. INDEX: Pressing the INDEX key advances the display to the next
menu item. Also used in conjunction with other keys.
12. Manual Indicator: Lit when output of control is being manually
adjusted.
13. Alarm Indicator: Lit when a fault condition exists.
14. Setpoint 2 Lamp: Lit when the SV displayed relates to setpoint 2.
15. Setpoint 1 Lamp: Lit when the SV displayed relates to setpoint
Key Combinations
UP ARROW & ENTER: Pressing these keys simultaneously brings up the
Secondary Menu starting at the alarm, tune, or cycle item (depending on
the programming). Pressing these keys for 5 seconds will bring up the
Secure Menu.
INDEX & DOWN ARROW: Pressing these keys simultaneously will allow
backing up one menu item, or if at the first menu item, they will cause the
display to return to the Primary Menu. If an alarm condition has occurred,
then these keys may be used to reset the alarm. To reset an alarm press
and hold both keys for three seconds.
INDEX & ENTER: Pressing these keys simultaneously and holding them
for 5 seconds allows recovery from the various error messages.

BriskHeat® Corporation. All rights reserved
8
BriskONE Temperature Controller Instructions
Programming Instructions
The controller’s Programming is divided up into three menus:
Primary Menu Secondary Menu Secure Menu
Within each menu are menu items. Each of the menu items pertains to a
parameter of the controller.
To enter and move from menu item to menu item within the
Primary Menu:
Press the UP ARROW and ENTER keys.
Press INDEX to advance through the menu items.
Simultaneously, press INDEX and DOWN ARROW keys to
back up one menu item.
Press UP ARROW or DOWN ARROW to change the value
in the display.
Press ENTER to retain the value.
To enter and move from menu item to menu item within the
Secondary Menu:
Press the UP ARROW and ENTER keys.
Press INDEX to advance through the menu items.
Simultaneously, press INDEX and DOWN ARROW keys to
back up one menu item.
Press UP ARROW or DOWN ARROW to change the value
in the display.
Press ENTER to retain the value.
To enter and move from menu item to menu item within the
Secure Menu:
Hold the UP ARROW and ENTER simultaneously for five
seconds to enter the secure menu.
Press INDEX to advance through the menu items.
Simultaneously, press INDEX and DOWN ARROW keys to
back up one menu item.
Press UP ARROW or DOWN ARROW to change the value
in the display.
Press ENTER to retain the value.

BriskHeat® Corporation. All rights reserved
9
BriskONE Temperature Controller Instructions
Security
The security code is located in the Secure Menu. The Code locks out
programming access to specific menus. To access the locked out
menus the security level must be changed. To change the security level,
the correct password must be entered into the SECr menu item.
1. Hold the UP ARROW and ENTER simultaneously for five seconds
to enter the secure menu.
2. The menu item SECr should be the first to appear. The value
shown is the current security level.
3. Change the security level, by using the UP ARROW and DOWN
ARROW keys to change the value in the upper display until the
password of the desired security level is shown.
4. Press the ENTER key to retain the value. The display will blink, and
the new security level will be shown in the upper display.
Refer to the following table for the correct value to enter for the security
level desired.
Note: The passwords cannot be altered.
Security
Level Value
Password
To Enter
Security Level
Menu Status
Primary Locked
Secondary Locked 11110
Secure Locked
Primary Unlocked
Secondary Locked 21101
Secure Locked
Primary Unlocked
Secondary Unlocked 31011
Secure Locked
Primary Unlocked
Secondary Unlocked 4111
Secure Unlocked
Table 1: Security Levels and Passwords

BriskHeat® Corporation. All rights reserved
10
BriskONE Temperature Controller Instructions
Temperature Unit
1. Hold the UP ARROW and ENTER simultaneously for five seconds to
enter the secure menu.
2. Press the INDEX key until Unit is shown on the lower display.
3. Change the unit of measurement, by using the UP ARROW and
DOWN ARROW keys to select C (Celsius) or F (Fahrenheit).
4. Press the ENTER key to retain the value.
Setpoint Range
Menu Items SPL and SPH limit the value that may be entered for the setpoint
1. Hold the UP ARROW and ENTER simultaneously for five seconds to
enter the secure menu.
2. Press the INDEX key until SPL is shown on the lower display. SPL is
the lowest allowable value that the set point may be entered in as.
3. Use the UP ARROW and DOWN ARROW keys to change the value.
4. Press ENTER to retain the value.
5. Press the INDEX key until SPH is shown on the lower display. SPH is
the highest allowable value that the set point may be entered in as.
6. Use the UP ARROW and DOWN ARROW keys to change the value.
7. Press ENTER to retain the value.
Note: SPL and SPH only limit what value may be entered for the setpoint.
These values are not used in the actual control of the heater.
Setpoint
1. Press INDEX to the advance to SP1.
2. Use the UP ARROW and DOWN ARROW keys to change the value
until the desired setpoint is displayed.
3. Press ENTER to retain that value.
Note: For entering the set point while in the Ramp/Soak mode, see Ramp/Soak
instructions on page 15.
Table of contents
Other BriskHeat Temperature Controllers manuals

BriskHeat
BriskHeat TC4000 User manual

BriskHeat
BriskHeat TB4000 User manual

BriskHeat
BriskHeat Centipede 2 User manual

BriskHeat
BriskHeat X2 Benchtop User manual

BriskHeat
BriskHeat SDC User manual

BriskHeat
BriskHeat LYNX User manual

BriskHeat
BriskHeat HL101 Series User manual

BriskHeat
BriskHeat SDCE User manual

BriskHeat
BriskHeat SDC User manual

BriskHeat
BriskHeat SDX User manual


Popular Temperature Controllers manuals by other brands


SMC Networks
SMC Networks Thermo-con INR-244-639 Operation manual

eltherm
eltherm Ex-TC It Series operating instructions

Omron
Omron C200H-TV Series Operation manual

industrie technik
industrie technik CA1 instructions

KRAL
KRAL EET 32 operating instructions

dixell
dixell XR420C Installing and operating instructions